Sew Cute Patterns

Sewing patterns to create stuffed animals, plush toys and aprons

Sewing Tutorials

Sewing Bee University

Sewing TutorialsDiana Cison

Welcome to Sewing Bee University or SBU for short!

sewing lessons.png

Meet Wilma, the SBU mascot!  Isn't she bee-utiful?  She's here to help you learn some basic sewing terms and techniques to help you create your awesome new toy or apron!

sewing machine.png

Ladder Stitch - Stitching an Opening Closed

Sewing TutorialsDiana Cison

When you stitch two fabric pieces together, you must leaving a small opening to reverse right side out and stuff.  After you reverse and stuff your toy, you will need to stitch the opening closed.  You can do this with a ladder stitch.  


How to Ladder Stitch:

Step 1. Fold seam allowances to inside and if desired, press flat with an iron.  The fabric will be easier to stitch if it's flat.

Step 2. Thread needle with sturdy thread. Make knot at end.

Step 3. Hide the knot at the end of the thread in the seam allowance. Bring needle up at beginning of opening.  Note, I am using black thread so that it’s easier to see in the picture.  You will want to use the color of your fabric.

Step 4. Insert needle in opposite folded edge directly across from position where needle came out of first folded edge. Take a small stitch; pull needle through fabric.

Step 5. Return needle to first folded edge, starting that stitch directly opposite of where you ended the last stitch and take another small stitch and pull needle through fabric.

6. Continue in this manner to make a few stitches from side edge to side edge until you get to the end of the opening.

7. Pull thread snugly to close opening.


8. Secure thread end with a backstitch or two, cut thread and tie to secure.

9. Trim any excess thread

ladder stitch.JPG

22 Cute Sewing Supplies You'll Find Online

Sewing TutorialsDiana Cison

These are a few cute sewing supplies and sewing themed trinkets I found while shopping online.  They are adorable!  It's true, everything is pretty in pink!  Just click on the photo to get to the shopping page.

1. Janome Pink Sorbet Sewing Machine

Sewing is more fun in pink sorbet!

2. Hummingbird Needle Threader

How to print, assemble & trace your PDF pattern

Sewing TutorialsDiana Cison

All Sew Cute patterns are available for instant download into a PDF file which you can download and print immediately. Here is some direction on how to print, assemble and download your pattern.

HOW TO PRINT YOUR PDF PATTERN

All PDF sewing patterns purchased from Sew Cute Patterns print on standard paper sizes and all pattern pieces are drawn full scale which makes printing easy peasy!  There is no need to shrink nor enlarge.

  • Printers vary across the board, but look out for setting options to “print at actual size” or “scale 100%”.

  • Turn the “two-sided printing” option off, so your pattern only prints on one side of the paper.

HOW TO ASSEMBLE PDF SEWING PATTERNS

Most of the pattern pieces print on one page so you just need to print and cut.  Some pattern pieces are too large to print on only one page so they need to be cut and then taped together. These pattern pieces are labeled with letters at the points where the pieces need to be taped together so you will use the letter as your guide.  Simply match up the letters on the two pattern pieces and tape together along the dashed lines.  You will tape them together before you get started using scotch tape.

HOW TO TRACE PDF SEWING PATTERNS

Some beginner level patterns need to be traced and some just need to be cut.  Either way, you will simply pin your pattern pieces to the fabric after they've been taped together and start tracing or cutting.

Your pattern prints on paper so if you find regular paper too thick to pin to the fabric, you can also trace the paper onto tissue paper or baking paper and pin that to the fabric.

Sources of Supplies

Sewing TutorialsDiana Cison

Here are some suggestions on where to purchase materials needed for your Sew Cute projects.  Don't forget to check your local craft and fabric stores.  Jo-Ann Fabrics has an email sign up for weekly coupons.

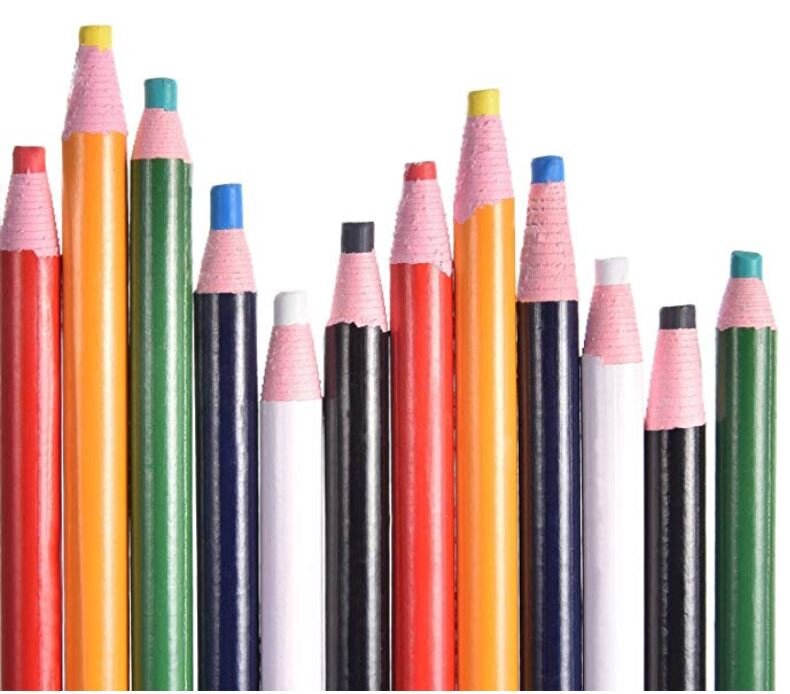
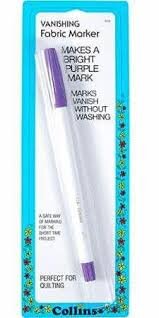
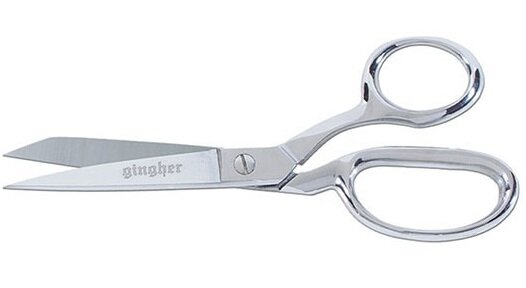
For fabric, sewing supplies, craft supplies, polyester stuffing (fiberfill), fabric markers

Jo-Ann Fabric and Craft Stores www.joann.com 

Michaels Stores Inc. www.michaels.com

For fabric, sewing supplies

J & O Fabric Center www.jandofabrics.com

Hancock Fabrics www.hancockfabrics.com

For animal eyes and notions

Sunshine Discount Crafts www.sunshinecrafts.com

BJ's Craft Supplies www.bjcraftsupplies.com

Craft Bits www.craftbits.co.uk

For yarn

Lion Brand Yarn www.lionbrand.com

Jo-Ann Fabric and Craft Stores www.joann.com 

Michaels Stores Inc. www.michaels.com

For google eyes, buttons, beads, plastic jewels, fabric markers, glitter glue pens

Oriental Trading www.orientaltrading.com

For fabric markers, fabric paints, polyester stuffing (fiberfill), yarn

Walmart www.walmart.com

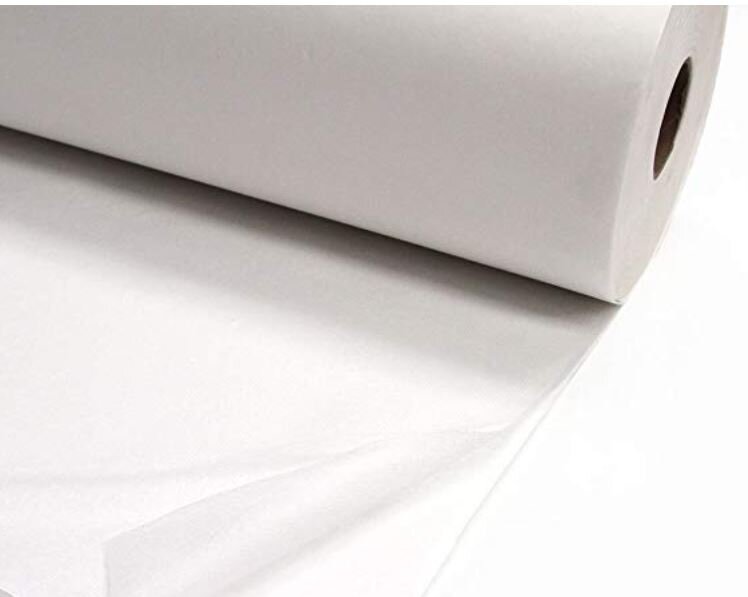
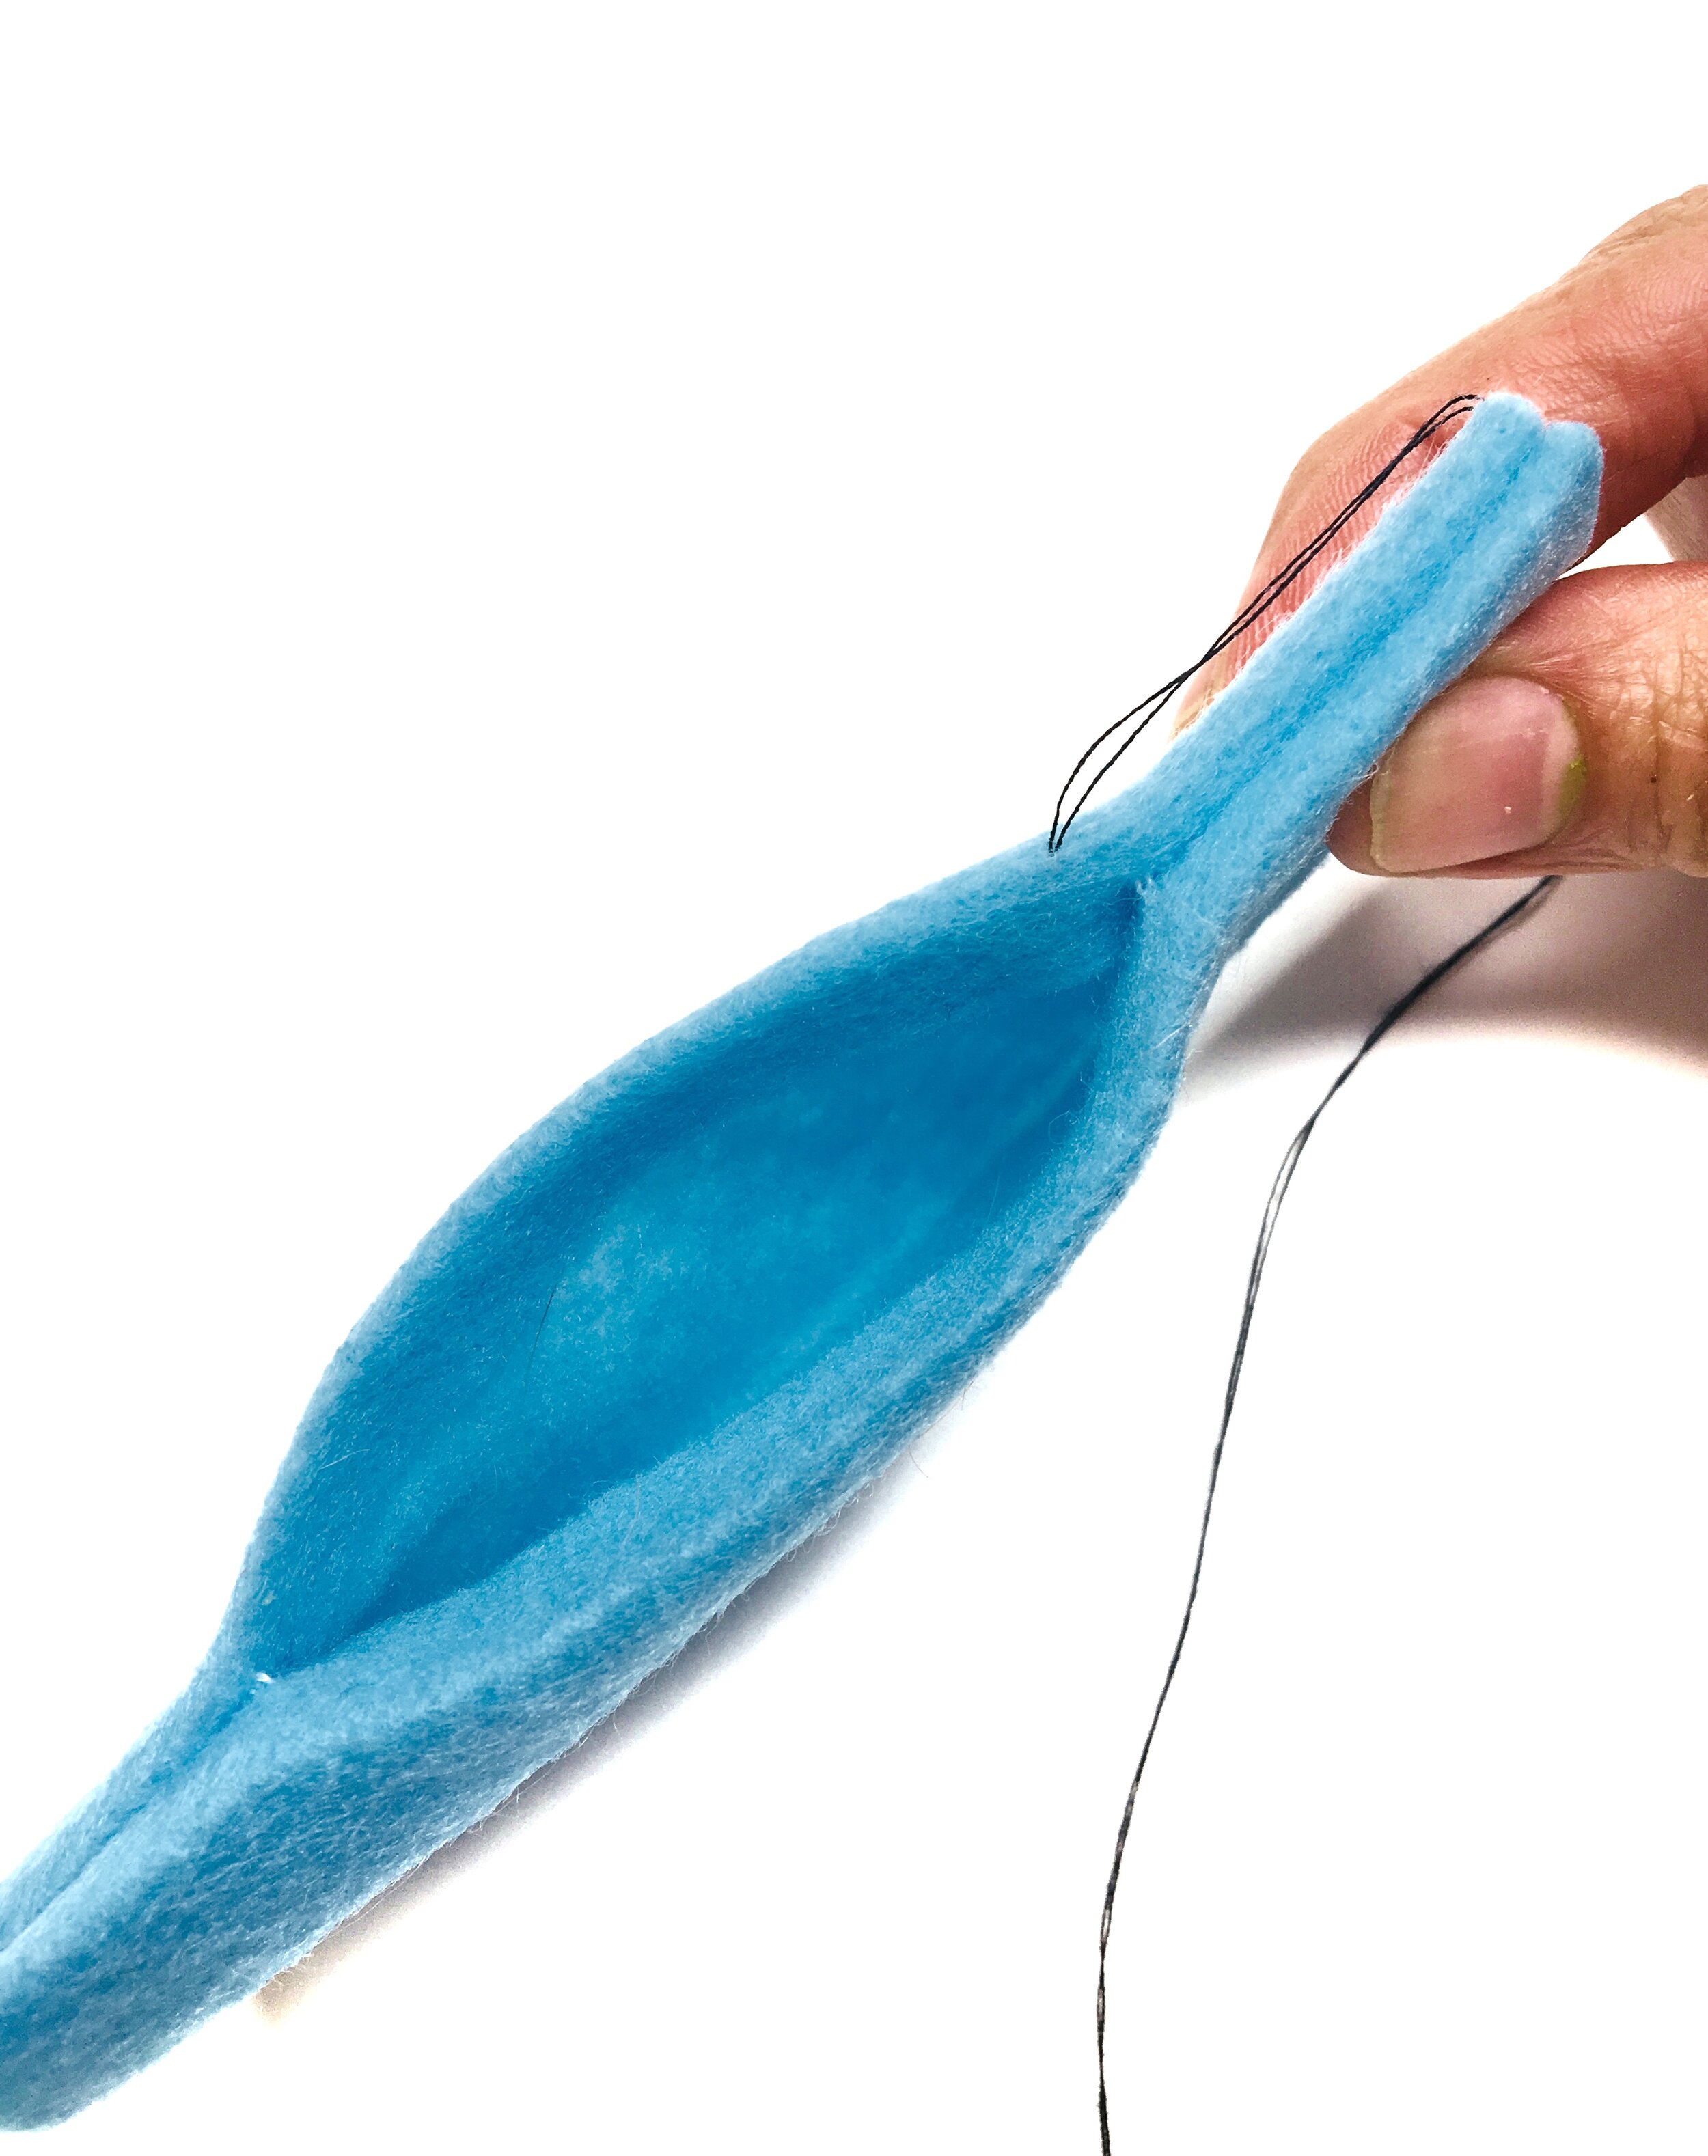
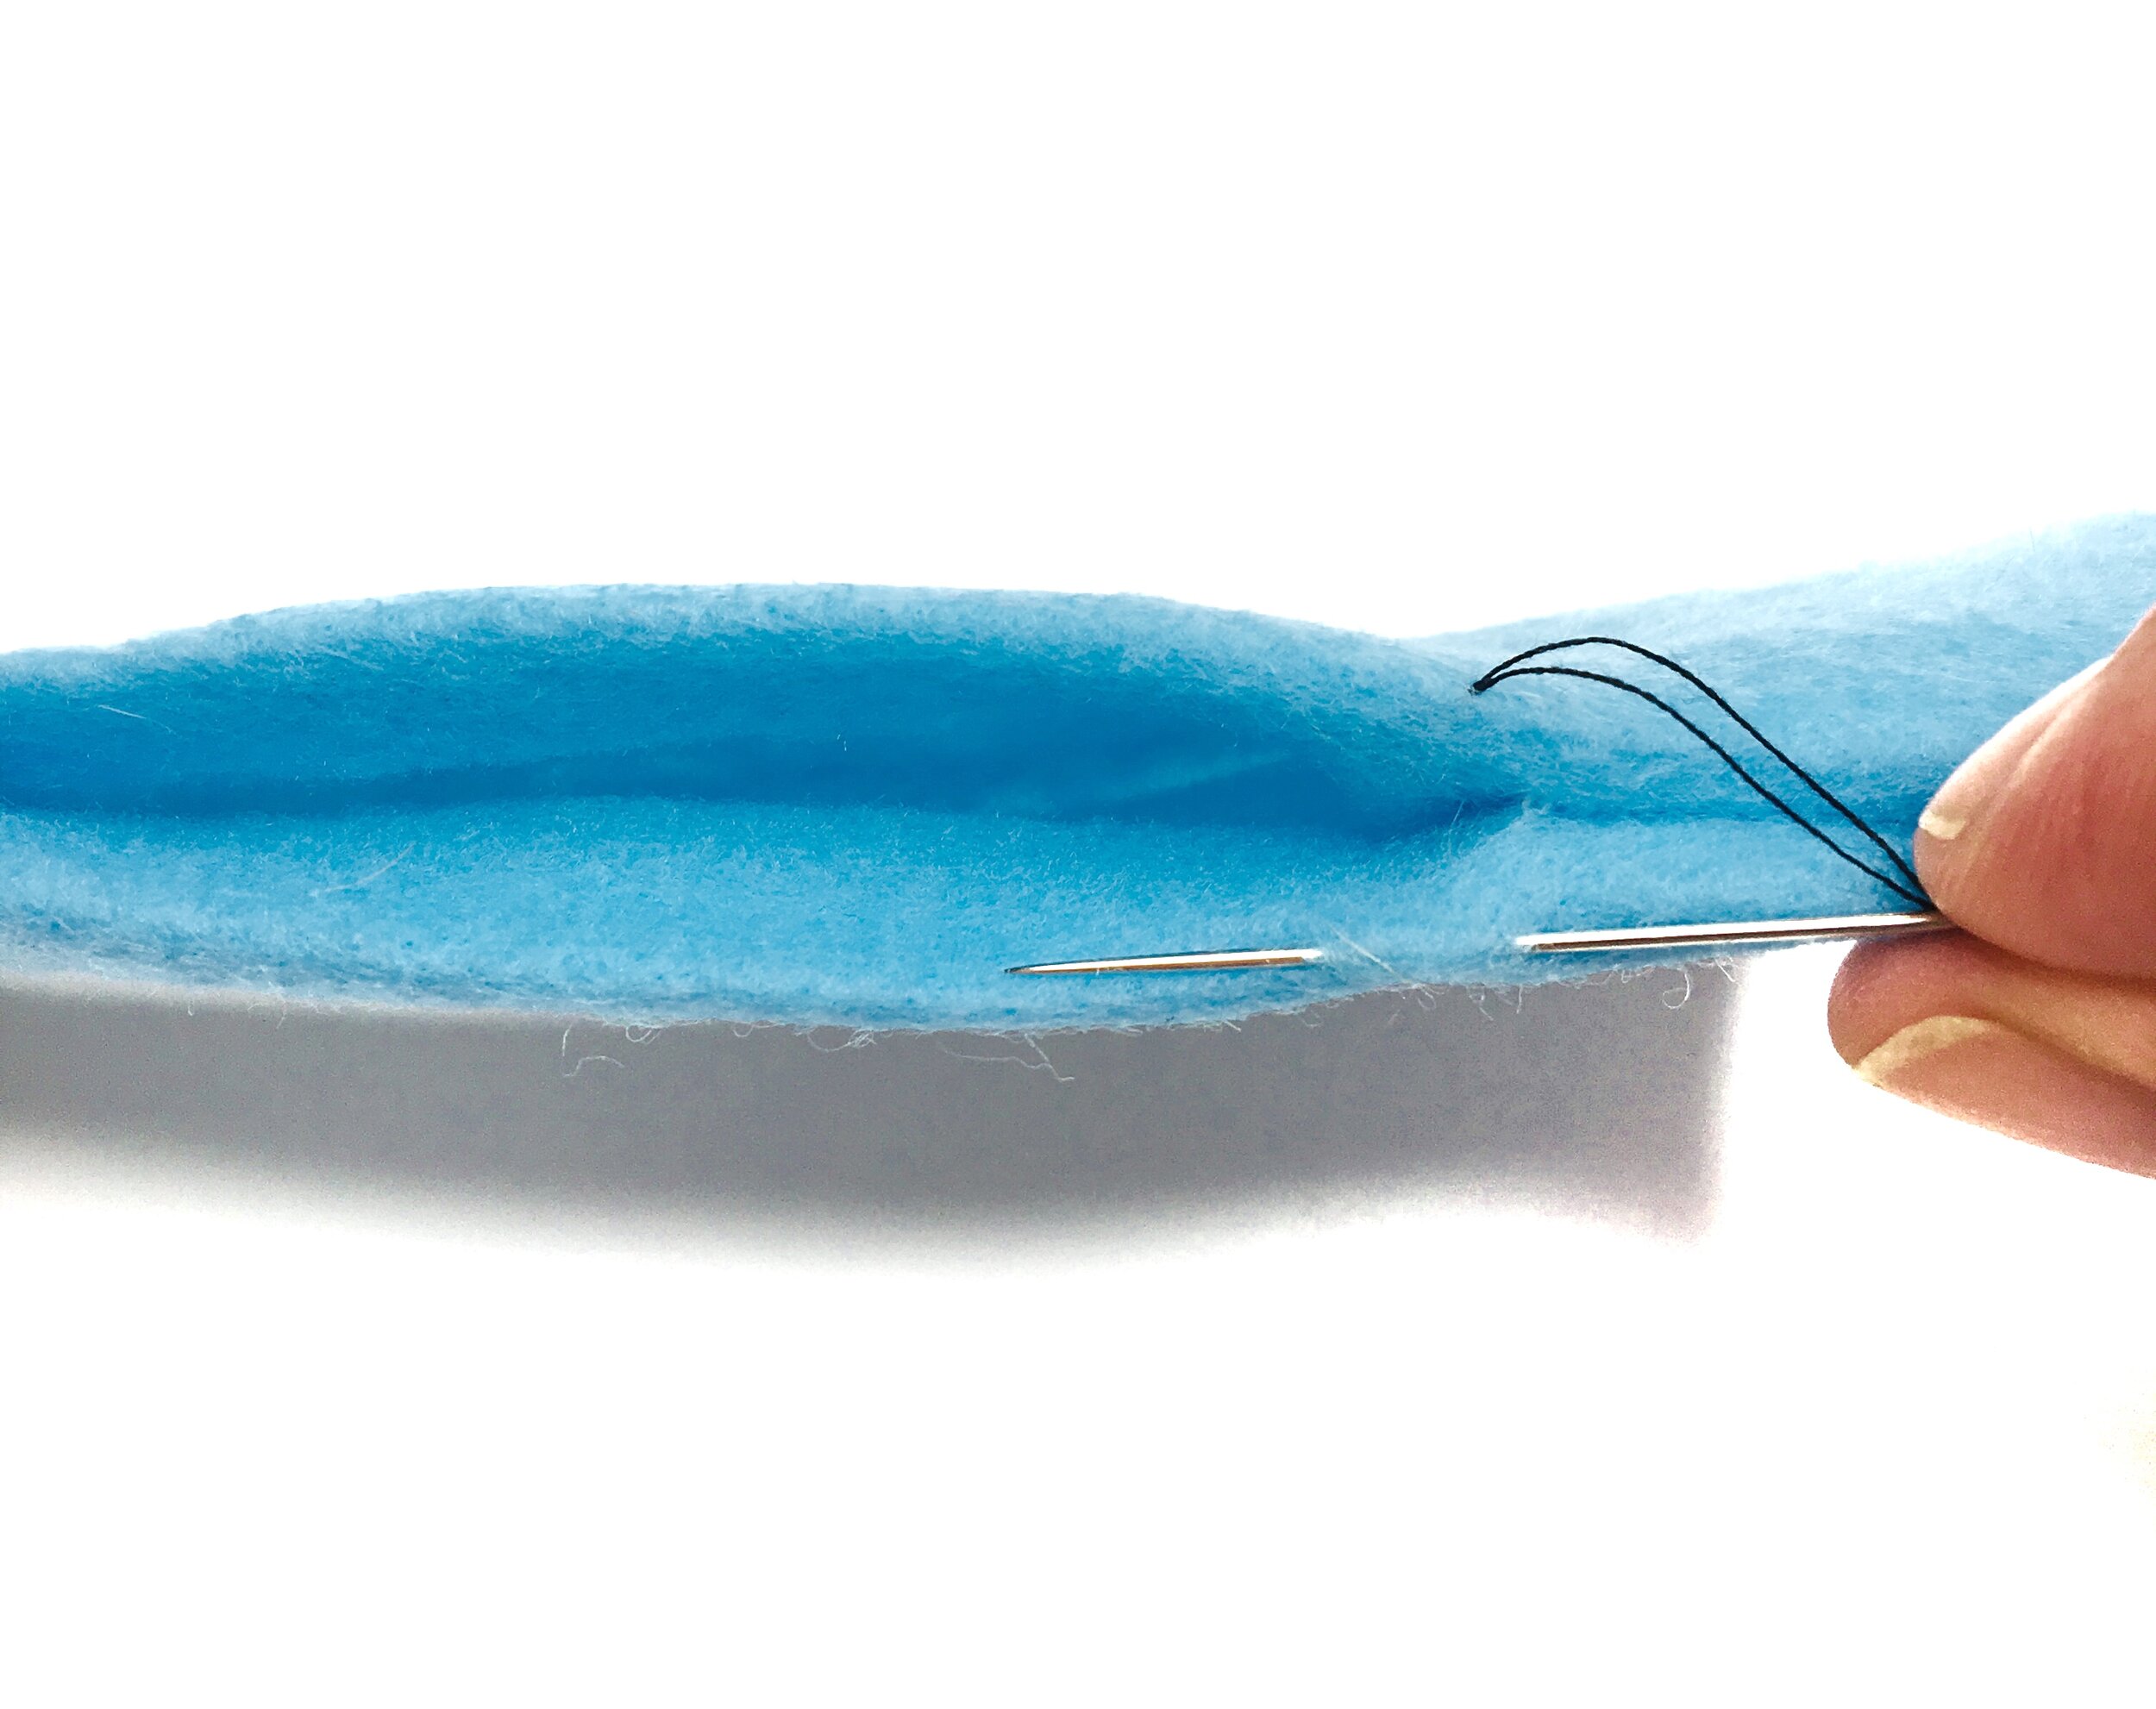
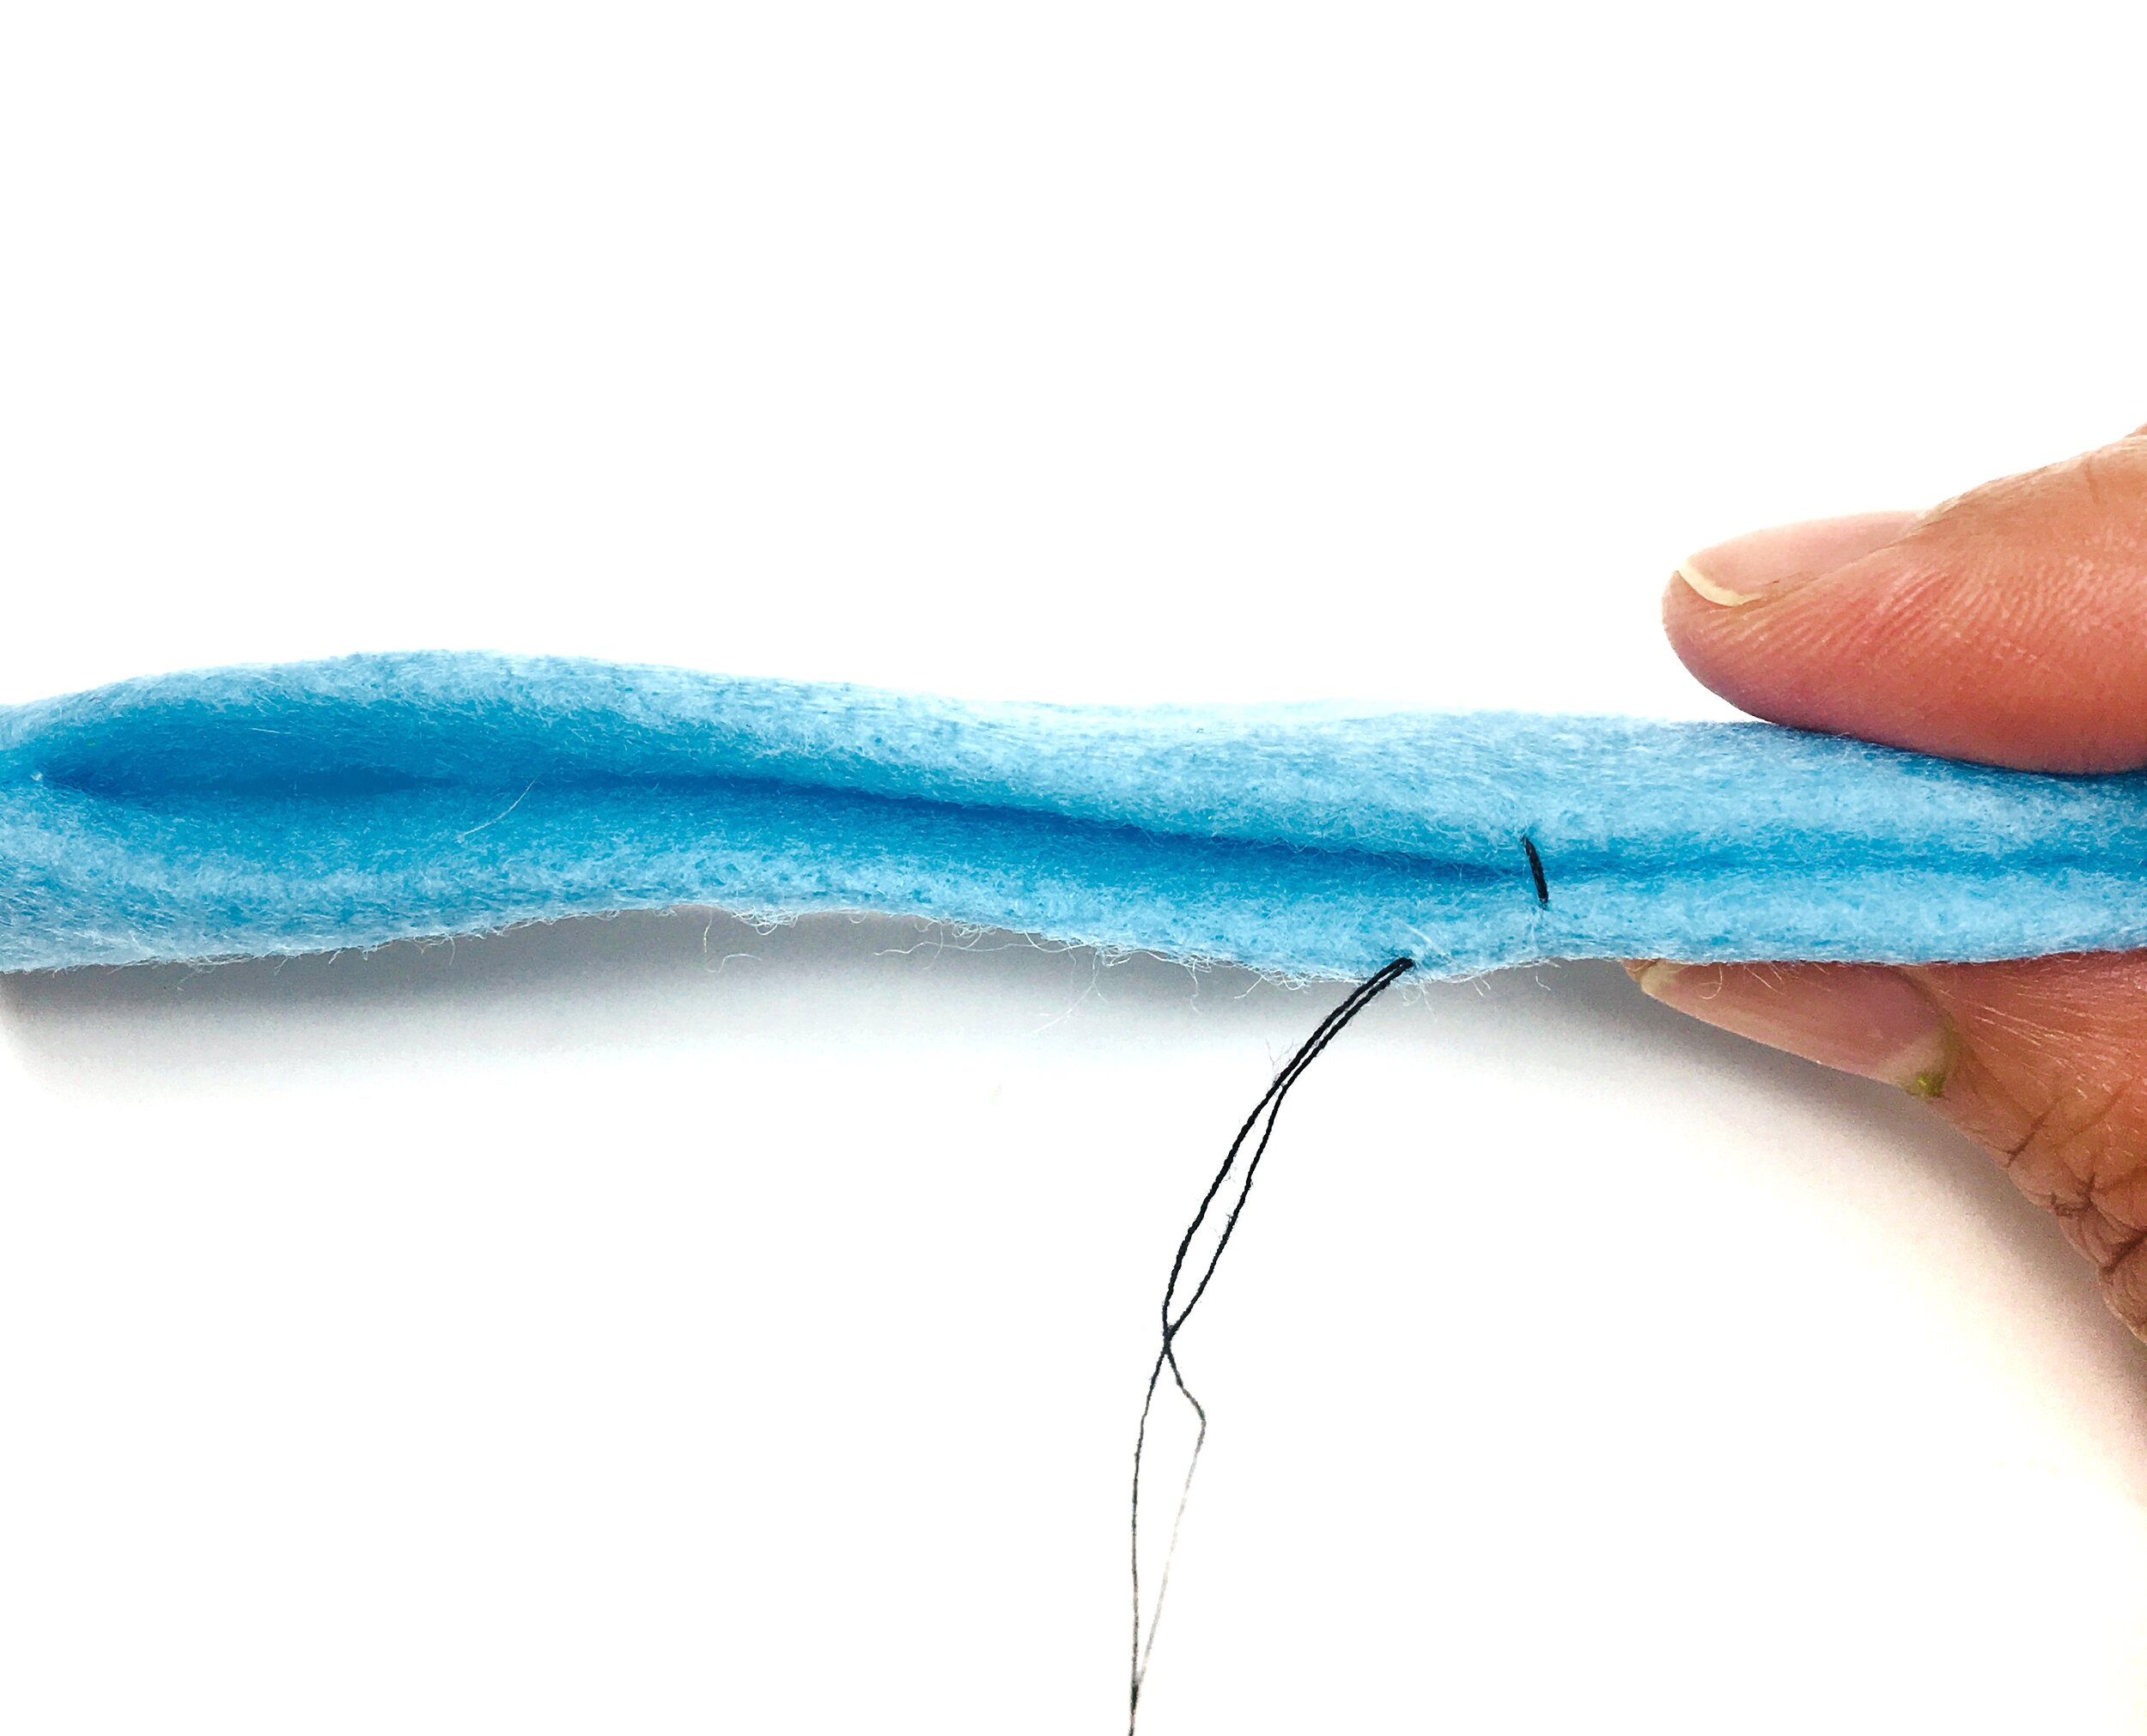
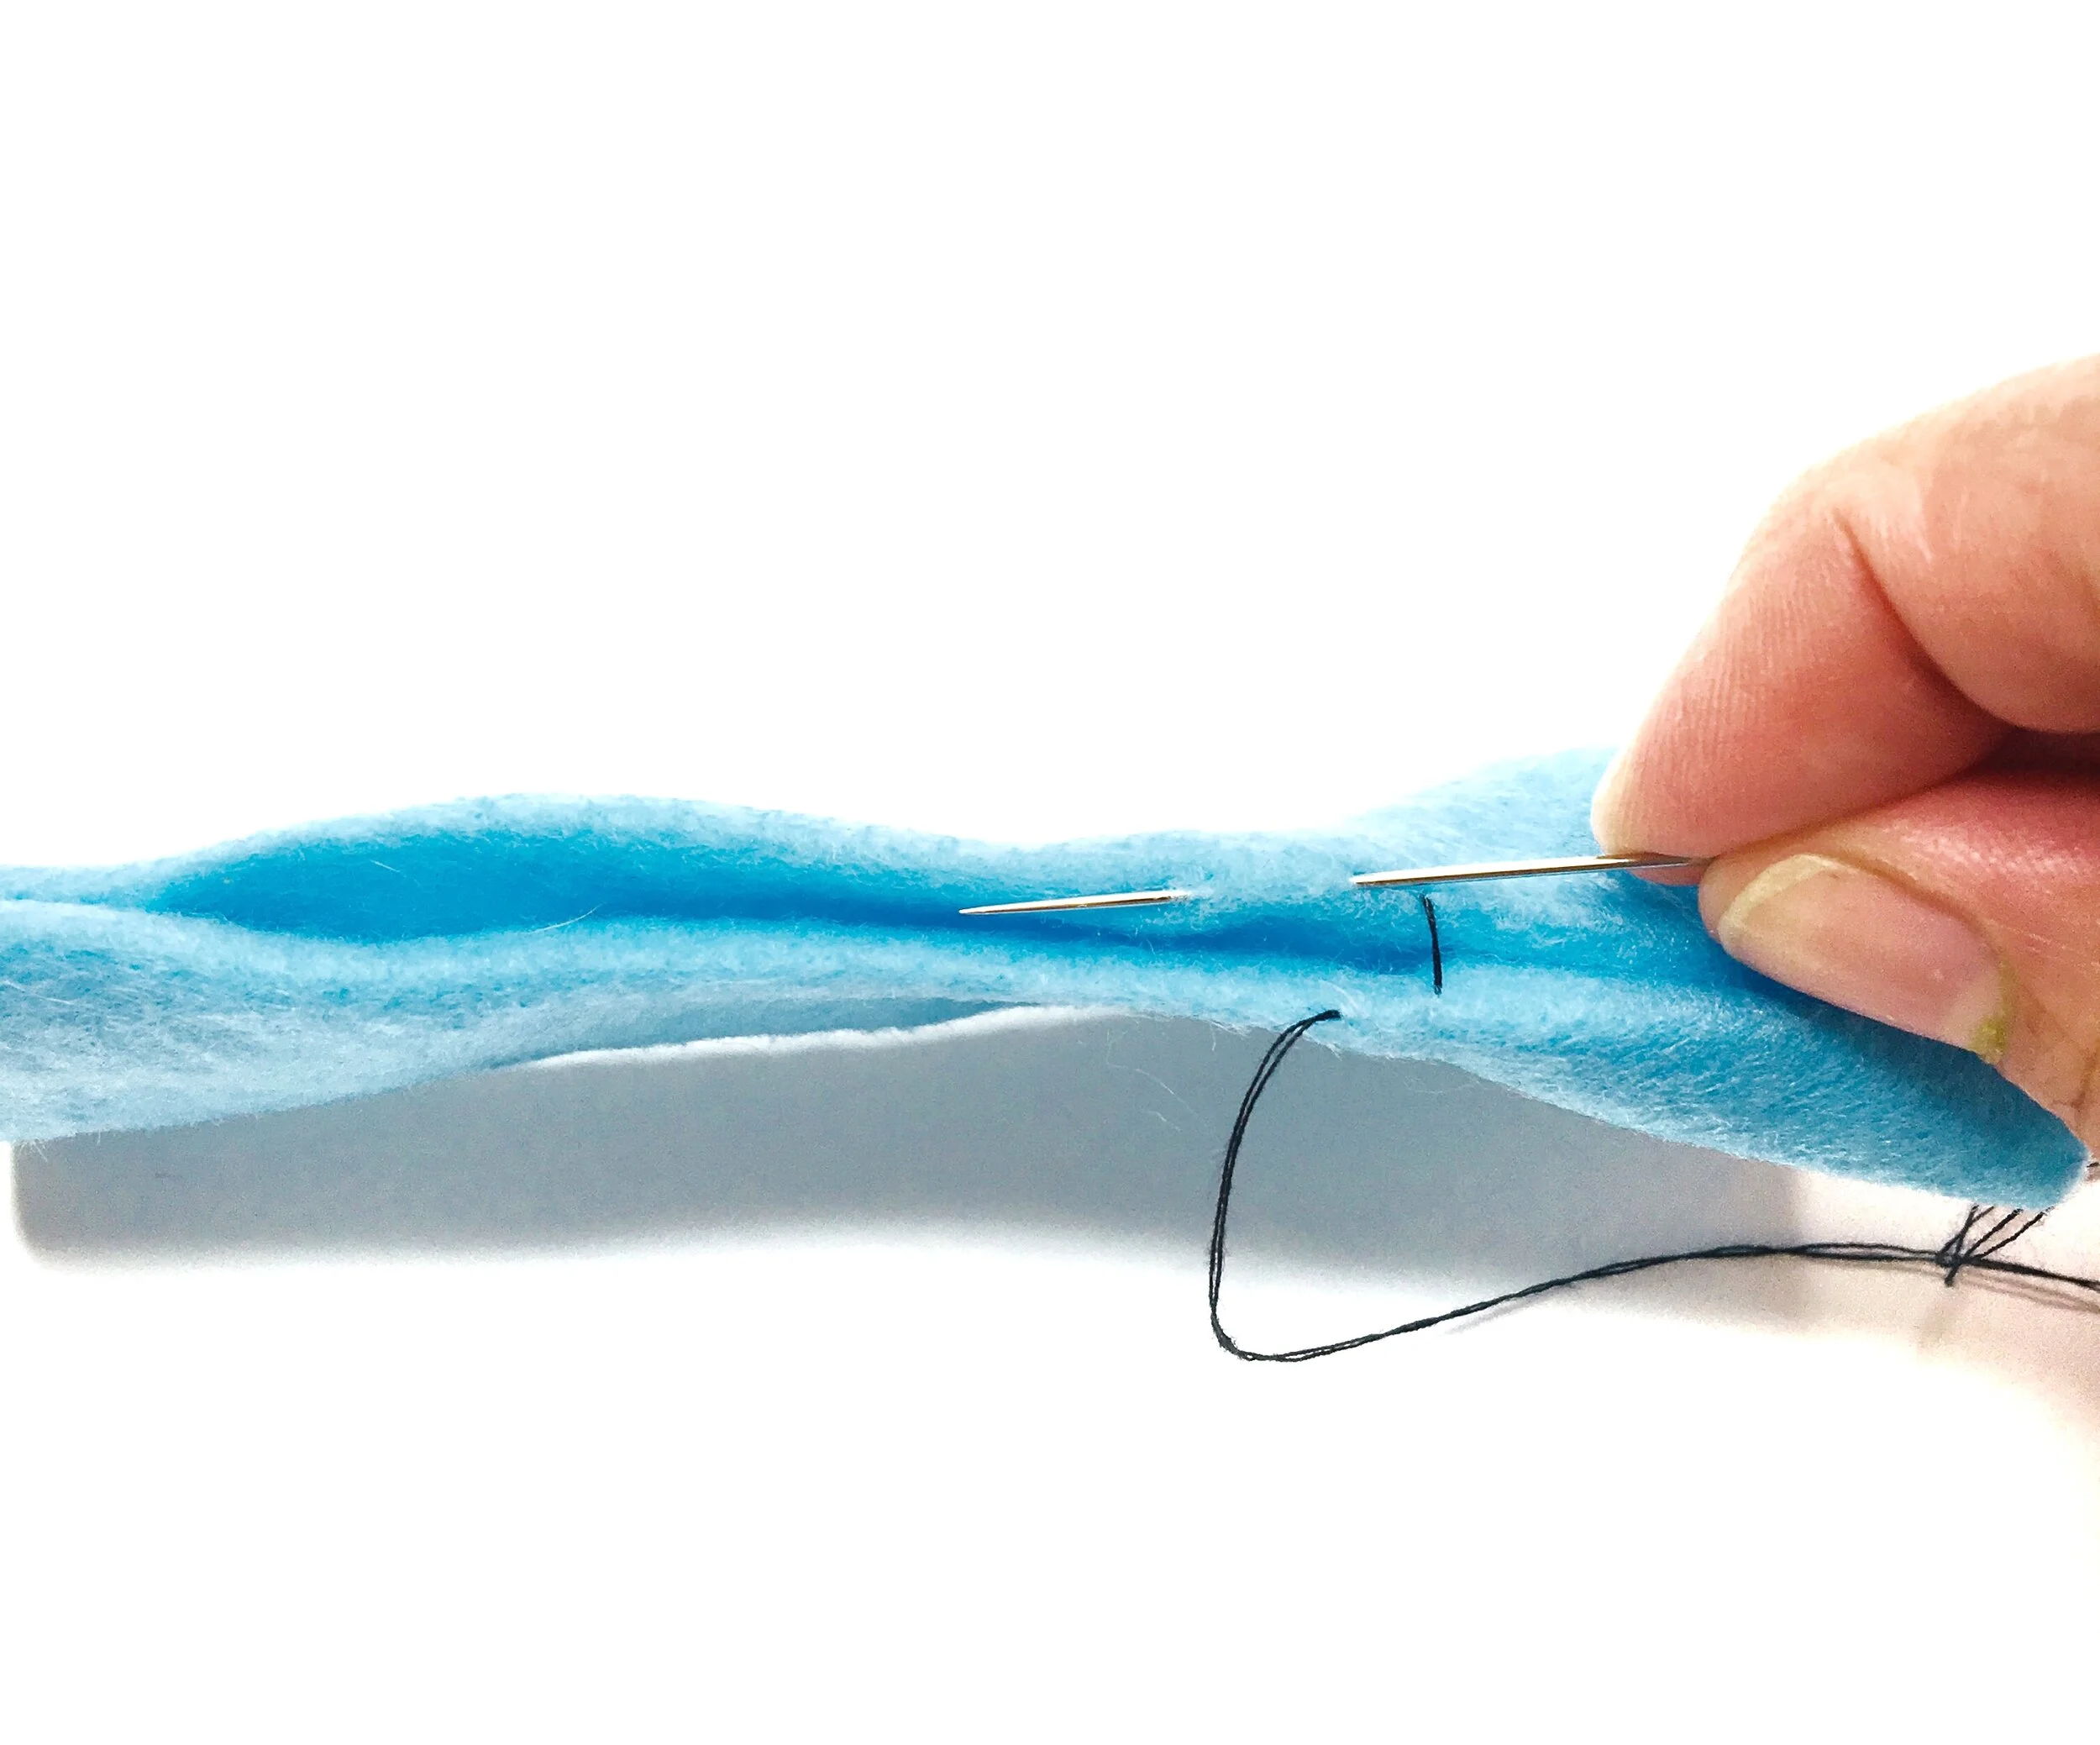
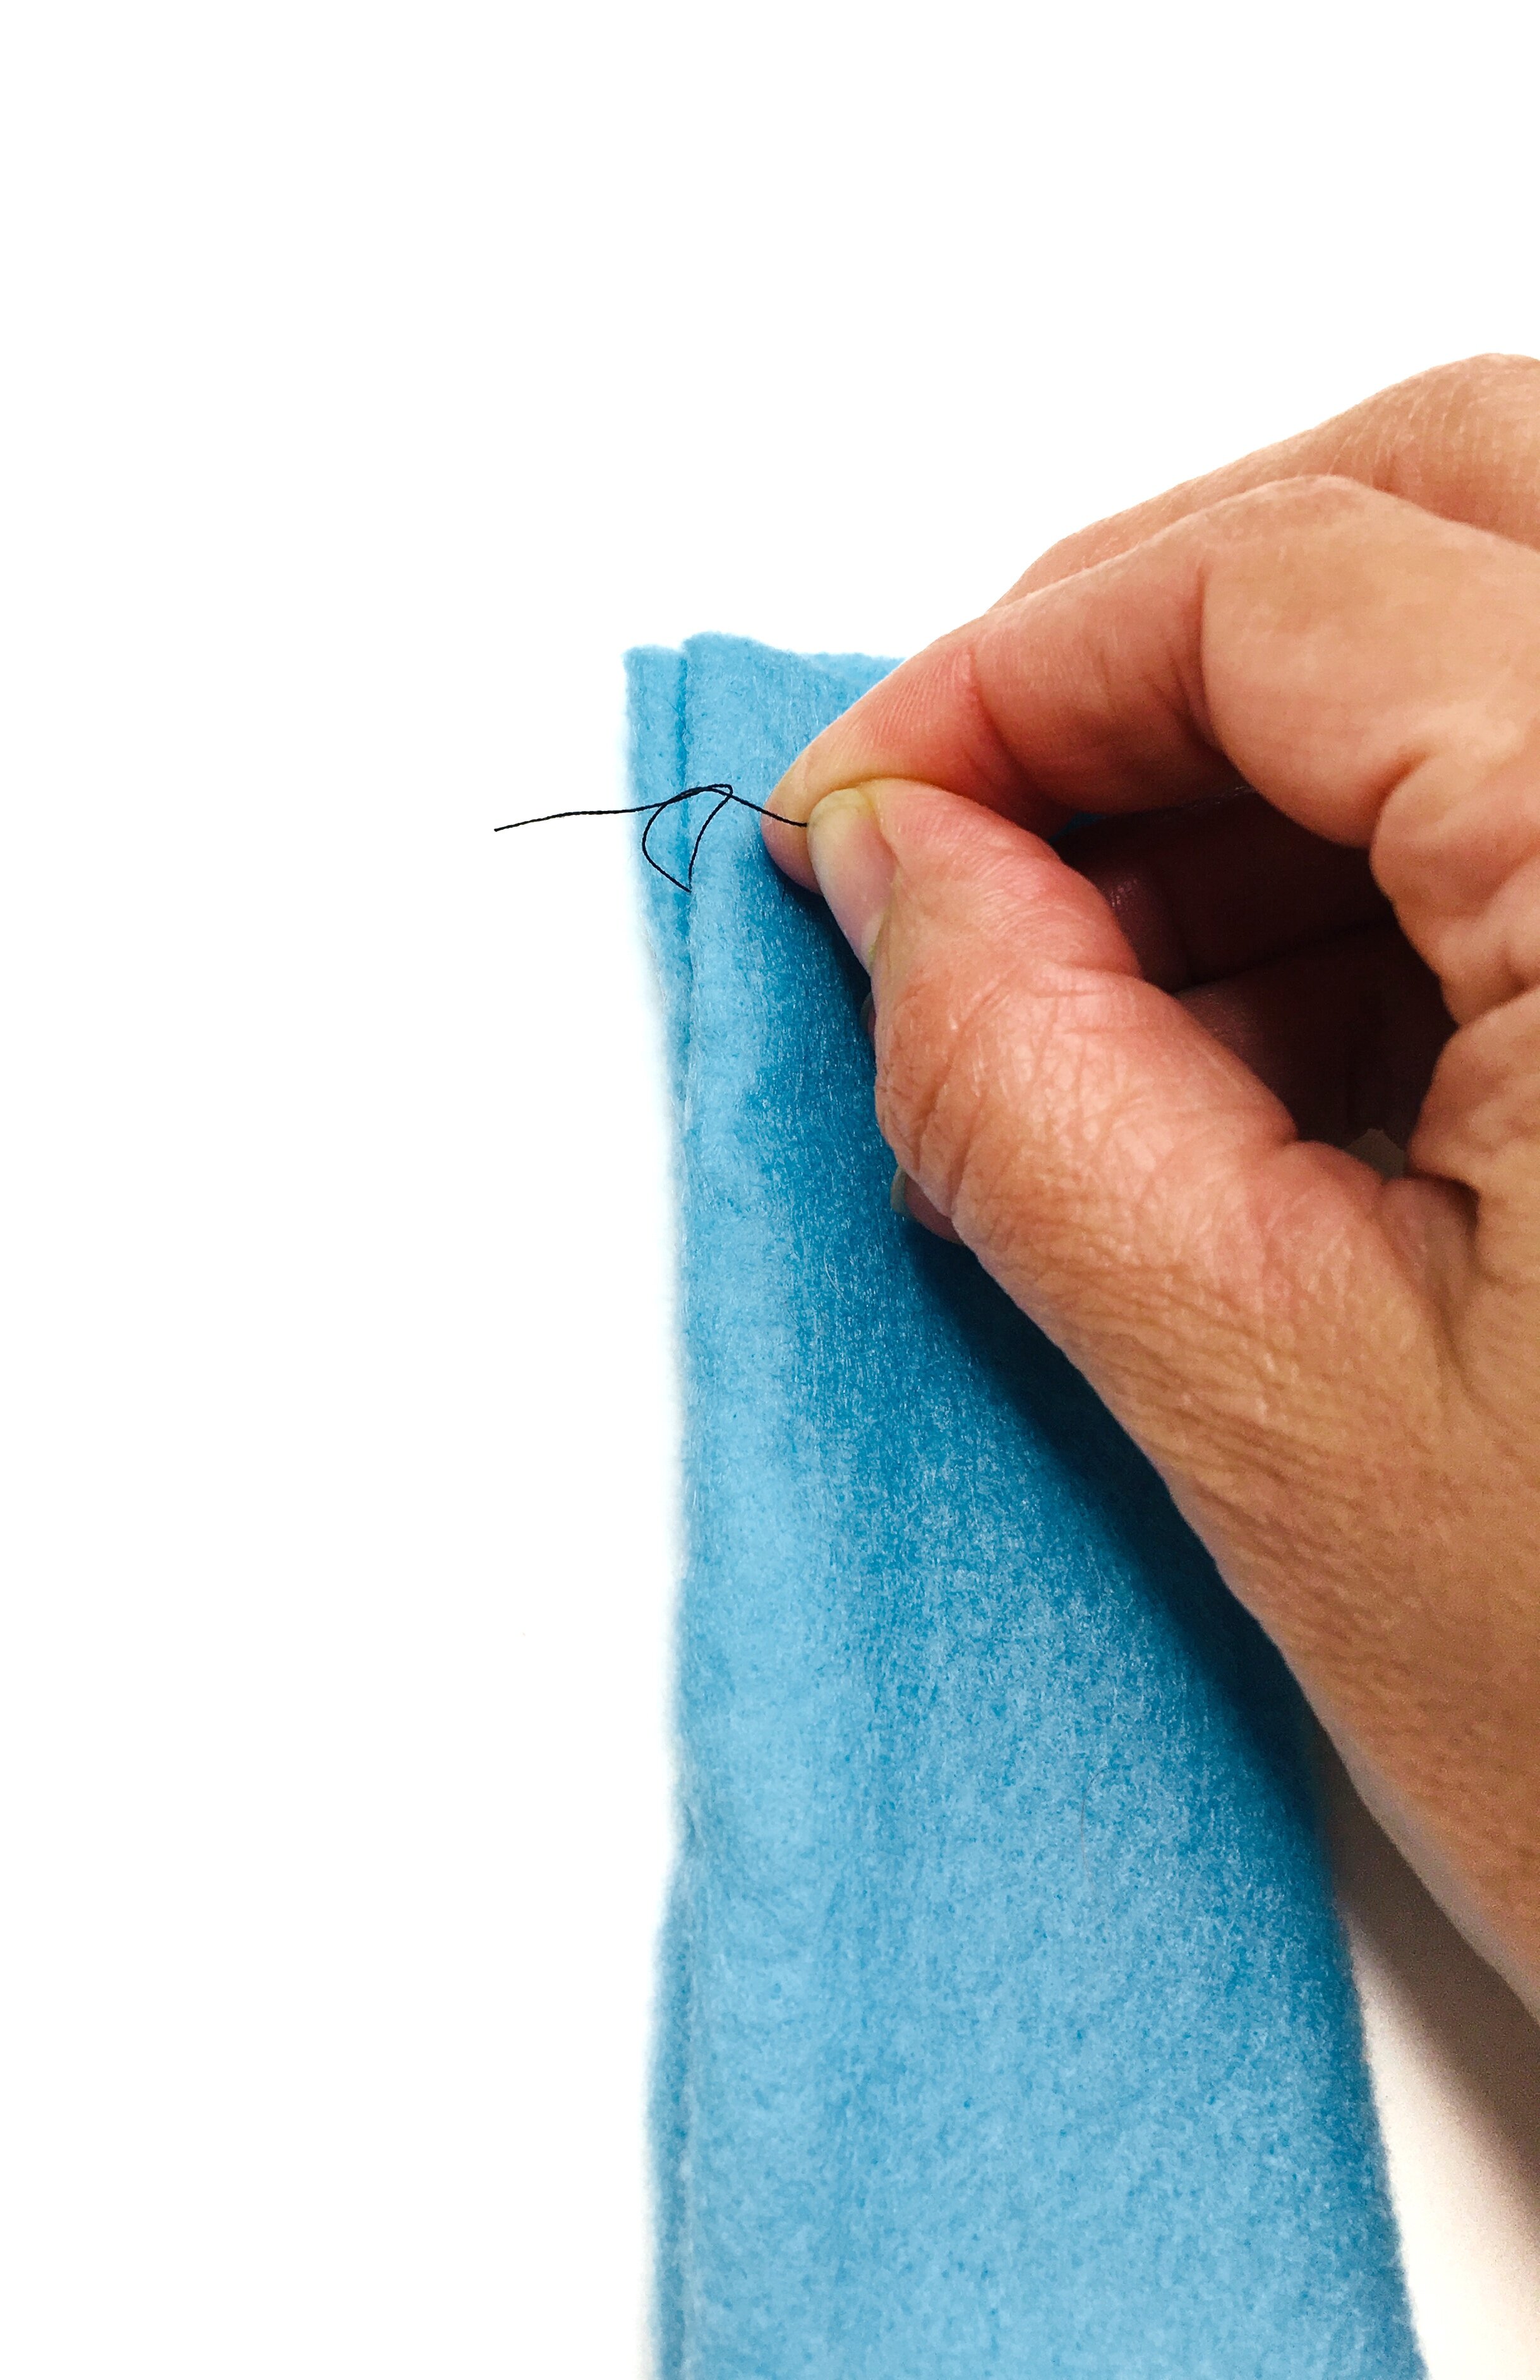
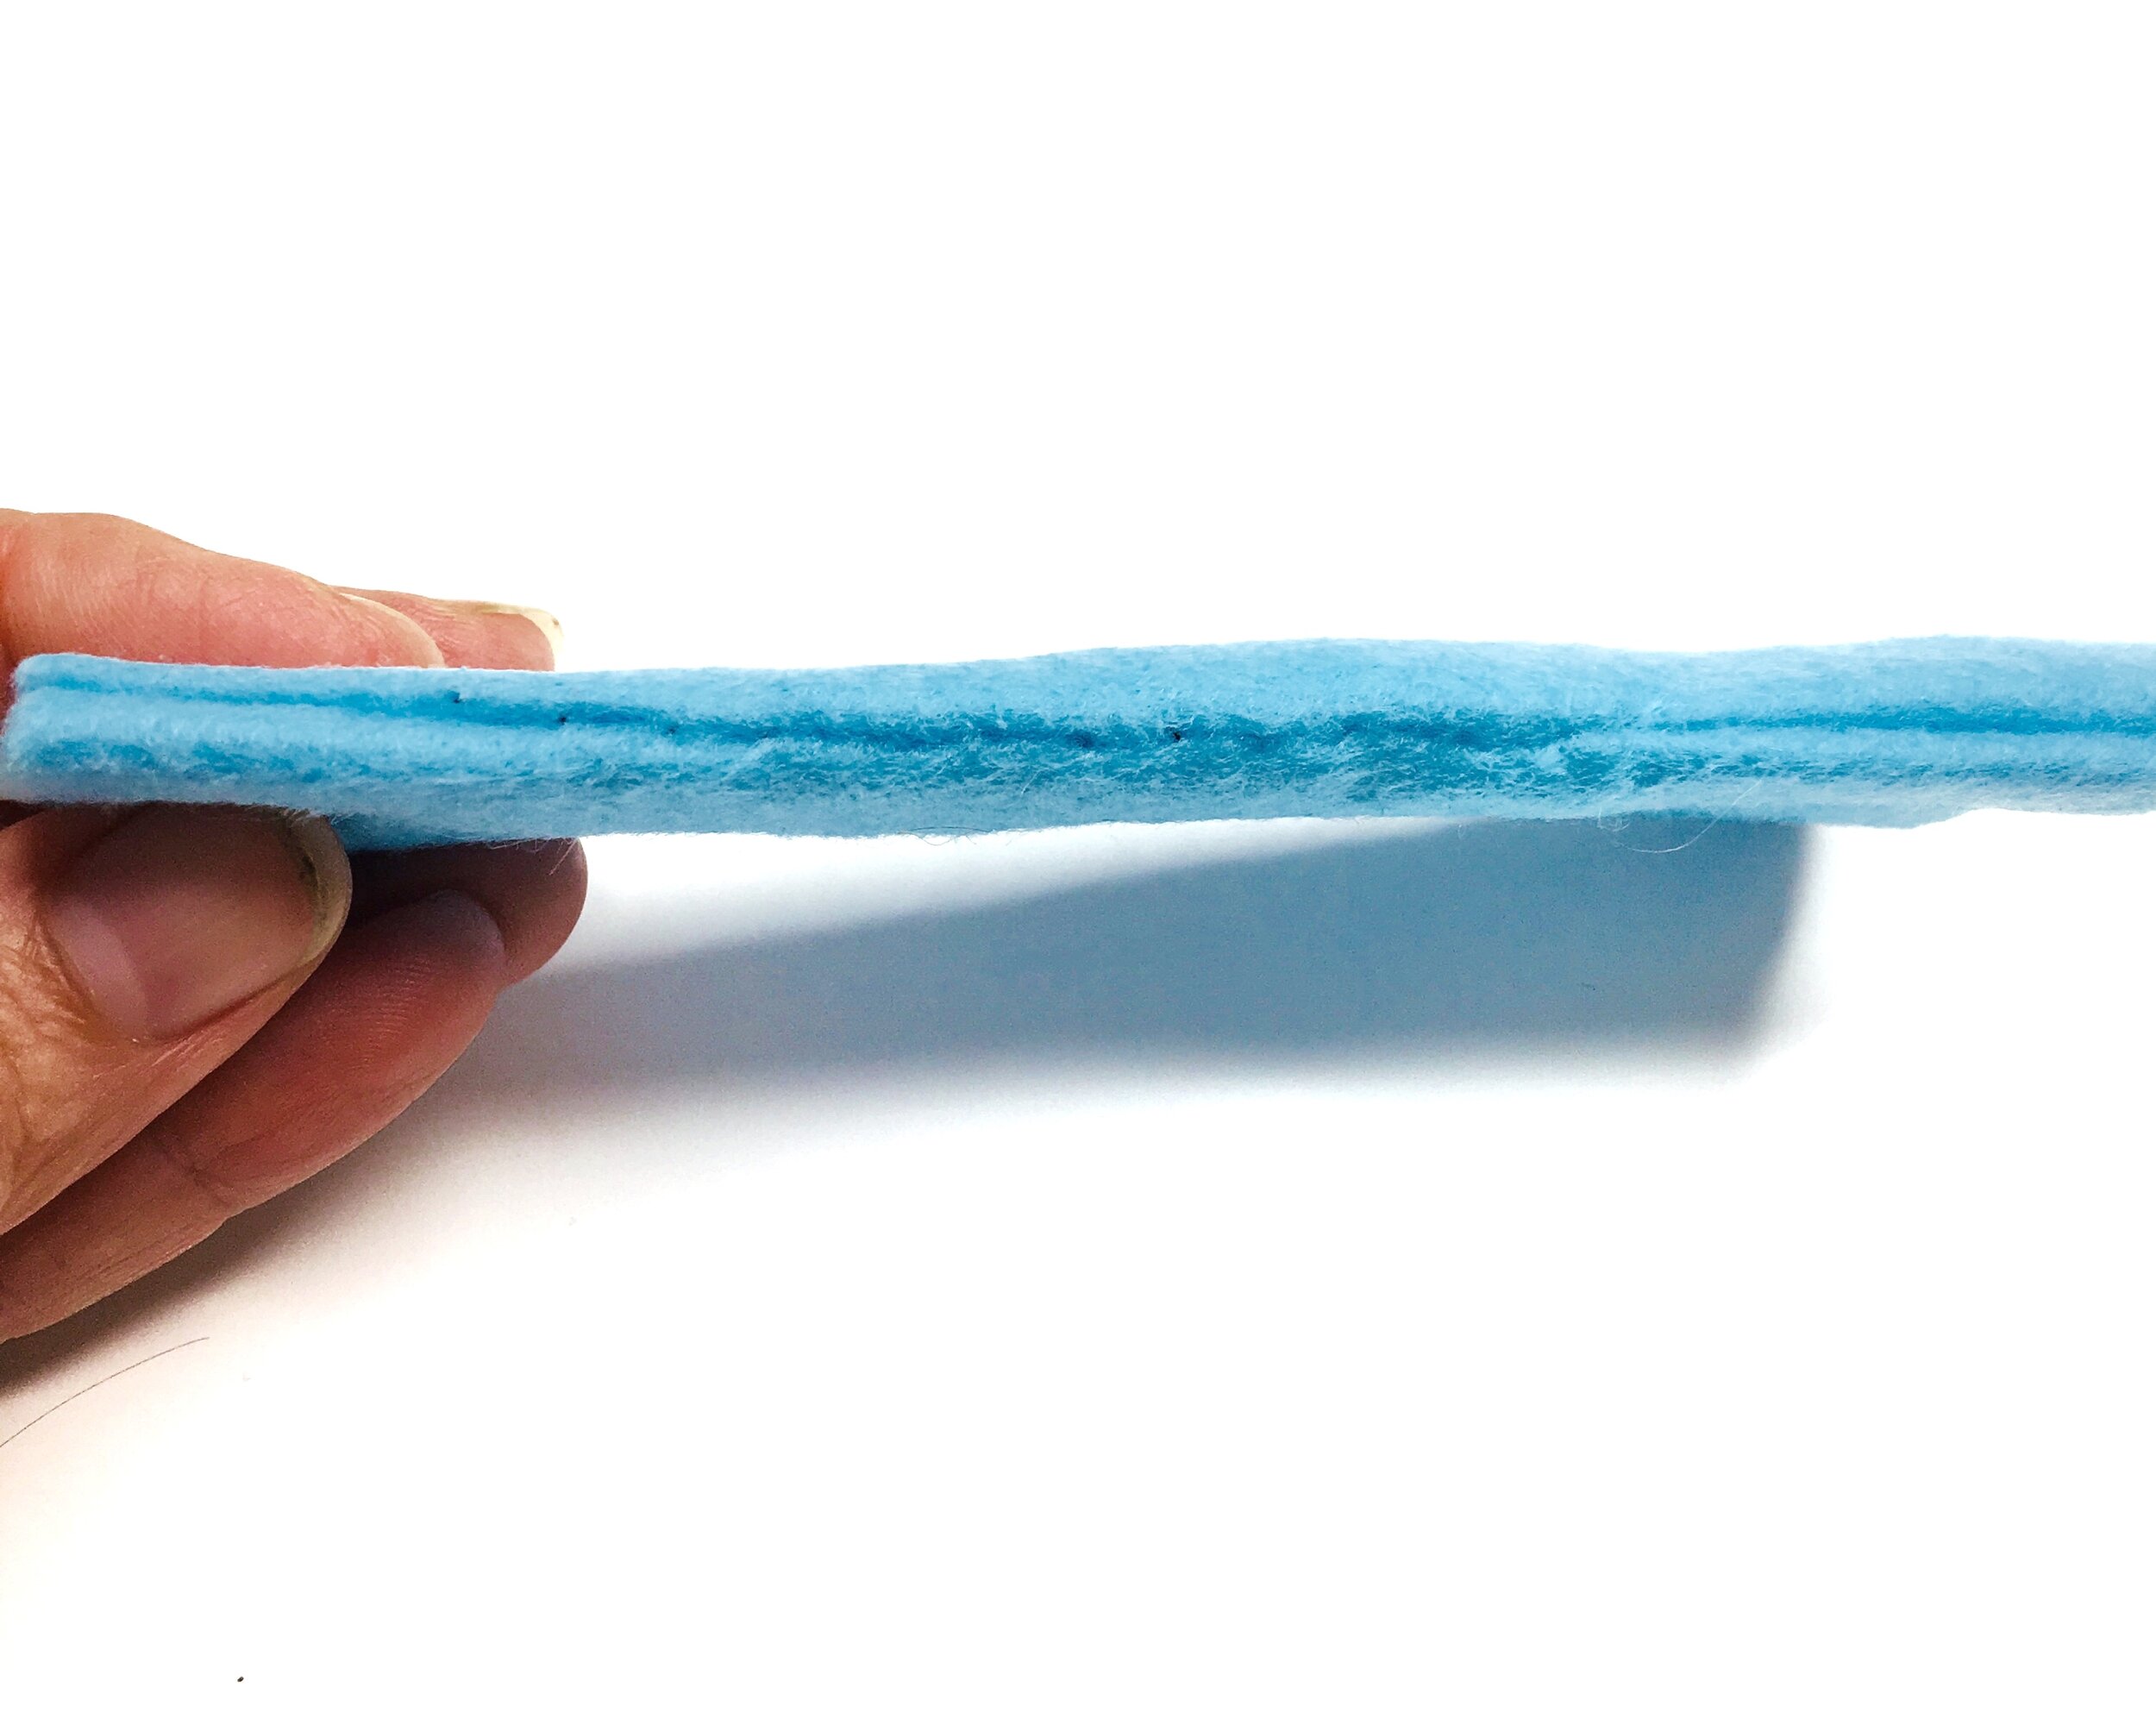
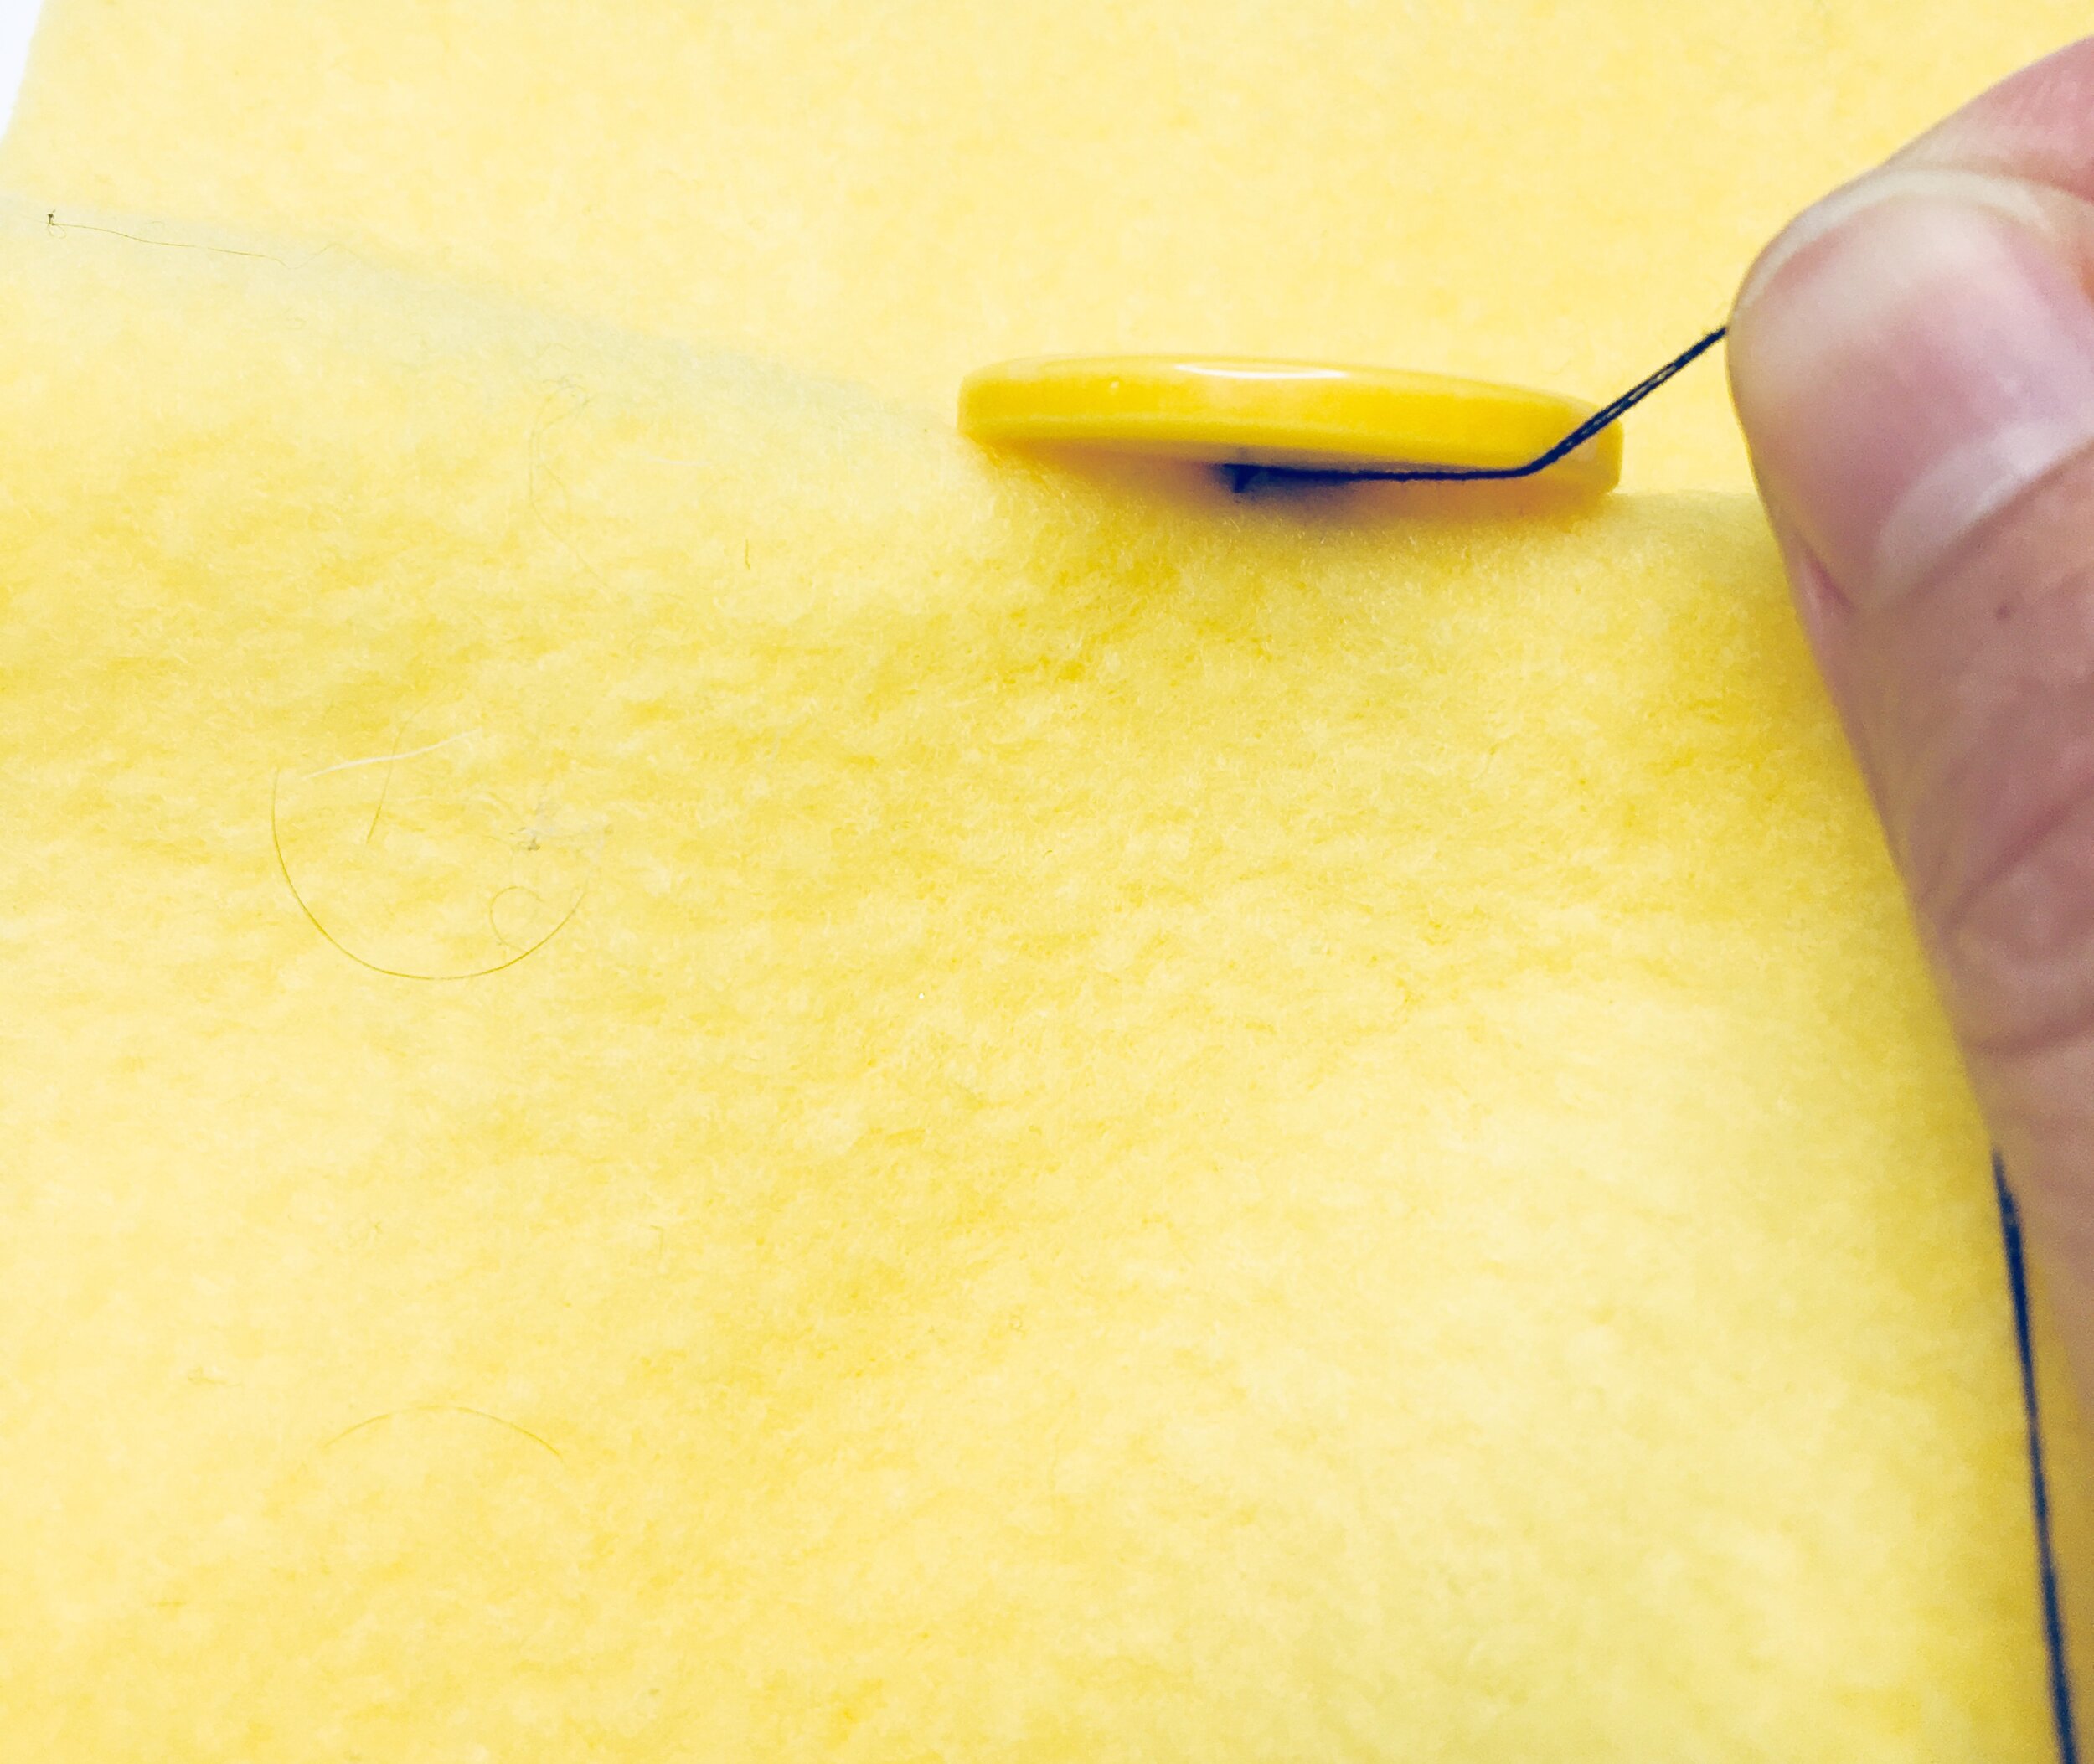
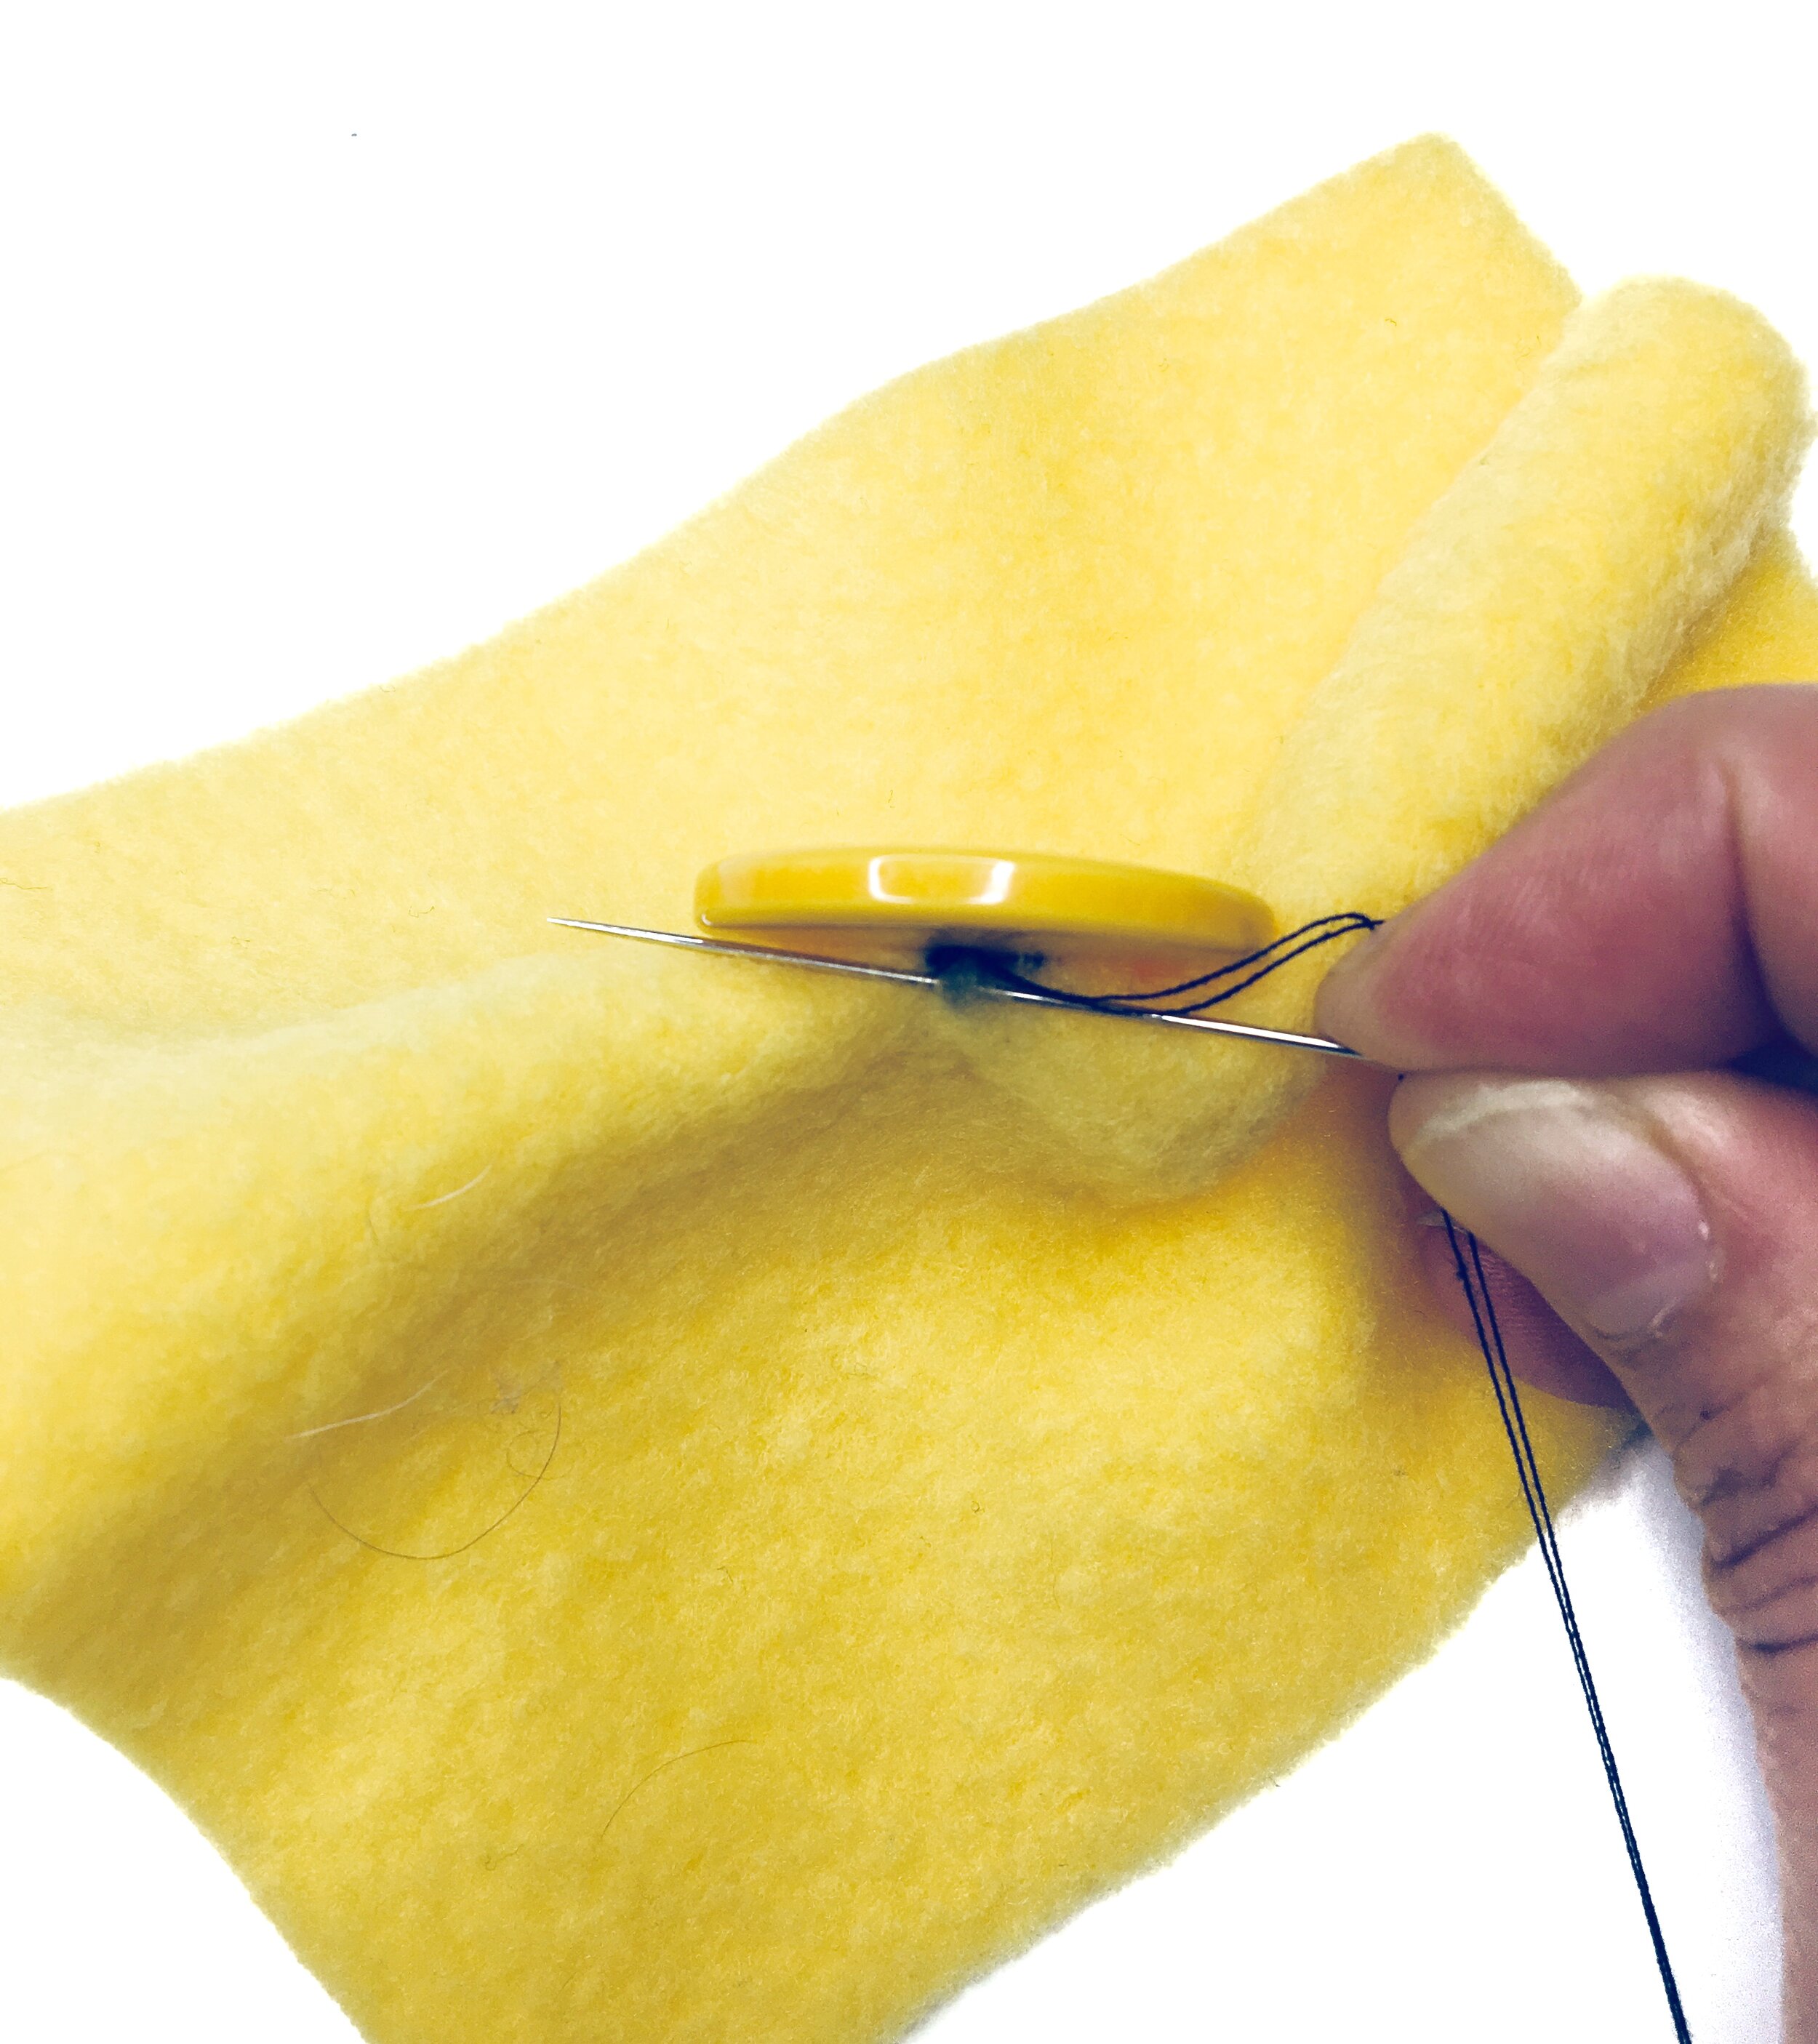
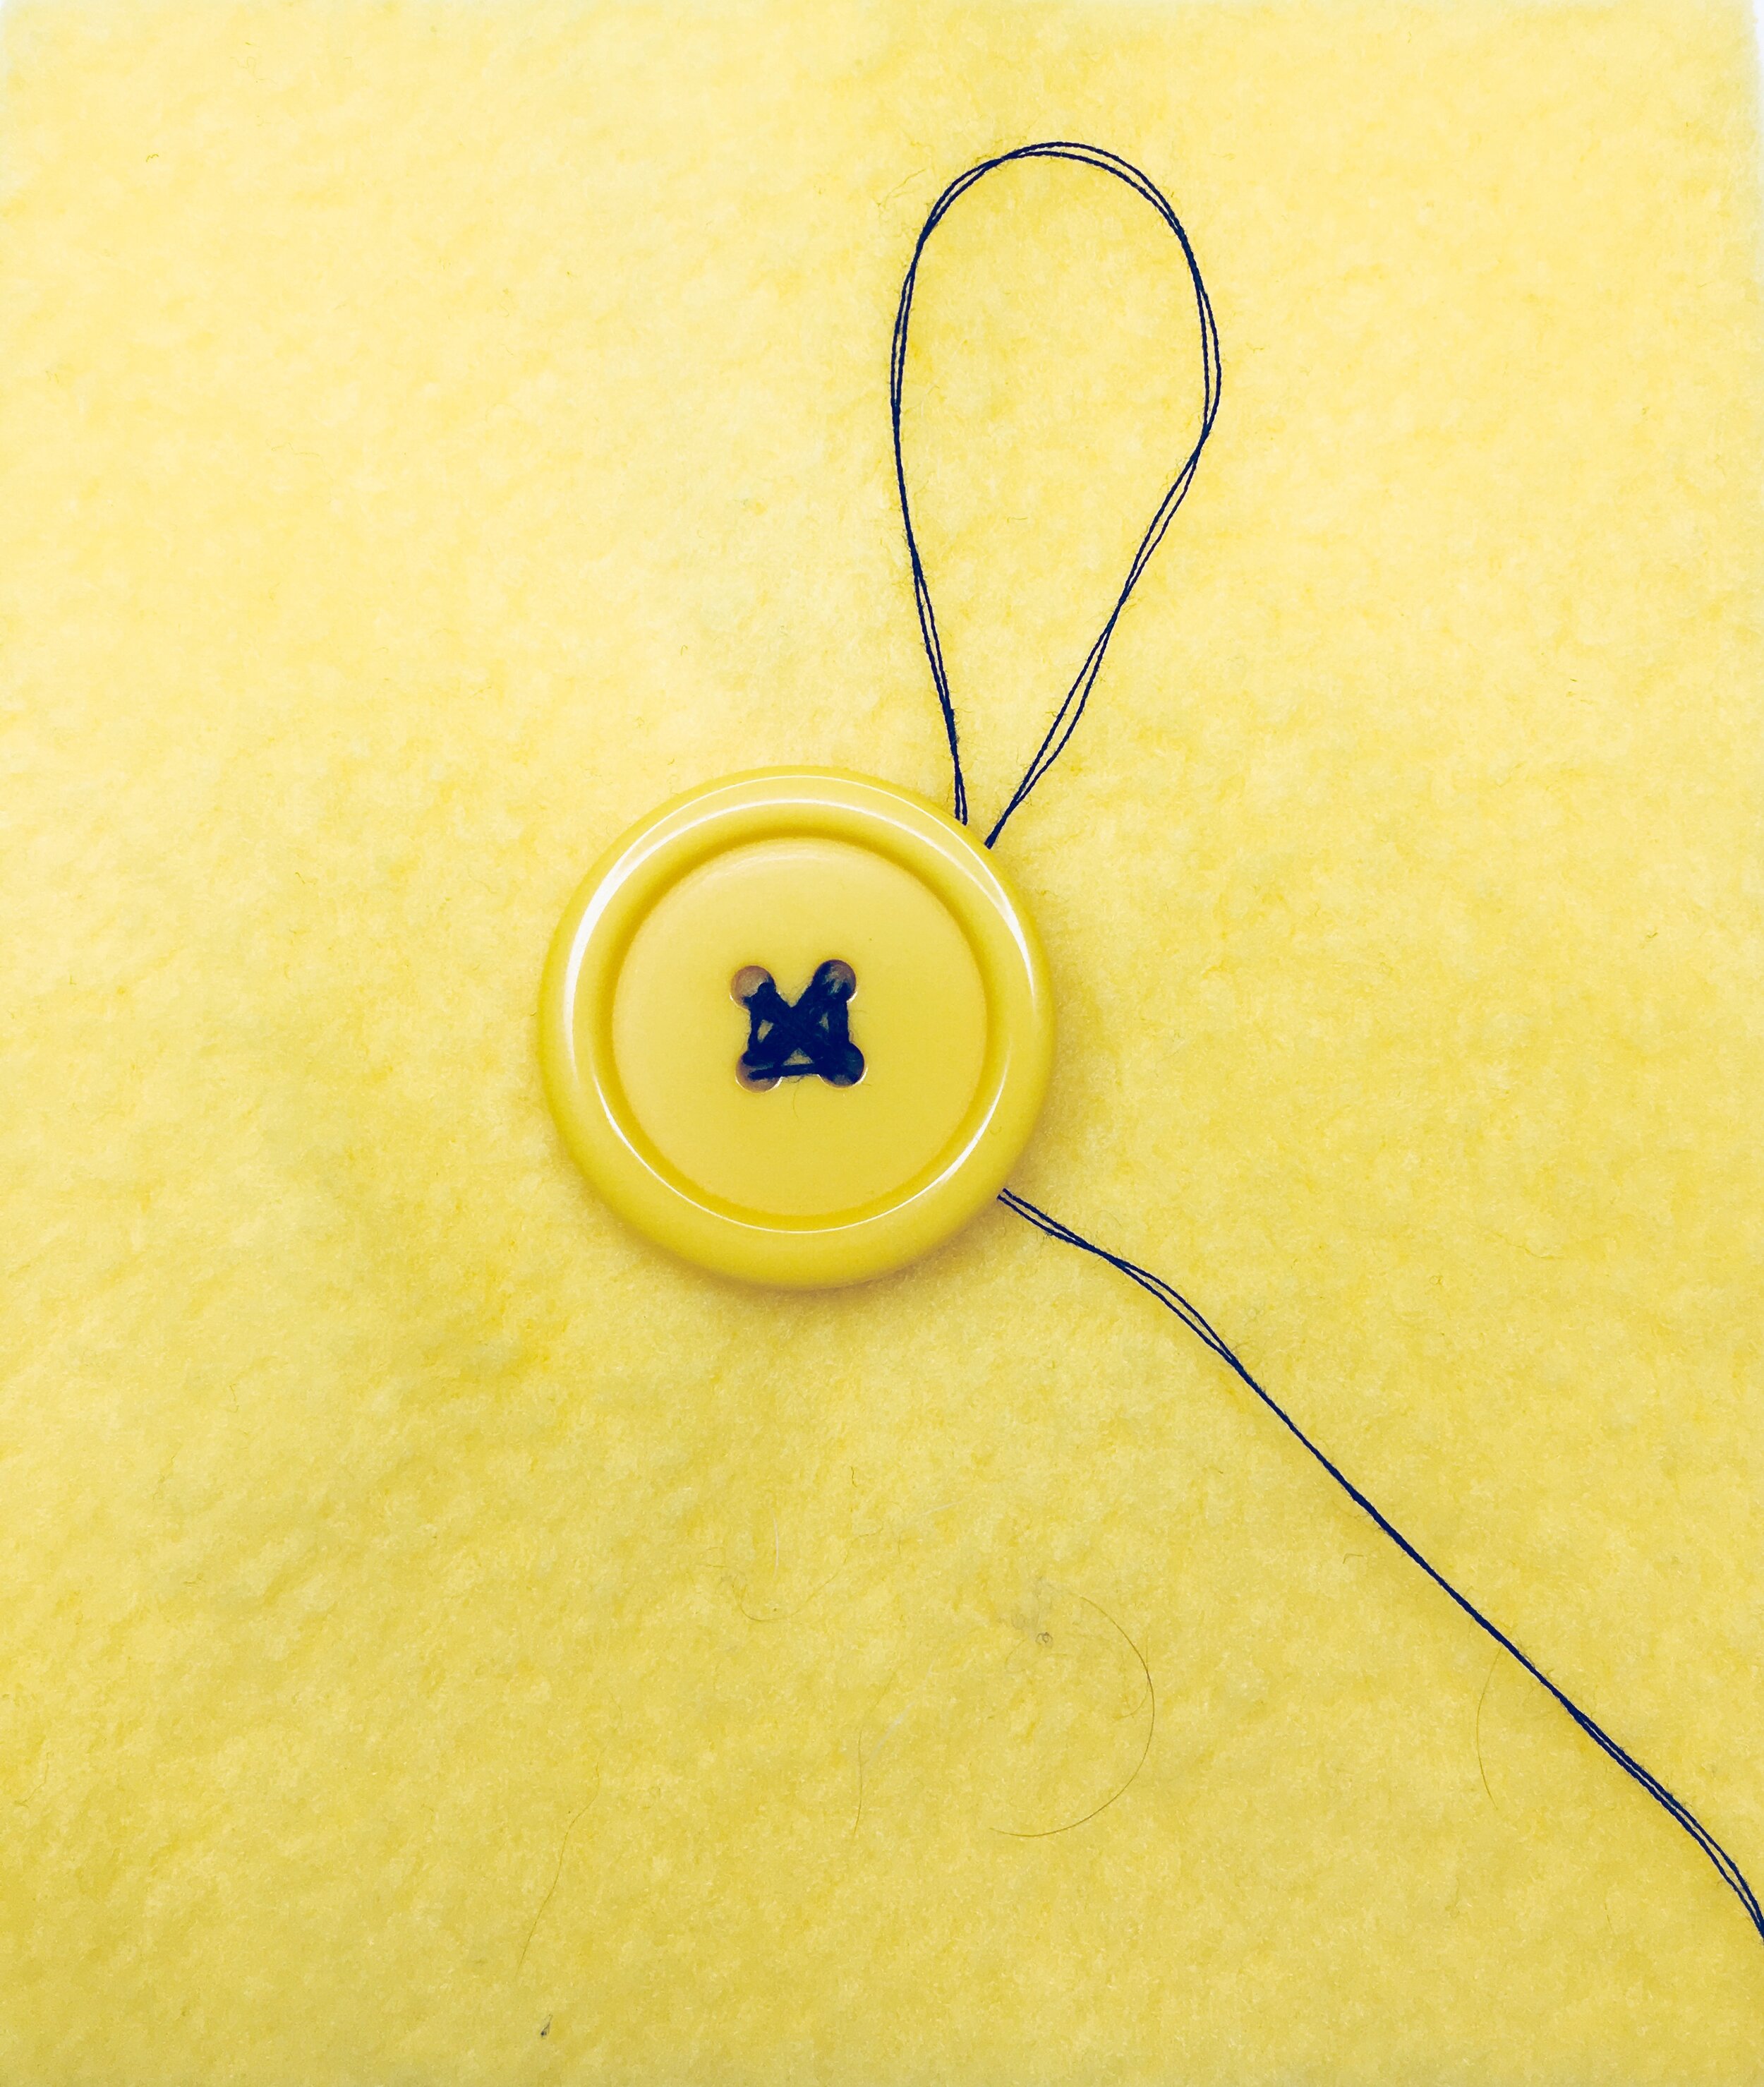
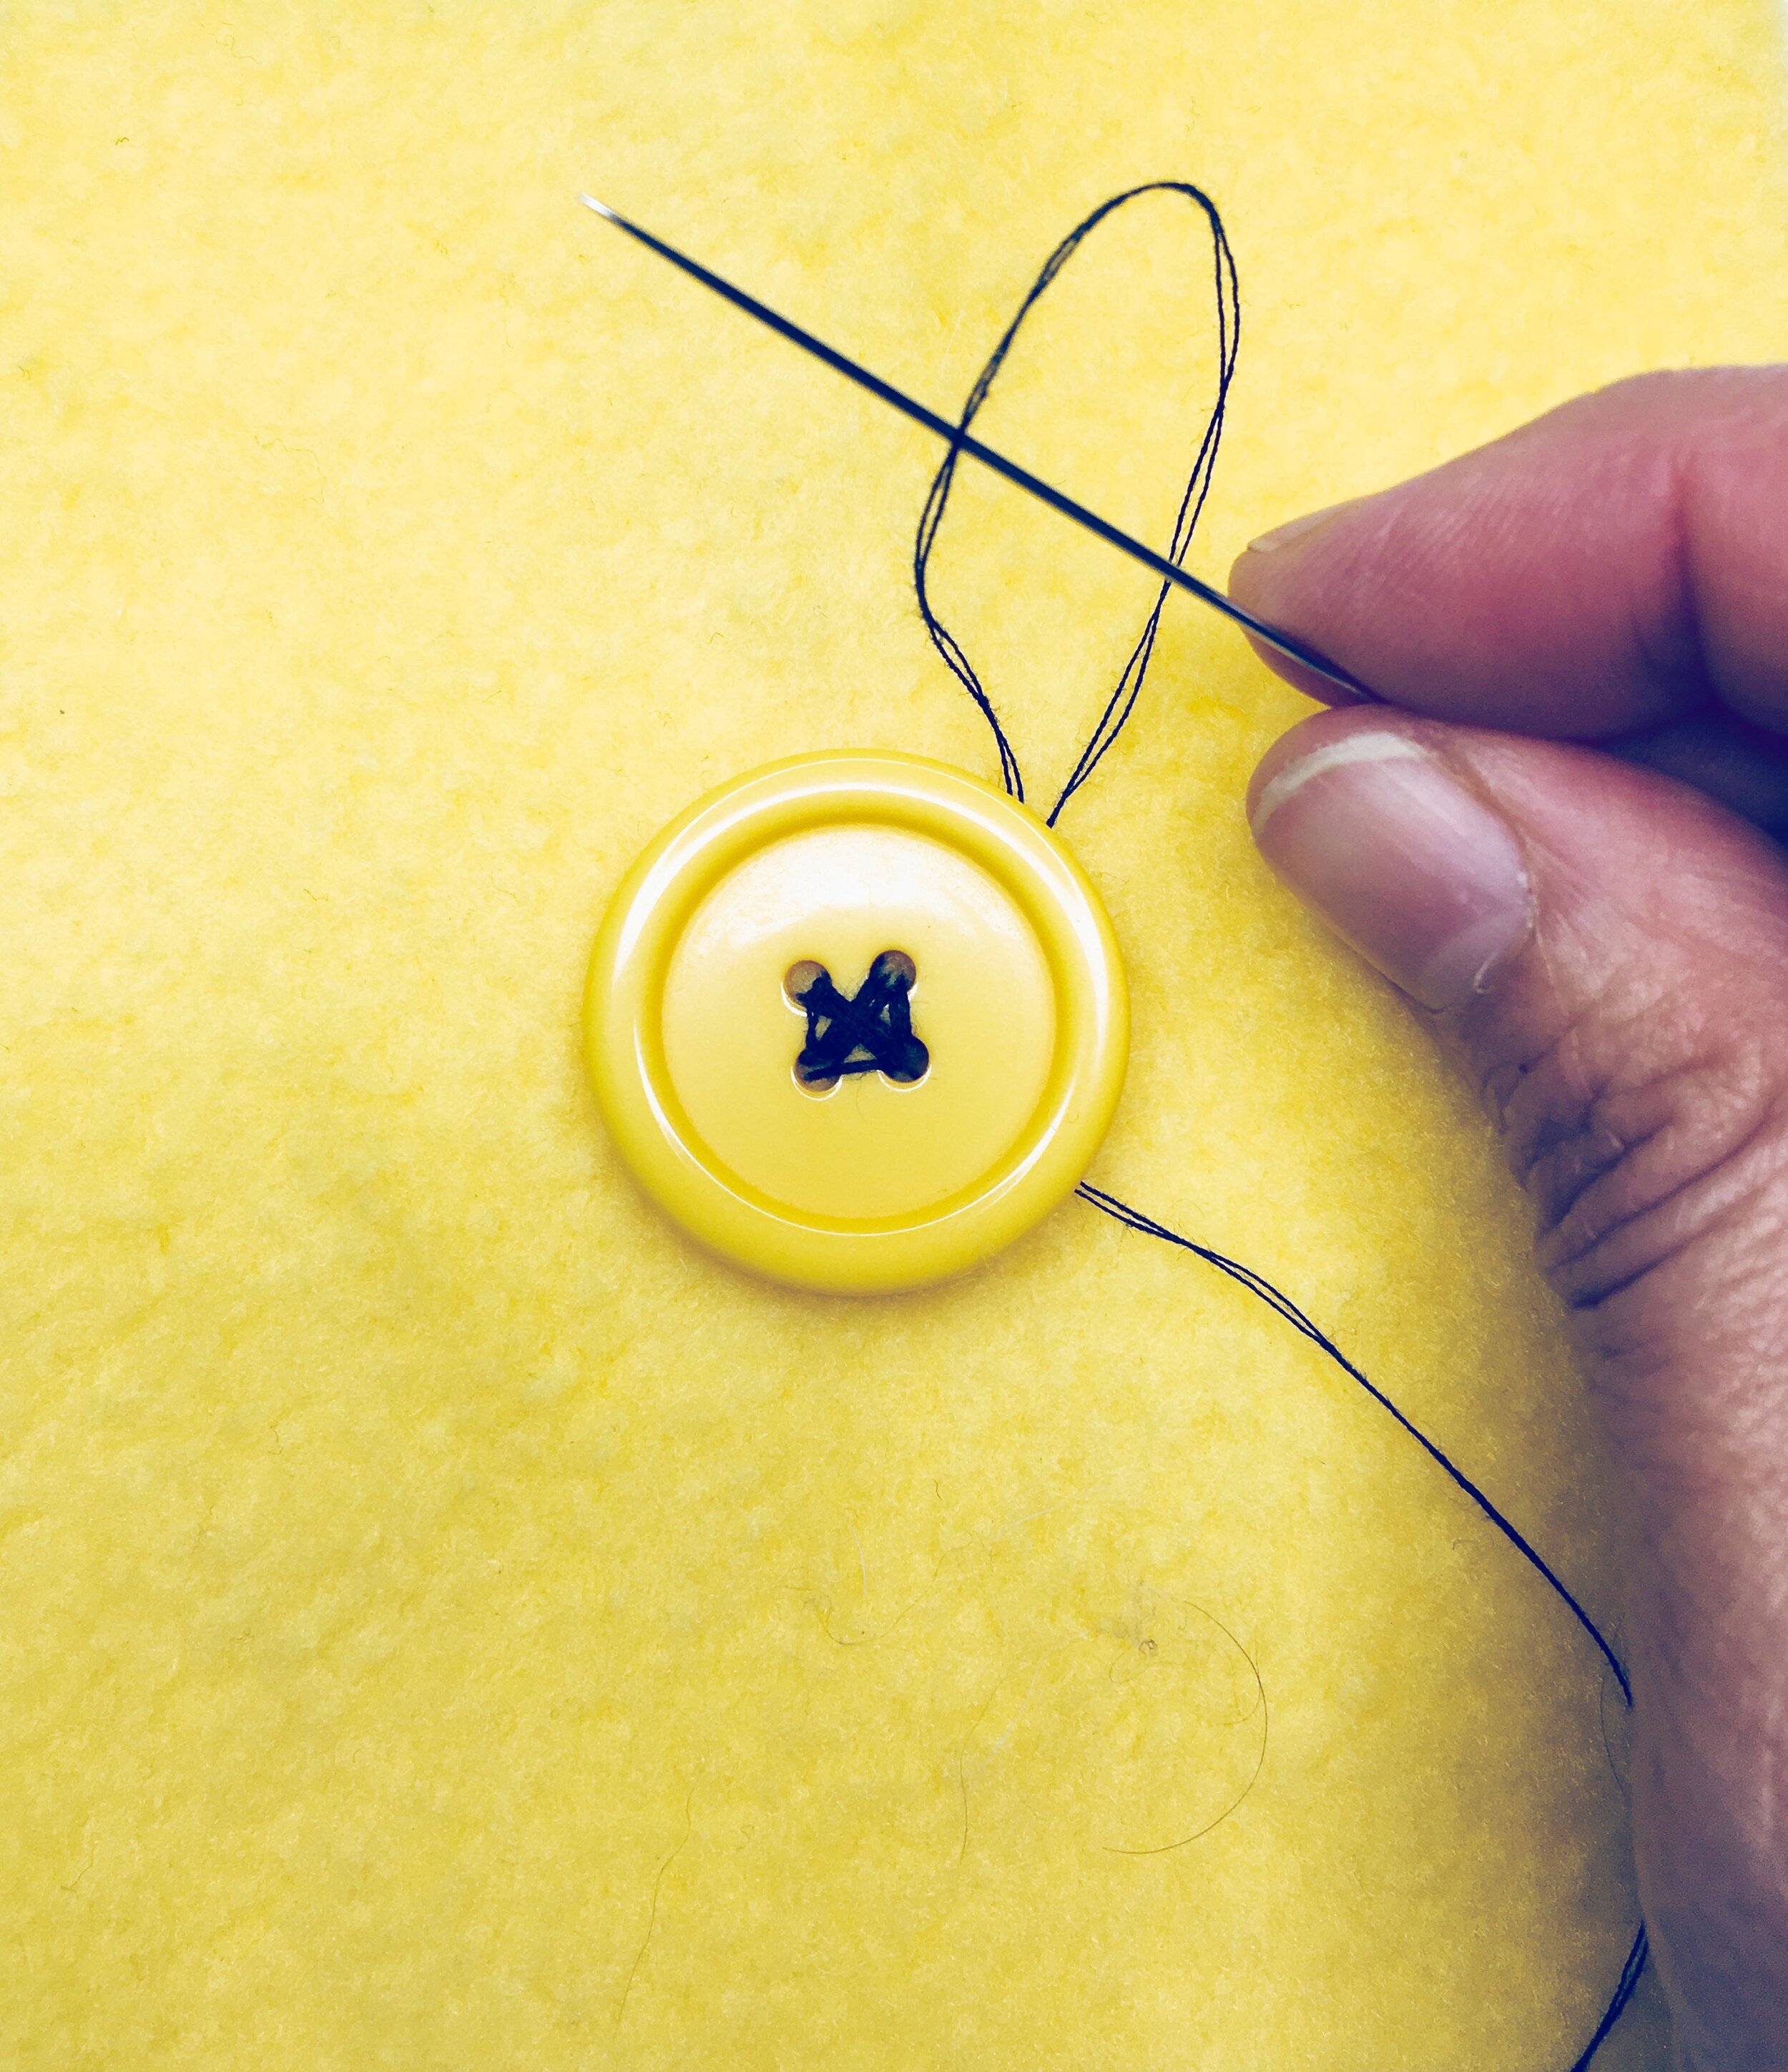
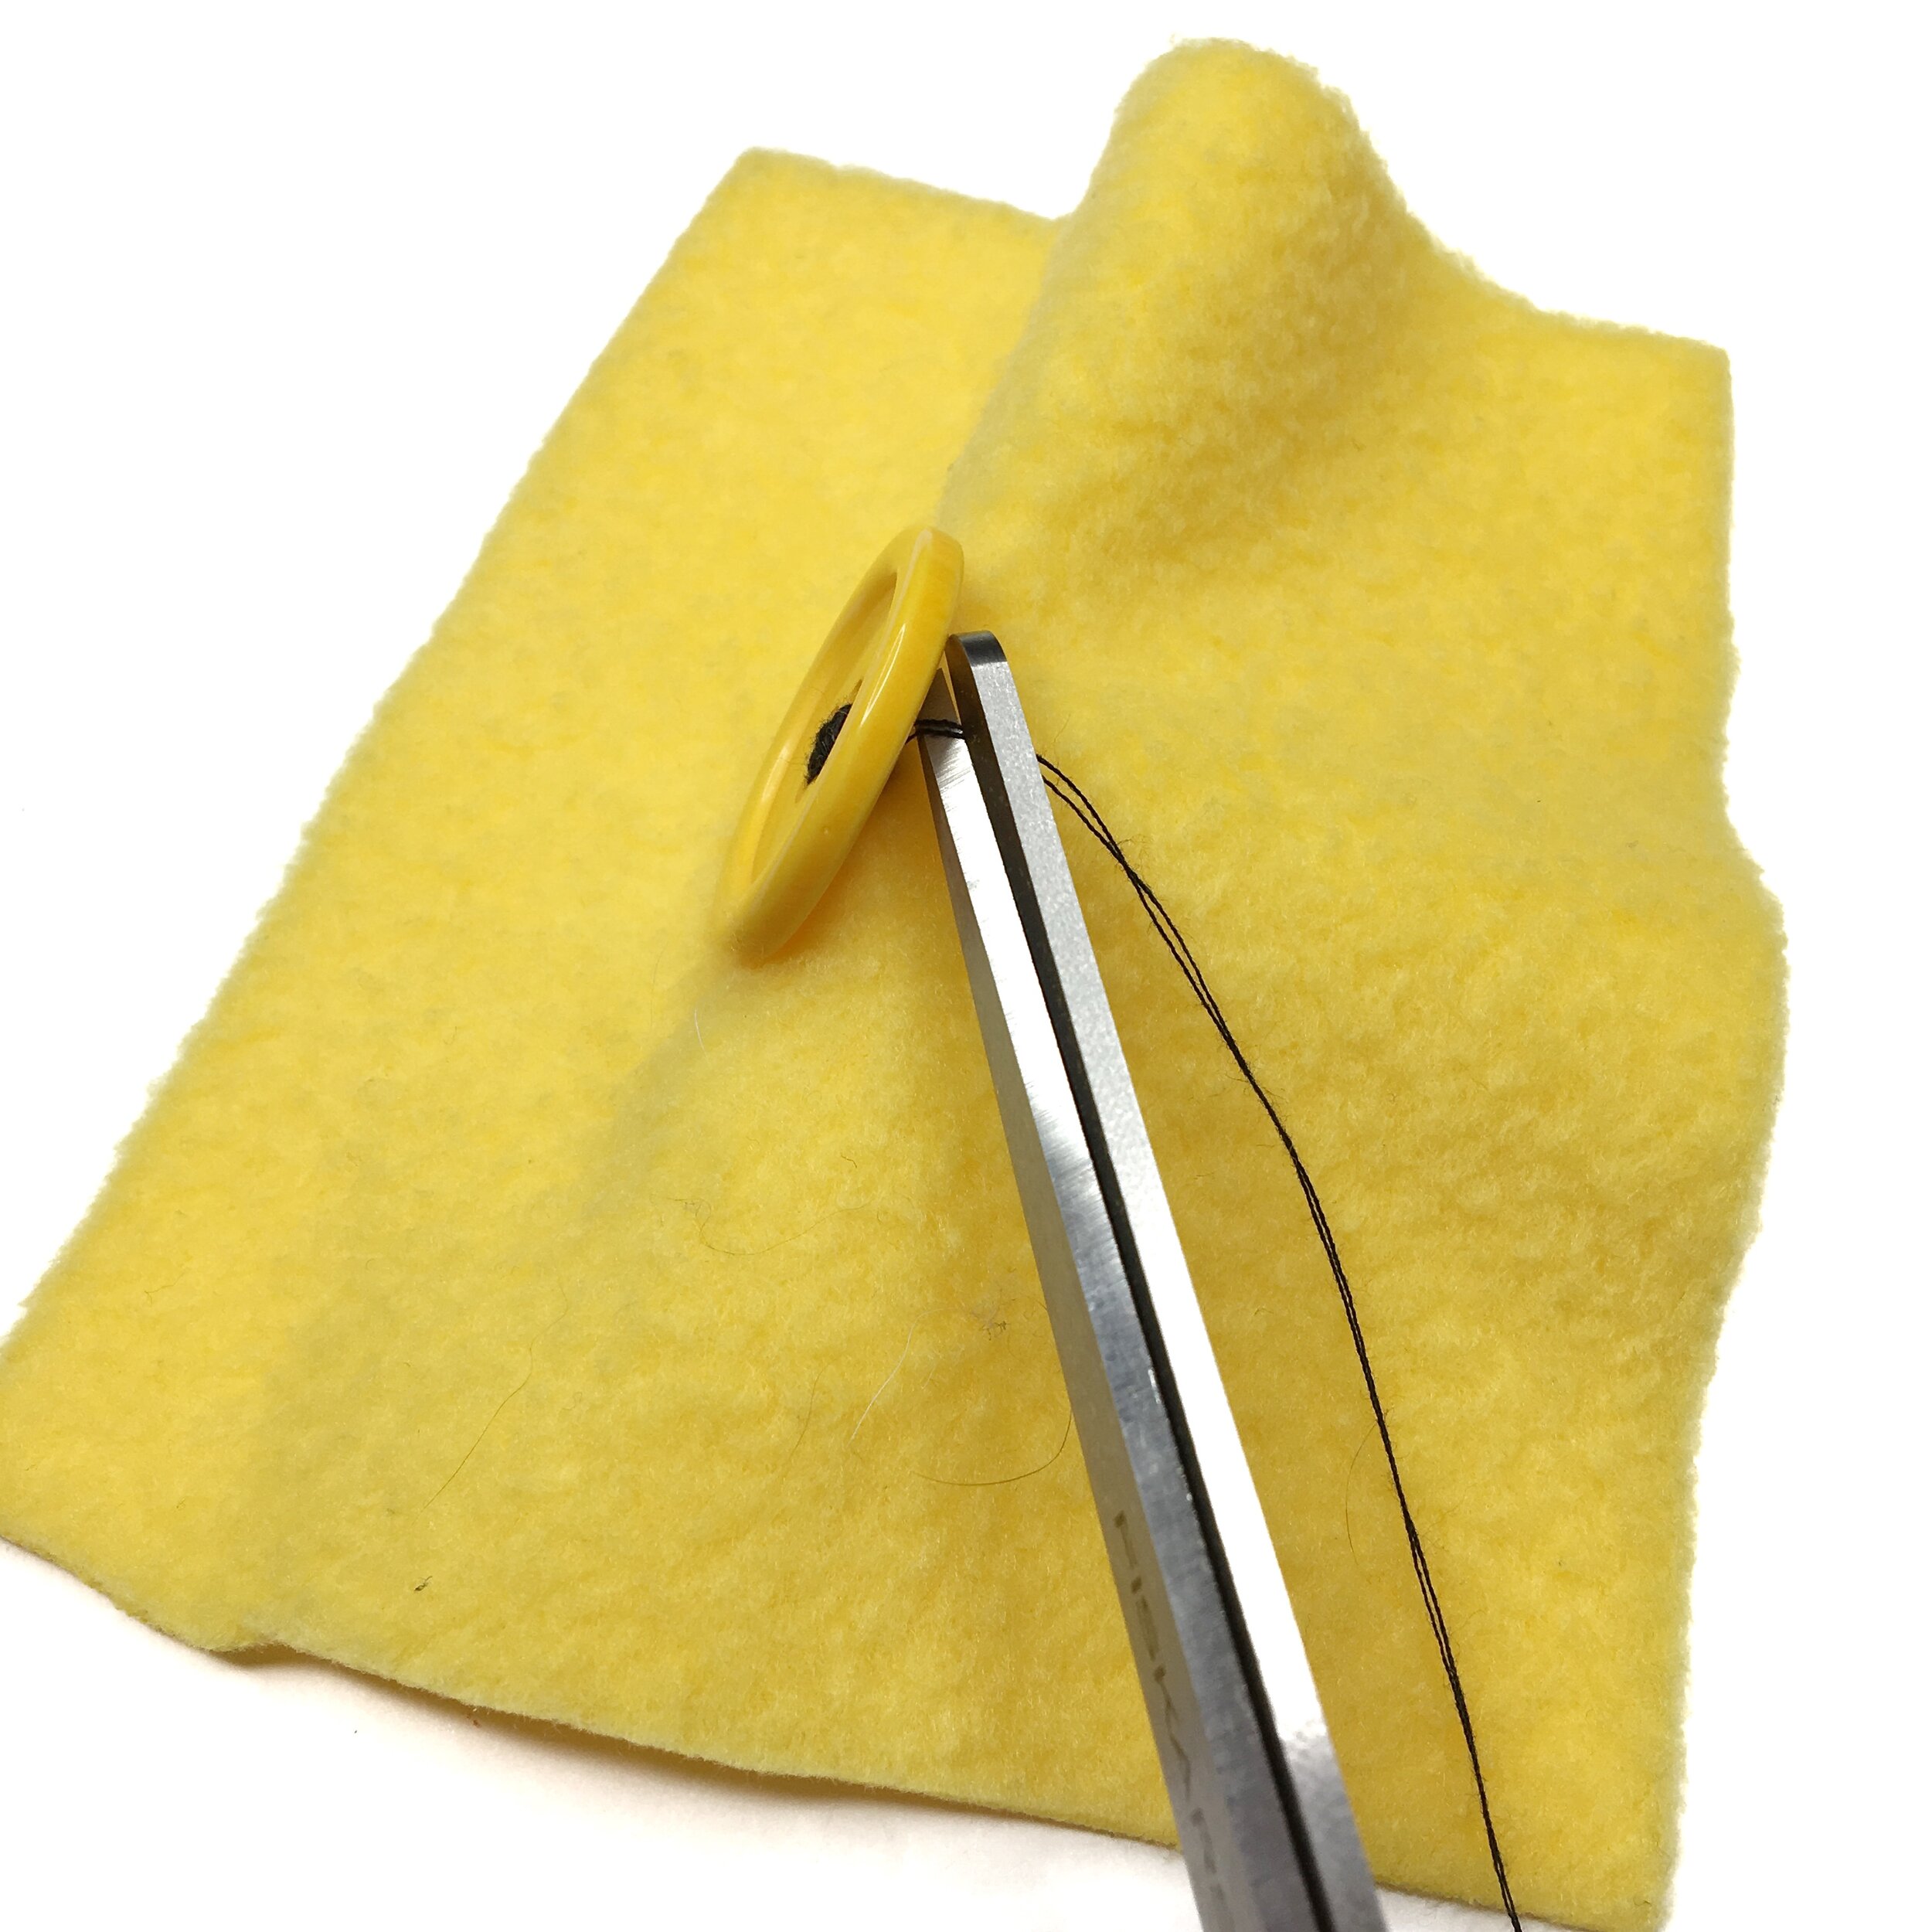
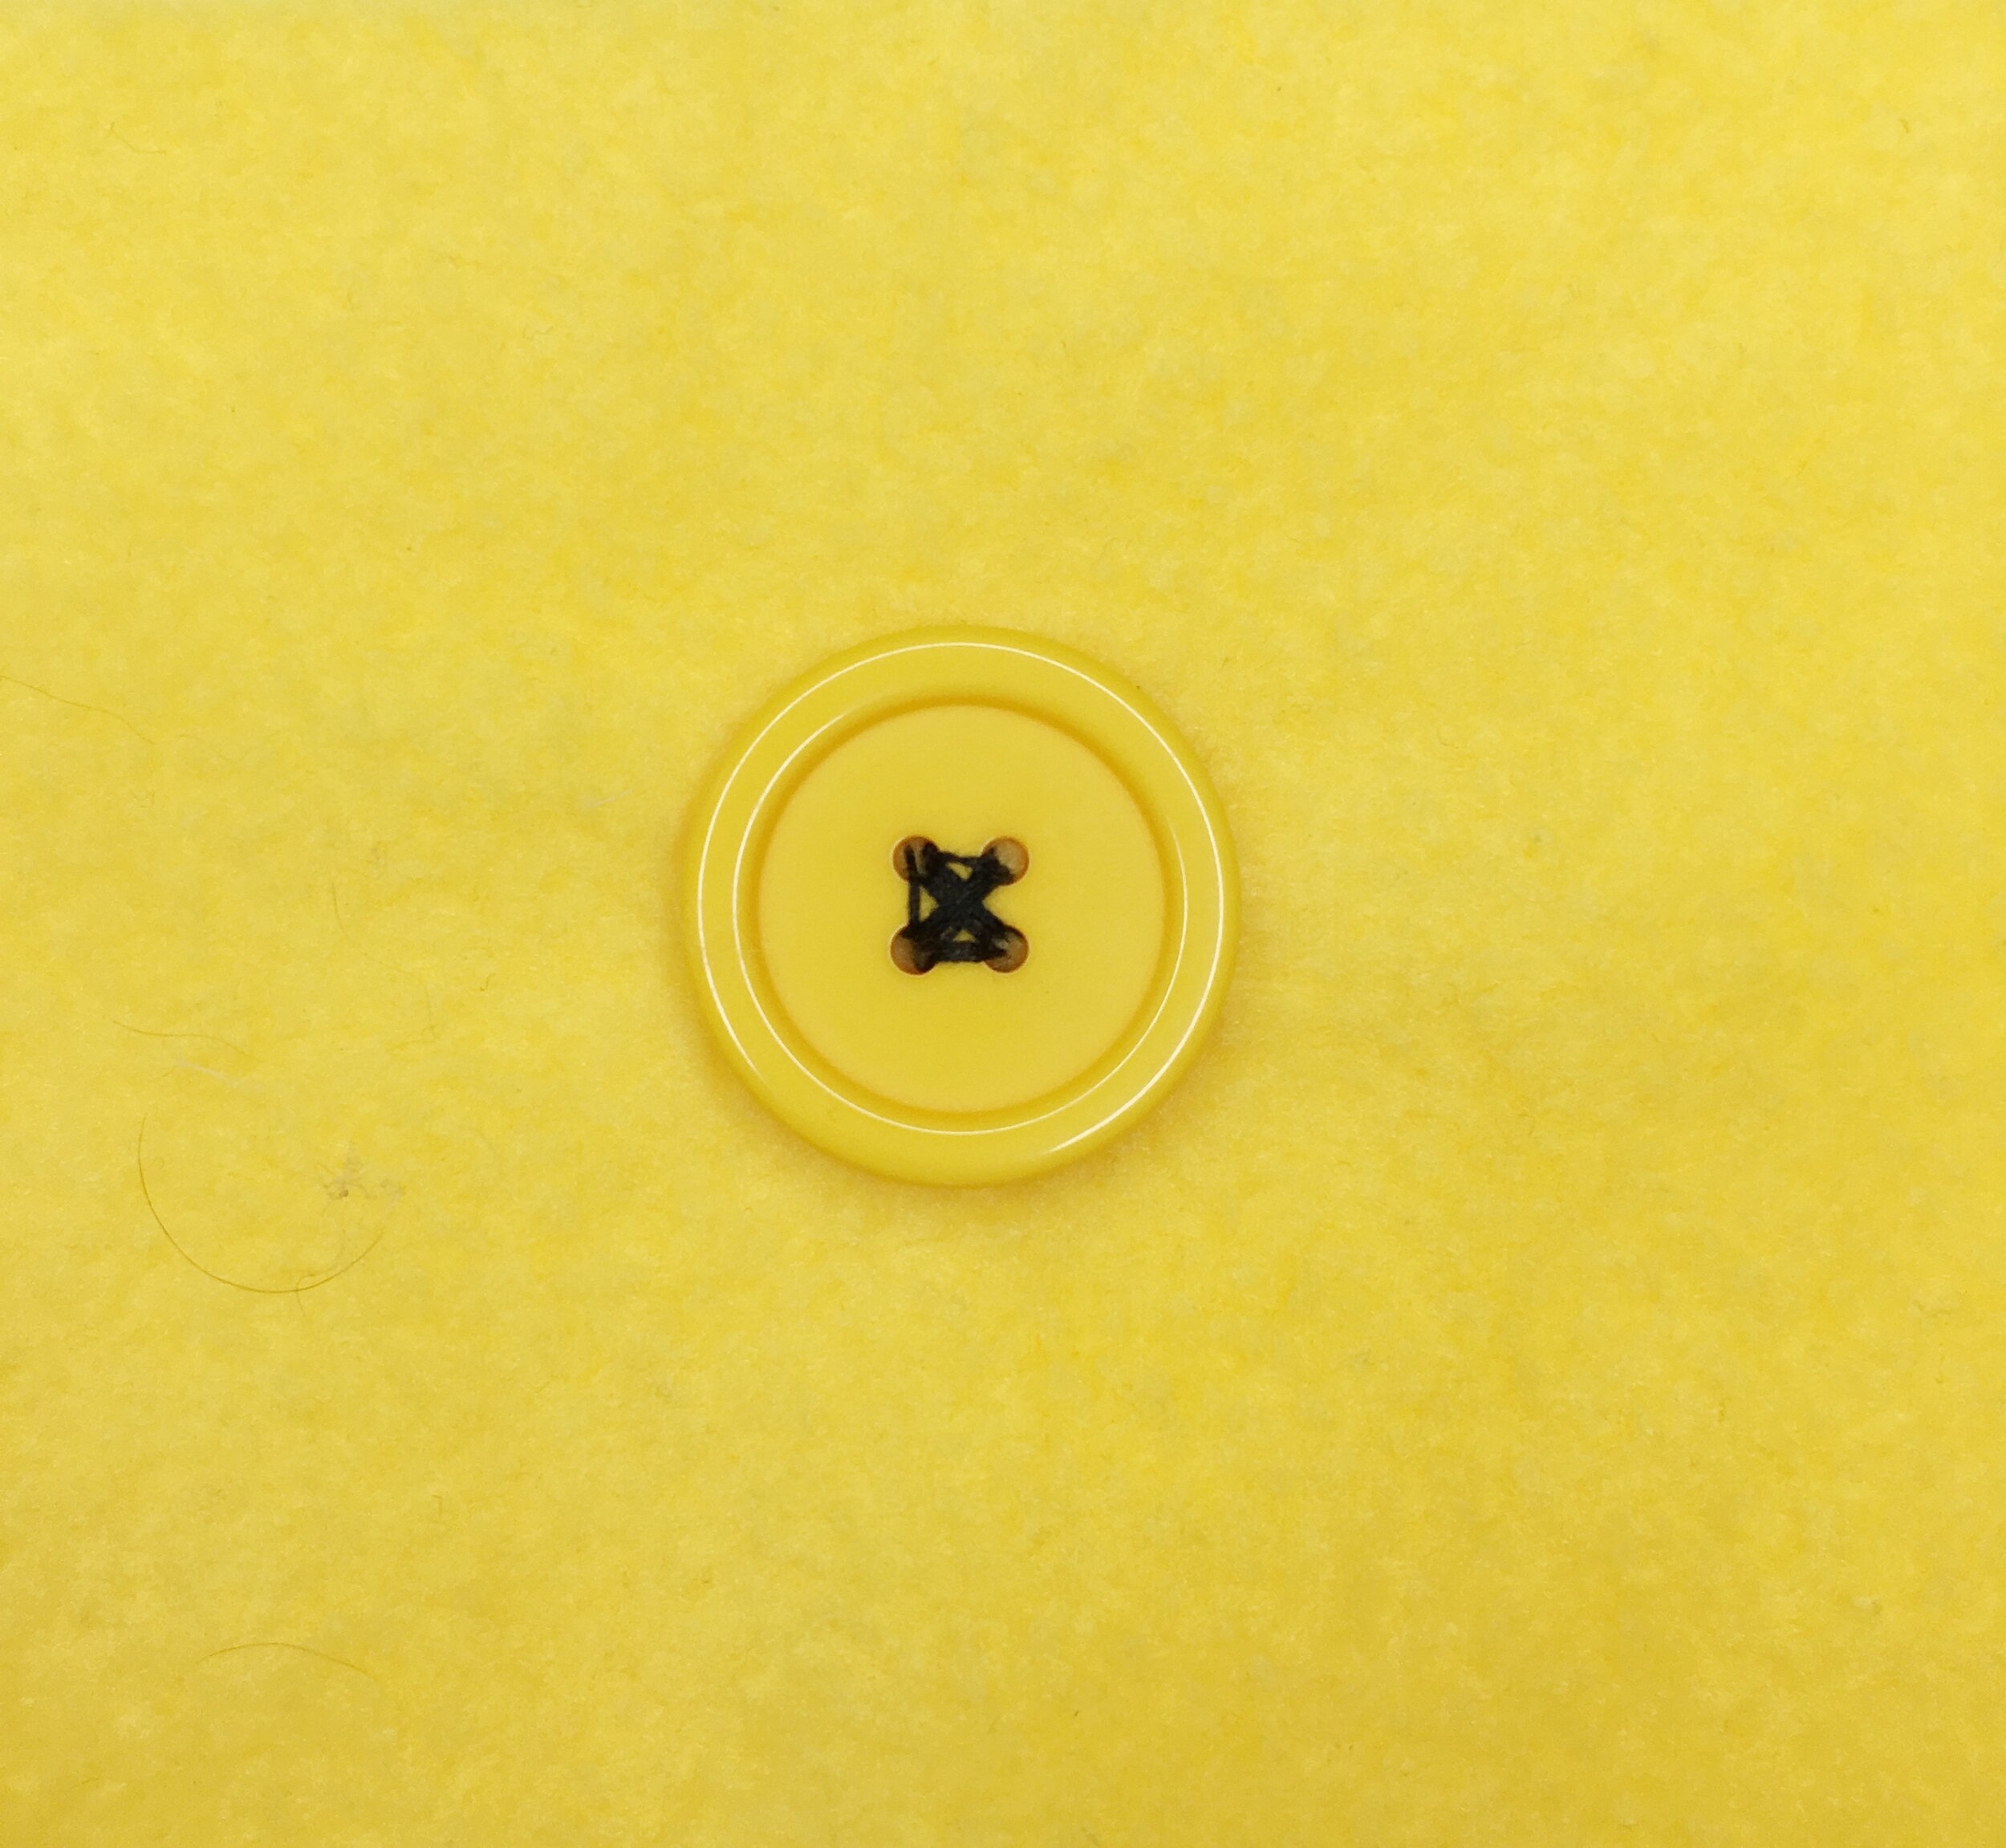
Flannel cotton and fleece fabric work best for soft toys because of their softness.  Here are some stores which carry an adorable selection of both.

Joann Fabric http://www.joann.com


Fabric.com
https://www.fabric.com/


Fabric Depot
https://www.fabricdepot.com/


Harts Fabric
http://www.hartsfabric.com/


Hobby Lobby
http://www.hobbylobby.com/Fabric-Sewing/Flannel-Fleece-Fabric/c/6-135

Michael's http://www.michaels.com/fabric/flannel-and-fleece-fabric/853466478


Walmart https://www.walmart.com/browse/party-occasions/fabric/2637_667479_4232946
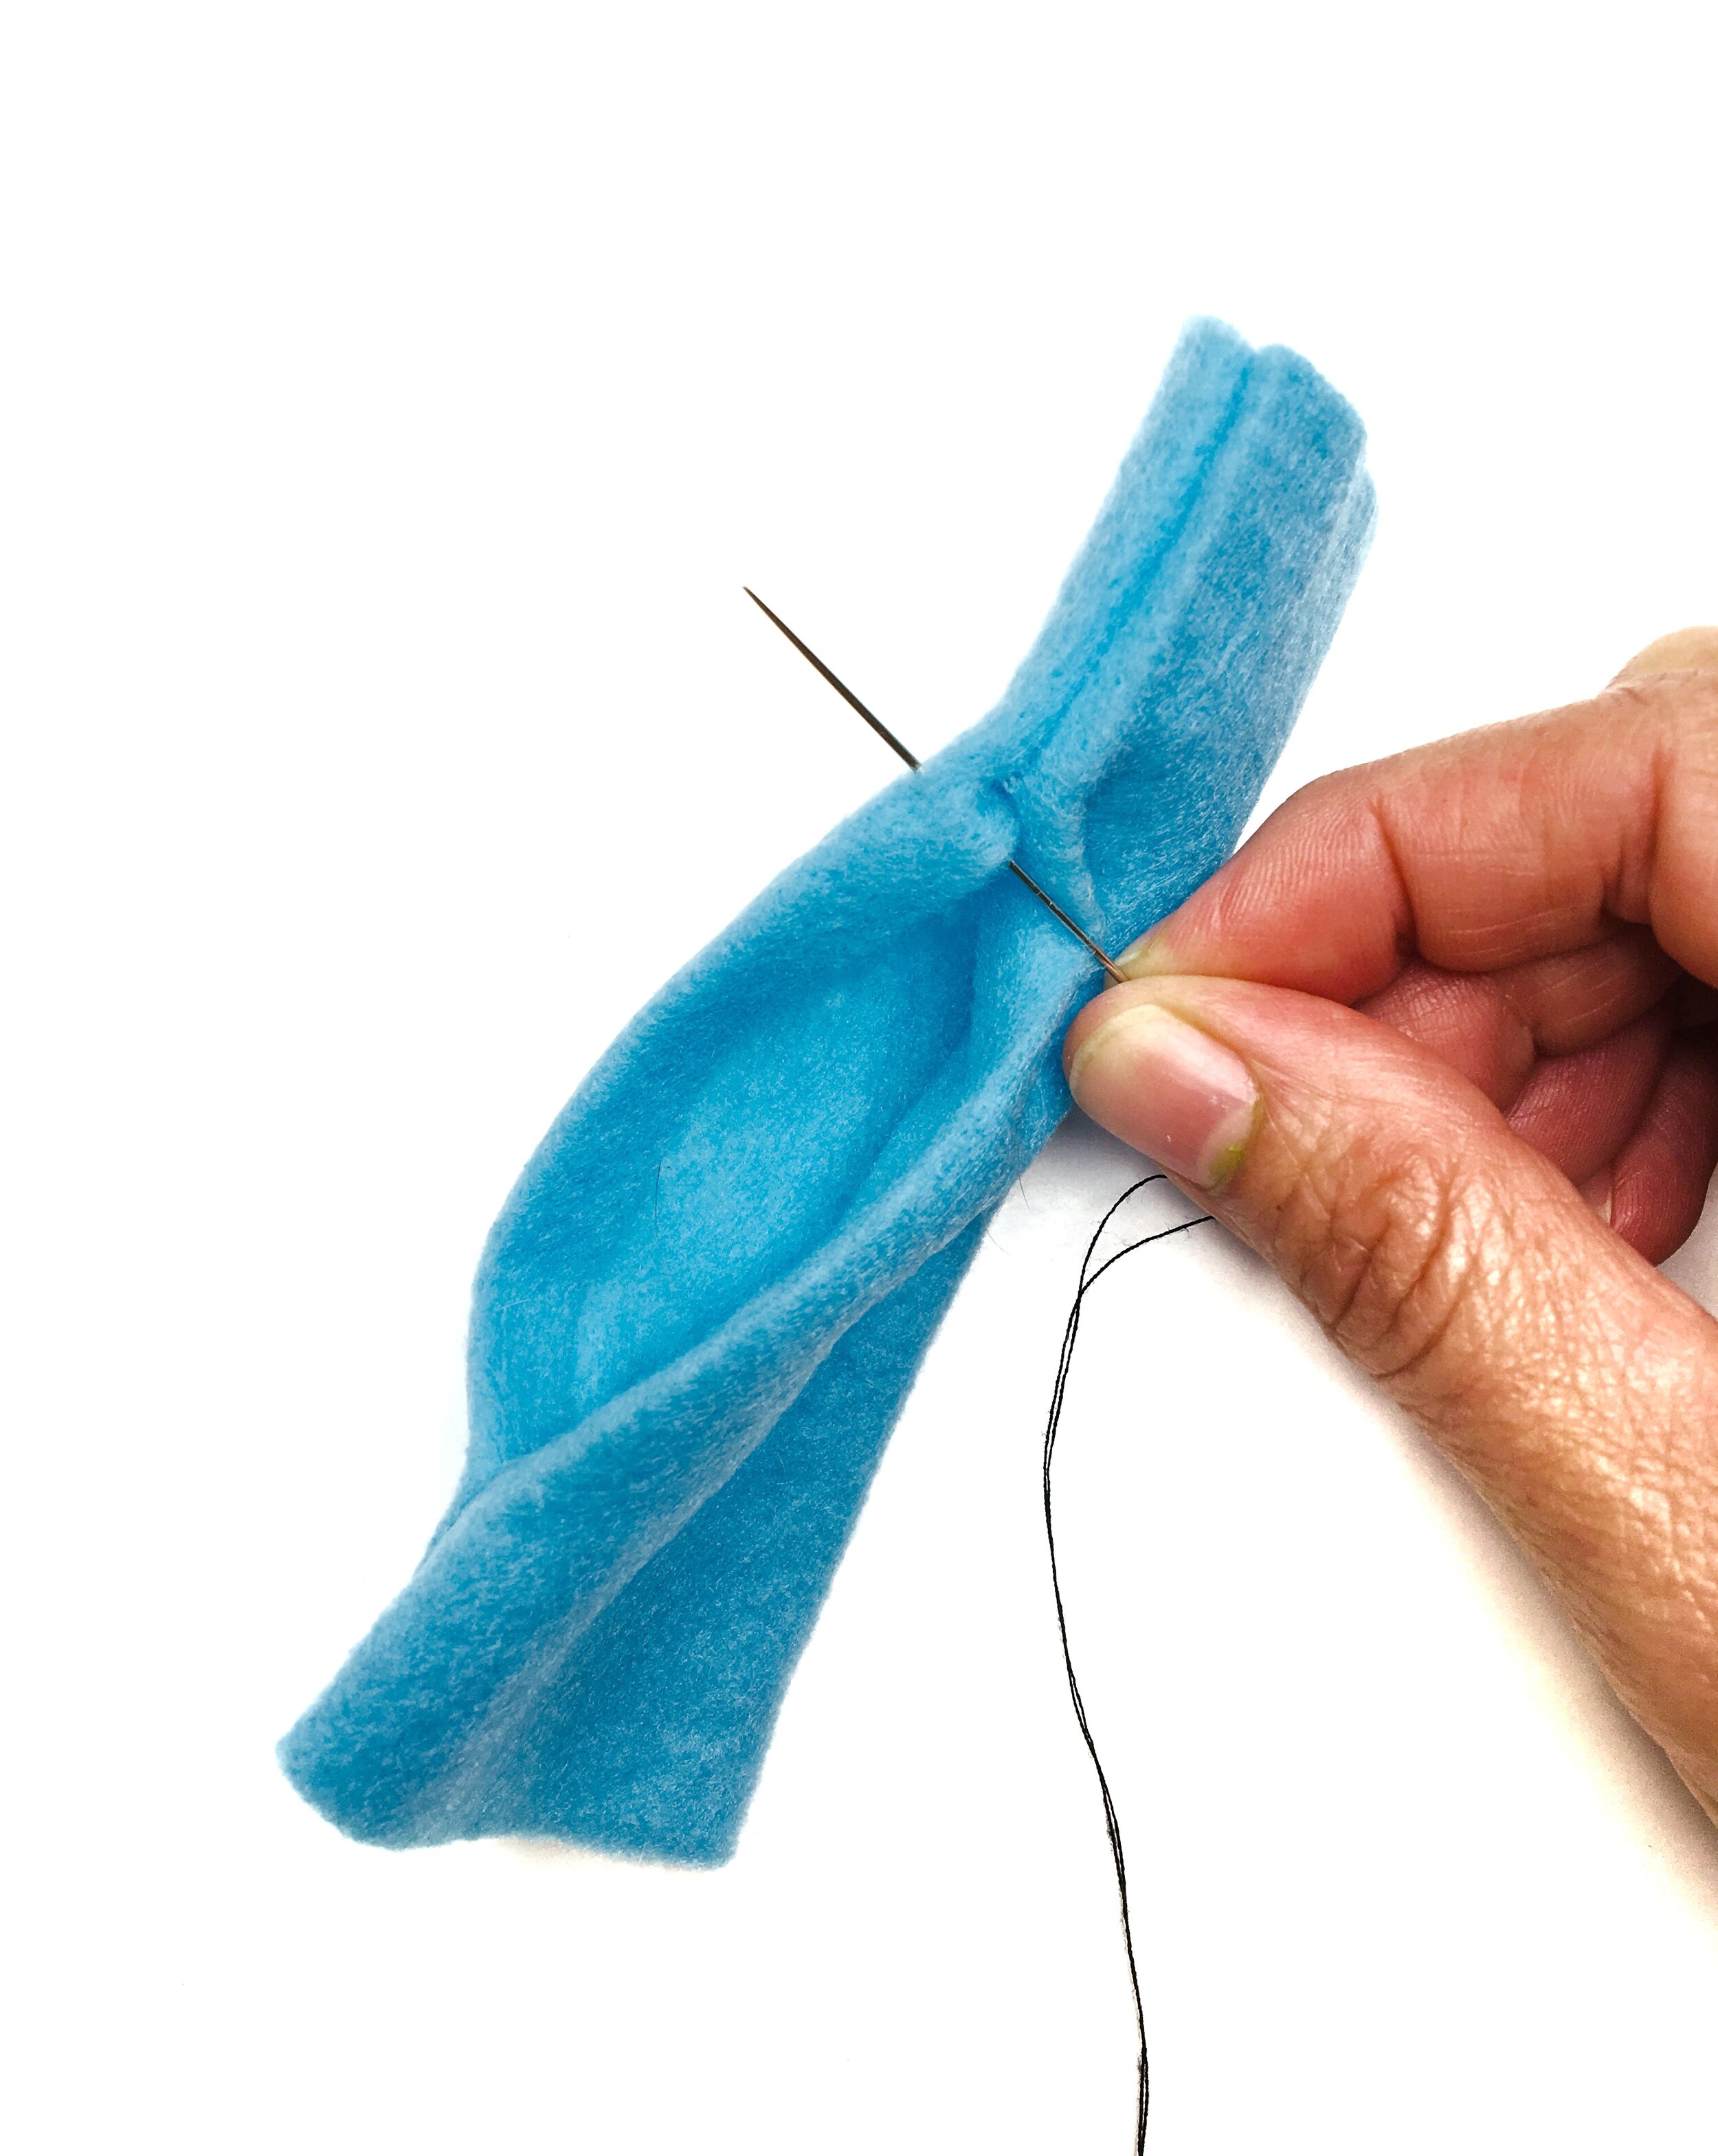
Starting and Finishing a Stitch

Sewing TutorialsDiana Cison

Sewing lesson:  starting and finishing a stitch

When you sew there is a starting and ending point.  Have you ever had the seam start to unravel or the thread come loose?  Stitching a few stitches backward when you start and finish the stitch will secure the beginning and end of your stitch to prevent this.

How to properly start and finish a stitch

Simply start your stitch about 1/2″ ahead of where you would normally start.  Then sew in reverse to the end of the fabric and sew forward as usual.  When you get to the end of the stitch, sew in reverse about 1/2″.

starting and finishing a stitch.jpg


Seams

Sewing TutorialsDiana Cison

What is a seam?  

A seam is the "line" where two or more layers of fabric are held together with stitches.  Sew cute pattern always have a plain seam.  This is the most common type of machine-sewn seam.  It joins two pieces of fabric together face-to-face by sewing through both pieces, leaving a seam allowance.

Some patterns will have a seam allowance built into the pattern page, some won't.  If the pattern tells you to cut the pattern leaving a 1/4" seam, you will cut leaving about 1/4" of fabric after the pattern ends.

seam allowance.png

How to Sew a Button

Sewing TutorialsDiana Cison

How to Sew a Button

Supplies:

  • Fabric

  • Button

  • Small scissors

  • Thread

  • Hand sewing needle

  • Marking tool or pencil

JOANN Stores

Step 1:

Thread the needle by looping the thread through the eye of the needle, then cutting at the end so there are two lengths of thread. Knot the ends of the two threads together.

Step 2:

Using a marking tool or pencil, mark the spot on the right side of the fabric where the button is to be sewn.

Step 3:

Insert the needle into the right side of the fabric at the mark. Do not insert to the wrong side of the fabric, rather go in and out at the dot so you remain on the right side of the fabric.

Your knot and thread and needle should all the on the right side of the fabric.

STEP 4:

Insert the needle into the button, passing from the underside up through the button.

STEP 5:

Place the button on the spot it is to go, then insert the needle into the opposite hole on the button. Sink the needle directly next to the thread hiding under the needle and pass through to the underside. Continue going through all of the eyes of the needle from side to side, and from the right side of the fabric to the wrong side of the fabric until the button is secure.

STEP 6:

Once the button is sewn tight, pass up through the eye of the button so your needle and thread are on the right side of the fabric. Insert the needle into the other eye of the button, only going through the button and not through the fabric.

The thread should now be coming out from under the button as pictured:

STEP 7:

Insert the needle into the fabric, directly under the button.

STEP 8:

Pull the threads, leaving a loop of thread.

STEP 9:

Insert the needle through the loop and pull the threads tight to form a knot that is now hidden under the button. Repeat if necessary to secure the threads.

STEP 10:

Clip the thread under the button just after the knot formed in step 9.

Done!

The underside of your button sewing is free of all knots.

And the button on the right side is perfectly sewn!

Sewing a Dart

Sewing TutorialsDiana Cison

What is a dart?

Darts are basically wedge shapes that give your plush toy the shape they need at certain places.  They are marked on the pattern pages and very easy to stitch.

dart pics.jpg

Darts are composed of a base, legs, fold and dart point.  

  • The base is the widest part of the dart, where most fabric comes together.

  • Dart legs are the stitching lines, and should be equal in length.

  • The dart point is the end of the dart.

How to stitch a dart:

With the fabric right sides together, fold the dart so the legs are aligned.

Begin at the widest part of the dart and stitch toward the point.

Cut the dart when cutting the fabric

Cut the dart when cutting the fabric

Fold over with fabric right sides together and pin along the legs of the dart

Fold over with fabric right sides together and pin along the legs of the dart

Stitch together along the seam. Remove pins as you stitch.

Stitch together along the seam. Remove pins as you stitch.

Finished!

Finished!

Clipping Inward Seams

Sewing TutorialsDiana Cison

Clipping inward (or curved) seams.

The fabric around necklines, under the arms, between the legs, etc require an additional step in the seaming process called clipping.

For inward or concave curves, clip into the seam allowances at regular intervals to allow the fabric to spread and lie flat.  Clipping simply means cutting a slash into the fabric all along the curve.  This will prevent the fabric from "bunching up" after you reverse right side out.

For example, this teddy bear has curved seams between the arms and legs.  Snipping these seams will allow the fabric to lie flat when you reverse it right side out.

Types of Stitches

Sewing TutorialsDiana Cison

Hand stitches are used in the making of soft toys and stuffed animals.  Here are some basic hand stitches you may need in the toy making process.


Ladder Stitch

A ladder stitch is used to stitch an opening closed.  A gap is left open so that the plush toy can be stuffed. It can also be used to attach parts to the soft toy. 

The first step in the ladder stitch is to hide your knot. To do this, send your needle up from underneath the folded edge of the seam and pull until the knotted end of your thread is nicely concealed inside the folded crease of the seam.

types of stitches.jpg

Backstitch

Backstitch creates a continuous line so it's ideal for creating facial features, like a smile or eyebrows.

types of stitches.jpg

Chain Stitch

Chain stitch is great for creating thicker lines, perfect for facial features as well, like a smile or eyebrows if you'd like them to be thicker.

types of stitches.jpg

Running Stitch

A running stitch can be used to sew a pleat in a skirt.

types of stitches.jpg

Satin Stitch

Satin stitch is useful for filling in small areas with embroidery.  First backstitch around the outside edge of the shape and then satin stitch over the stitching.

types of stitches.jpg

French Knot

The double-wrap french knot creates a prominent raised dot, which is used for adding a center to some of the toy's pupils.

types of stitches.jpg

Cross Stitch

Cross stitch is used as an alternative to the french knot to add a twinkling center to some of the toy's pupils.

types of stitches.jpg

Blanket Stitch

This edging stitch is used to secure appliqued fabric pieces, such as outer eyes and pupils.

types of stitches.jpg

Whipstitch

A whipstitch can be used to stitch the outer edge of the fabric.  The fabric must be the type that won't fray, such as felt of fleece.

types of stitches.jpg

Whipstitch

Sewing TutorialsDiana Cison

What is a whipstitch?

A whipstitch is simply a stitch that passes over the edge of the fabric and it is done by hand.

Begin the whipstitch by tying a knot in the end of the thread.

Then poke the needle through the top layer of fabric, about 1/8" in

Then go over the edge of the fabric and poke the needle up through both layers of fabric about 1/8" from the edge.  The distance between the stitches can vary depending on how you'd like the stitch to look.  Generally, about 3/4" or a tab wider is good.

Repeat till you get to the end of the fabric you are stitching.

Tie a knot to secure.

When whipsitching, you want to use a fabric type that won't fray around the edges.

Felt fabric is best not only because it doesn't fray but because it doesn't have a lot of pull.  So the stitch looks good.  Felt however is very limited in colors and patterns.

Fleece fabric also can be used because it doesn't fray around the edges but it very soft and flexible.  The stitch still looks good but you just have to remember not to pull the stitch too hard.  Let it sit on the edge and don't pull it any further.  Fleece is available in many colors and patterns at most fabric stores.

whip stitch.png

Backstitch

Sewing TutorialsDiana Cison

For some of the animal or doll patterns, a backstitch is used to create the mouth and other facial features.  

To start sewing the backstitch, begin from the underside of your fabric (the wrong side) and come up through the layer of fabric. Your first stitch will be forward. After that first stitch, you're going to stitch to the right. Your needle will then travel underneath and come out ahead of where the thread is coming up by the fabric.

Back stitch.jpg


How to Sharpen Your Sewing Scissors

Sewing TutorialsDiana Cison

How to sharpen your sewing scissors

There is nothing more frustrating and cumbersome than trying to cut fabric with a dull pair of scissors.  Not to mention, they can damage the fabric as you're cutting.

Before buying a new pair, try one of these techniques to sharpen them!  These methods are easy, effective and definitely cheaper than throwing away a good pair of scissors and buying new ones.

  • Sandpaper

You will need fine grit sandpaper.  A sandpaper sheet with 150-200 grit will work just fine, but you could even go for a little bit of a finer grit (bigger grit number) if you want smoother edges to your scissor blades.  Then simply cut into the sand paper with long strokes 10-15 times to sharpen your scissors.  Wipe down the scissors to remove any grit from the sand paper.

IMG_6179.jpg

  • Aluminum Foil

Stack about seven pieces of foil together and slice through them with your dull scissors.  Use full scissor strokes cutting with the entire length of the scissors.

IMG_6213.jpg


Sewing Supplies Defined

Sewing TutorialsDiana Cison

Sewing involves many steps: measuring, laying out the pattern, cutting, marking, stitching and pressing.  For each of these steps there are special tools and supplies to make your sewing easier and help you complete your projects successfully.  Don't feel you need to buy all the items before you start.


The "must-haves" to start creating your new toy are fabric scissors, sewing pins, sewing machine, needles and thread. You can add on as your skills and interests grow.

Hand-Sewing Supplies

  • Sewing needles

Available in a variety of sizes and styles.

Sharps are all-purpose, medium-length needles designed for general sewing.

Crewels are sharp, large-eyed medium-length needles, designed for embroidery.

Betweens are very short and round-eyed.  They are useful for hand quilting and making fine stitches.

Milliner's needles are long with round eyes and are used for making long basting or gathering stitches.

  • Pins

Available in a variety of sizes and styles.

Straight pins are used for general sewing.  Pin with colored balls are easier to see and are less likely to get lost than those with flat heads.

Quilting pins are long.  Their extra length makes them ideal for use on bulky fabrics.

  • Thimble

Protects your finger while sewing. It is worn on whichever finger you used to push the needle through the fabric.  Using a thimble is an acquired habit.  Some people can't get along without one, while others feel they are a nuisance.

  • Pincushion

Provides a safe and handy place to store pins.  Available in a variety of styles.  Some can be worn around the wrist while sewing.  Some are magnetic to attract and hold the pins.

  • Needle threader

Eases threading of hand and machine needles.  These are especially useful if you have difficulty seeing something that small.


Measuring & Marking Tools

  • Transparent ruler

Allows you to see what you are measuring and marking.

  • Yardstick

Should be made of smooth hardwood or metal.

  • Tape measure

Has the flexibility helpful for measuring items with shape and dimension.

  • Seam gauge

A 6" metal or plastic ruler with a sliding marker.  It helps make quick, accurate measurements and can be used to measure seam allowance widths.

  • Marking chalk

Available in several forms: as a powder in a rolling wheel dispenser, as a pencil or as a flat slice.  Chalk lines are easily removable from most fabrics.

  • Fabric marking pens and pencils

Available in both air-erasable or water-erasable forms.  Air-erasable marks disappear in 48 hours; water-erasable marks wash off with a sprinkling of water.

  • Narrow masking tape

An alternative method for marking fabrics when other methods are less suitable.

Cutting Tools

Buy quality cutting tools are use them only for your sewing.  Cutting paper or other things will dull the cutting tools.  Dull tools are cumbersome to work with and can also damage fabric.

  • Bent-handled dressmaker's shears

Best for cutting fabric shapes because the angle of the lower blade lets fabric lie flat on the cutting surface.

  • Sewing scissors

Have a one pointed and one rounded tip for clipping threads and trimming and clipping seam allowances.

  • Seam ripper

Quickly removes stitches and opens buttonholes.  Use it carefully to avoid cutting the fabric.

  • Rotary cutter

Works like a pizza cutter.  Use the rotary cutter with a special plastic mat available in different sizes. The mat protects both the work surface and the blade.

  • Pinking shears and pinking rotary cutters

Used to finish seams.  They cut fabric in a zigzag or scalloped pattern instead of a straight line.

Pressing Tools

Pressing at each stage of the construction is the secret to a perfectly finished project.  The general rule is to press each stitched seam before crossing it with another.

  • Steam/spray iron

Should have a wide temperature range to accommodate all fabrics.  An iron that steams and sprays at any setting is helpful for fabrics with synthetic fibers.

  • Pressing cloth

Helps prevent iron shine and is always used when applying fusibles. The transparent cloth allows you to see if the fabric is smooth and the layers are property aligned.

  • Teflon coated sole plate guard

Available to fit most irons, eliminates the need for a press cloth.

Other Products

Other gadgets designed to assist you in various steps of the sewing process.

  • Cutting boards

Protect table finished from scratches and hold fabric more securely while cutting.

  • Elastics

Available in a variety of widths and styles, either in precut packages or by the yard.

  • Wooden dowel

Helpful when turning fabric right side out if it's very narrow and hard to turn.  An eraser end of a pencil can also be used as a substitute.

  • Liquid fray preventer

A colorless plastic liquid that prevents fraying by stiffening the fabric slightly.  It is helpful when you have clipped too far into a seam allowance or want to reinforce a buttonhole.  It may discolor some fabrics, so test before using and apply carefully.  The liquid may be removed with rubbing alcohol.  It dries to a permanent finish that will withstand laundering and dry cleaning.

  • Glue stick or hot glue gun

Great for permanently securing facial features or other add-ons to your plush toy.

  • Buttonhole cutter

A handy tool for making precision cuts down the center of buttonholes.  It comes with a wooden block to place under the fabric, to protect your work surface and accept the sharp thin blade of the cutter.  Buttonholes can also be cut open with small scissors or a seam ripper but the buttonhole cutter is more accurate and less likely to cut the stitching.

  • Basting tape

Double faced adhesive tape used instead of pinning or basting.  It is especially helpful for matching prints, applying zippers, and positioning trims.  Avoid stitching through them because the adhesive may collect on your needle.

  • Paper backed fusible web

Sold on rolls, in various narrow widths.  It is also available as a wide sheet rolled on a bolt for purchase by the yard (meter). It is a time saving product used for adhering two pieces of fabric together

  • Single fold bias tape

Useful for hemming curved edges.

  • Blanket binding

Resembles a wide satin ribbon that has been pressed in half for encasing the raw edge around a blanket.  Packaged in a convenient length for sewing baby blankets, the binding is available in assorted soft colors and white.

  • Welting

A fabric-covered cording, sewing into a seam or around an outer edge to provide extra strength and a decorative finished touch.  It is available in many colors and various diameters to purchase by the yard or in precut packaged lengths.

  • Batting

Low-loft cotton, polyester, or poly/cotton blend batting used to add flat thickness.

Testing Thread Tension

Sewing TutorialsDiana Cison

The tension of the thread will affect the quality of your stitches.  You may need to adjust it when you change fabric or thread.  It is recommended that you do a test sample on a scrap of a fabric before you start to sew.

What is thread tension?

Your machine forms stitches by interlocking the bobbin thread with the needle thread.  If the needle thread tension is stronger than the bobbin thread tension, the needle thread pulls the bobbin thread through to the top.  If the bobbin thread tension is stronger, it pull the needle through to the bottom.  When the tension are evenly balanced, the stitch will lock exactly halfway between the top and bottom of the layers being sewn, which is right where you want it.

Some machines have "self-adjusting tension" so if it automatically adjusts its tension with every fabric you sew, you needn't worry about this step.

How to balance tension

Thread your machine and insert the bobbin, using two very different colors of thread, neither of which matches the fabric.  Cut a square of fabric and fold in half diagonally.  Stitch a line across the fabric. Remove the fabric and inspect the stitches.

Correct tension

Correct tension is important as too much or too little tension will weaken your seams or cause puckers on your fabric.

If the tension is evenly balanced, you will see only one color on each side.

IMG_5994.jpg

Upper tension is too tight

Loops will appear on the surface of the fabric and you will see both thread colors on the top side of the fabric.  To solve this, reduce the tension by turning the upper tension control dial to a lower number.

IMG_5992.jpg

Note, if the bobbin thread was incorrectly threaded, this may also cause the upper thread to be too tight.  In this case, rethread the bobbin.

Upper tension is too loose

Loops will appear on the back of the fabric and you will see both thread colors on the back side of the fabric.  To solve this increase the tension by turning the upper tension control dial to a higher number.

IMG_5993.jpg

Note, if the upper thread was incorrectly threaded, this may also cause the upper thread to be too loose.  In this case, rethread the upper thread.

Getting Ready to Sew

Sewing TutorialsDiana Cison

Simple tasks of inserting the needle, winding the bobbin, and threading the machine has tremendous influence on the stitch quality and performance of your machine.  Use this guide as a general reference, but refer to your owner's manual for instructions specific to your machine.

Inserting the Needle

Loosen the needle clamp.  After selecting the right needle for your project, insert it into the machine as high as it will go.  Tighten the clamp securely.

Winding the Bobbin

Removable bobbins are wound on the top or side of the machine, with the machine threaded for bobbin winding.  Follow the instructions in the owner's manual to wind the bobbin and insert it properly into your machine.

Threading the Machine

Every sewing machine is different so you'll have to check your owner's manual for specific threading instructions.

  1. Position the spool so that it will turn clockwise as you sew.

  2. While holding the thread from the spool with your right hand, pass thread towards you, in the groove on the thread guide (back).

  3. Feed the thread down and back up the tread guide (front)

  4. Guide the tread through the take up lever from right to left

  5. If the thread take up lever is lowered, the upper thread can not be wrapped around the thread take up lever. Make sure you raise the needle by turning the handwheel toward you (counterclockwise) so that the mark of the wheel points up.

  6. Put the thread behind the guide above the needle.

  7. Thread the needle from front to back

getting ready to sew.jpg

Plug in your machine and turn it on

Start sewing

  1. Raise the needle by turning the handwheel towards you (counterclockwise). Raise the pressure foot level. Position the fabric under the presser foot.

  2. While holding the end of the thread and fabric with your left hand, turn the handwheel towards you (counterclockwise) with your right hand to the needle to the starting point of the stitching.

  3. Lower the presser foot lever.

  4. Slowly press down on the foot controller. The machine starts sewing.

  5. Take your foot off the foot controller. The machine stops sewing.

  6. Hold down the reverse sewing level to do a reverse stitch to start and finish your stitch.

  7. Raise the needle by turning the handwheel towards you (counterclockwise)

  8. Raise the presser foot lever

  9. Pull the fabric to the left side of the machine, and then pass the threads through the threads through the thread cutter to cut them.


Knowing Your Sewing Machine

Sewing TutorialsDiana Cison

Names of Sewing Machine Parts and their Functions

The various parts common to most sewing machines are shown below in two examples.  The parts may look different on each model, and they may have slightly different locations, so you'll need to open your owner's manual.


Brother Sewing Machine

sewing-machine-parts-1024x445.jpg


  1. Bobbin winder
    This winds the thread onto the bobbin for use as the lower thread.

  2. Spool pin
    This holds the spool of thread.

  3. Thread guide
    This is used when winding the thread onto the bobbin and then threading the machine.

  4. Thread take-up lever

  5. Hole for extra spool pin
    This holds a second spool of thread for sewing with the twin needle.

  6. Upper tension-control dial
    This controls the tension of the upper thread. The tension of the tread will affect the quality of your stitches. You may need to adjust it when you change the fabric or thread. It is recommended to do a test sample on a scrap of fabric before you start to sew.Correct tension is important as too much or too little tension will weaken your seams or cause puckers on your fabric.If the upper tension is too tight, loops will appear on the surface of the fabric. The solution is to reduce tension by turning the upper tension control to a lower number.If the upper tension is too loose, loops will appears on the back of the fabric. The solution is to increase the tension by turning the upper tension control dial to a higher number.

  7. Thread cutter
    Pass the threads through the thread cutter to cut them.

  8. Needle threader

  9. Quick-set bobbin

  10. Flat bed attachment with accessory compartment

  11. Presser foot
    You may need to change the presser foot depending on what you want to sew and how.

  12. Reverse sewing lever
    Push this lever to stitch in the reverse direction.
    You can use reverse sewing for reinforcing seams.

  13. Buttonhole fine-adjustment screw

  14. Pattern selection dial
    Rotate the dial in either direction to choose the stitch you want.

  15. Handwheel
    Used to manually raise and lower the needle.

  16. Air vent
    The air vent allows the air surrounding the motor to circulate. Do not cover the air vent while the machine is being used.

  17. Main power and sewing light switch
    You can turn the main power and sewing light switch on and off.

  18. Foot controller jack/socket
    Plug in the foot controller plug and connect the machine to the power supply.

  19. Presser foot level
    Used to raise and lower the presser foot

  20. Handle
    Carry the machine by its handle when transporting

  21. Foot controller
    You can use this to control the sewing speed, and to start and stop sewing.

knowing-your-sewing-machine-1024x537.jpg

Brother Computerized Sewing Machine


  1. Bobbin winder
    This winds the tread onto the bobbin for use as the lower thread.
    Not winding the bobbin properly may cause the thread tension to loosen and may break the needle.

  2. Spool pin.
    This holds the spool of thread

  3. Hole for extra spool pin
    This holds a second spool of thread for sewing with two needles.

  4. Upper tension-control dial
    This controls the tension of the upper thread. The thread tension will affect the quality of your stitches. You may need to adjust it when you change fabric or thread. It's recommended to do a test sample on a scrap of fabric before you start to sew.Correct tension is important as too much or too little tension will weaken your seams or cause puckers on your fabric.If the upper tension is too tight, loops will appear on the surface of the fabric. The solution is to reduce the tension by turning the upper tension control dial to a lower number.If the upper tension is too loose, loops appear on the wrong side of the fabric. The solution is to increase the tension by turning the upper tension control dial to a higher number. The upper thread may have been incorrectly threaded as well.

  5. Thread guide
    This is used when winding the tread onto the bobbin and then treading the machine.

  6. Thread take-up lever

  7. Thread cutter
    Pass the threads through the thread cutter to cut them.

  8. Flat bed attachment with accessory compartment

  9. Operations buttons
    The operation buttons differ depending on the sewing machine model.

  10. Operation panel
    This is used to select the stitch and specify the various settings.

  11. Handwheel
    Used to manually raise and lower the needle.

  12. Main power and sewing light switch

  13. Jack/socket connector
    Insert the plug on the power supply cord into the jack/socket connector.

  14. Foot controller jacksocket
    Plug in the foot controller plug

  15. Feed dog position lever
    Use the feed dog position lever to lower the feed dogs.

  16. Presser foot level
    Used to raise and lower the presser foot

  17. Foot controller
    You can use this to control the sewing speed, and to start and stop sewing

  18. Handle
    Carry the sewing machine by its handle when transporting the machine


Sewing Toys: Button Jointing

Sewing TutorialsDiana Cison

Button jointing is a quick, easy and effective way of attaching limbs to your stuffed animals.  One of the benefits of this sewing technique is that it makes the limbs movable while remaining secure.  Using decorative buttons can also add visual appeal to your new stuffie.

If you are making your toy for a small child, eliminate the button, as they can be a choking hazard.  Simply follow the same steps without the buttons.

To attach limbs using the button jointing method, use the following steps and supplies.

Button jointing supplies:

  1. long dollmaker's needle

  2. buttons

  3. six-strand embroidery floss (in a color matching your button)

Button jointing steps:

  1. Take the dollmaker's needle and thread it with embroidery floss. Tie a double knot in the end of the length of thread and trim close to the knot.

  2. Start by threading the needle through one side seam of the toy's body at the desired location, right through the body and out the other side seam at the same limb level.

  3. Thread the needle through one of the limbs, about 3/4 inch down from the top limb edge, through one of your buttons and then back through all the layers again to the other side. Here, thread the needle through your remaining limb and button and return again, through the body, to the other side.

  4. Continue in the same way, taking the needle through all the layers a few times, until you have achieved a strong attachment. Tie off your thread and sink the knot into the limb.

button jointing.jpg

Sewing Toys: Suggestions for Making Your Stuffed Animal Eyes

Sewing TutorialsDiana Cison

7 suggestions for making your stuffed animal eyes

The eyes for your stuffed animal can be made with a variety of craft materials.  You can get creative and make your soft toy uniquely yours!  Here are some suggestions.

Plastic animal eyes

Plastic animal eyes come in a variety of sizes and colors and shank back and plastic washer for attaching. Google "plastic animal eyes" and you'll find a variety of online stores that sell them.  Most fabric and craft stores sell them as well but I find the variety in an actual store to be limited in colors and sizes.

Button eyes for stuffed animals

Buttons come in so many sizes, shapes and colors.  You can sew on your favorite pair of buttons to make your animal eyes.


Plastic google eyes

Plastic google eyes also come in a variety of sizes and colors.  Use hot glue to glue these on to your plushie.


Plastic jewels

You can use plastic jewels for your animal eyes.  They are also available in a huge variety of colors and shapes so you can get creative!  Use a hot glue gun to glue the jewels on.


Felt fabric

Felt fabric is easy to find and can be cut into the shape you want to make your animal eyes.  Use can use craft glue or a hot glue gun to glue the felt eyes to your plushie or stitch it on along the edges.


Pompoms

Pompoms come in a variety of sizes and colors.  Hot glue two pompoms to the stuffed animals face and then glue mini black pompoms or mini plastic eyes to make the pupils.


Embroidered eyes

Use black embroidery floss or crotchet thread to embroider your animal eyes.  Create a round eye or use a backstitch to create a sleeping eye.