How to Sew a Button
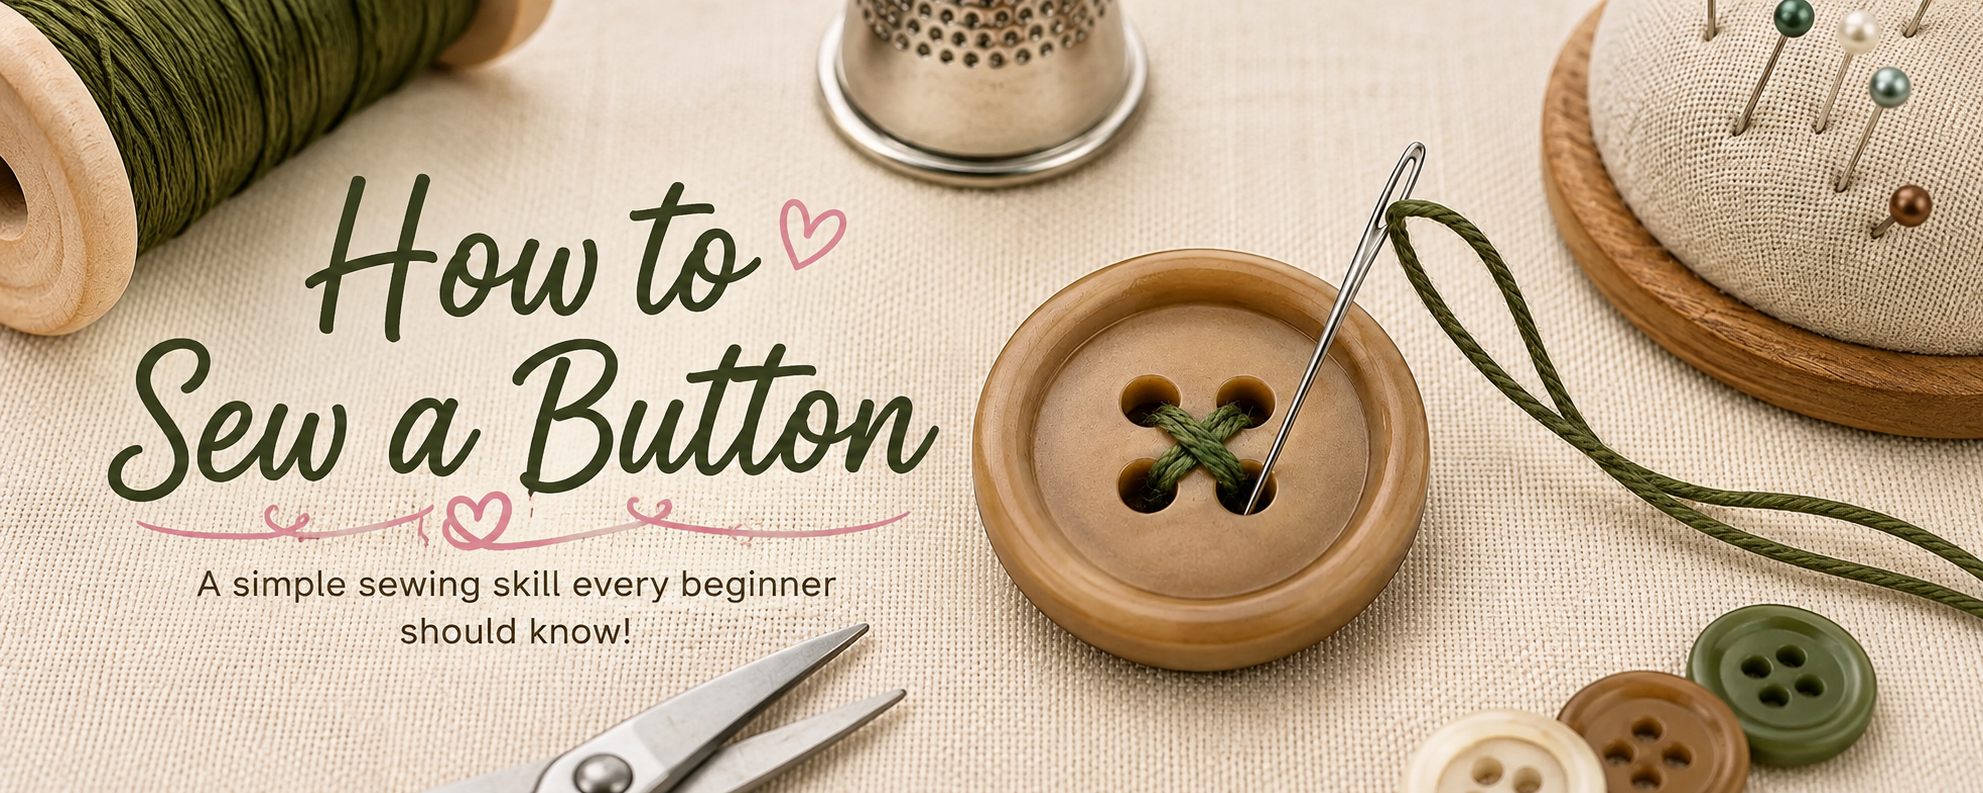
Learning how to sew a button is one of those simple sewing skills that comes in handy again and again. Whether you’re replacing a missing button, repairing a favorite shirt, or adding buttons to a handmade sewing project, it only takes a needle, thread, and a few minutes.
In this beginner-friendly tutorial, I’ll show you how to sew a button by hand step by step, including how to securely knot your thread, stitch a four-hole button in place, create a thread shank, and finish everything neatly on the back.
No sewing machine required!
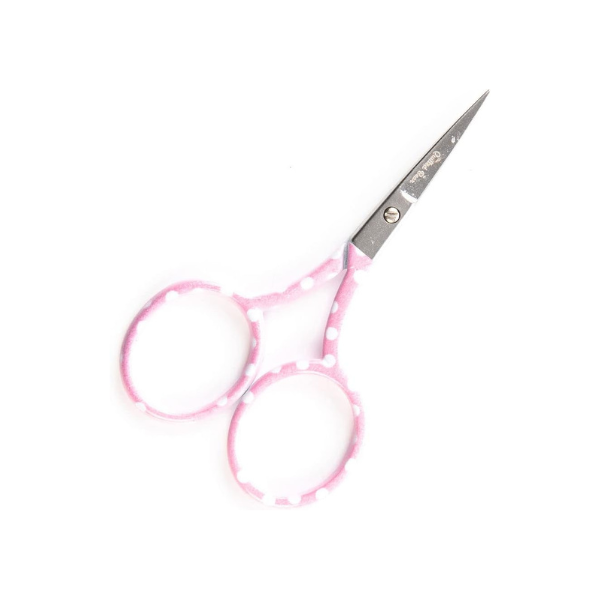
Supplies needed:


Step 1:
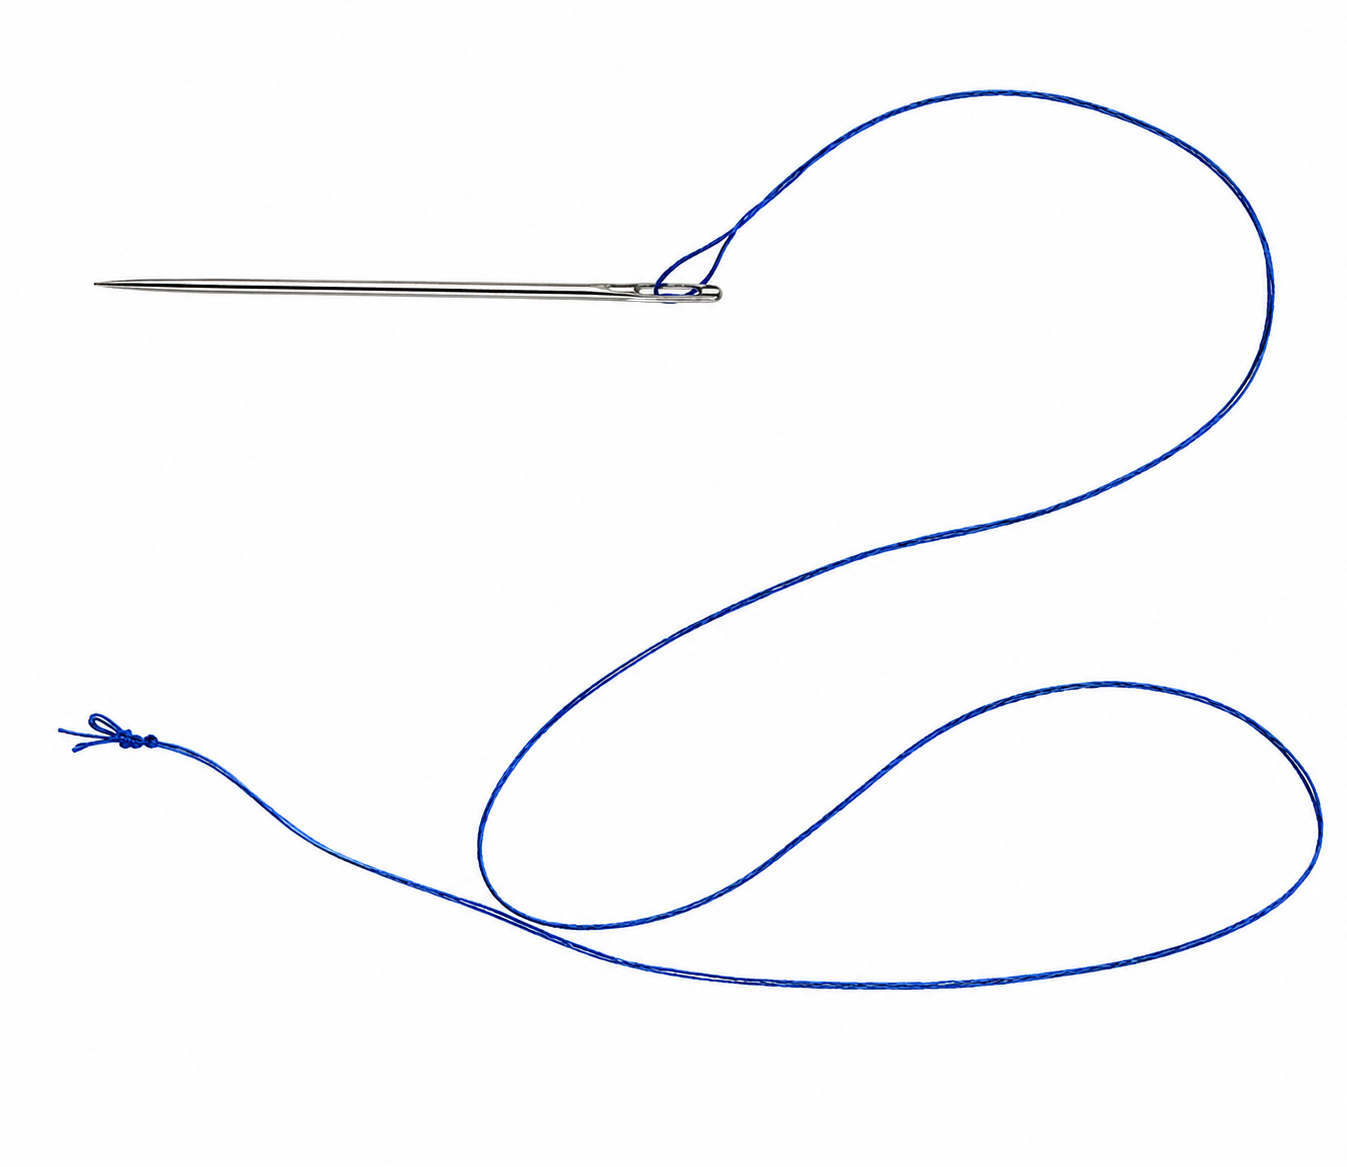
Thread the needle by looping the thread through the eye of the needle, then cutting at the end so there are two lengths of thread. Knot the ends of the two threads together.

Step 2:
Using a marking tool or pencil, mark the spot on the right side of the fabric where the button is to be sewn.
Step 3:
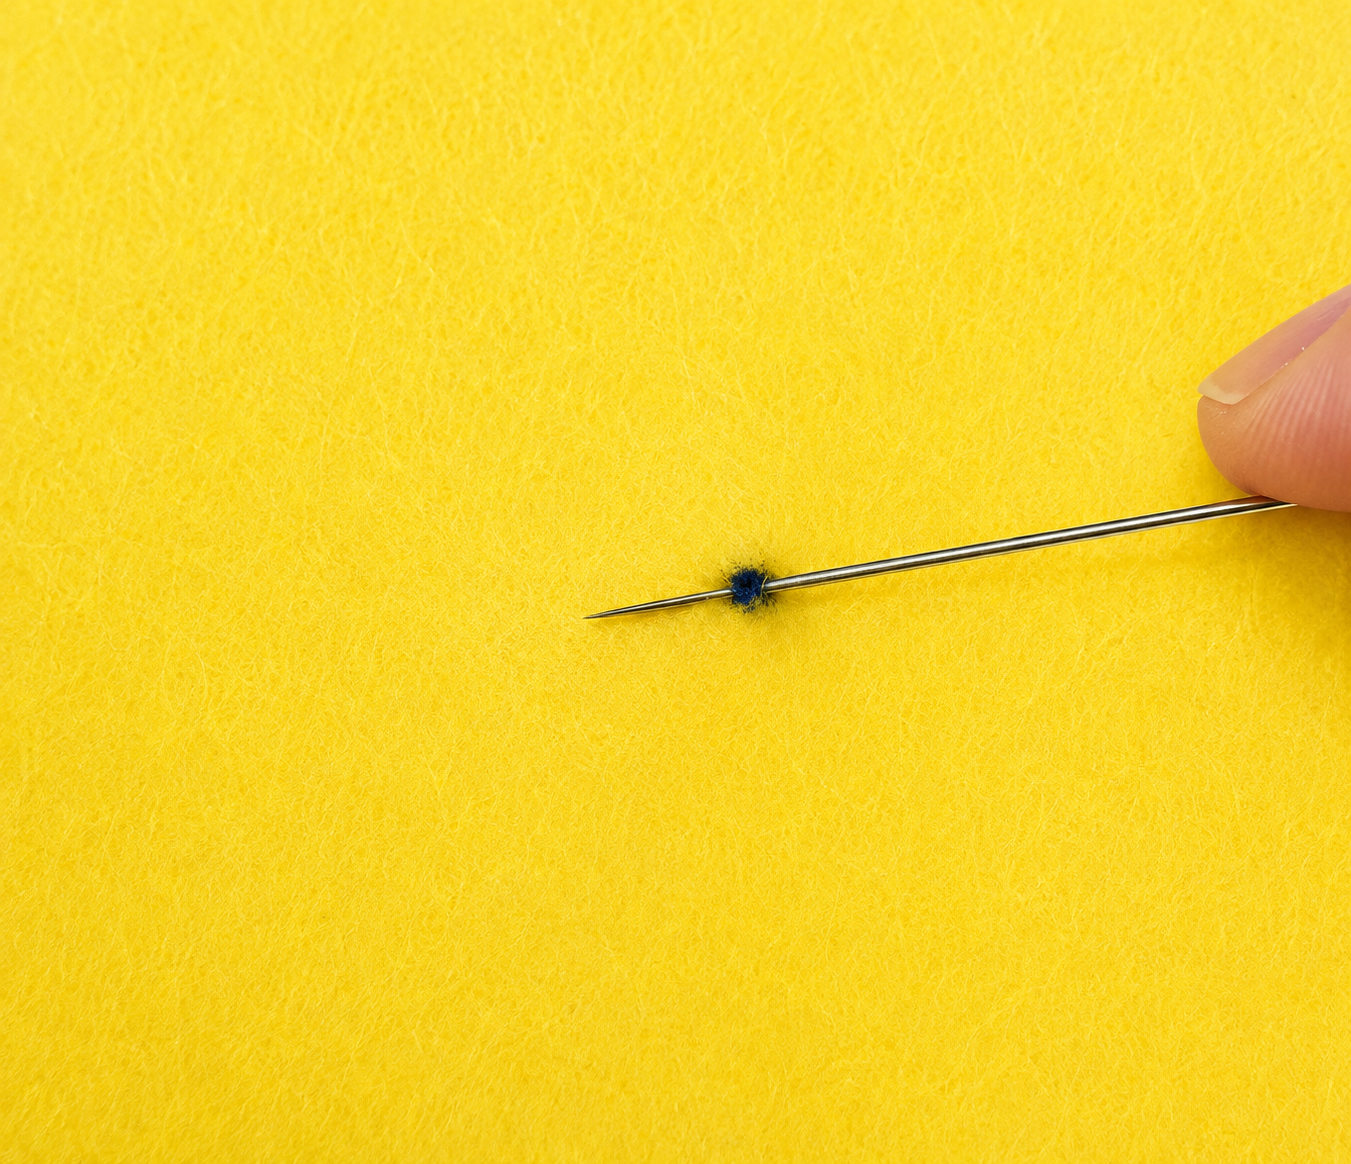
Insert the needle into the right side of the fabric at the mark. Do not insert to the wrong side of the fabric, rather go in and out at the dot so you remain on the right side of the fabric.

Your knot and thread and needle should all the on the right side of the fabric.
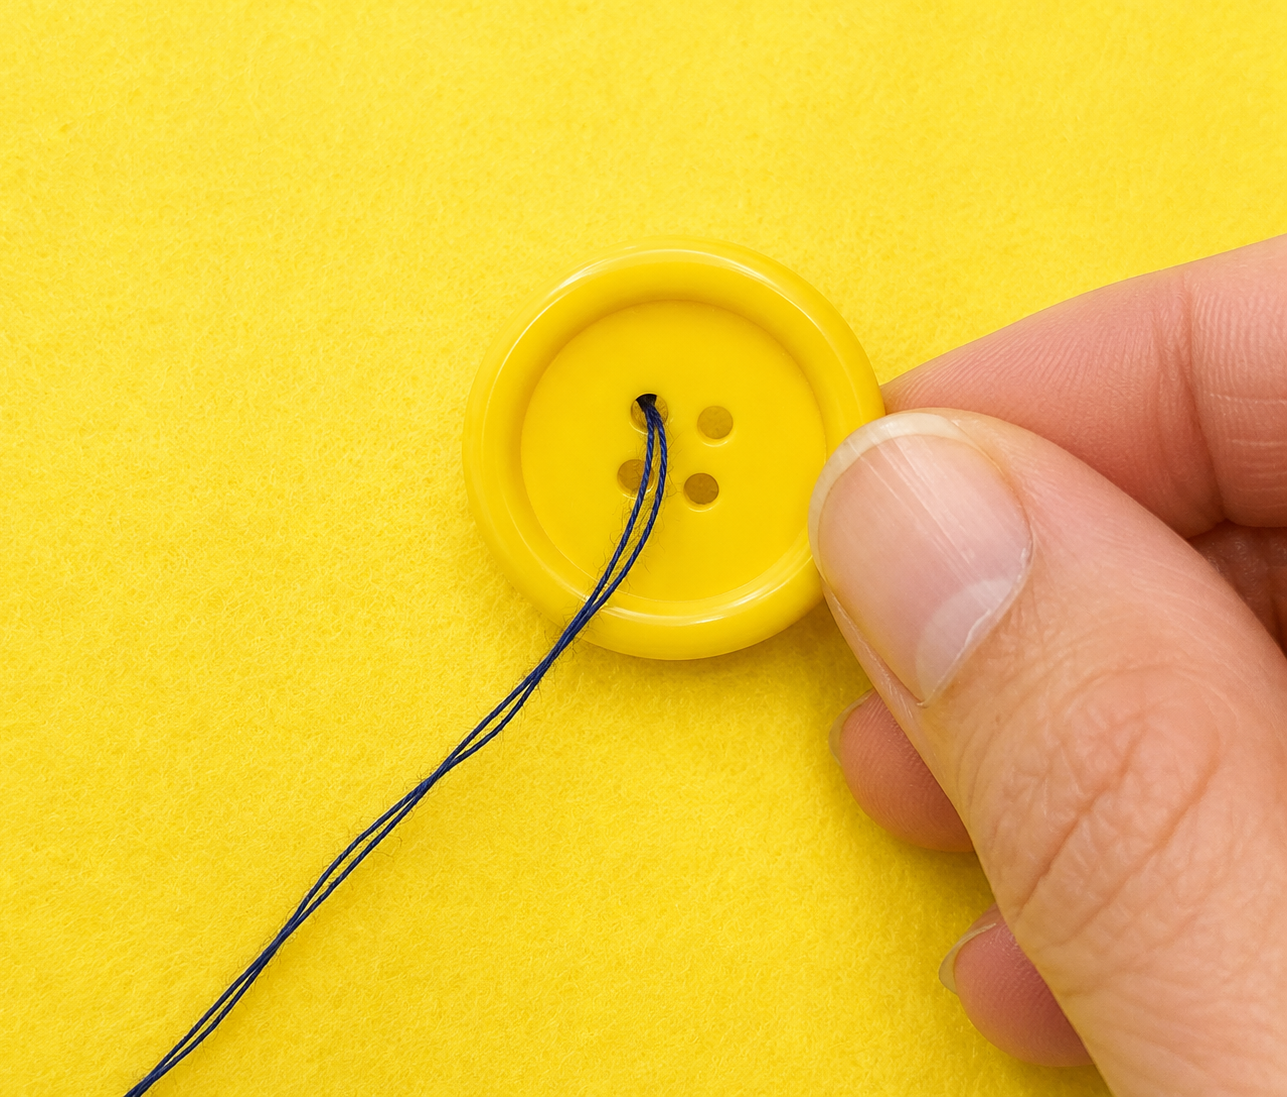
STEP 4:
Insert the needle into the button, passing from the underside up through the button.
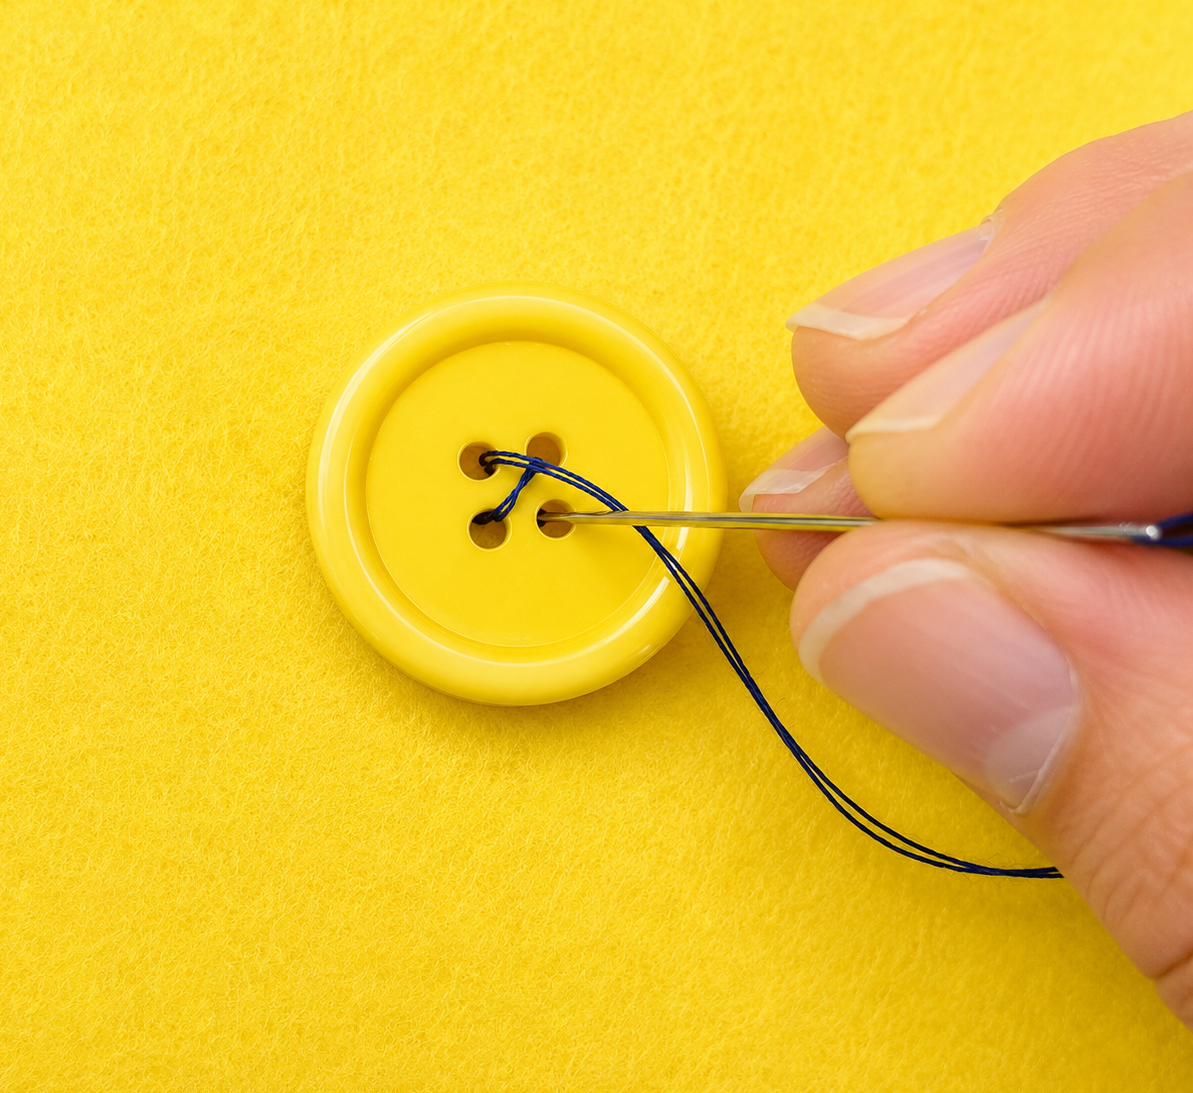
STEP 5:
Place the button on the spot it is to go, then insert the needle into the opposite hole on the button. Sink the needle directly next to the thread hiding under the needle and pass through to the underside. Continue going through all of the eyes of the needle from side to side, and from the right side of the fabric to the wrong side of the fabric until the button is secure.
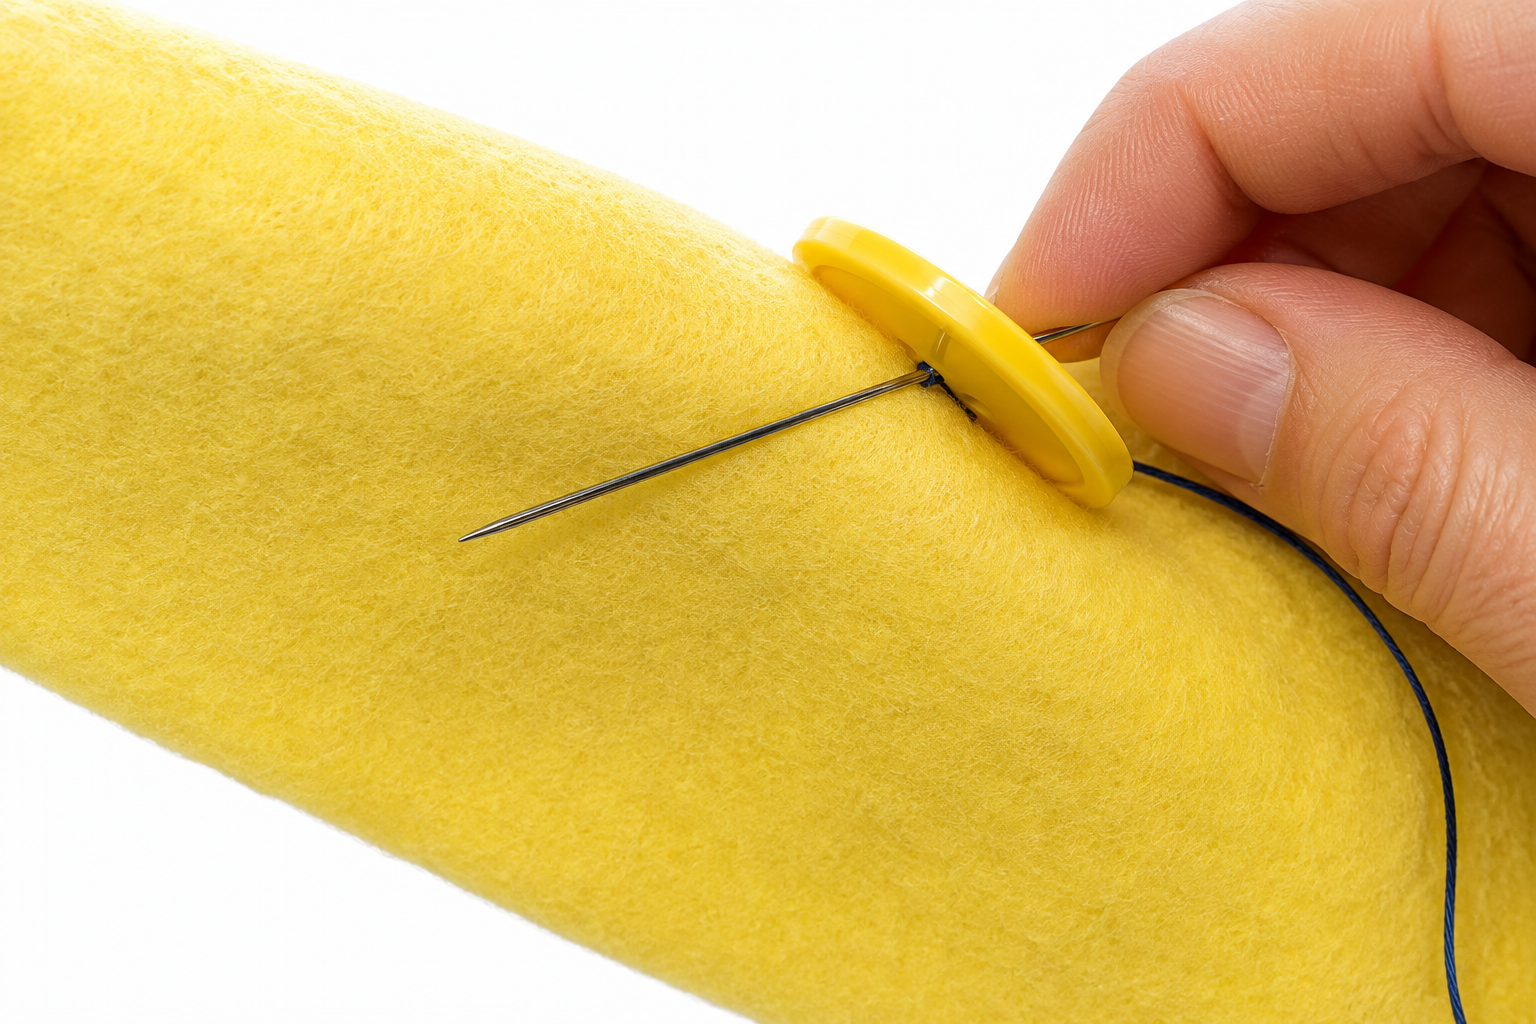
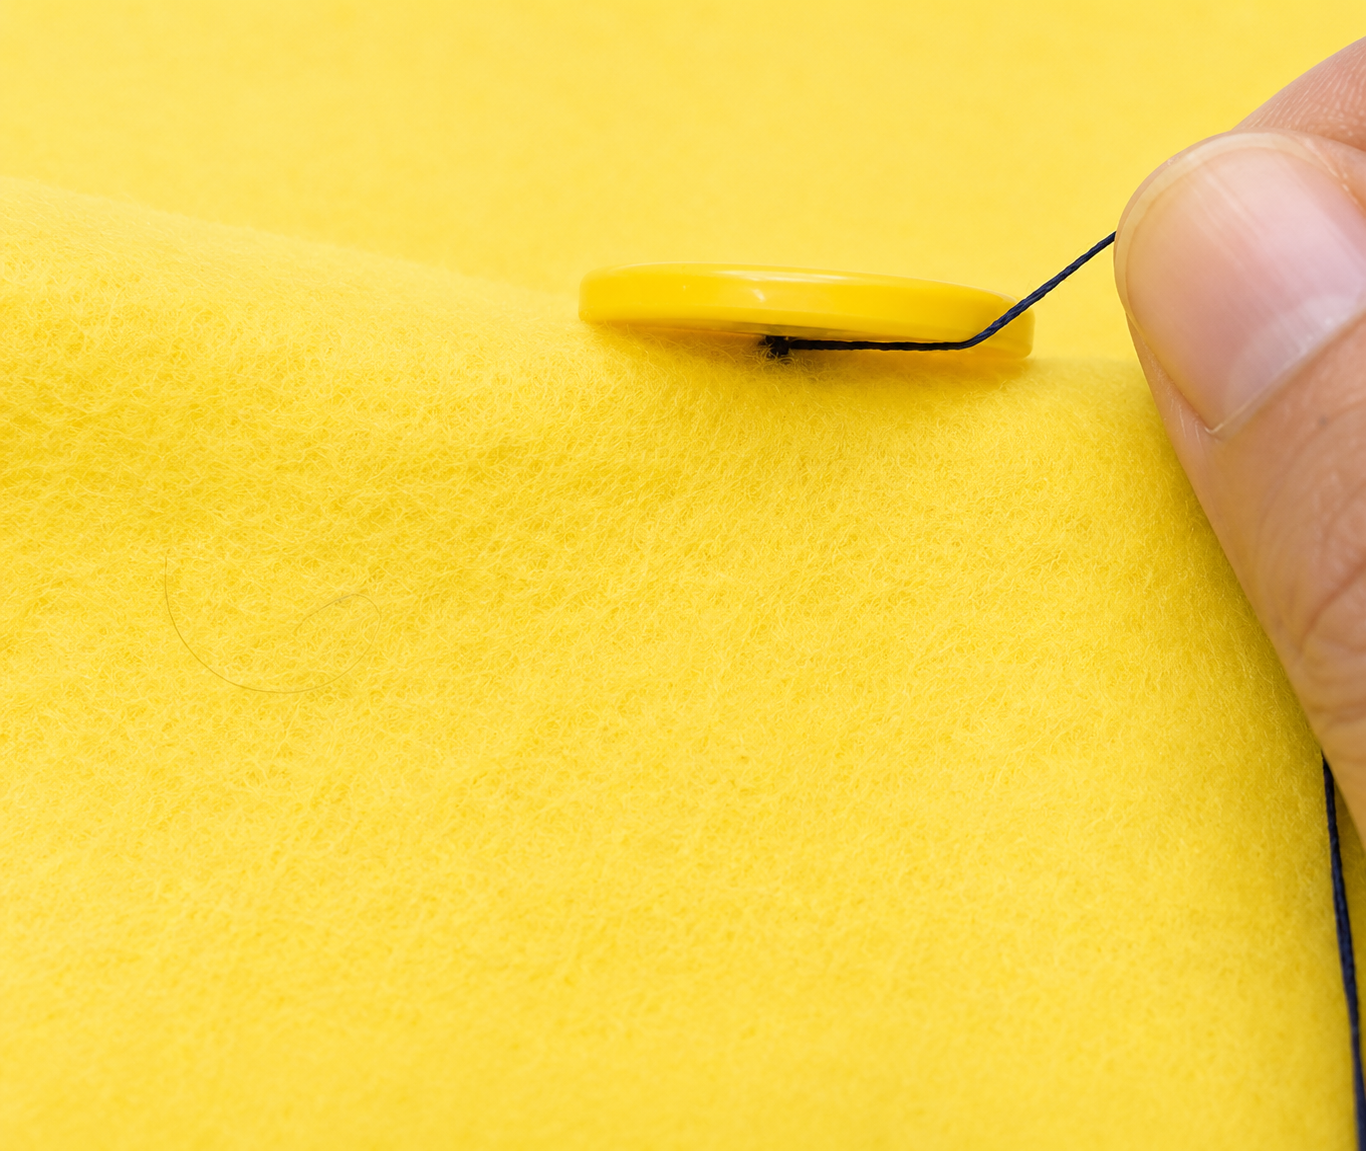
Step 6.
Once the button is sewn tight, pass up through the eye of the button so your needle and thread are on the right side of the fabric. Insert the needle into the other eye of the button, only going through the button and not through the fabric.The thread should now be coming out from under the button as pictured.
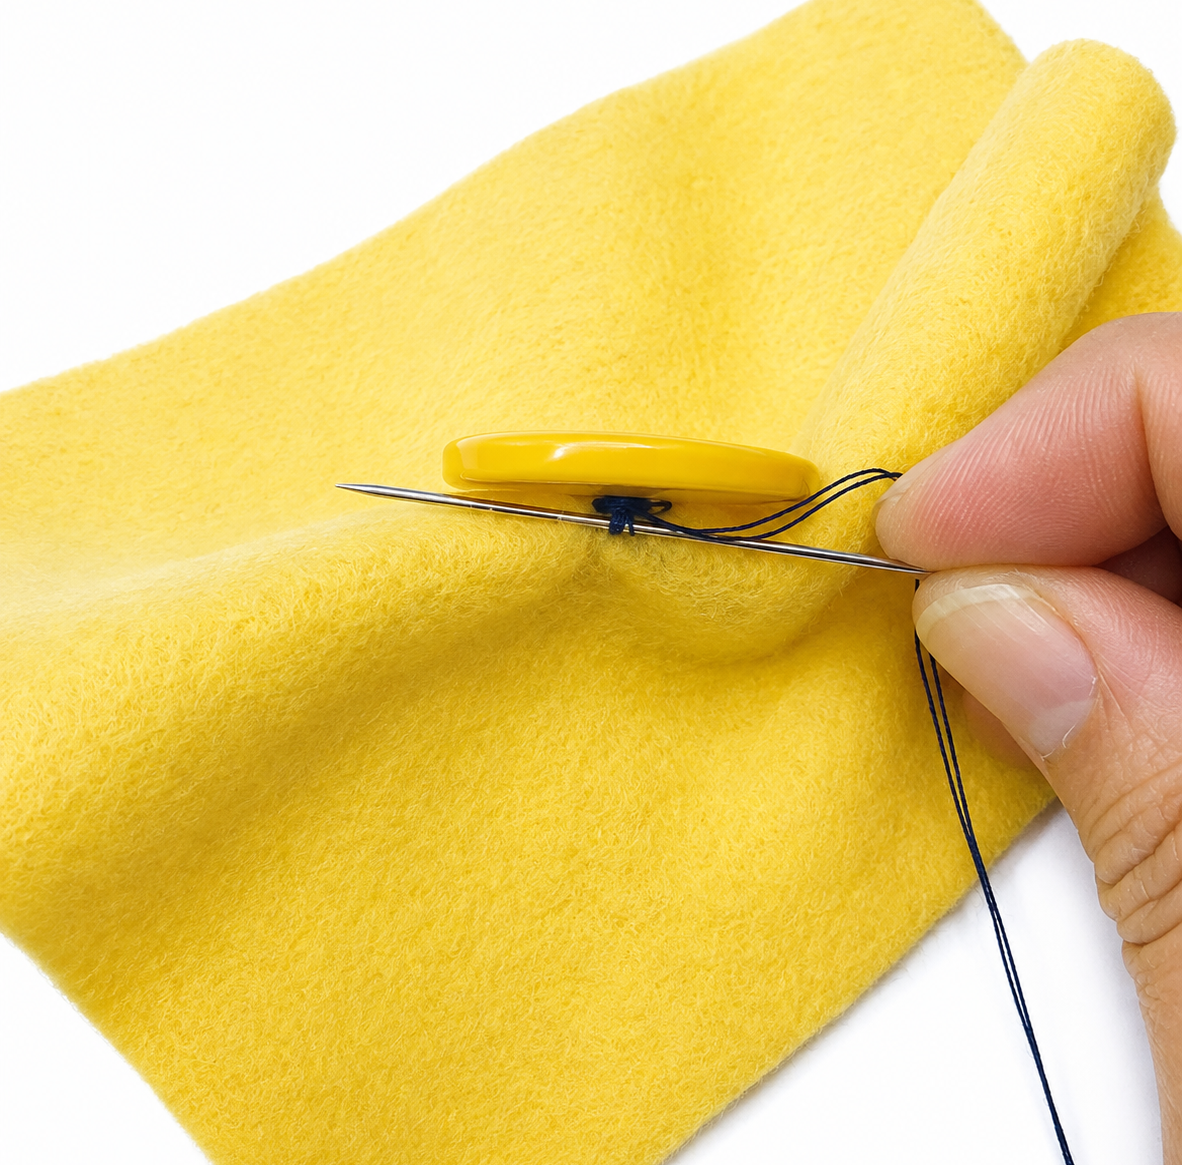
STEP 7:
Insert the needle into the fabric, directly under the button.
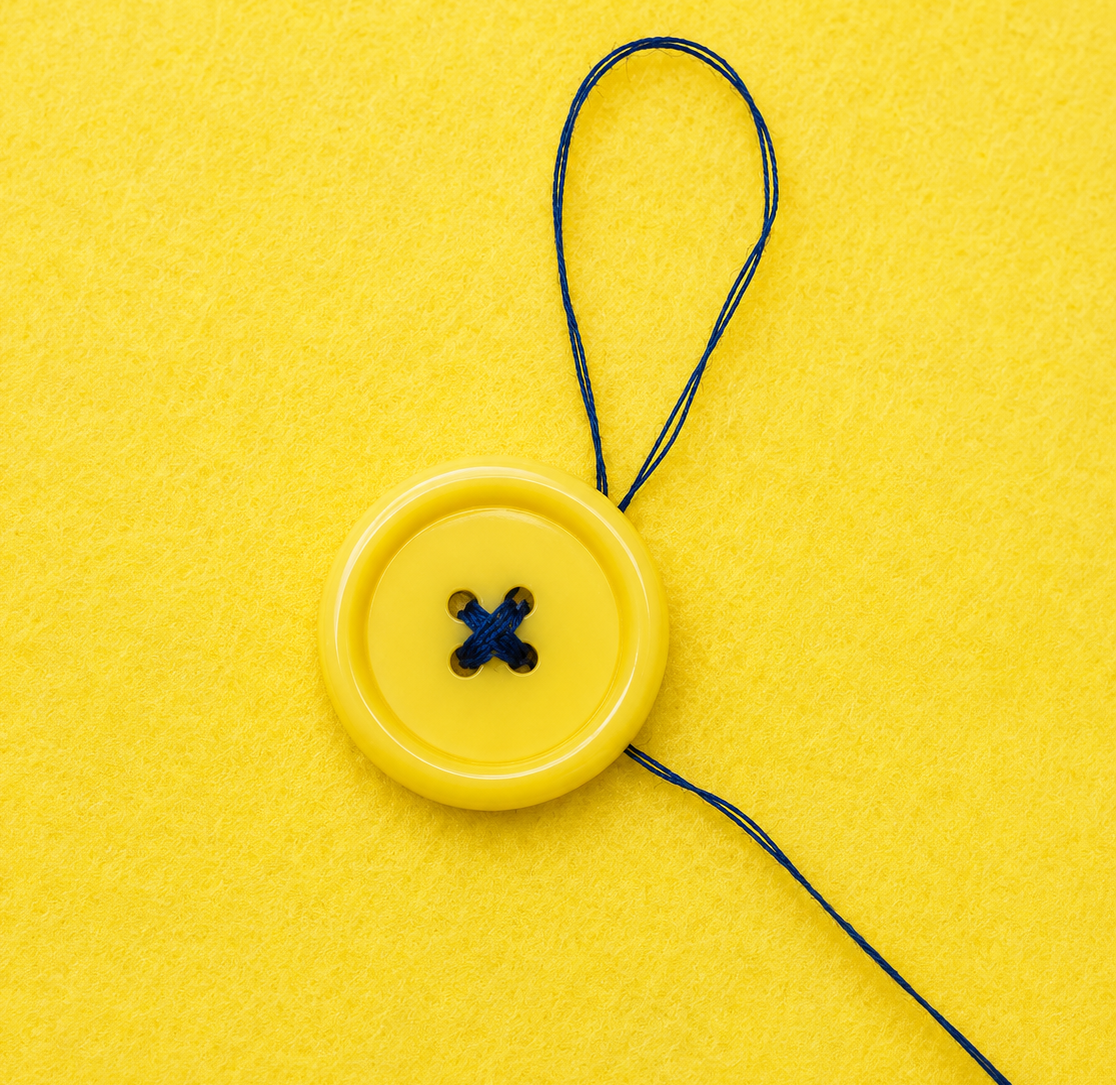
STEP 8:
Pull the threads, leaving a loop of thread.
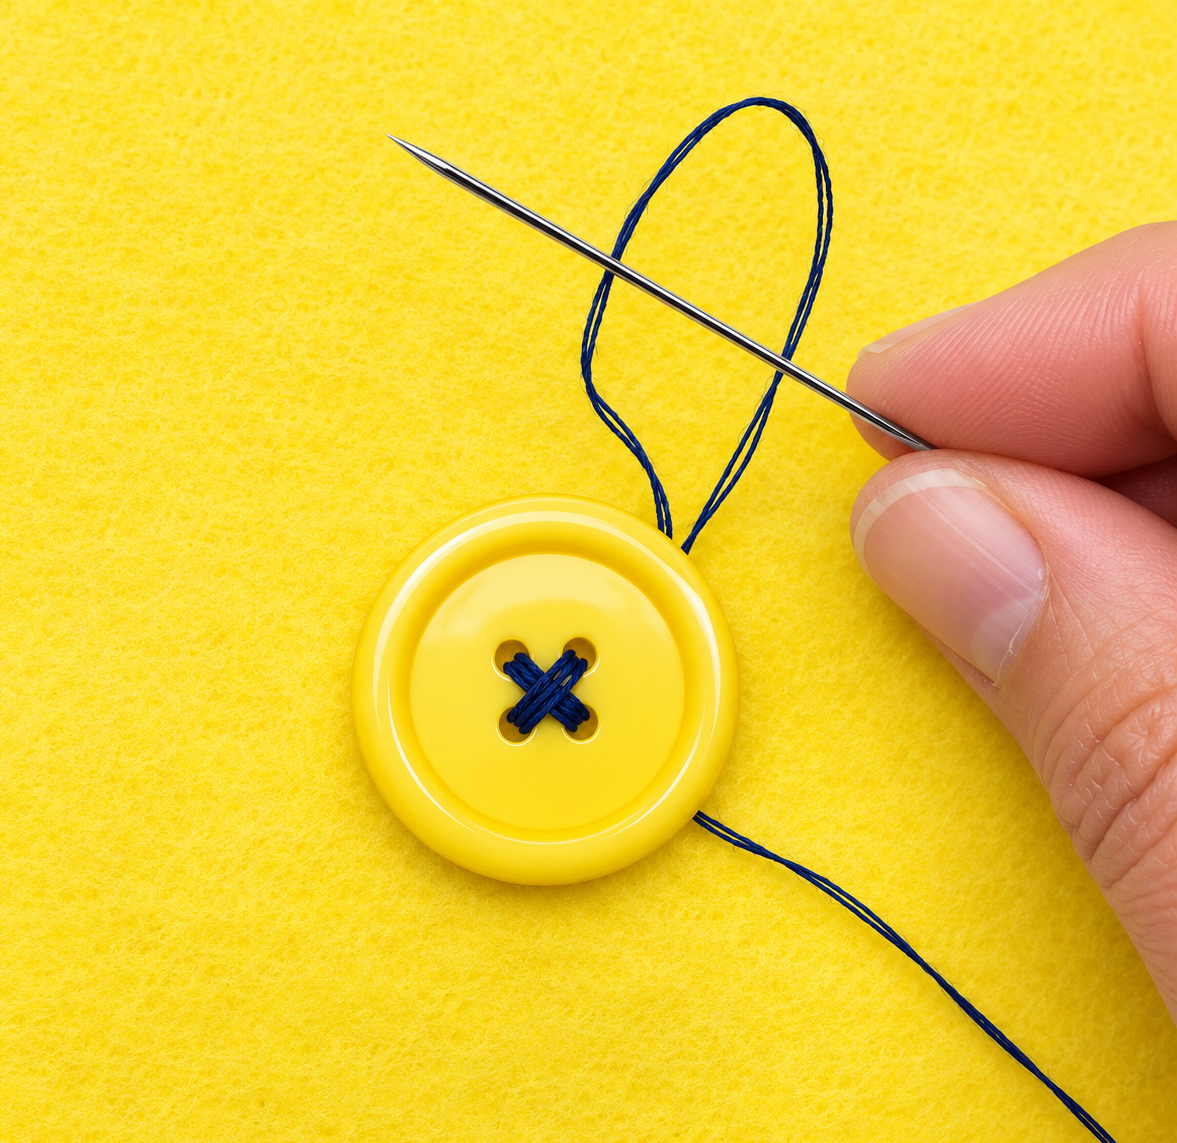
STEP 9:
Insert the needle through the loop and pull the threads tight to form a knot that is now hidden under the button. Repeat if necessary to secure the threads.
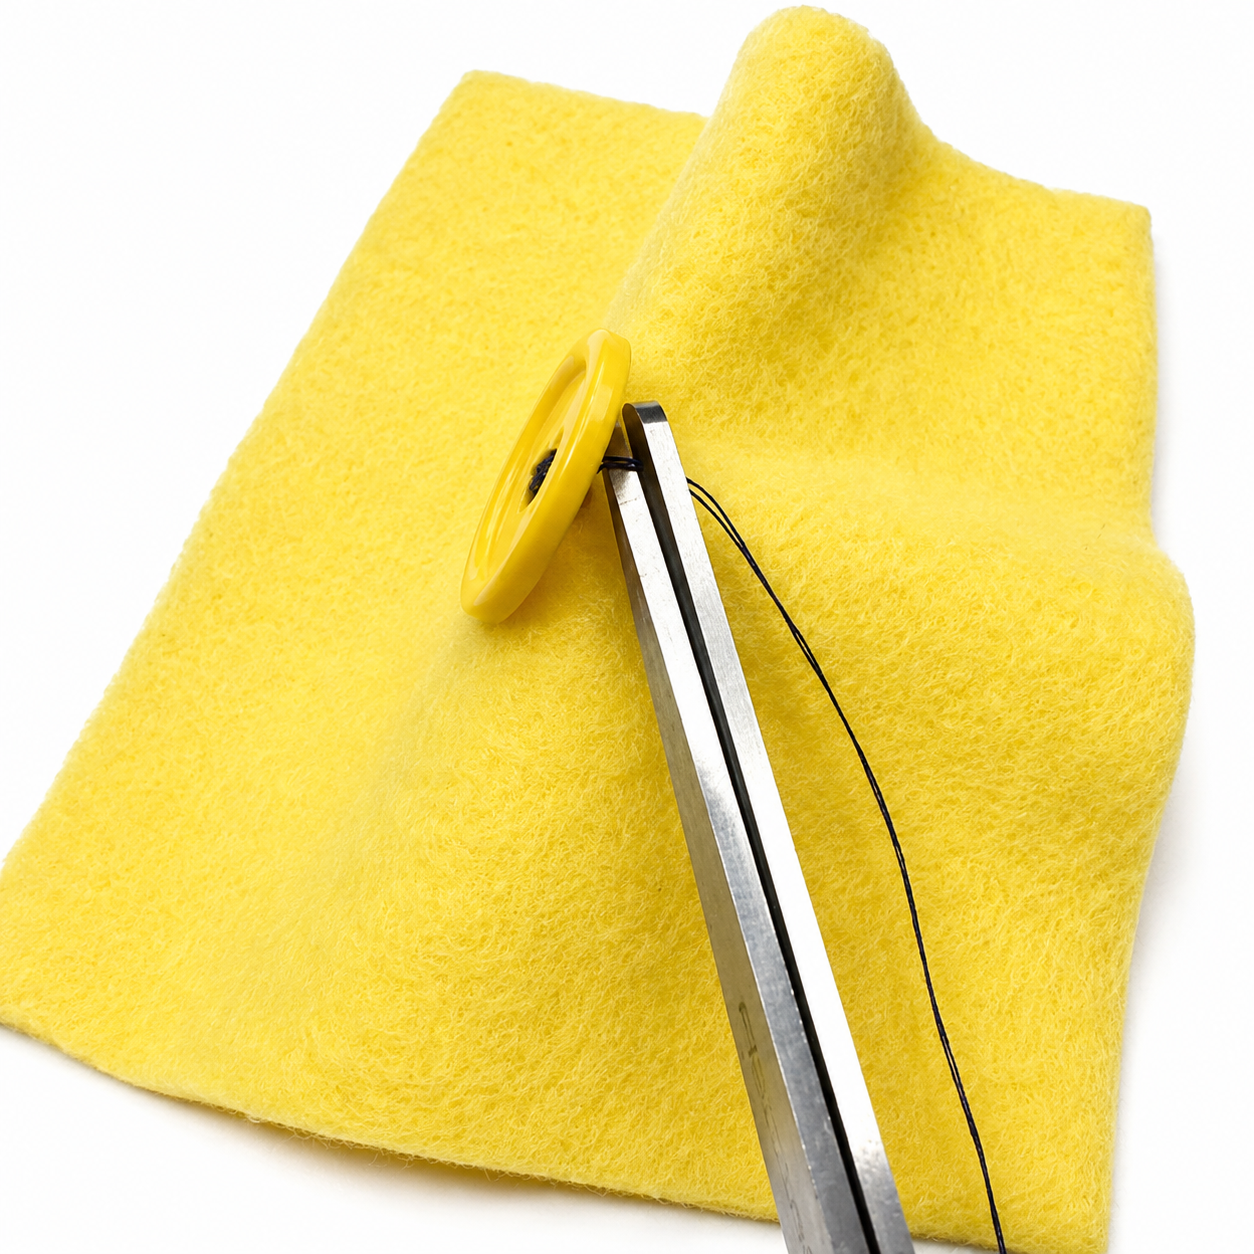
STEP 10:
Clip the thread under the button just after the knot formed in step 9.

Done!
The button on the right side is perfectly sewn!
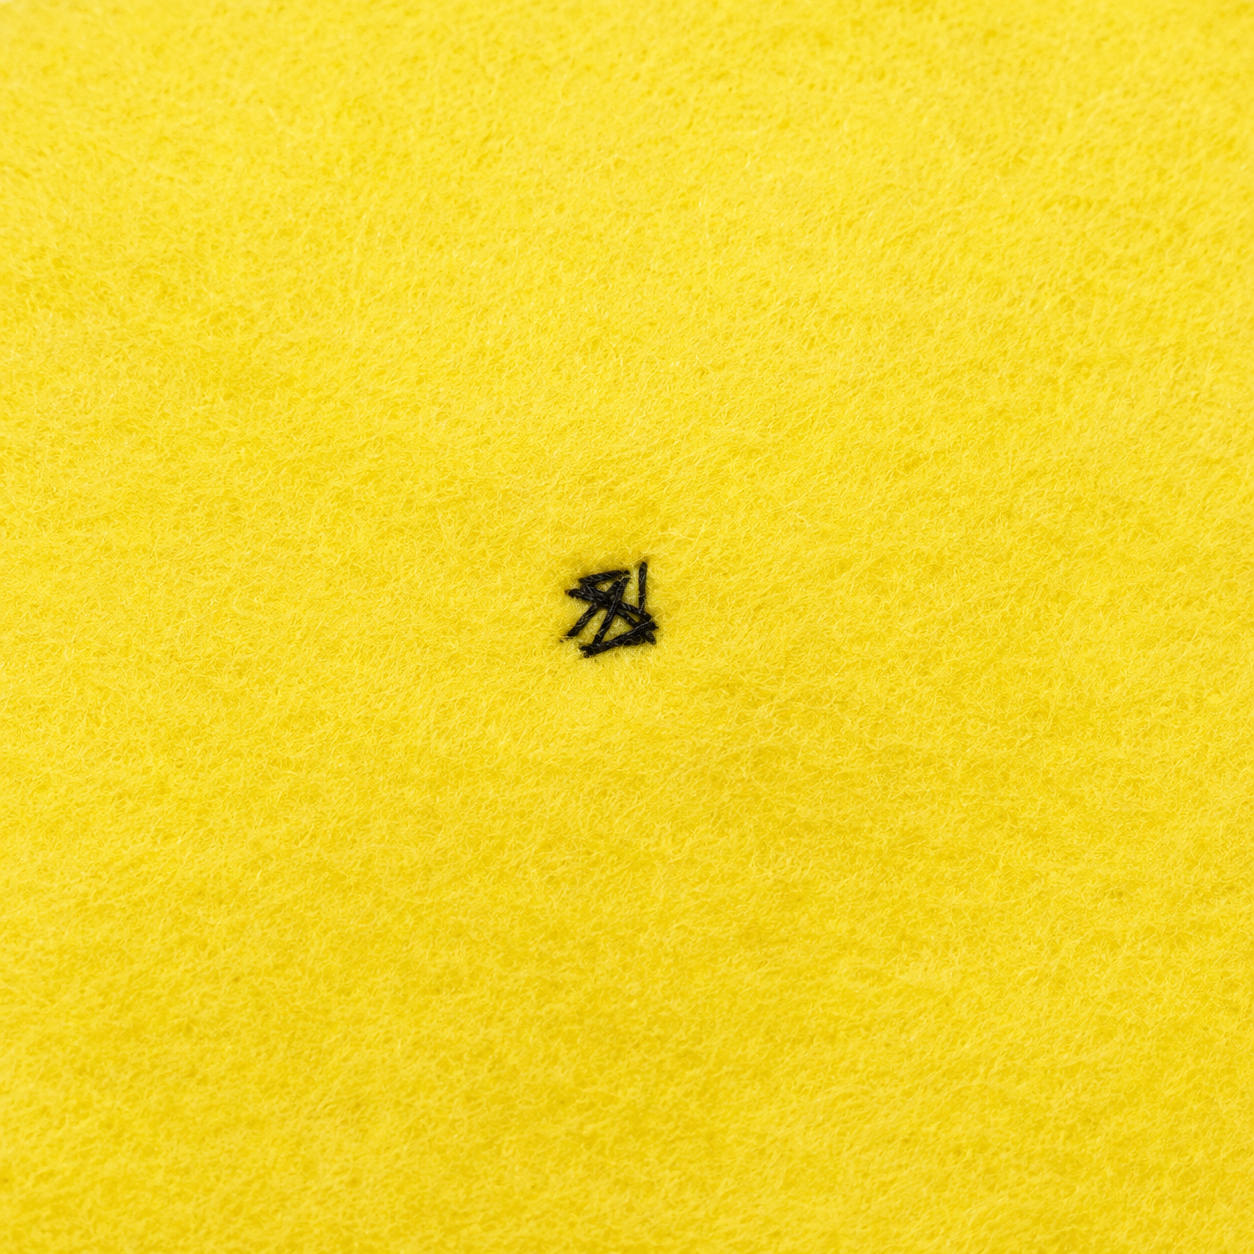
And the underside of your button sewing is free of all knots.
Learn to Sew a Button Sewing Class at Creativebug
Click here to join Creativebug’s class. When a button falls off a shirt, it's all too easy to replace the entire garment, but the process of reattaching a button can be simple. In this quick technique class, learn the most secure method of reattaching a button, ensuring it remains on your garment for as long as you need it to. The first few times will take a bit of focus but like any hand skill, it will get easier each time you try it.
Affiliate Disclosure: This post contains affiliate links. If you purchase something through one of these links, Sew Cute Patterns may earn a small commission at no additional cost to you. As an Amazon Associate, I earn from qualifying purchases.
Shop PDF Sewing Patterns
Sew Cute Patterns | Etsy
Shop Patterns | sewing tutorials | sewing blog | Shop sewing supplies