Mastering the Backstitch
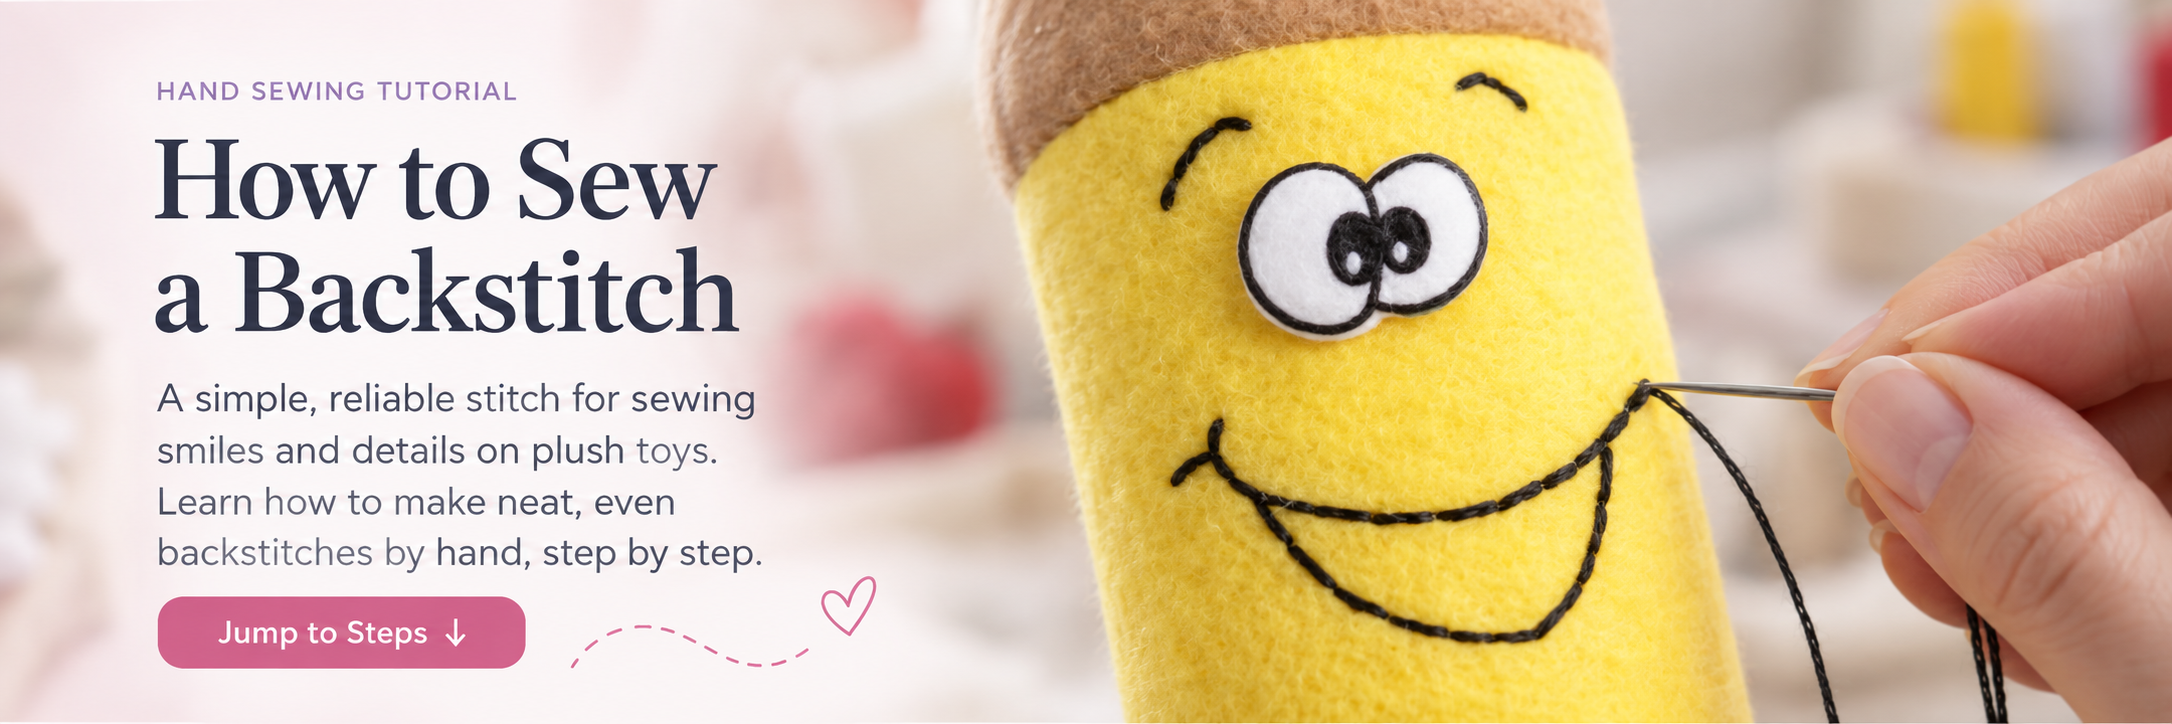
Want to stitch a smile onto your next plush creation? The trusty backstitch is here to save the day! Perfect for adding adorable details like mouths and other facial features to your animal or doll patterns, it’s a simple stitch that adds oodles of personality. Plus, it’s beginner-friendly! Let’s dive into how to sew this essential stitch step by step.
What Is the Backstitch?
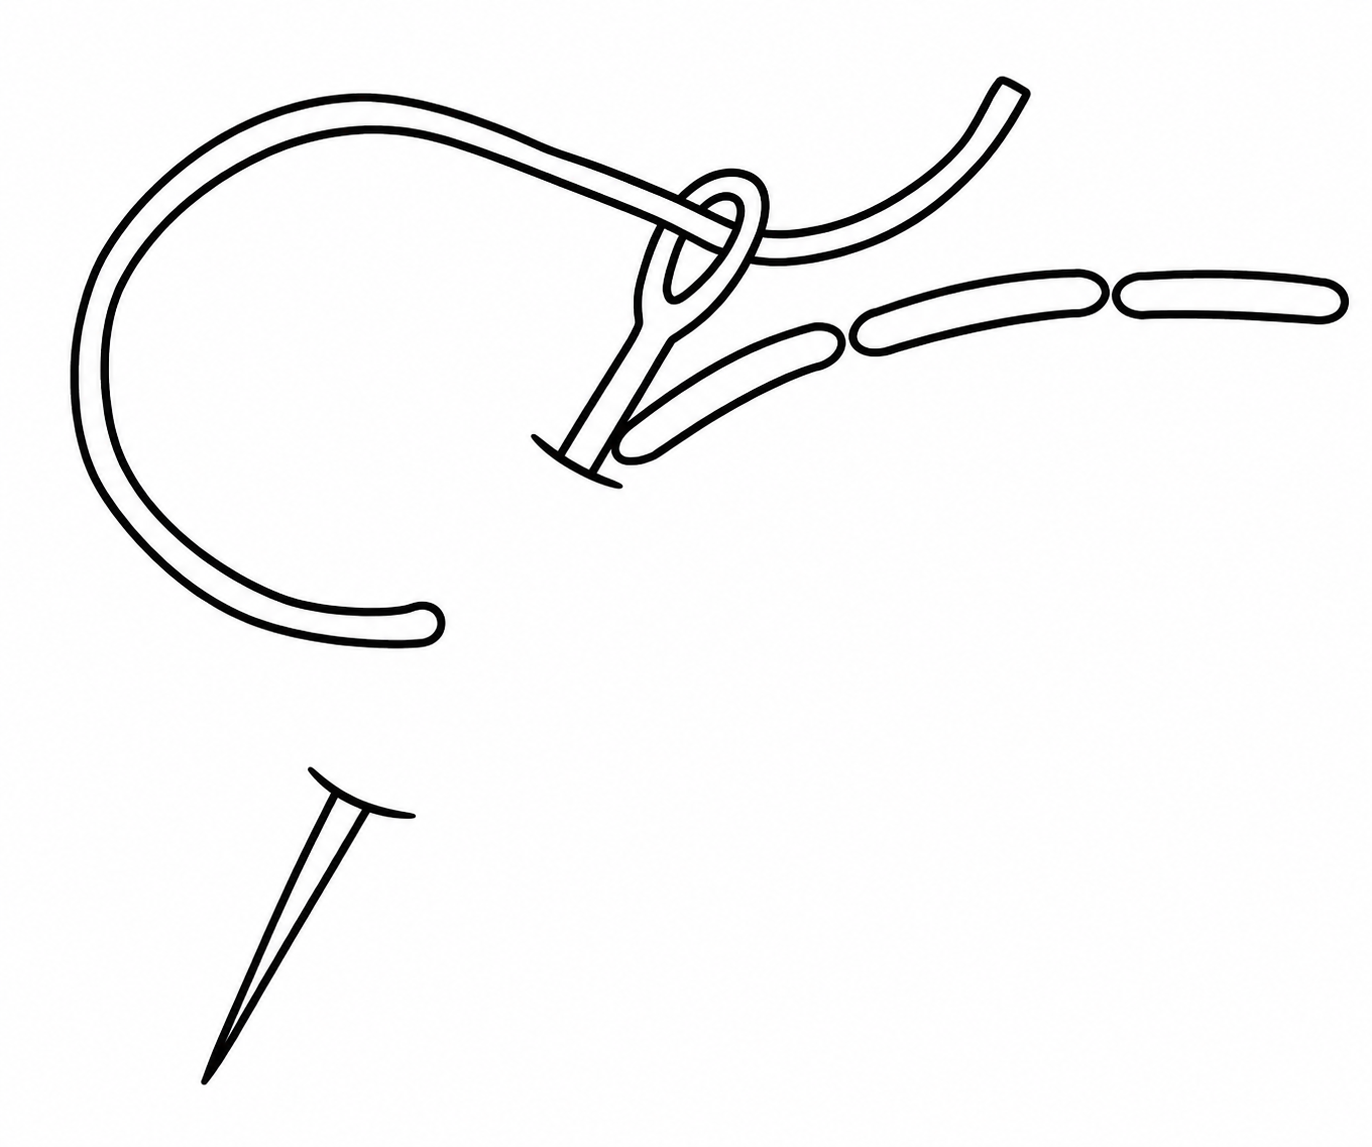
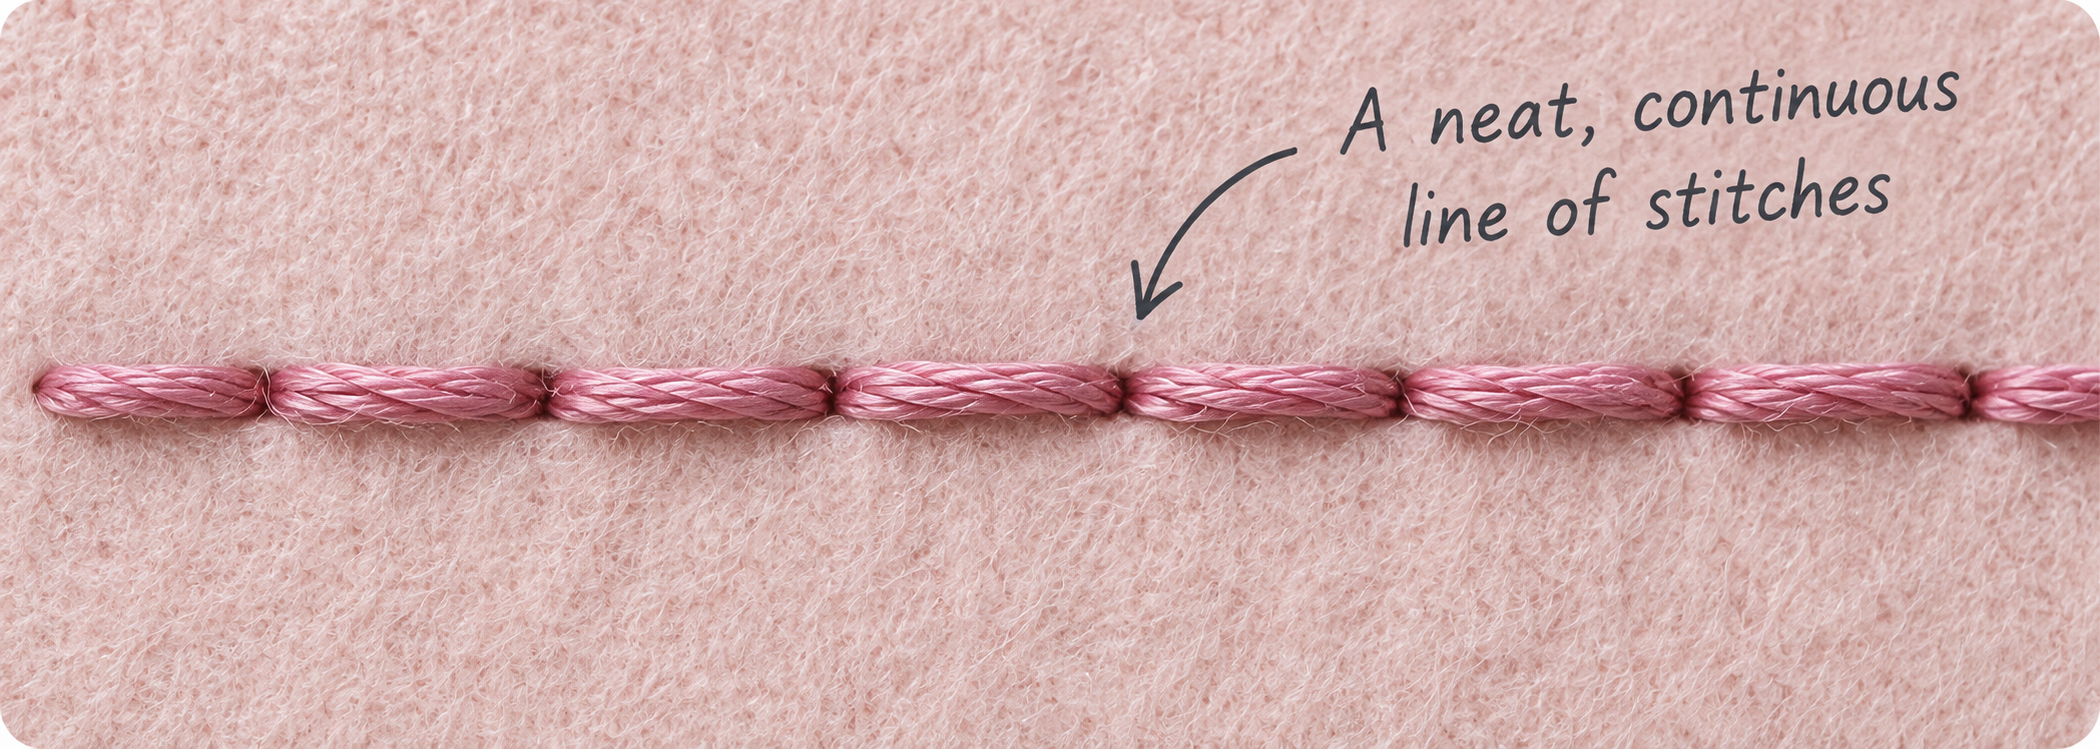
The backstitch is a hand-sewing technique often used for outlining shapes, creating text, or adding small, precise details—like the perfect grin on a stuffed animal! It’s sturdy and gives a clean, continuous line, making it a must-have skill for your sewing toolbox.
How to Sew a Backstitch: Step-by-Step
1️⃣ Start from the underside (wrong side) of your fabric. Bring your needle up through the fabric layer to the right (top) side.
2️⃣ Make your first stitch forward. Insert the needle down into the fabric a short distance ahead of your starting point (about 1/4”).
3️⃣ Now, stitch backward! Bring your needle up from the underside to the right of the first stitch, leaving a small gap ahead of your current thread.
4️⃣ Repeat steps 2 and 3, ensuring each new stitch begins where the last stitch ended.

Where to Use the Backstitch
The backstitch is as versatile as it is simple. Here are a few fun ideas for incorporating it into your projects:
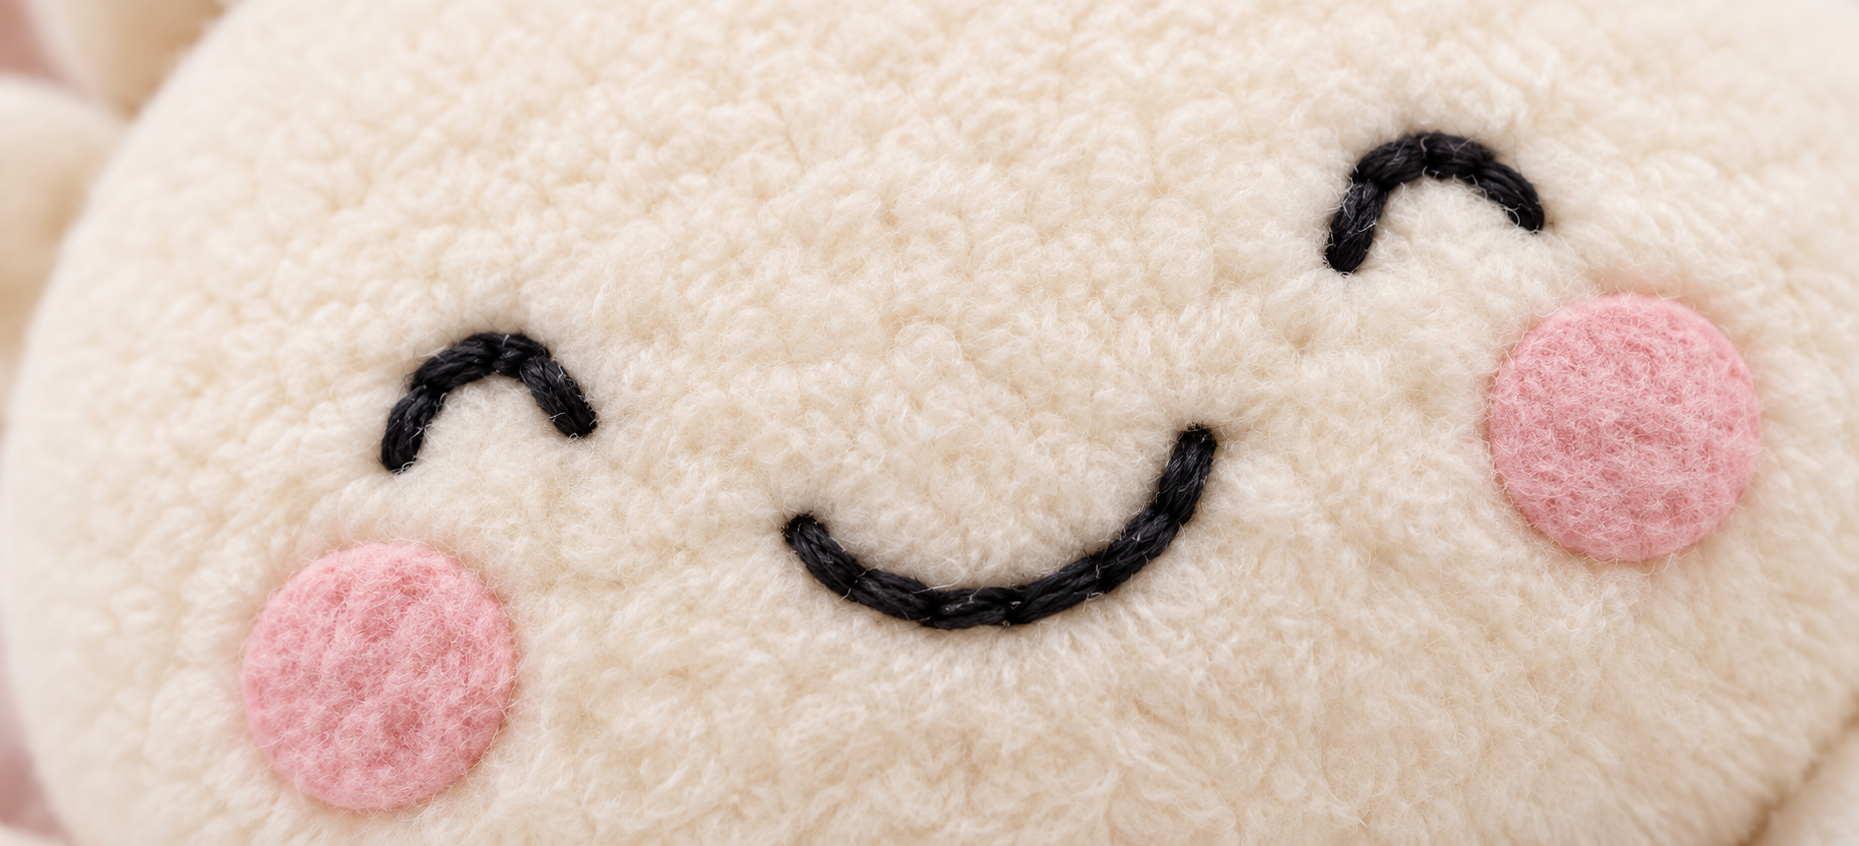
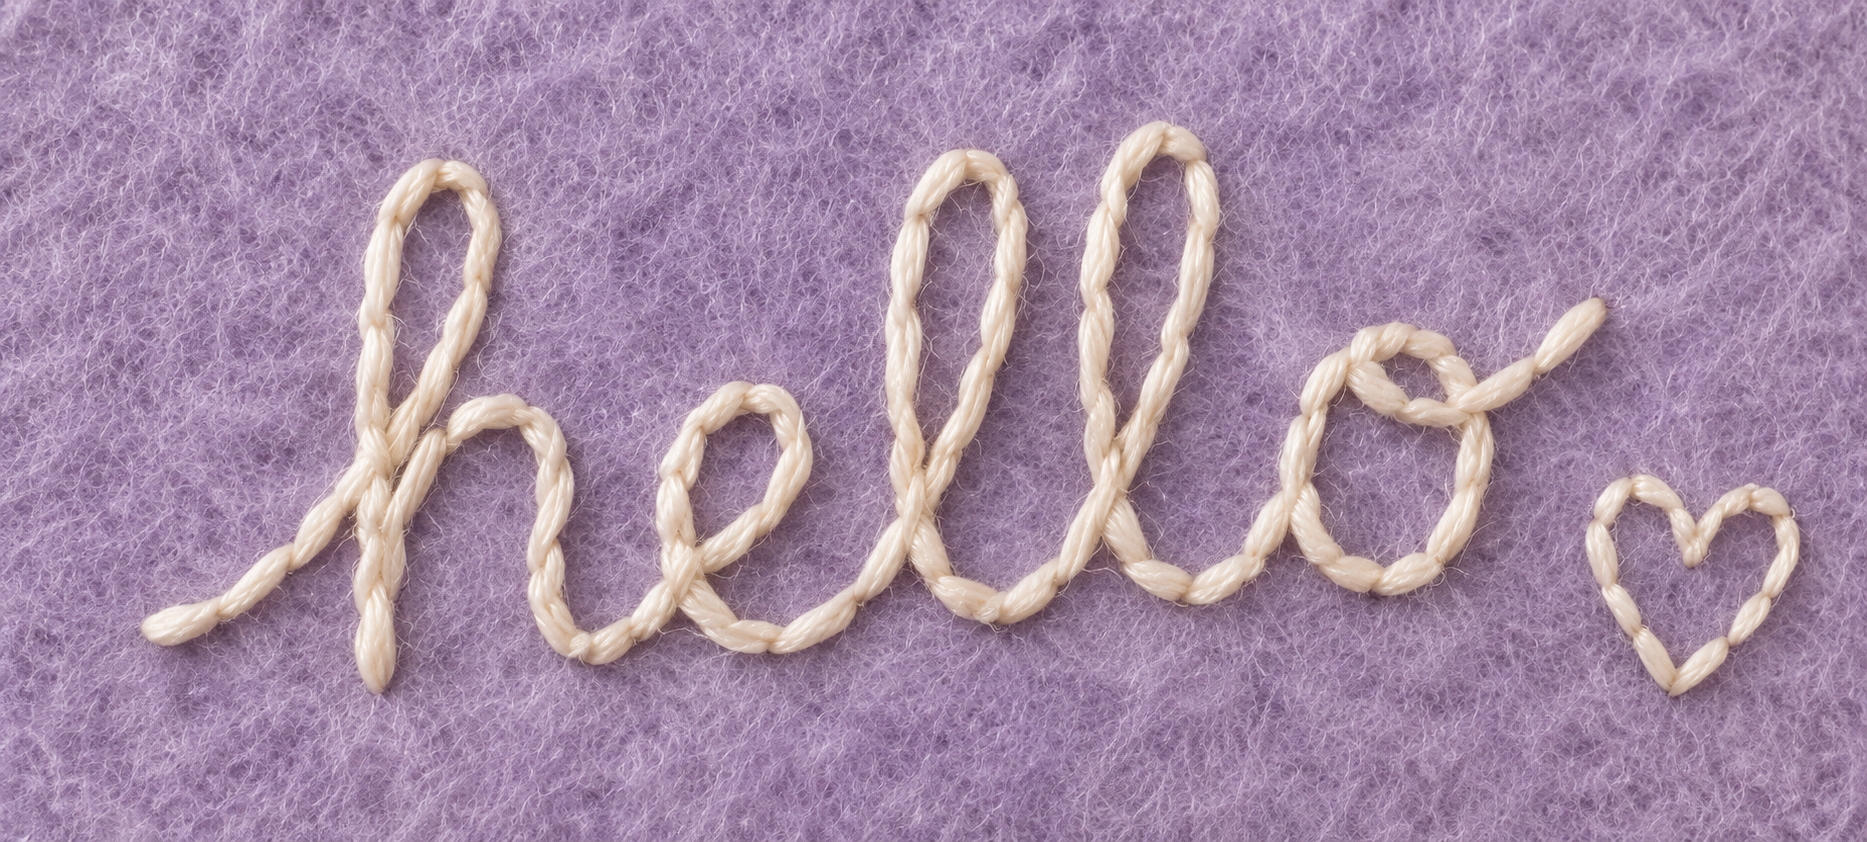
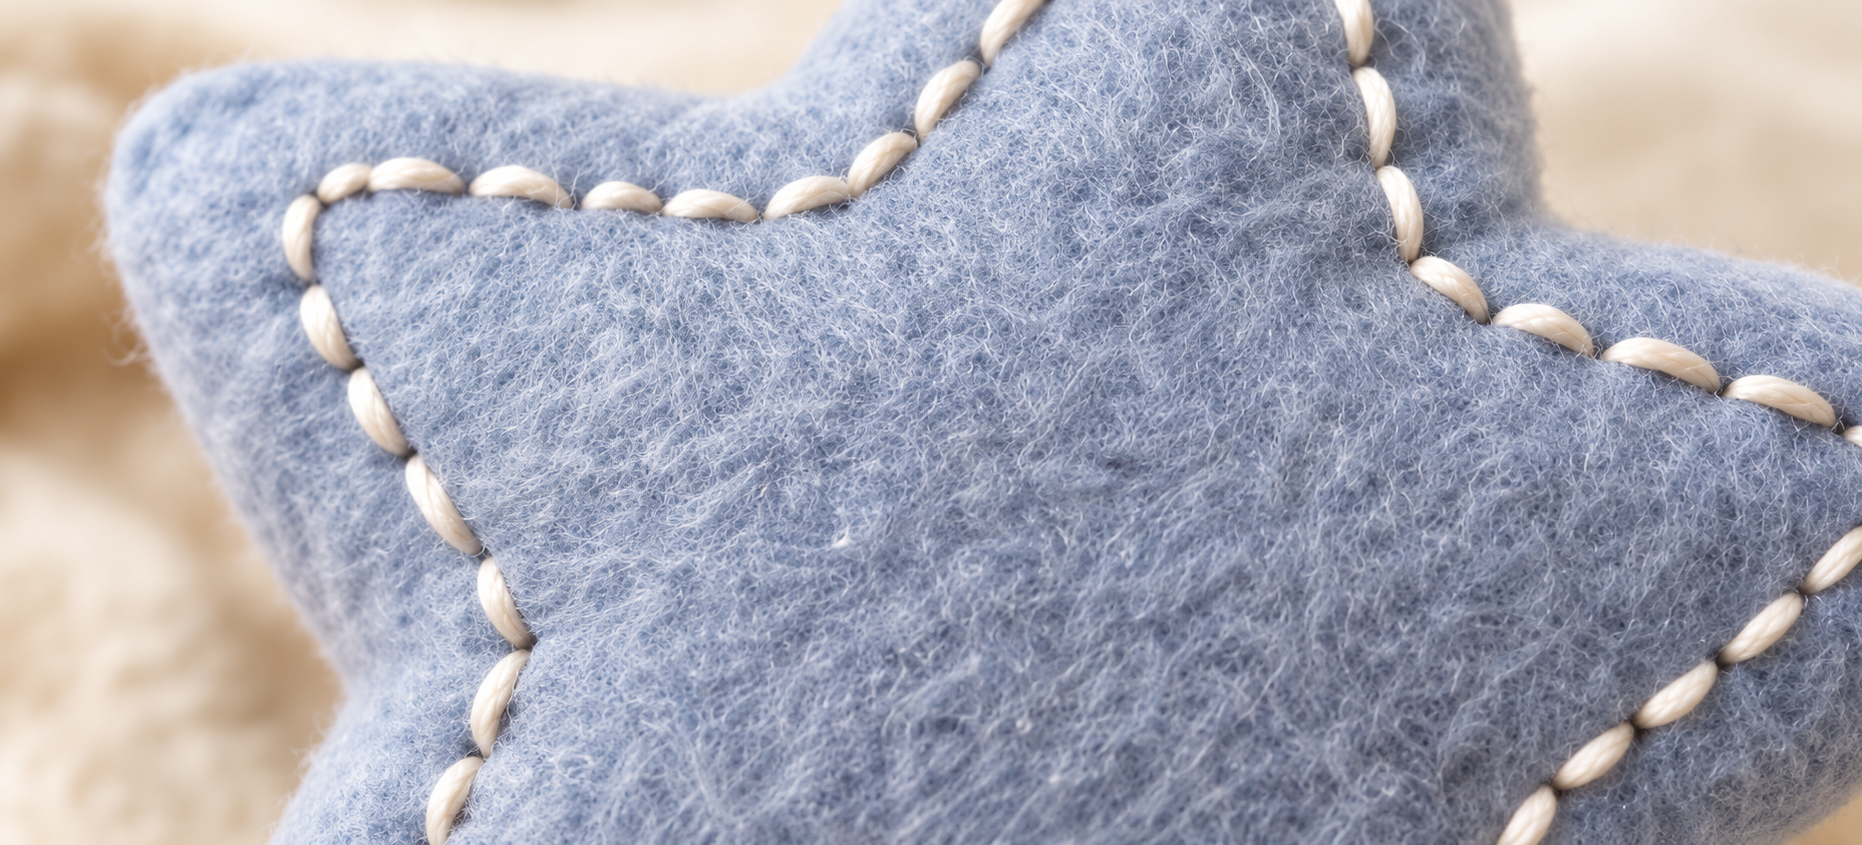
Facial Features: Add sweet smiles, whiskers, or rosy cheeks to your plushies.
Lettering: Stitch names or words onto personalized gifts.
Decorative Details: Create outlines or embellishments for added charm.
FAQs
Q: My stitches look uneven—what can I do?
A: Use a fabric pen to draw guidelines or practice on a scrap piece of fabric to perfect your spacing.
Q: What thread should I use for faces?
A: Embroidery floss or fine crochet thread works wonderfully for details like mouths. For extra durability, double your thread!
Happy stitching!
Affiliate Disclosure: This post contains affiliate links. If you purchase something through one of these links, Sew Cute Patterns may earn a small commission at no additional cost to you. As an Amazon Associate, I earn from qualifying purchases.

Shop Patterns Shop Sew Cute Patterns | Visit Our Etsy StoreShop Patterns | sewing tutorials | sewing blog | Shop sewing supplies