🧵FEATURED POSTS
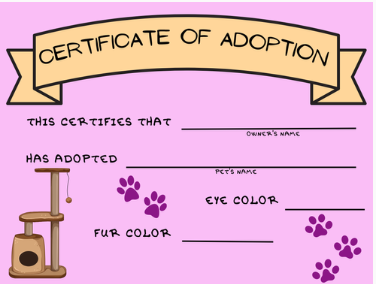
Free Adoption Certificate
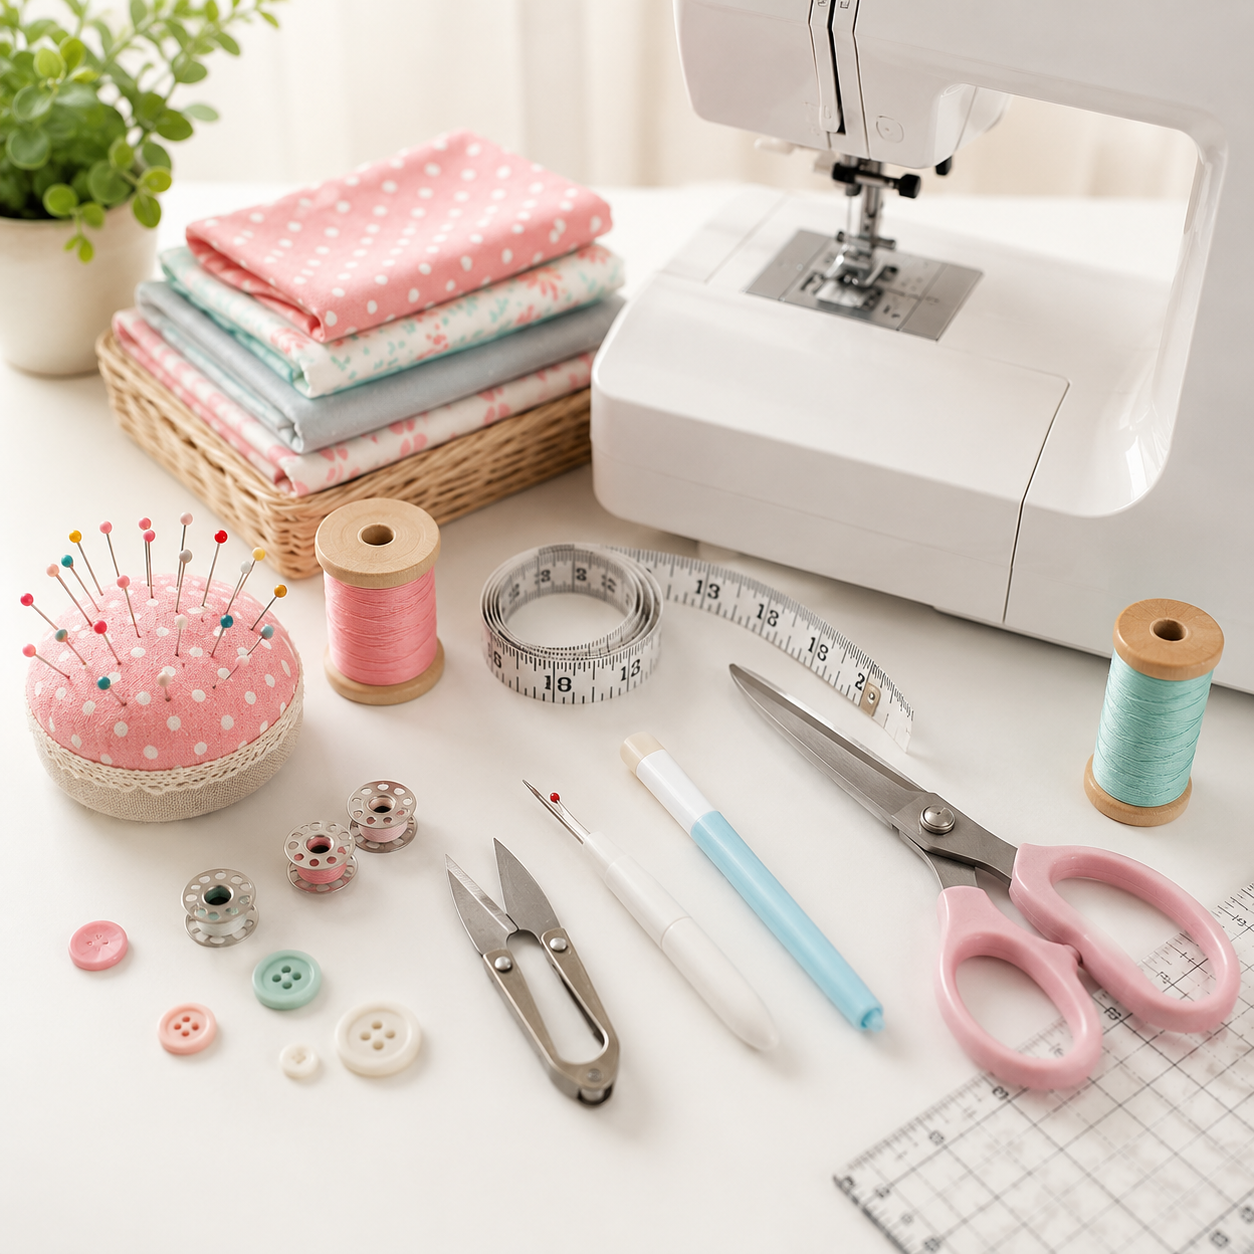
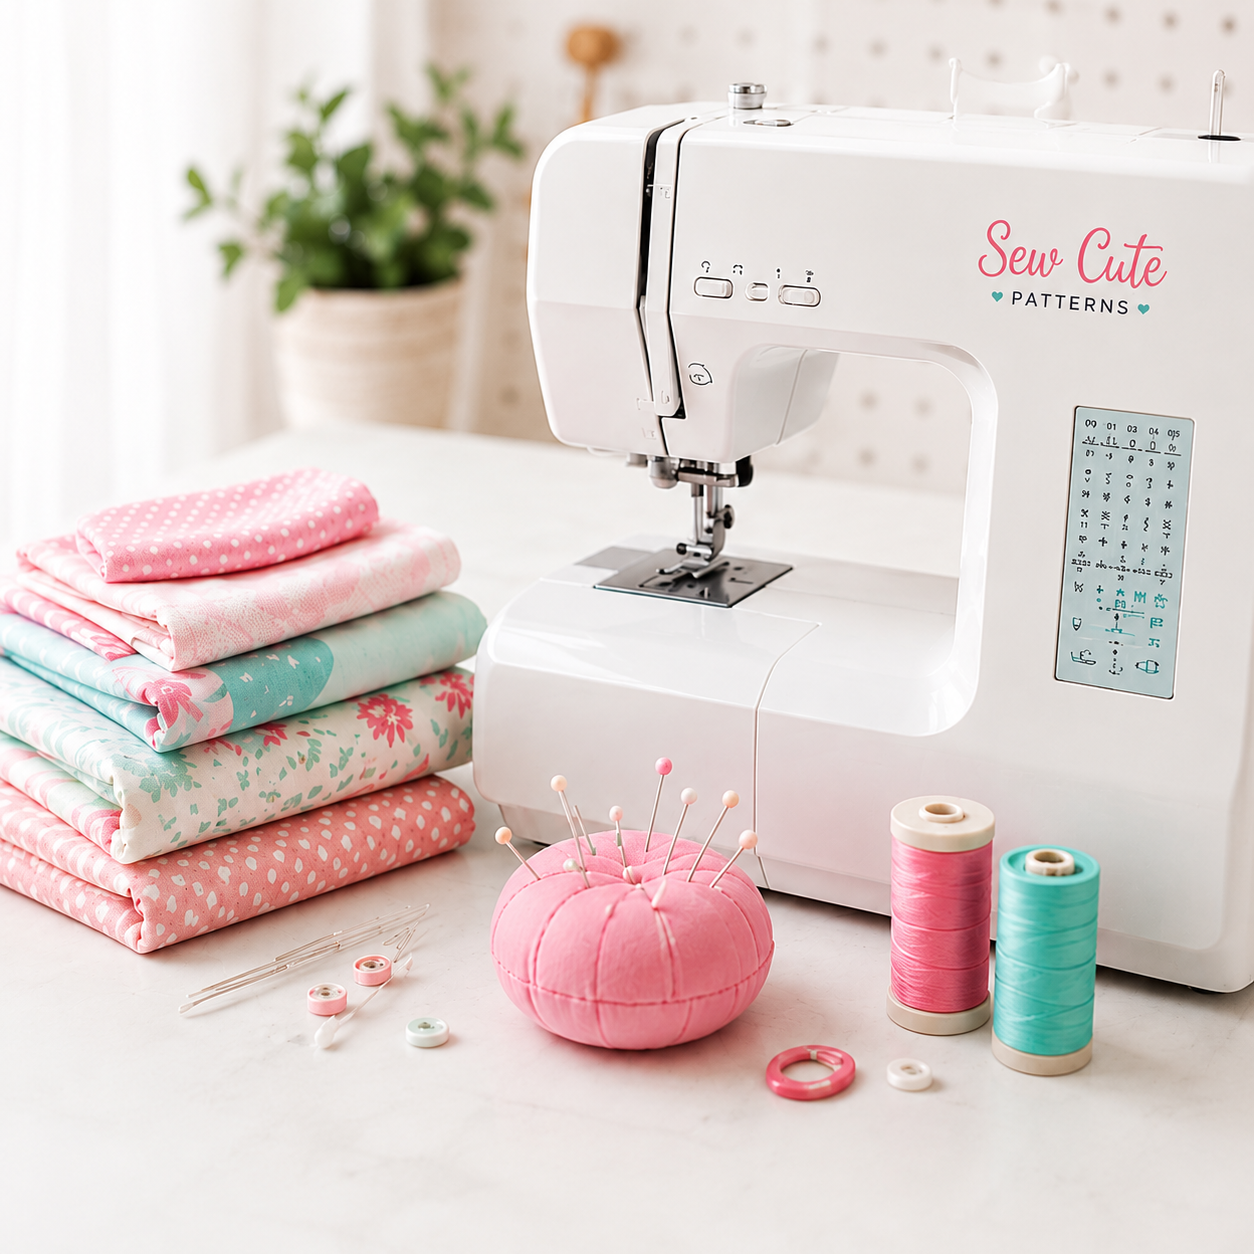
Shop Sewing Supplies
Beginner Sewing School
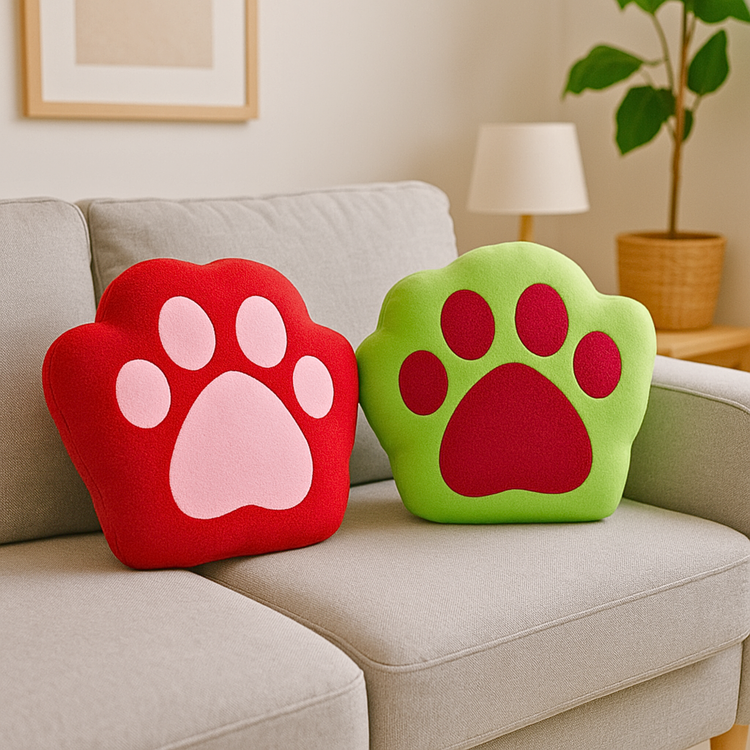
Free Paw Pillow Pattern
Ask Gary: Sewing Advice
✂️ ALL BLOG POSTS