Free Burlap Pumpkin Sewing Pattern
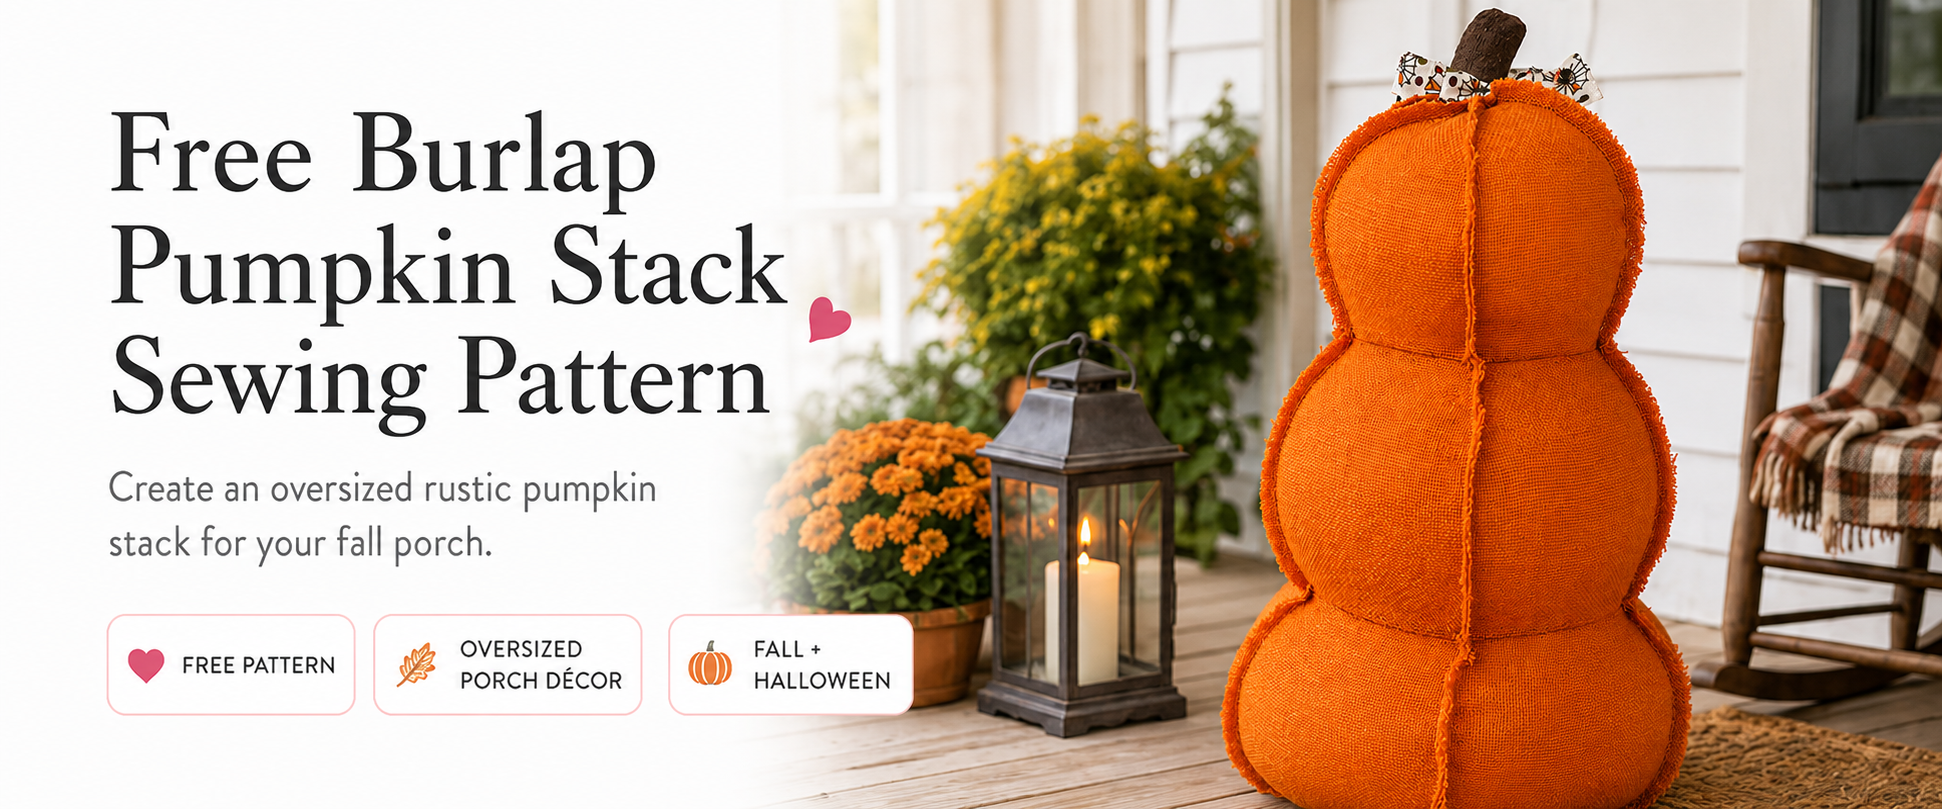
Nothing says hello fall quite like a stack of pumpkins greeting guests on the front porch. If you love farmhouse decor, cozy autumn colors, and oversized seasonal decorations, you're going to love this free Burlap Pumpkin Stack sewing pattern!
Standing approximately 3 feet tall, this eye-catching pumpkin stack is the perfect decoration for your front porch, entryway, fireplace hearth, or anywhere that needs a little extra autumn charm. Best of all, it's soft, lightweight, and folds flat for easy storage when pumpkin season comes to an end. Want a smaller version? Print the pattern pages at a lower scale such as 90%, 80%, etc.
Why You'll Love This Pumpkin Stack
Nearly 3 feet tall for a dramatic display
Rustic farmhouse style
Beginner-friendly construction
Lightweight and easy to store
Makes a wonderful handmade gift
FREE downloadable sewing pattern
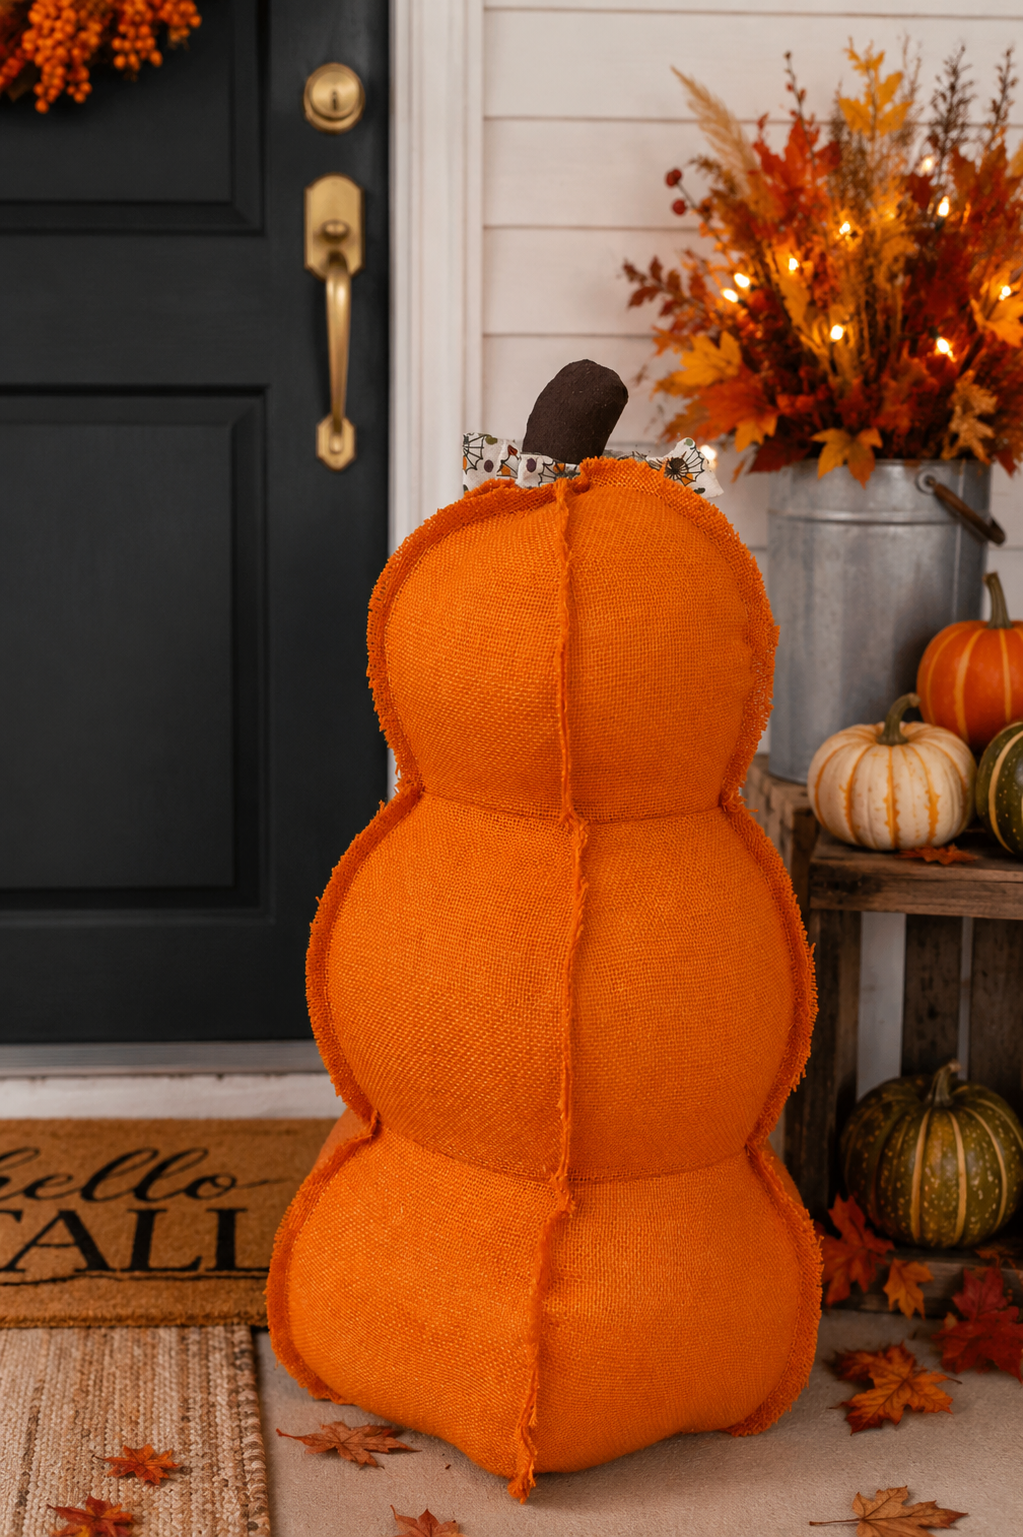
What You'll Need
Gather your supplies before you begin.
Fabric
1 yard Orange burlap (main fabric)
8” x 8” piece of brown fabric or felt for the stem
Shop Brown Fabric
Fall themed ribbon (optional)
Optional: Lightweight fusible woven interfacing (recommended)
Other Supplies
Polyester fiberfill
Sewing machine
Matching thread
Fabric scissors or rotary cutter
Sewing clips or pins
Optional: Fray Check or clear fabric glue (if opting out of the interfacing)
Download pattern pieces and photo instructions.
A Little Secret That Makes Burlap Much Easier to Sew
If you've never sewn with burlap before, here's one of my favorite tricks:
Fuse a lightweight interfacing to the wrong side of the burlap before cutting out your pattern pieces. While this step is optional, I highly recommend it, especially if you're new to sewing with burlap.
A lightweight woven interfacing, such as Pellon SF101 Shape-Flex, adds just enough stability to make the fabric much easier to handle without taking away its soft, rustic appearance.
Why add interfacing?
Helps prevent the burlap from stretching while cutting.
Reduces fraying during construction.
Makes curved seams easier to sew.
Keeps your pattern pieces more accurate.
Gives the finished pumpkin stack a fuller, more polished shape while still remaining soft.
How to Apply It
Press your burlap flat.
Fuse the interfacing to the wrong side of the fabric following the manufacturer's instructions.
Allow it to cool completely.
Cut out your pattern pieces.
Because the interfacing stabilizes the loose weave before cutting, you'll notice significantly less fraying throughout the entire project.
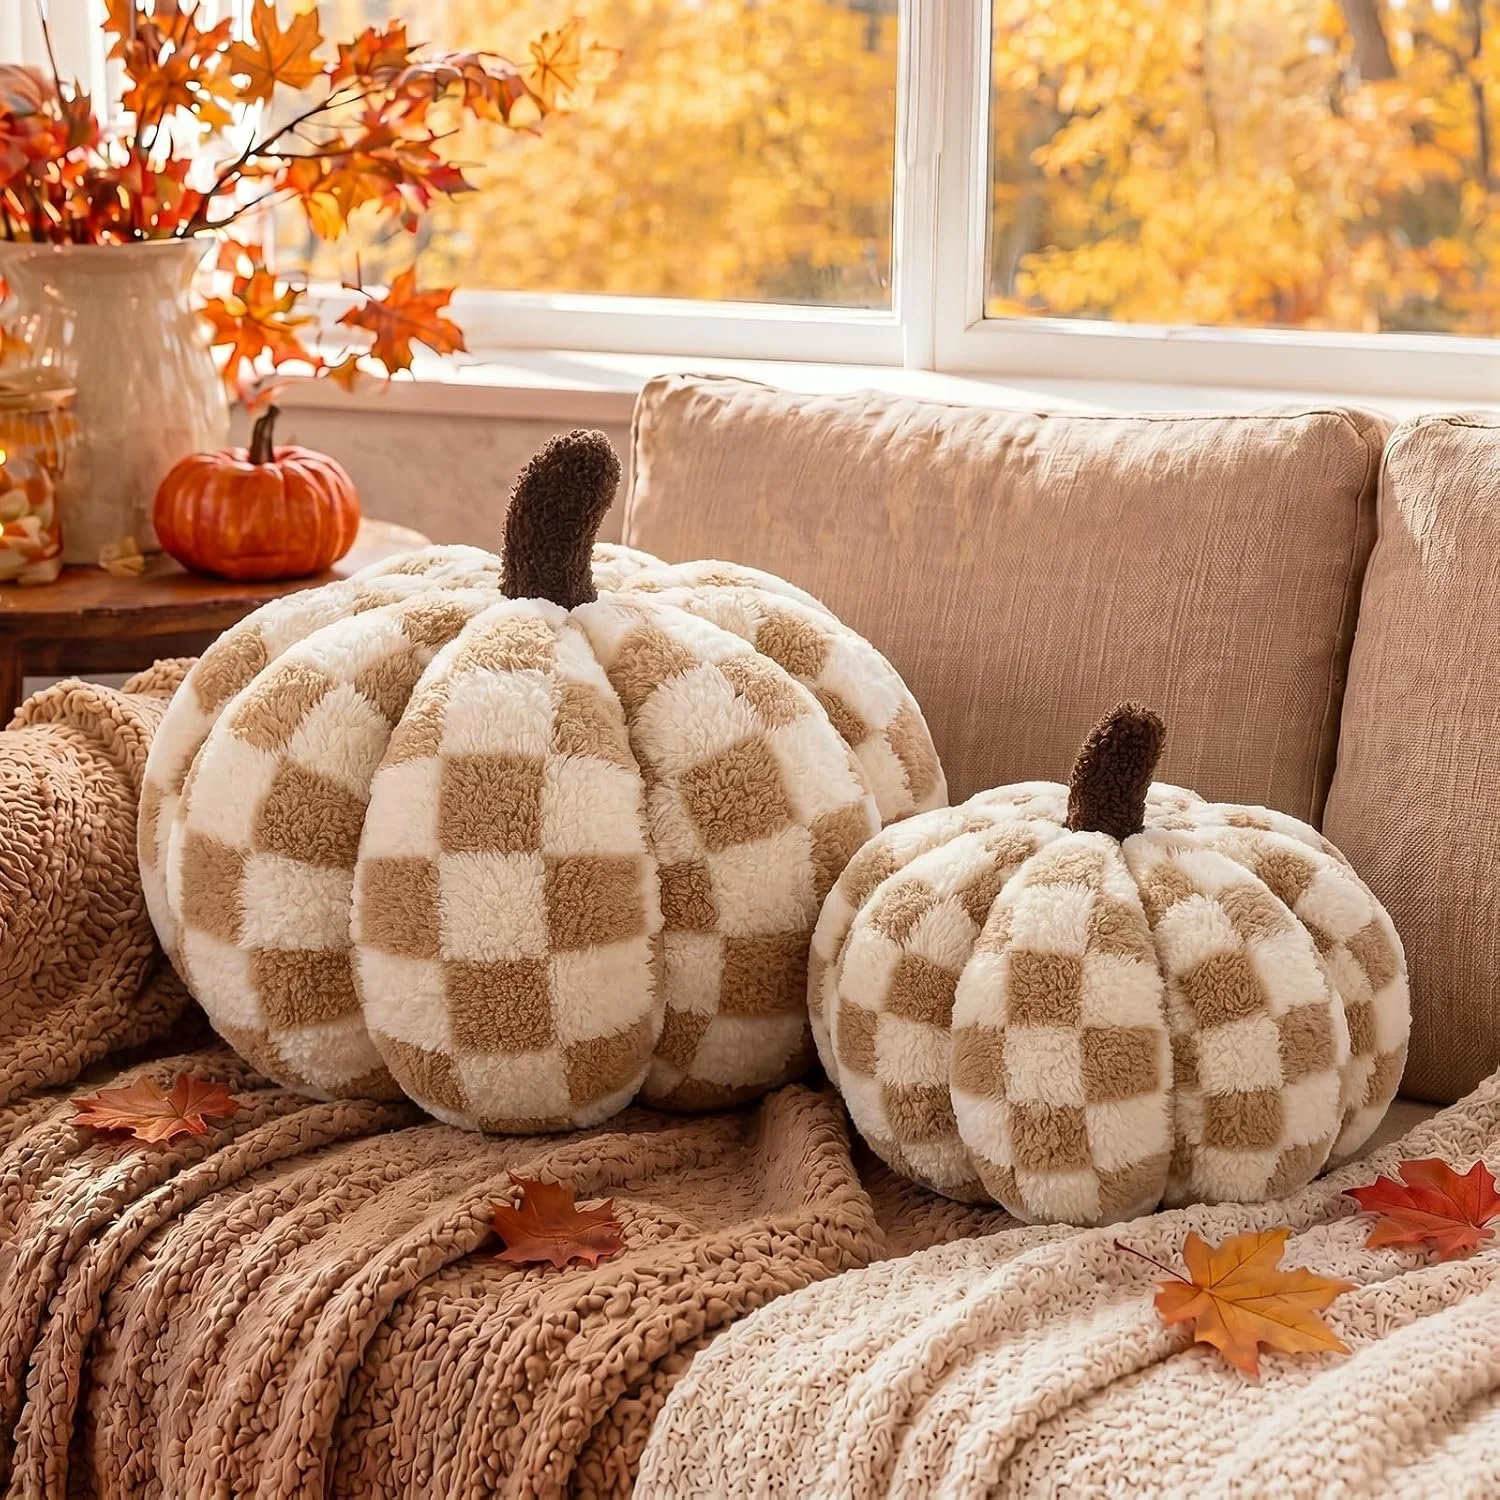
Shop fall pillows on Amazon
Tips for Sewing with Burlap
Burlap gives this pumpkin stack its beautiful rustic texture, but it behaves a little differently than quilting cotton or fleece. Here’s some tips to make it easier.
1. Expect Some Fraying
Burlap naturally unravels as soon as it's cut. That's completely normal. Instead of trying to eliminate fraying entirely, your goal is simply to control it while you're sewing.
2. Cut Carefully
Use very sharp scissors or a rotary cutter. A clean cut disturbs fewer fibers and creates less fraying than dull blades.
3. Don't Stretch the Fabric
Burlap has a loose weave that can distort easily. Let the sewing machine feed the fabric naturally rather than pulling or stretching it.
4. Increase Your Seam Allowance
The pumpkin uses a 1/4" seam allowance but consider expanding that to 3/8" to 1/2" seam allowances to make it easier. The extra fabric gives the burlap room to fray without weakening your seams.
5. Use Clips Instead of Lots of Pins
Pins can pull individual fibers apart. Wonder Clips (or similar sewing clips) hold burlap securely without distorting the weave.
6. Use a Slightly Longer Stitch Length
A stitch length around 3.0 to 3.5 mm usually works better than tiny stitches. Very short stitches can weaken the loose fibers and create a perforated effect.
7. Don't Worry About the Rustic Look
One of the best things about burlap is that it doesn't have to look perfect. Tiny loose fibers actually enhance the rustic farmhouse appearance. Think of them as character rather than imperfections.
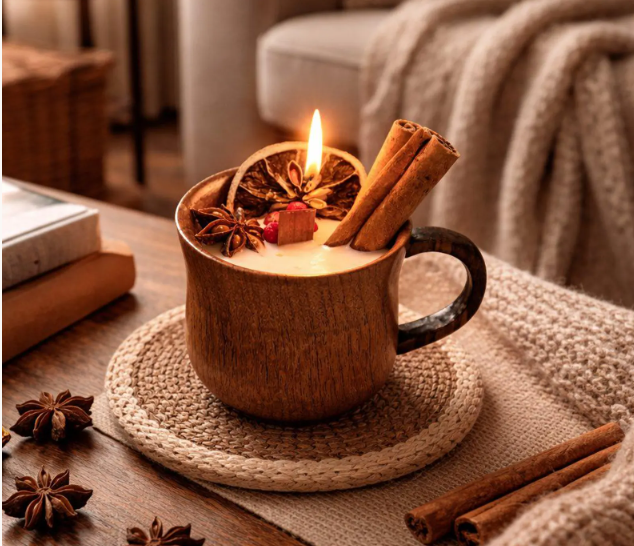
Shop pumpkin spice candle on Etsy
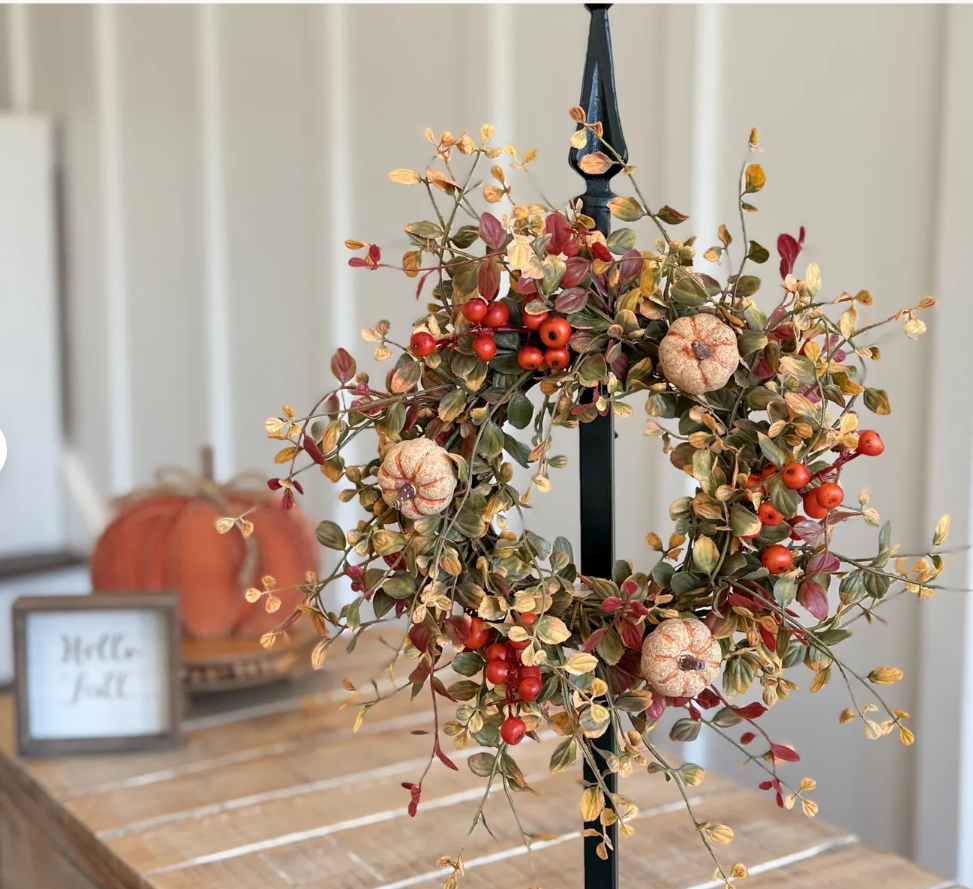
Shop Fall Decor on Etsy!
How to Keep Burlap from Fraying
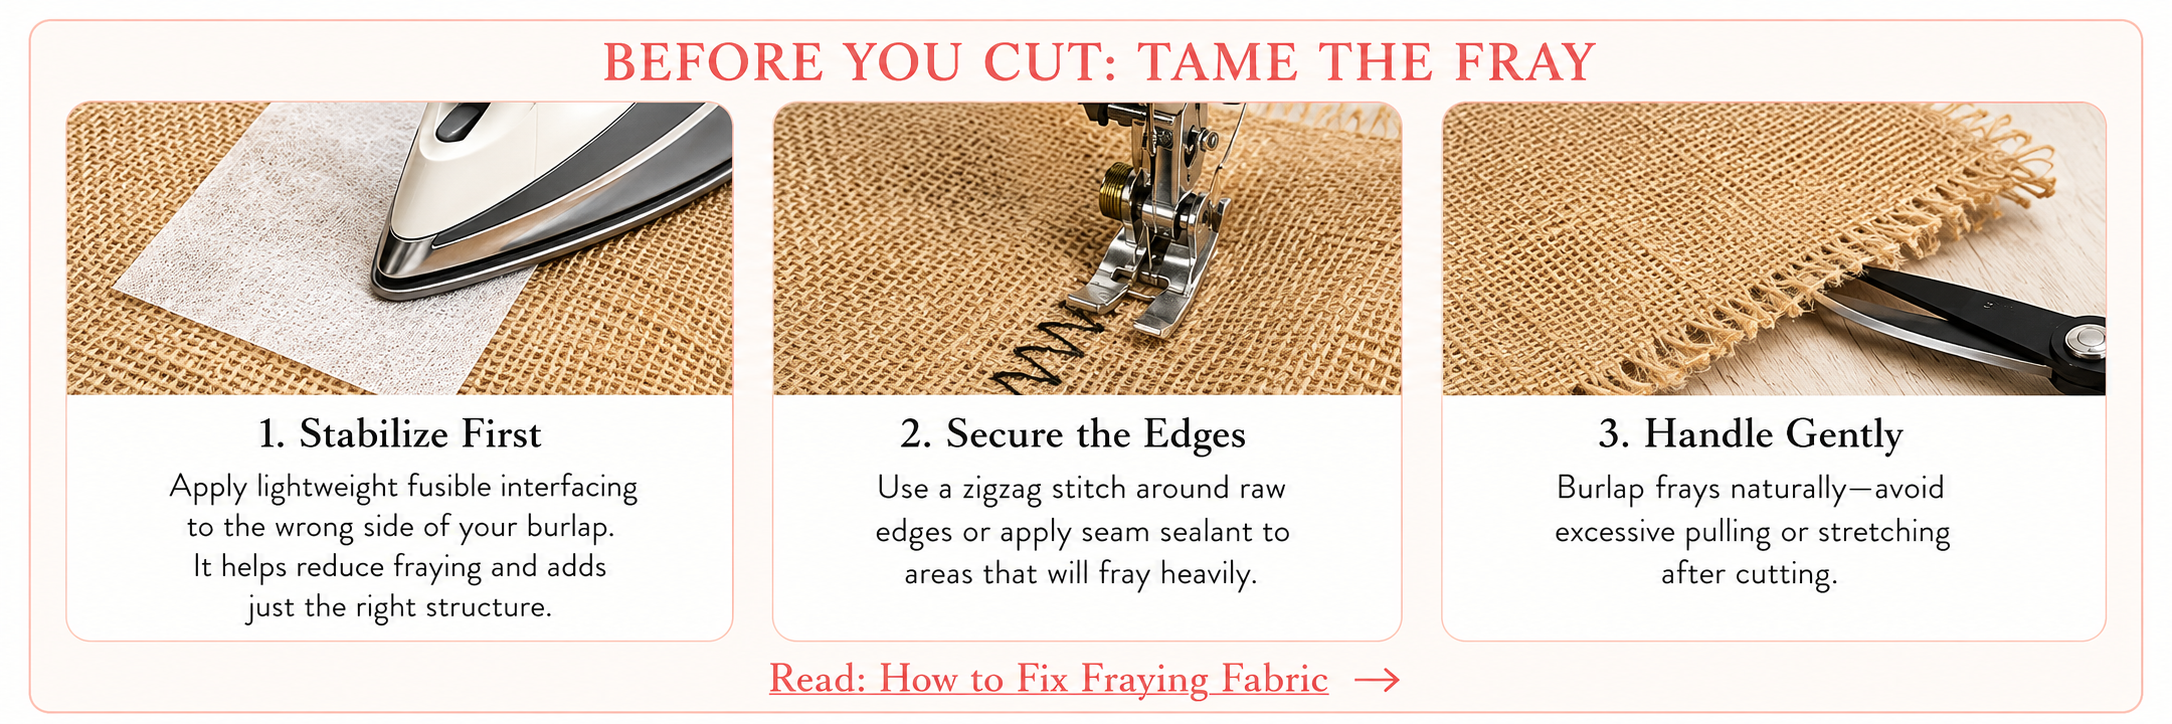
Since the edges of the pumpkin sections remain exposed, you may want to reduce the amount of fraying over time. Here are a few methods that work well.
Option 1: Fray Check (Recommended)
Apply a thin line of Fray Check along the raw edge. Allow it to dry completely before handling the fabric. This keeps the weave together while remaining fairly flexible.
Option 2: Clear Fabric Glue
A light coat of flexible fabric glue along the raw edge also helps lock the fibers in place. Use it sparingly so the edge doesn't become stiff.
Option 3: Zigzag the Edge
If you don't mind a slightly less rustic appearance, sew a wide zigzag stitch close to the edge before assembling the pumpkin. This helps contain loose fibers.
Option 4: Accept a Little Fraying
A small amount of fraying gives burlap projects an authentic vintage look. As long as your seam allowances are generous, a little fuzziness won't hurt the finished project.
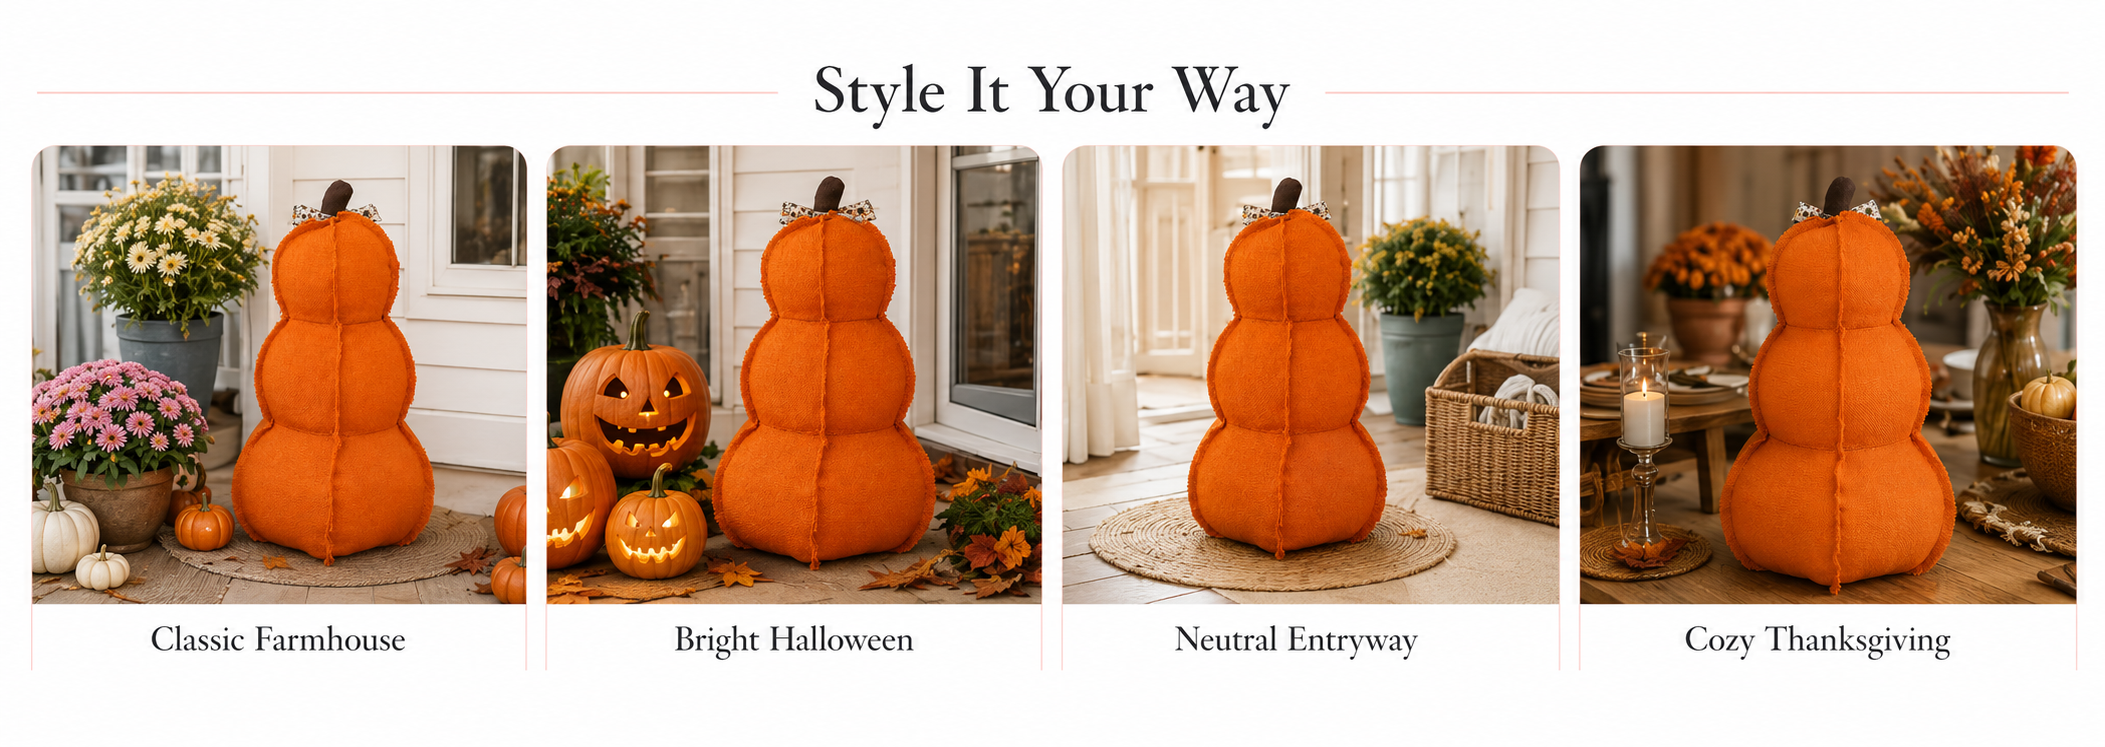
Storage Tips
One of the biggest advantages of fabric decorations is how easy they are to store.
When fall is over:
Brush off any dust.
Store in a large storage tote or vacuum storage bag.
Keep it in a cool, dry location.
Avoid crushing the stem if possible.
Unlike foam or ceramic decorations, your fabric pumpkin stack won't chip or crack during storage.
Download the Free Pumpkin Stack Pattern
Ready to create your own oversized fall decoration?
🎃 Excerpt from the Sew Cute Patterns Fall Decorating Committee Meeting
Gary the spider: "The burlap pumpkin passed inspection."
Frank the Fry: "Can we carve it?"
Gary the Spider: "No."
Phil the rat: "Can we make five more?"
Gary the Spider: "Yes."
Sally the Soda: "Can someone vacuum all these burlap threads?"
(Meeting adjourned due to excessive pumpkin enthusiasm.)
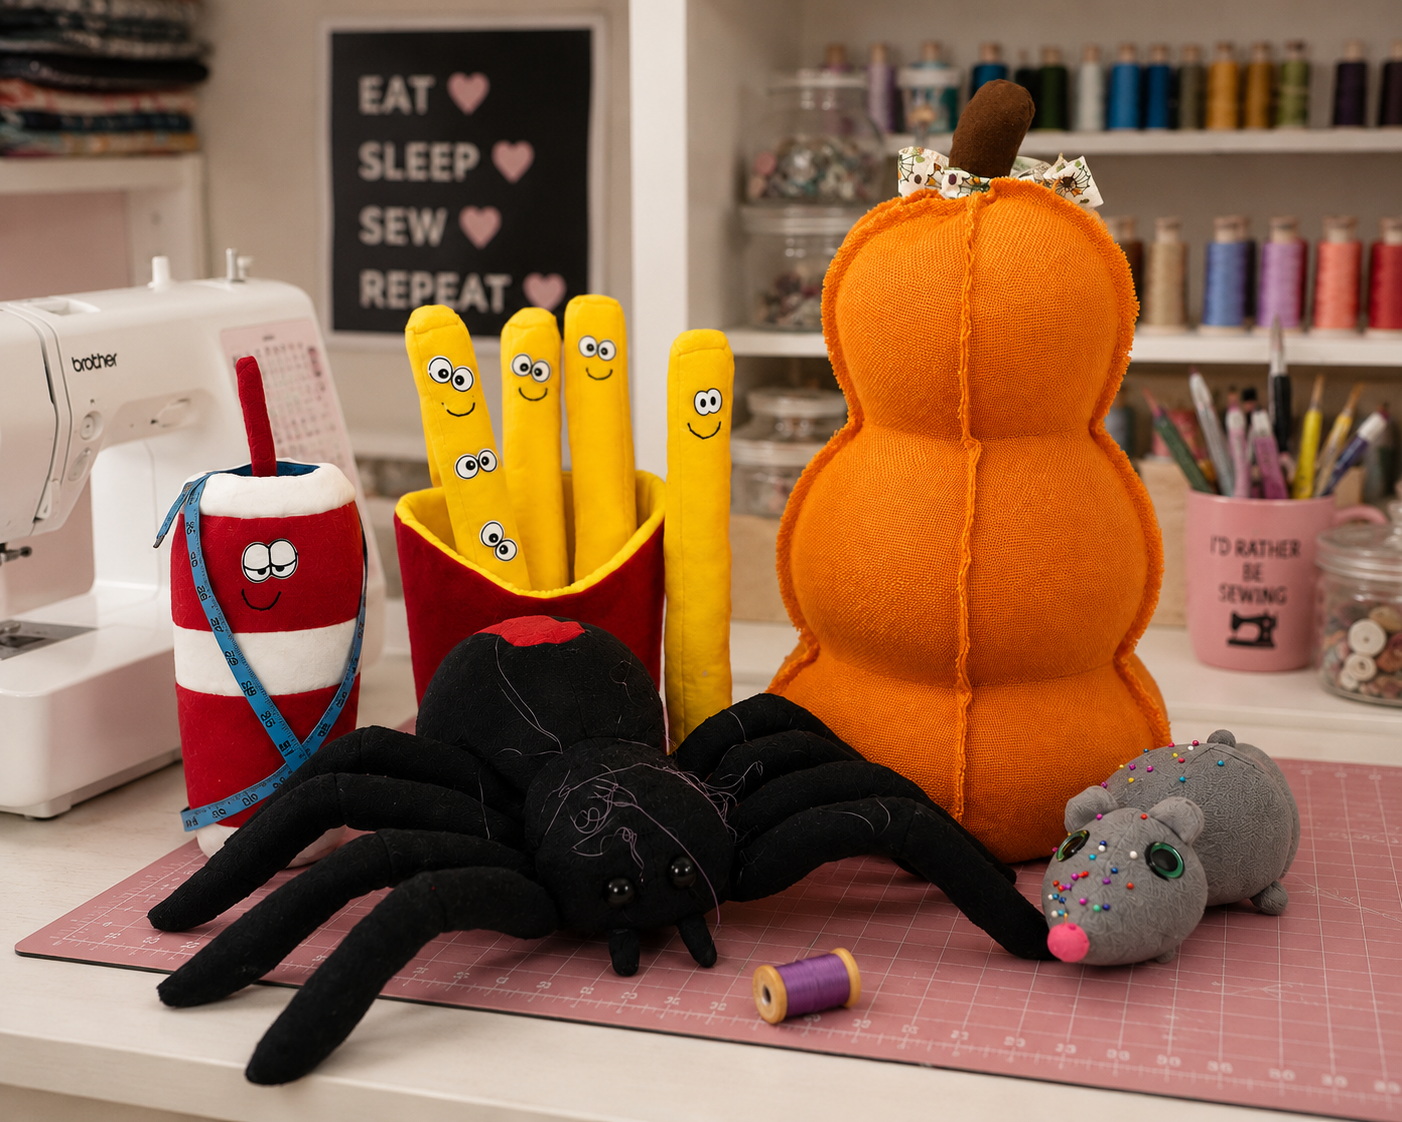
Happy sewing, and happy fall! 🍂🎃
Affiliate Disclosure: This post contains affiliate links. If you purchase something through one of these links, Sew Cute Patterns may earn a small commission at no additional cost to you. As an Amazon Associate, I earn from qualifying purchases.
Shop Patterns | sewing tutorials | sewing blog | Shop sewing supplies