Embroidery Tips for Perfect Plushie Expressions
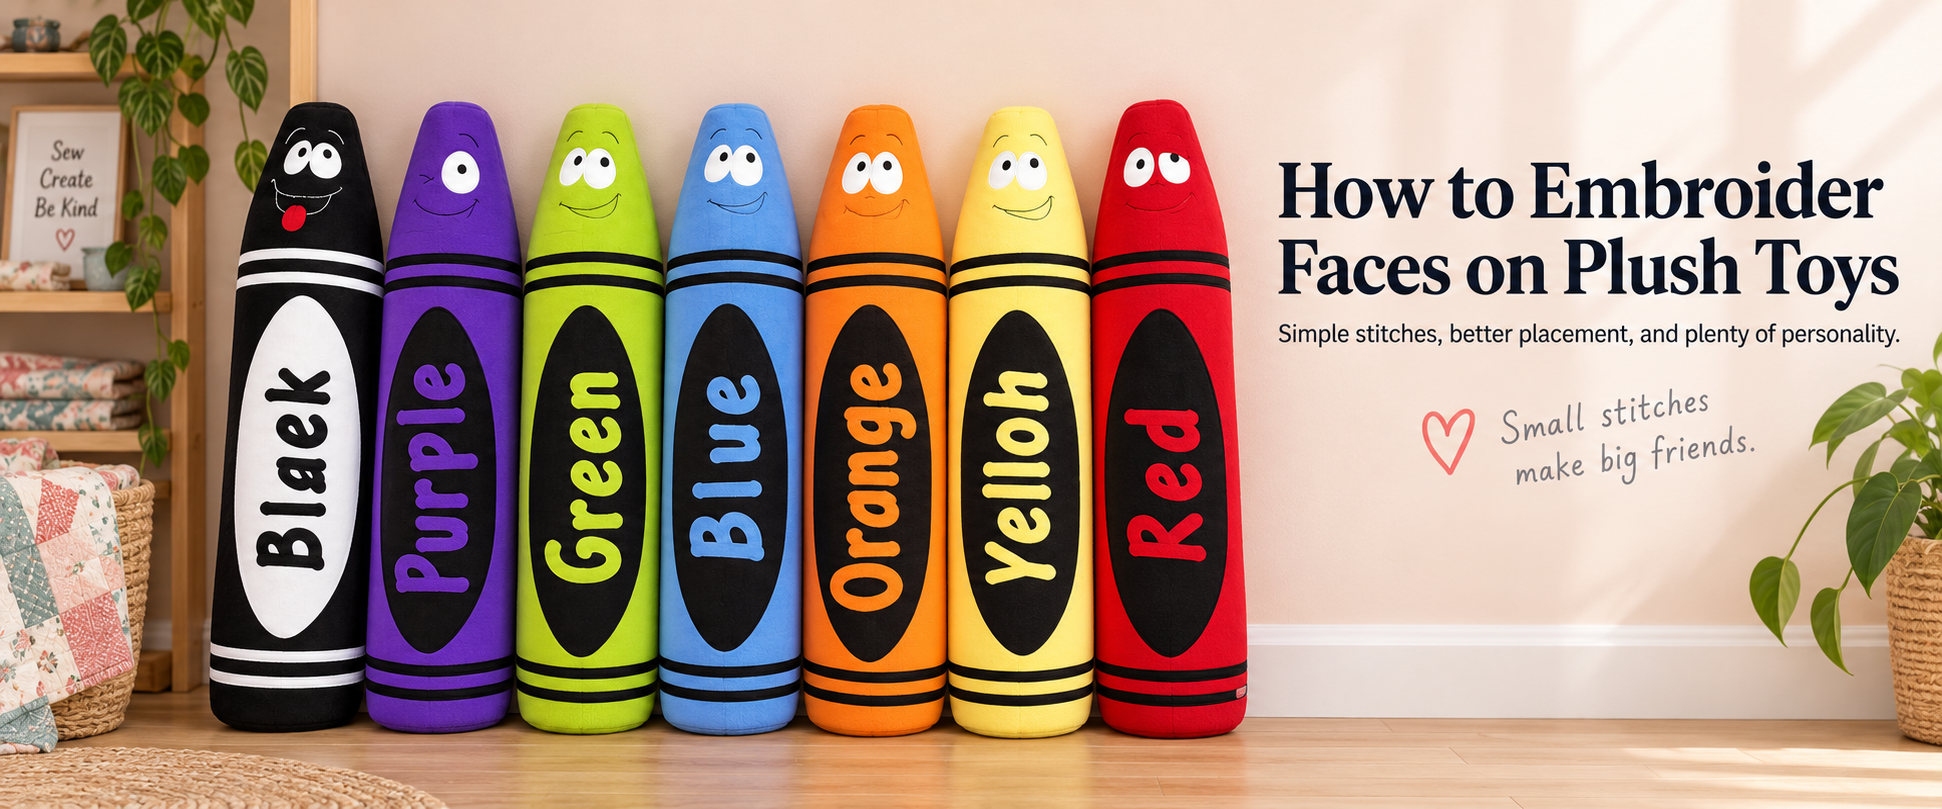
The face is the heart of any plushie—it’s where personality shines and charm comes to life. Whether you’re aiming for a mischievous grin or a sweet, sleepy expression, embroidery is a versatile and beginner-friendly way to give your plushie a one-of-a-kind look. Ready to master the art of faces? Let’s dive into tips, tricks, and techniques for creating perfect plushie expressions!
Why Embroider Faces? Embroidery offers:
Complete control: You can create any expression you dream up.
Durability: Stitched details won’t fall off like glued-on features might.
Custom charm: Handmade faces add unique personality to each toy.
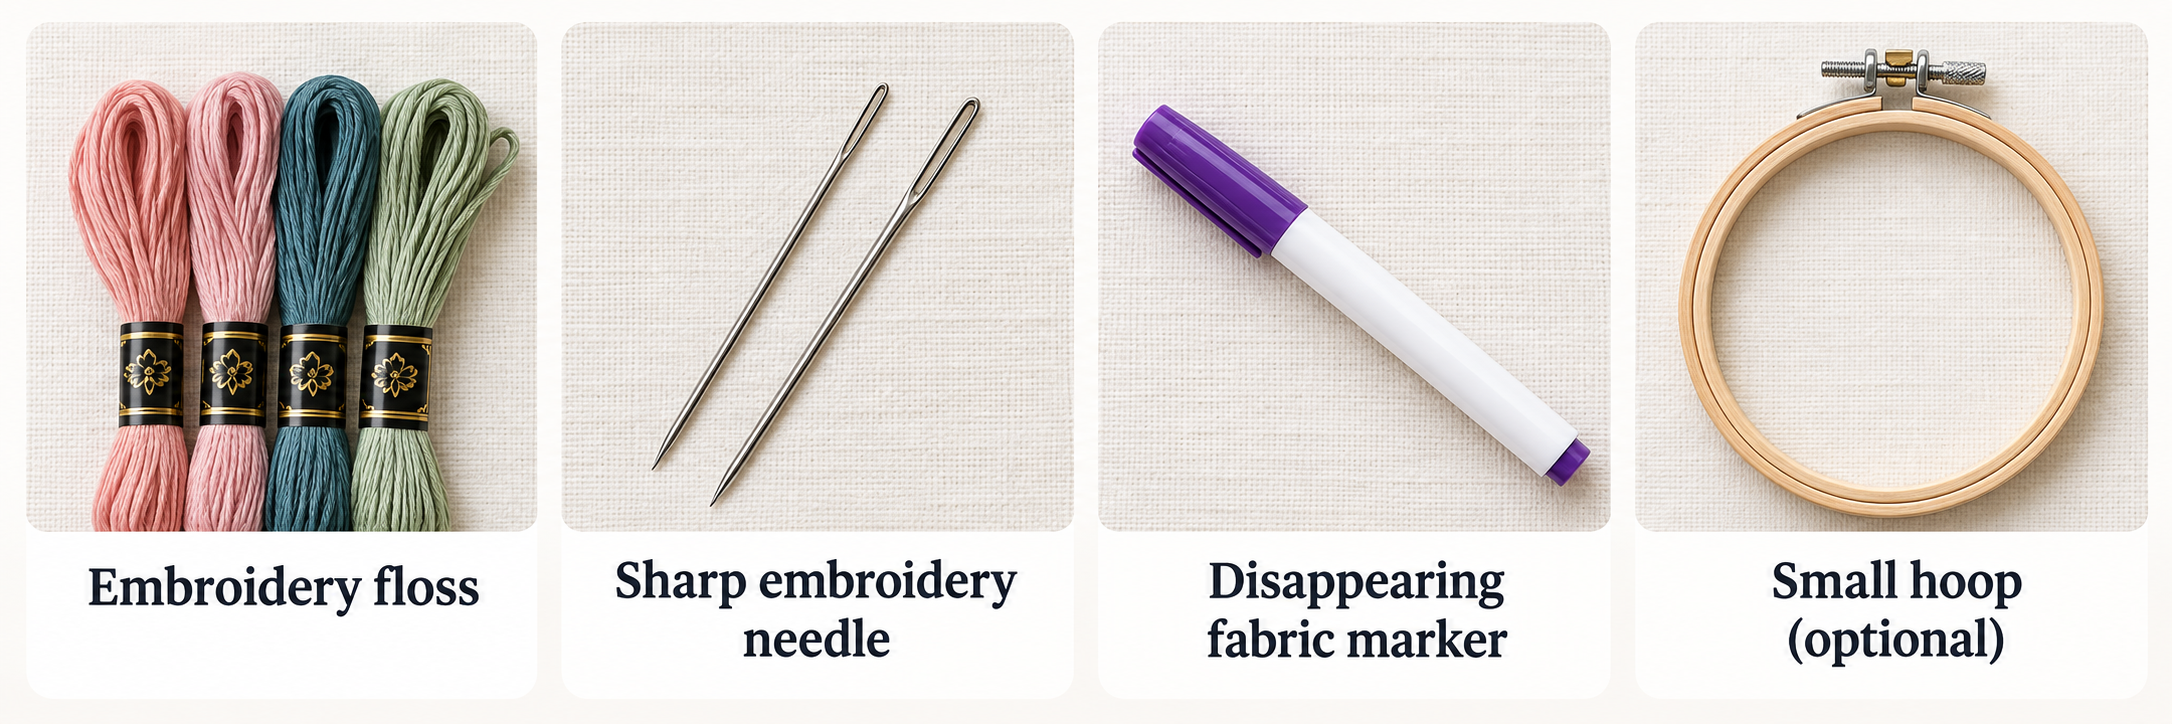
Gather Your Supplies
Plan Your Expression
Before stitching, plan the face. This helps you avoid last-minute regrets (like eyebrows in the wrong place!).
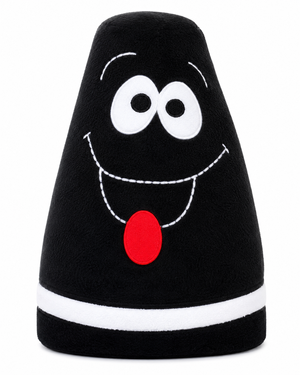
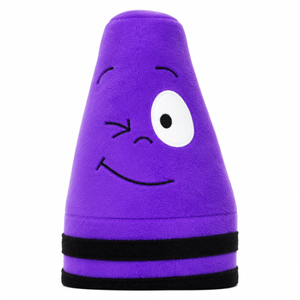
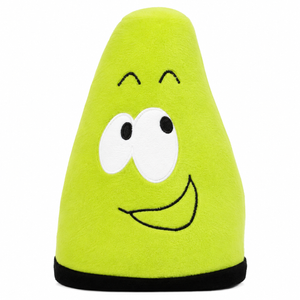

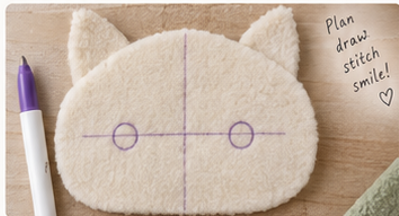
Sketch it out: Draw the face on paper to experiment with placement and style.
Mark it on fabric: Use a disappearing fabric marker or chalk to lightly outline the features on your plushie.
Consider proportions: Place features slightly below the plushie’s midpoint for a cuter, more youthful look (a technique called “babyface bias”).
Best Stitches for Plushie Faces
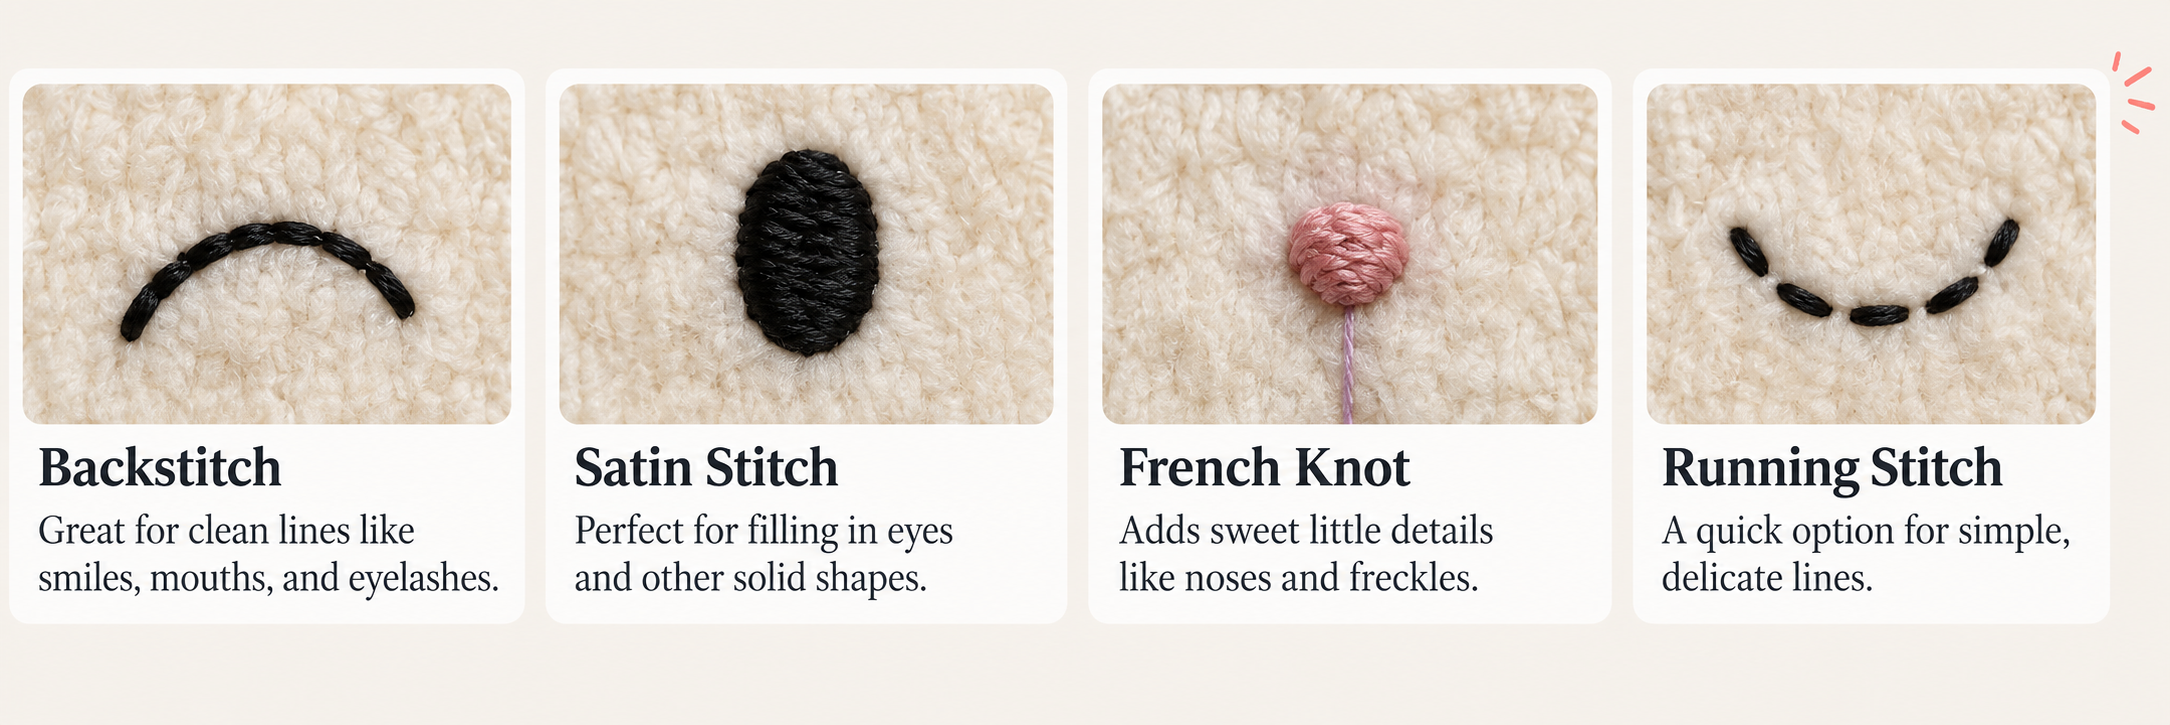
Here are the top stitches for expressive faces:
Satin Stitch
Best for: Filling in features like eyes or noses.
French Knot
Best for: Dotted details like freckles or eye highlights.
Whipstitch or Running Stitch
Best for: Simple mouths or lashes for a minimalist look.
Check out Types of Stitches for more detail.
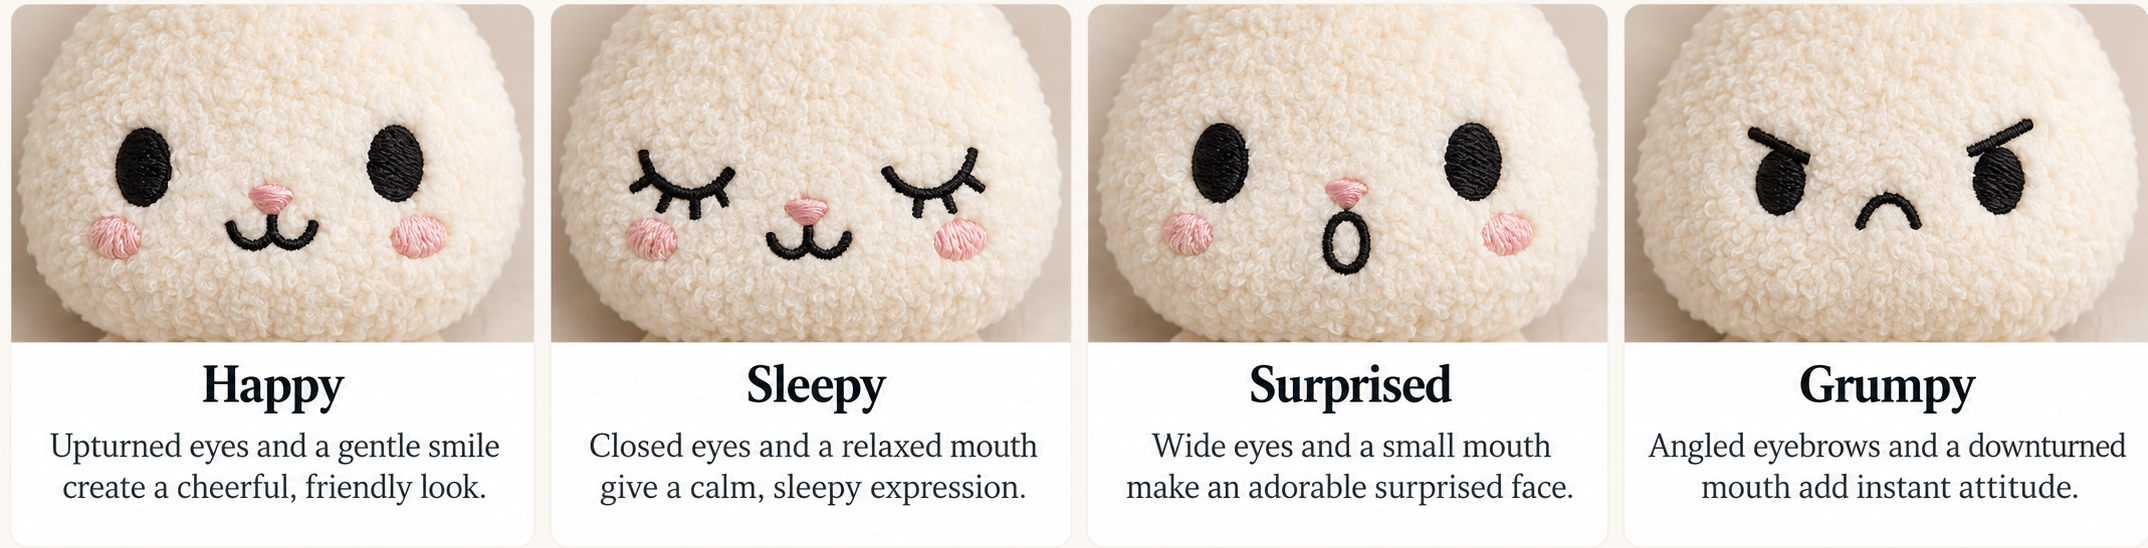
Little details make a big impact! Here are ways to elevate your plushie’s expression:
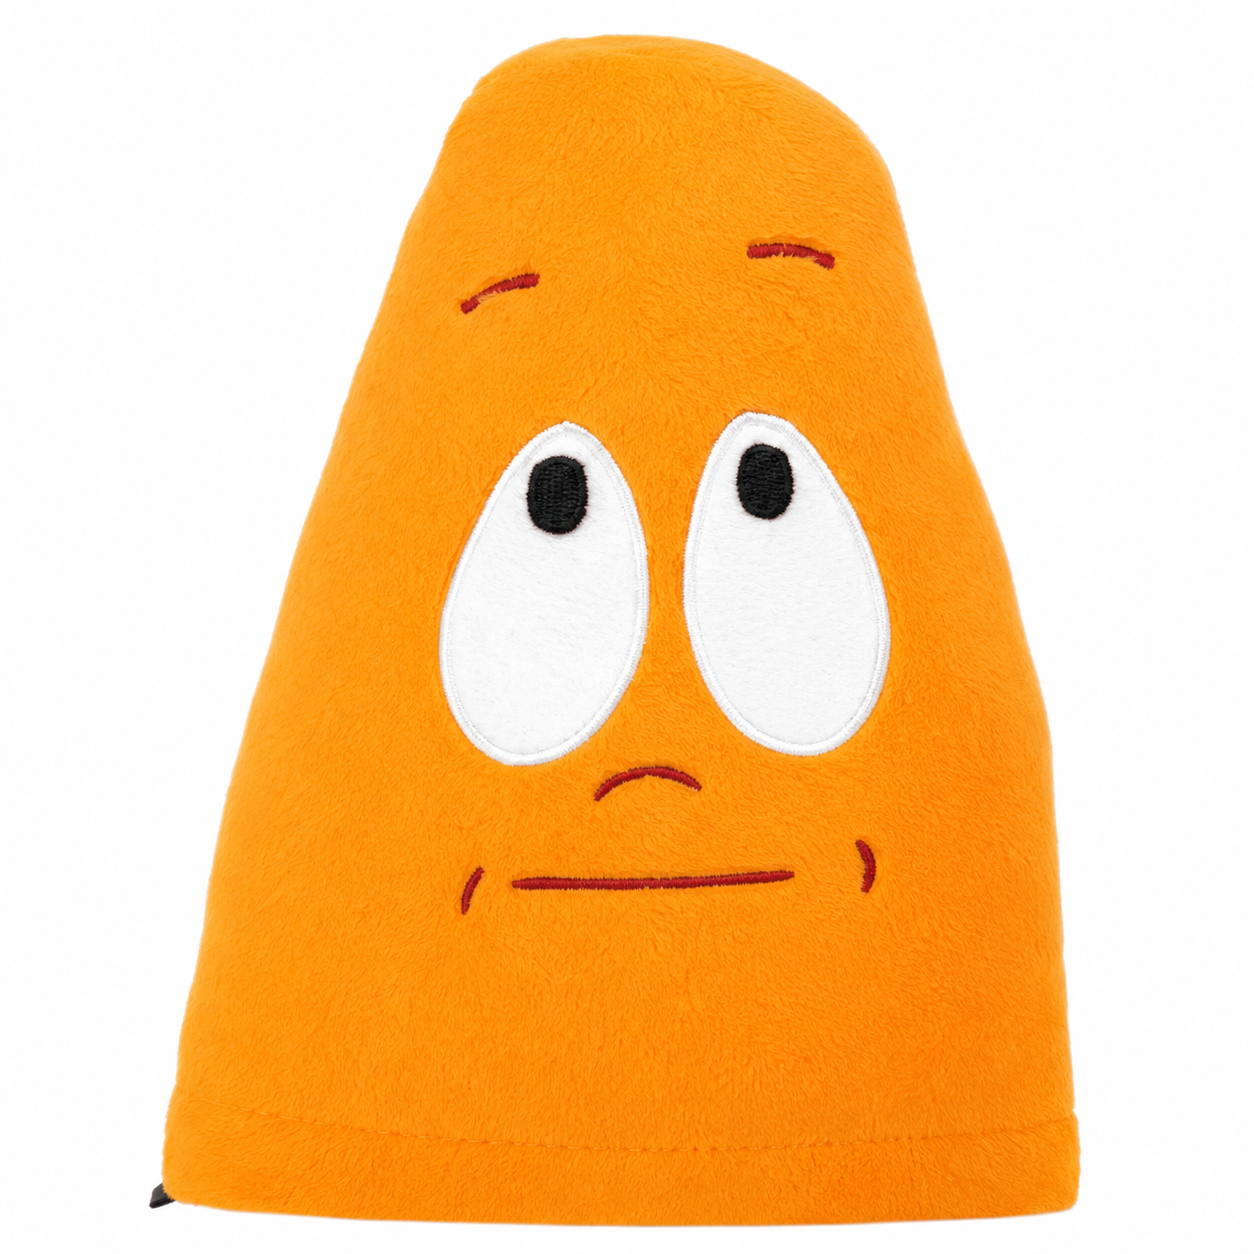
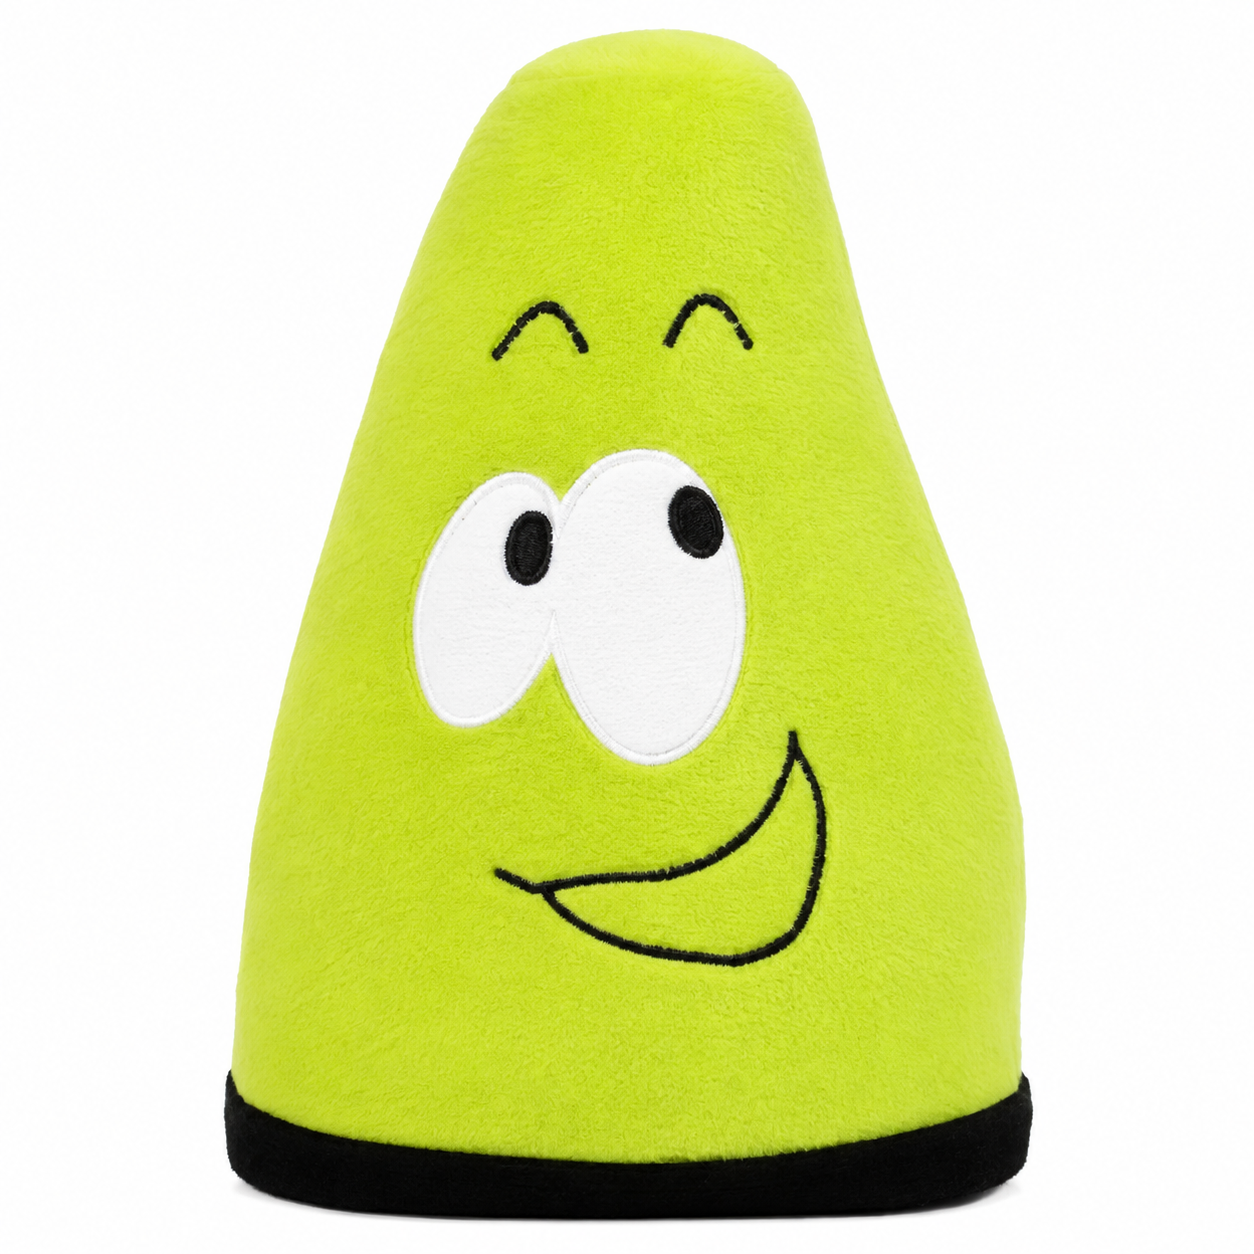
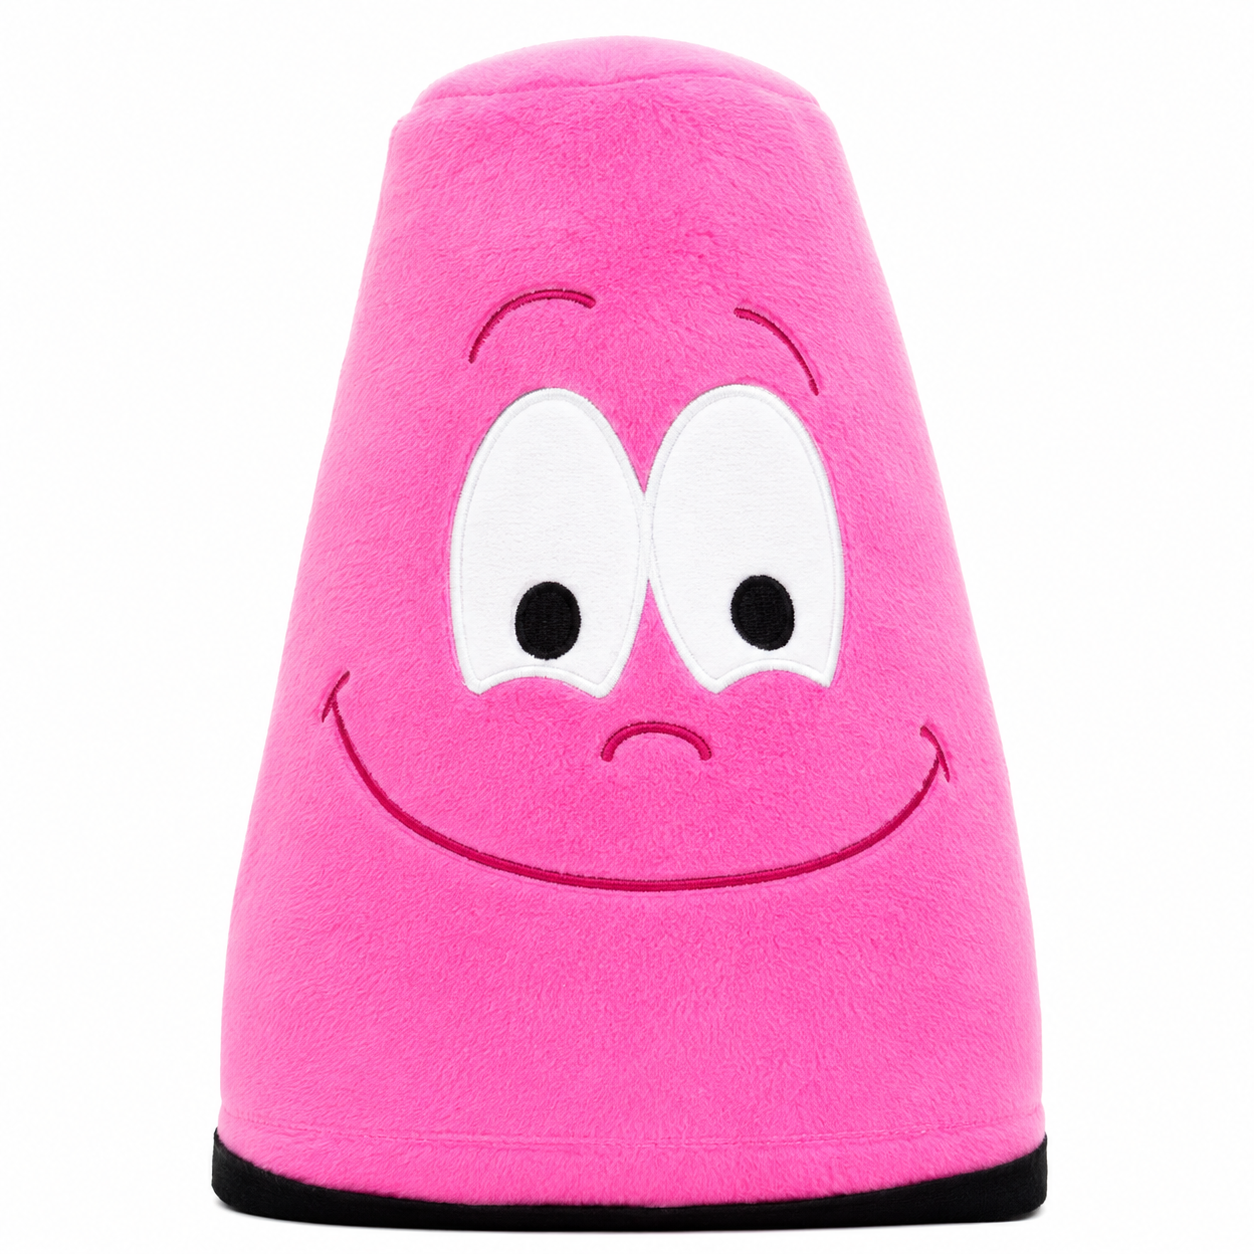
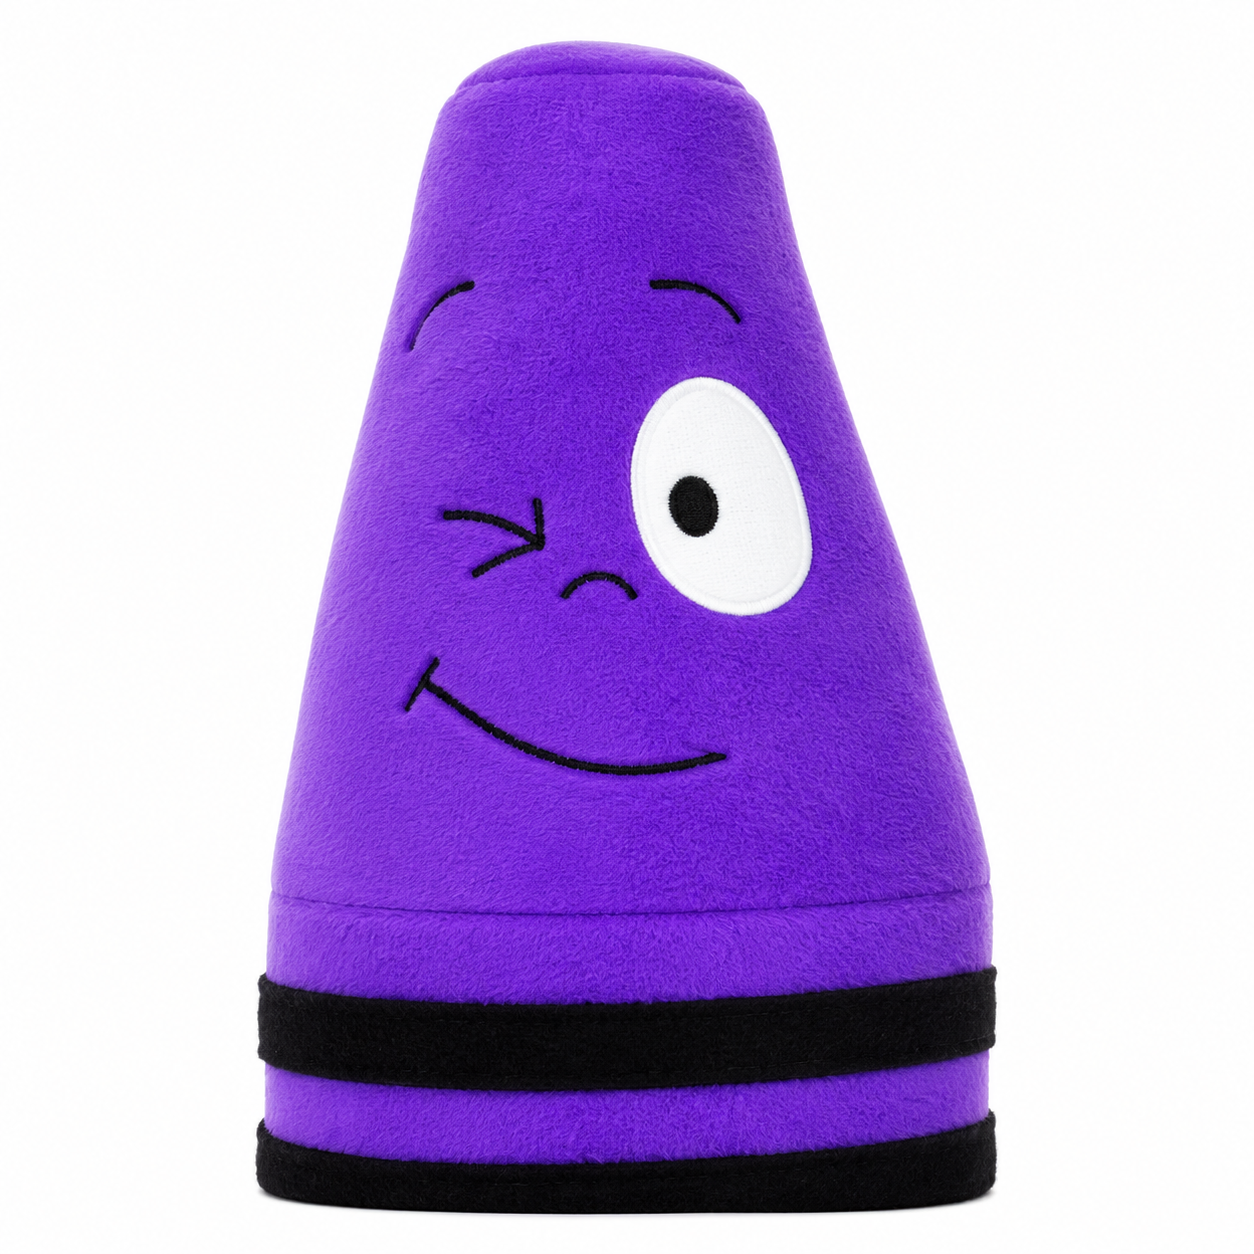
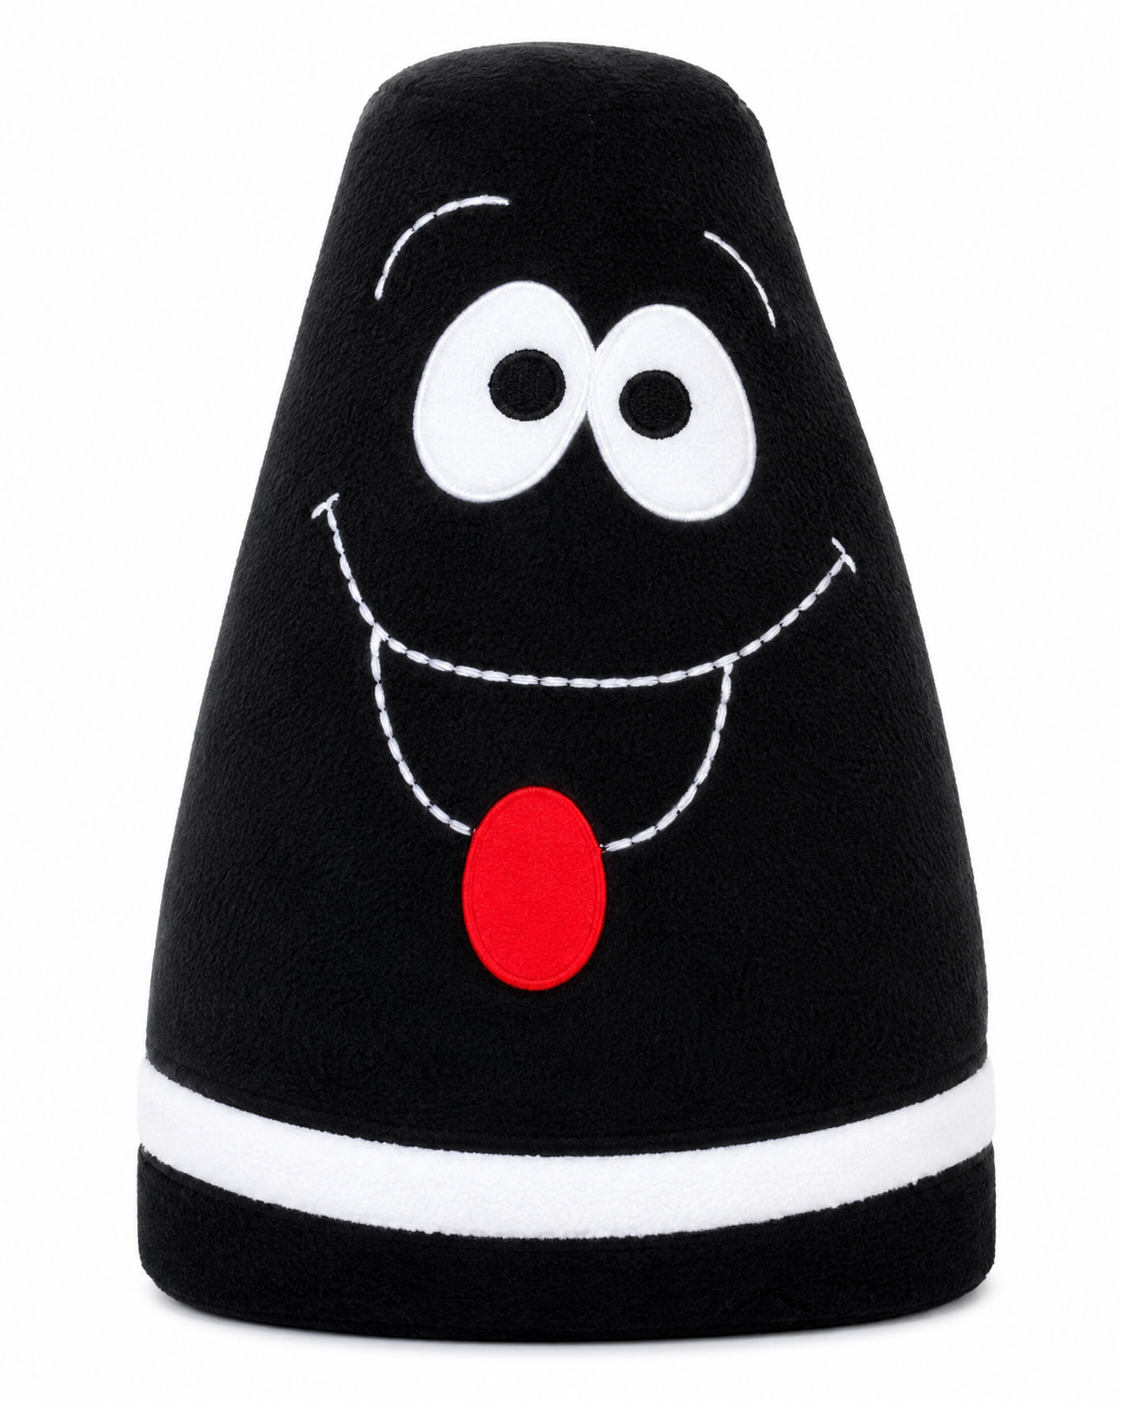
Experiment with eyebrow angles: Raised for surprise, slanted for sadness, or straight for calmness.
Vary eye shapes: Try ovals, circles, or half-moons for different moods.
Add blush: Use fabric paint or light pink stitches for a cute, rosy touch.
Layer features: Combine embroidery with safety eyes or felt pieces for a mixed-media effect.
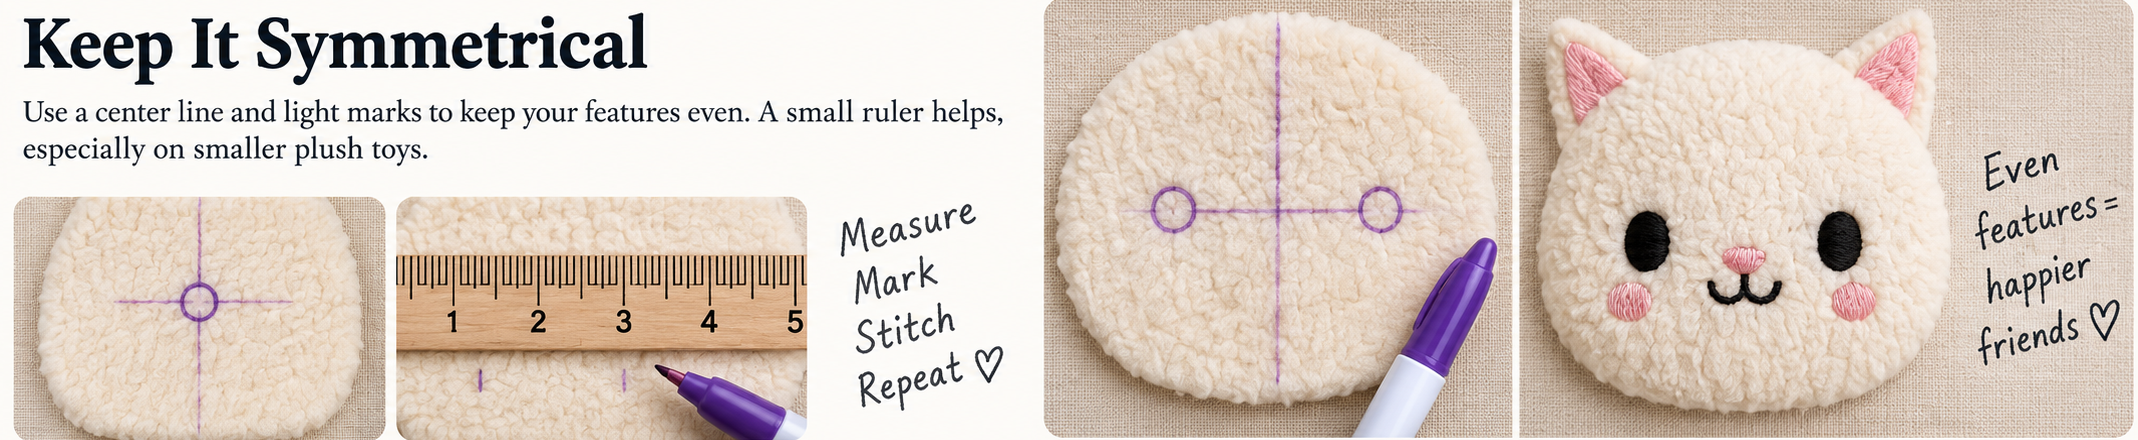
Measure and mark: Use a ruler to evenly space eyes, brows, and mouths.
Check as you go: Step back frequently to ensure symmetry.
Practice on scraps: Try stitching the face on scrap fabric before working on the plushie.

Common Mistakes and How to Fix Them
Here’s how to troubleshoot face embroidery:
Puckering fabric: Loosen the embroidery hoop or use stabilizer fabric to keep your stitches flat.
Uneven stitches: Practice keeping tension consistent and avoid pulling too tightly.
Misplaced features: Carefully unpick stitches with a seam ripper and try again.
Templates for Expression Inspiration
Need some ideas? Here are a few classic face templates to get you started: Click here to download the PDF.
Place the paper template onto the fabric where you would like to create the face. With the tip of a sharp marking pencil, pokes holes along the smile (about 1/4” apart) or other facial feature you’ll be embroidering and make a mark onto the fabric. This will be your map to stitching the face.

Final Touches for a Perfect Face
Once your embroidery is complete, give the face a final polish:
Gently press the fabric with a cool iron to flatten any wrinkles.
Trim any loose threads and secure knots on the inside of the plushie.
Bring Your Plushie to Life!
Now that you’ve mastered the art of plushie faces, it’s time to get creative. Experiment with new expressions, play with colors, and watch your toys take on personalities of their own.
Affiliate Disclosure: This post contains affiliate links. If you purchase something through one of these links, Sew Cute Patterns may earn a small commission at no additional cost to you. As an Amazon Associate, I earn from qualifying purchases.