The Witch’s Closet: Free Halloween Templates for Spooky DIY Decor
Double, double, toil and crafting trouble! 🧹🧙♀️
Grab your glue gun, scissors, and a pinch of glitter—because we’re unlocking the Witch’s Closet with this fun and free Halloween project!
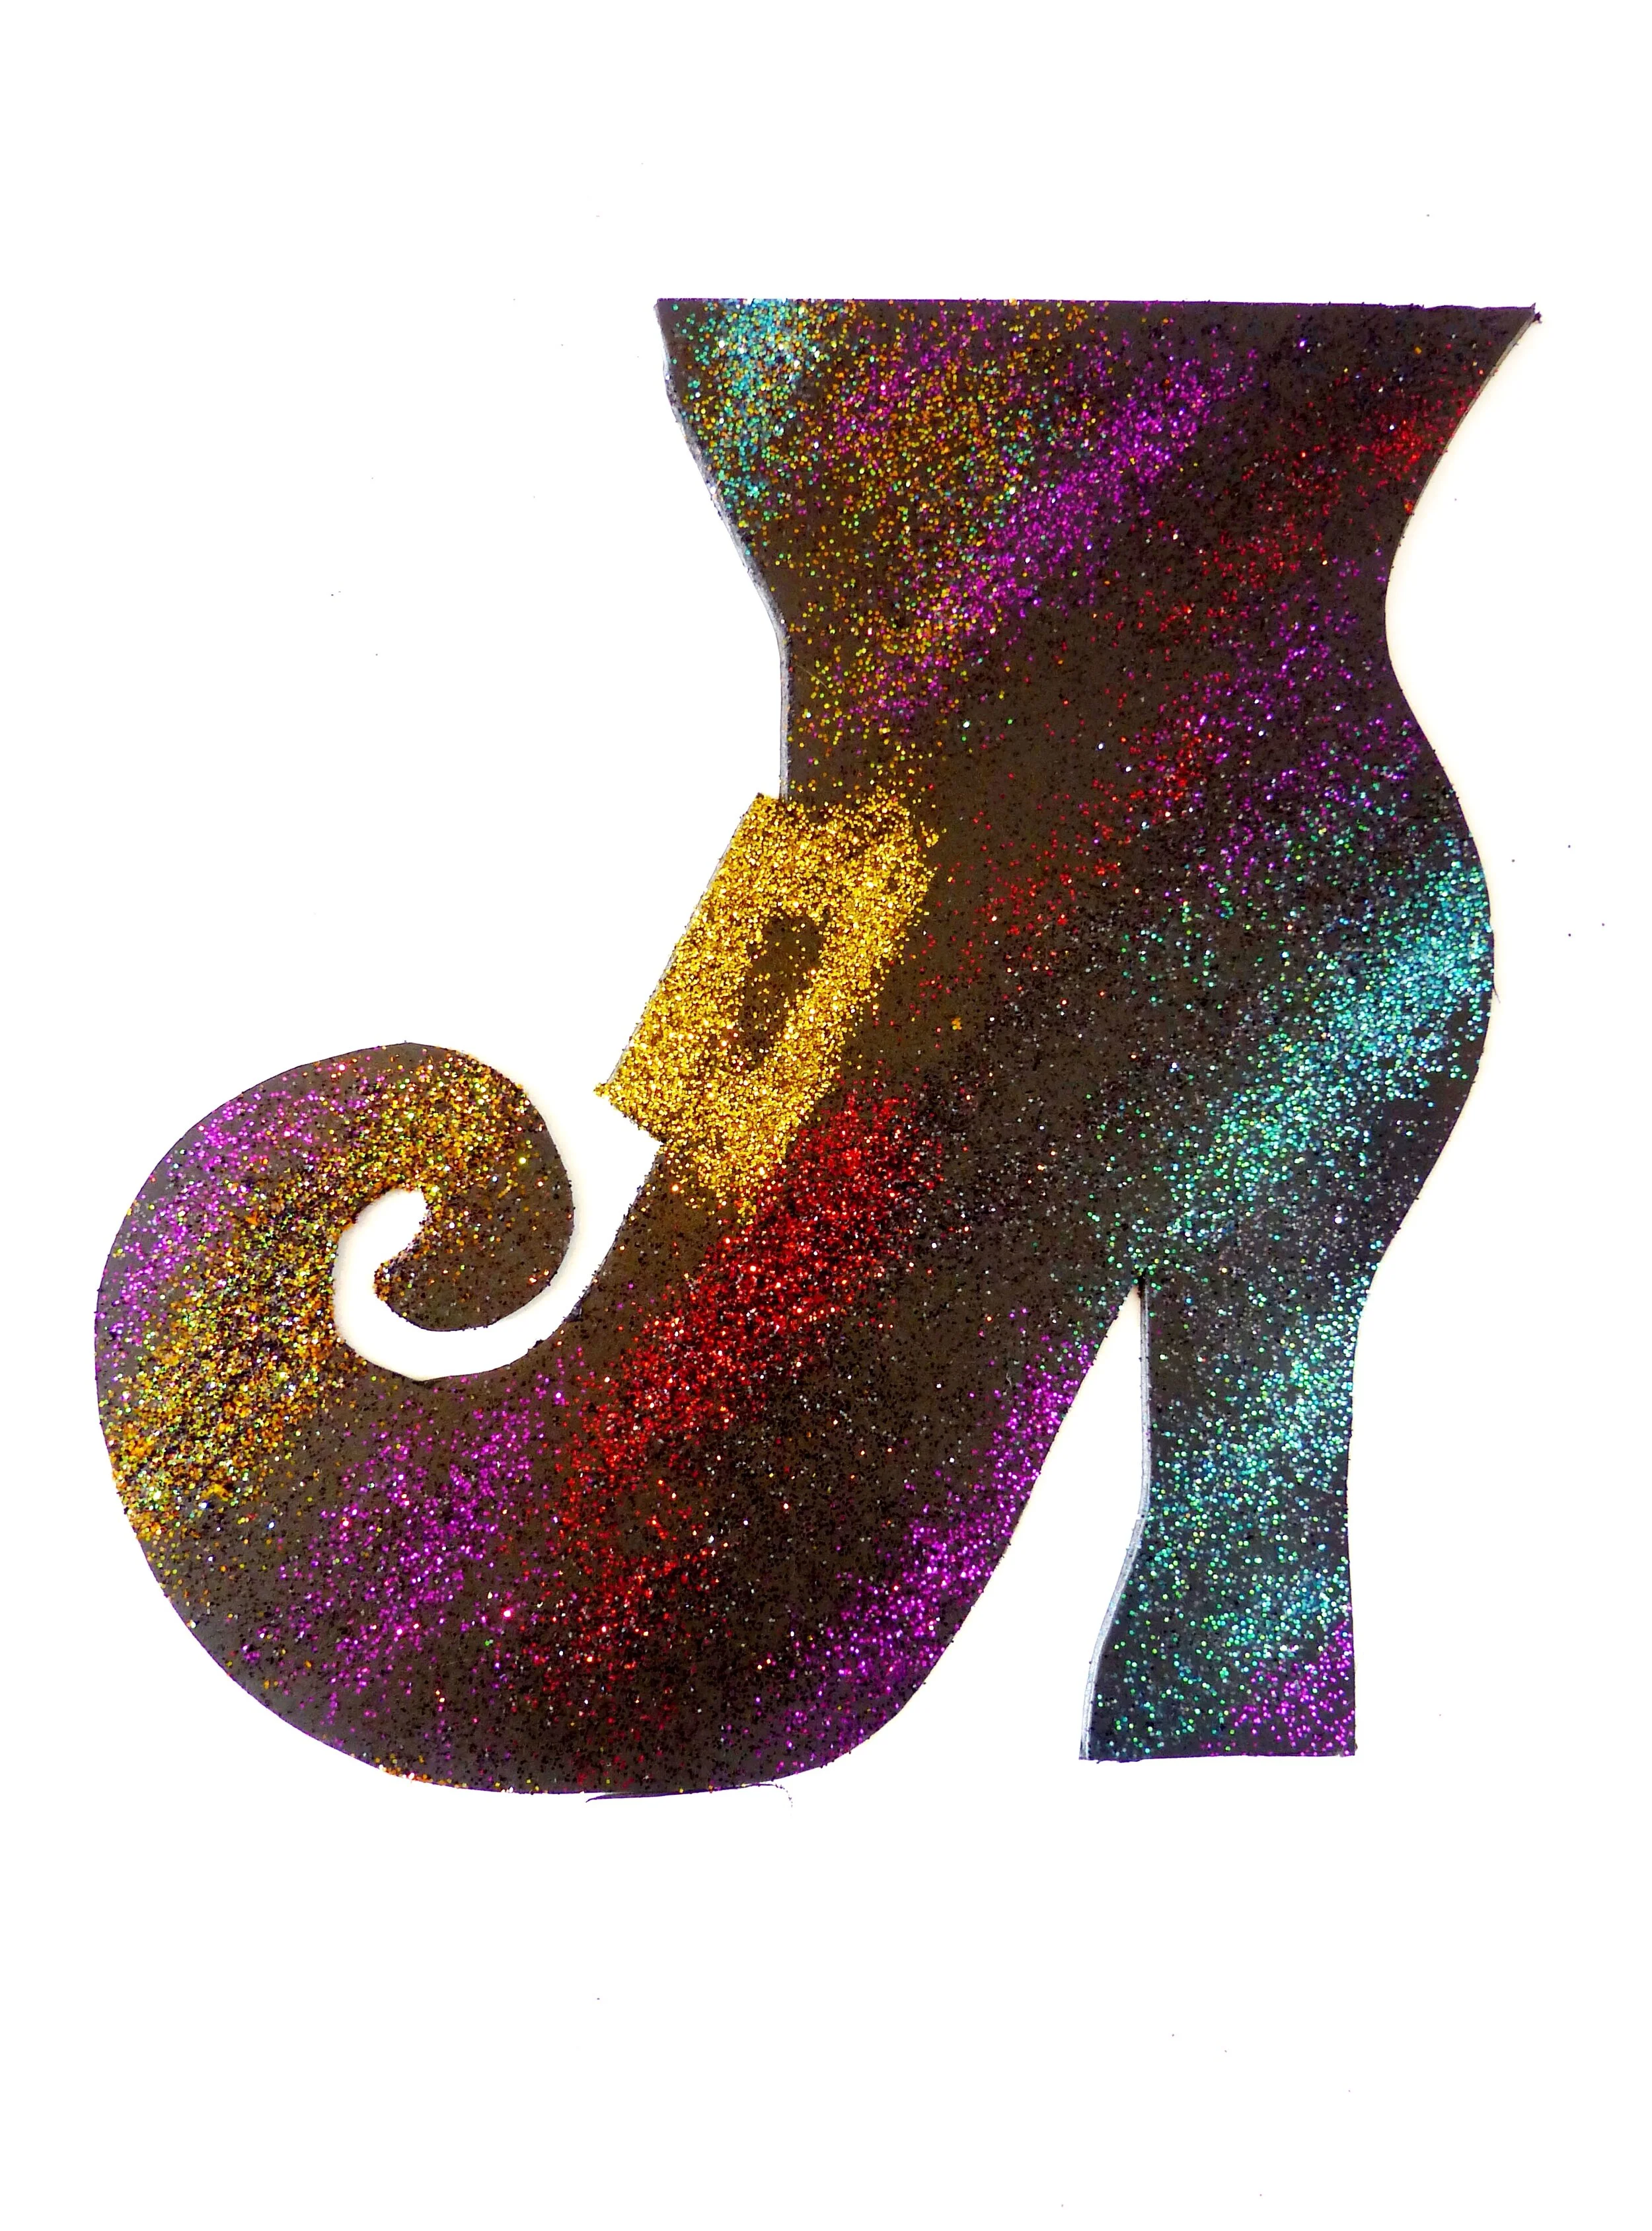
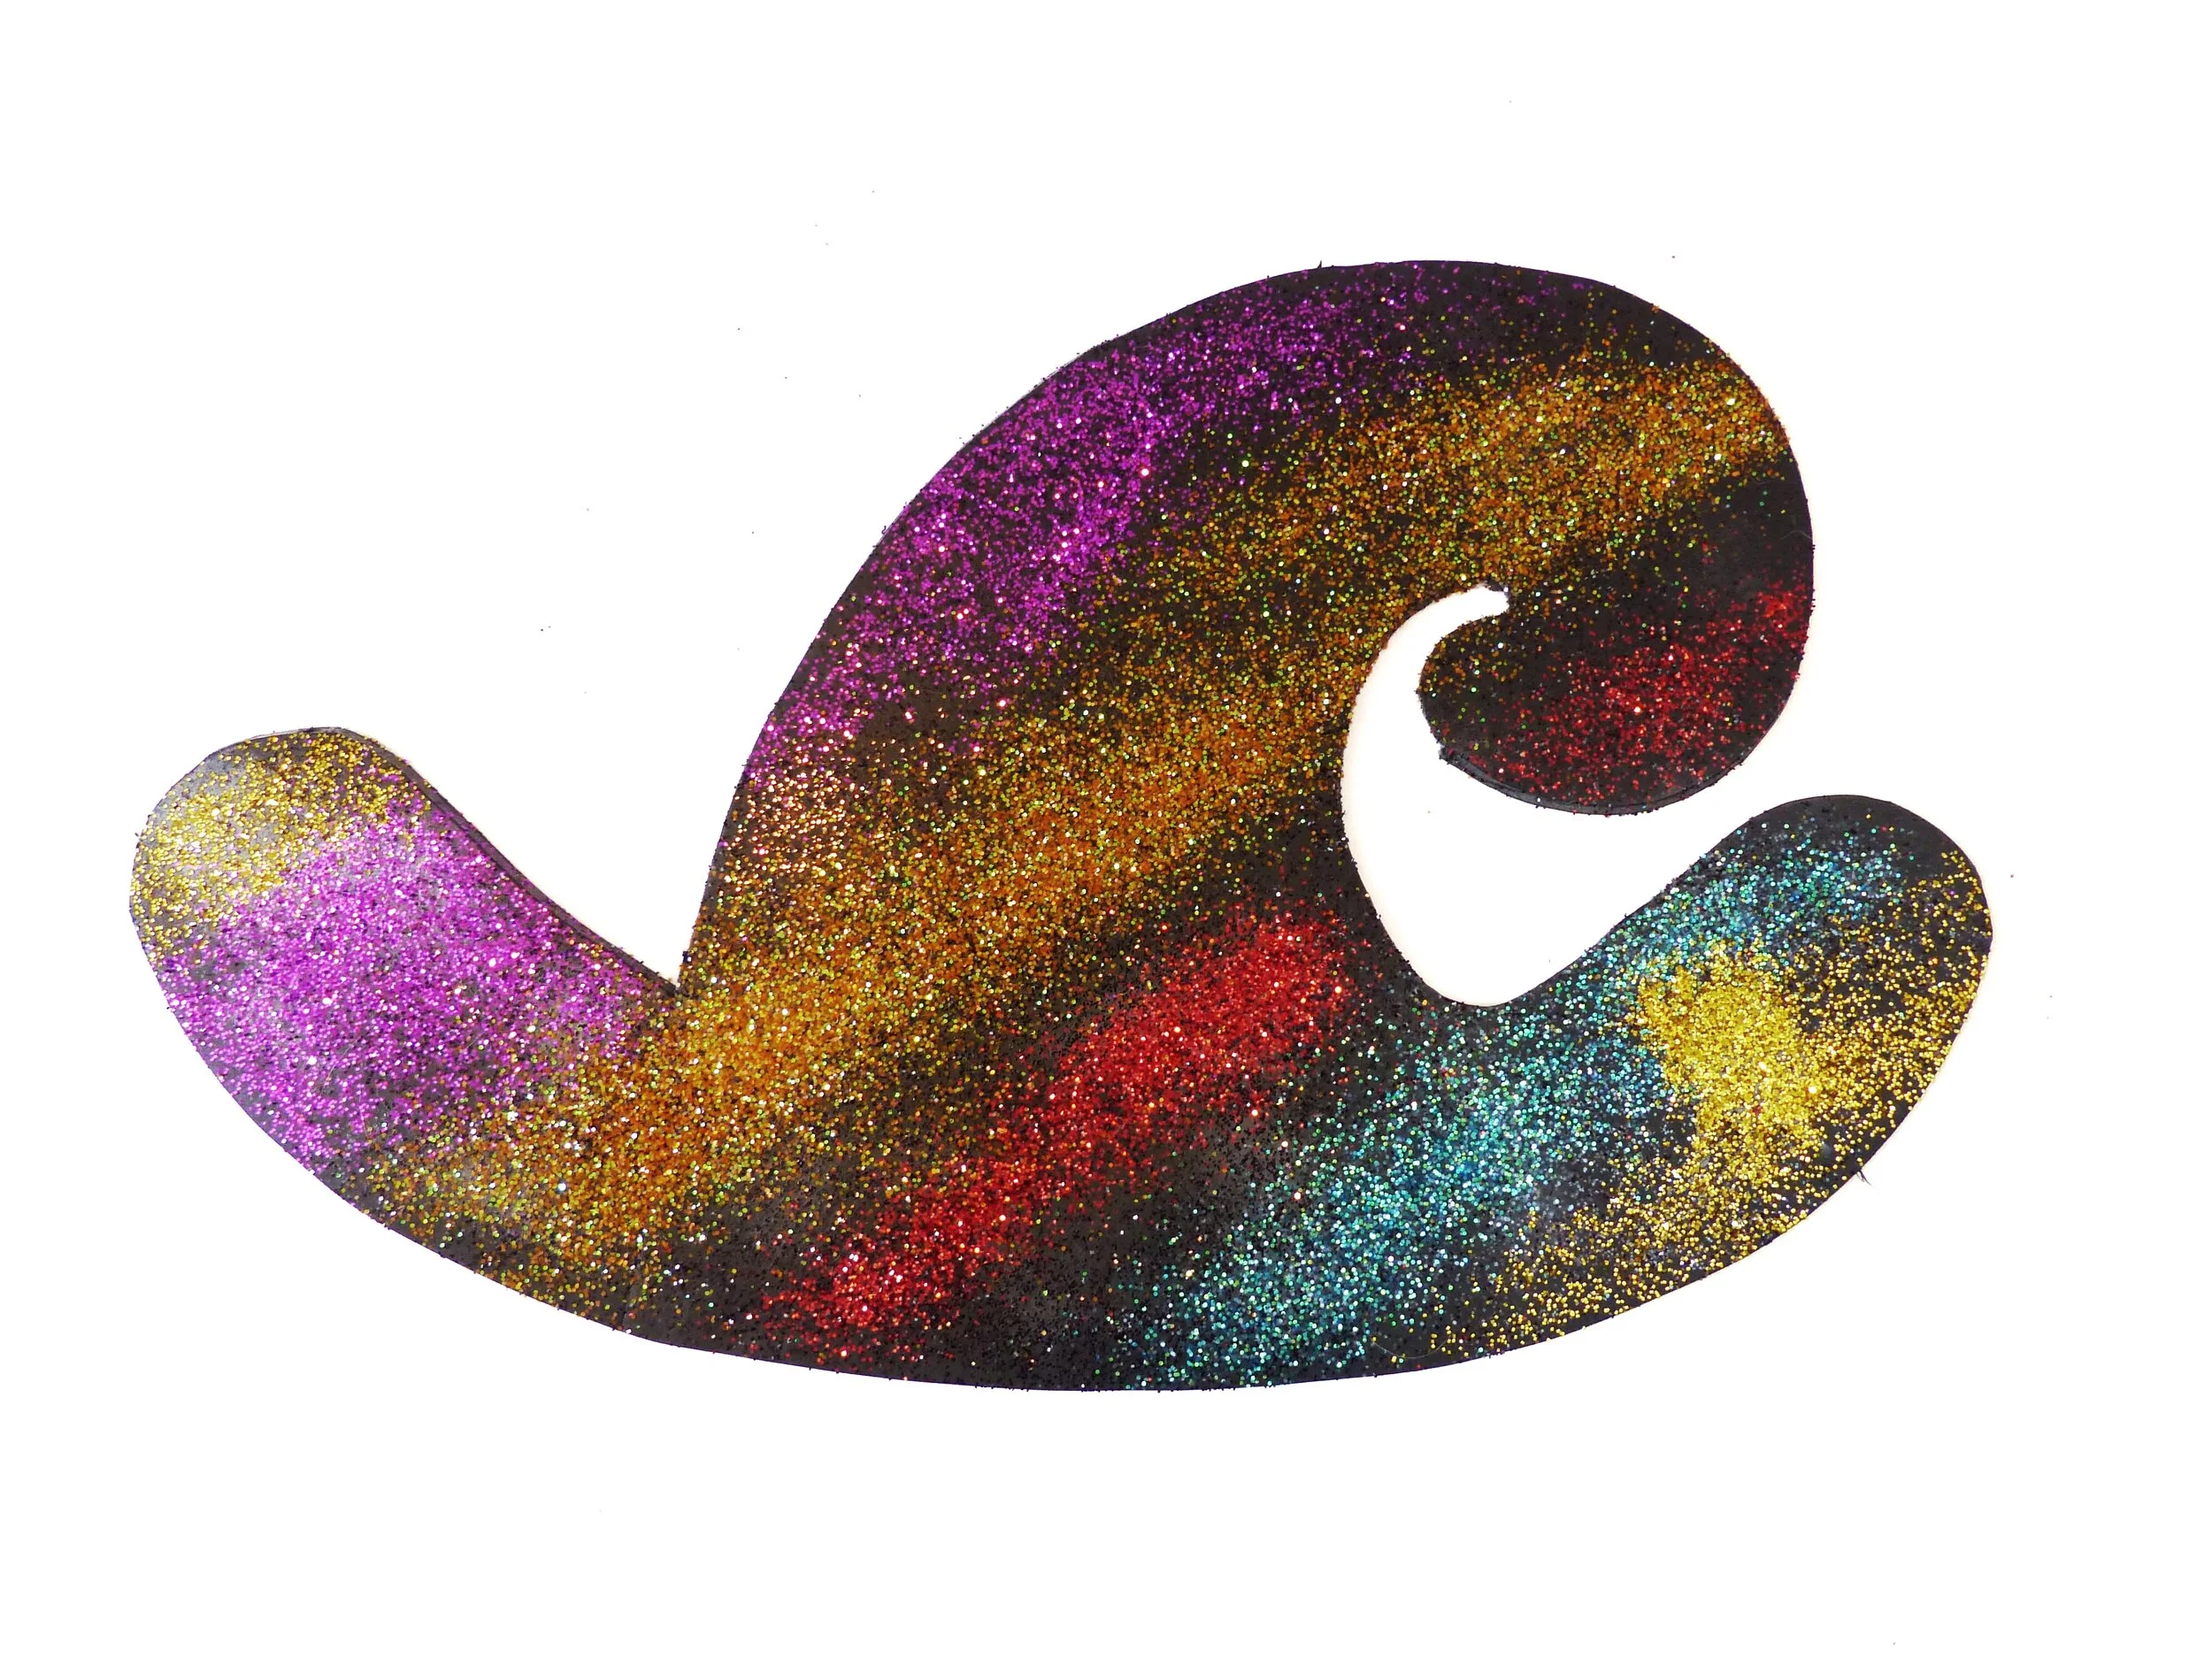
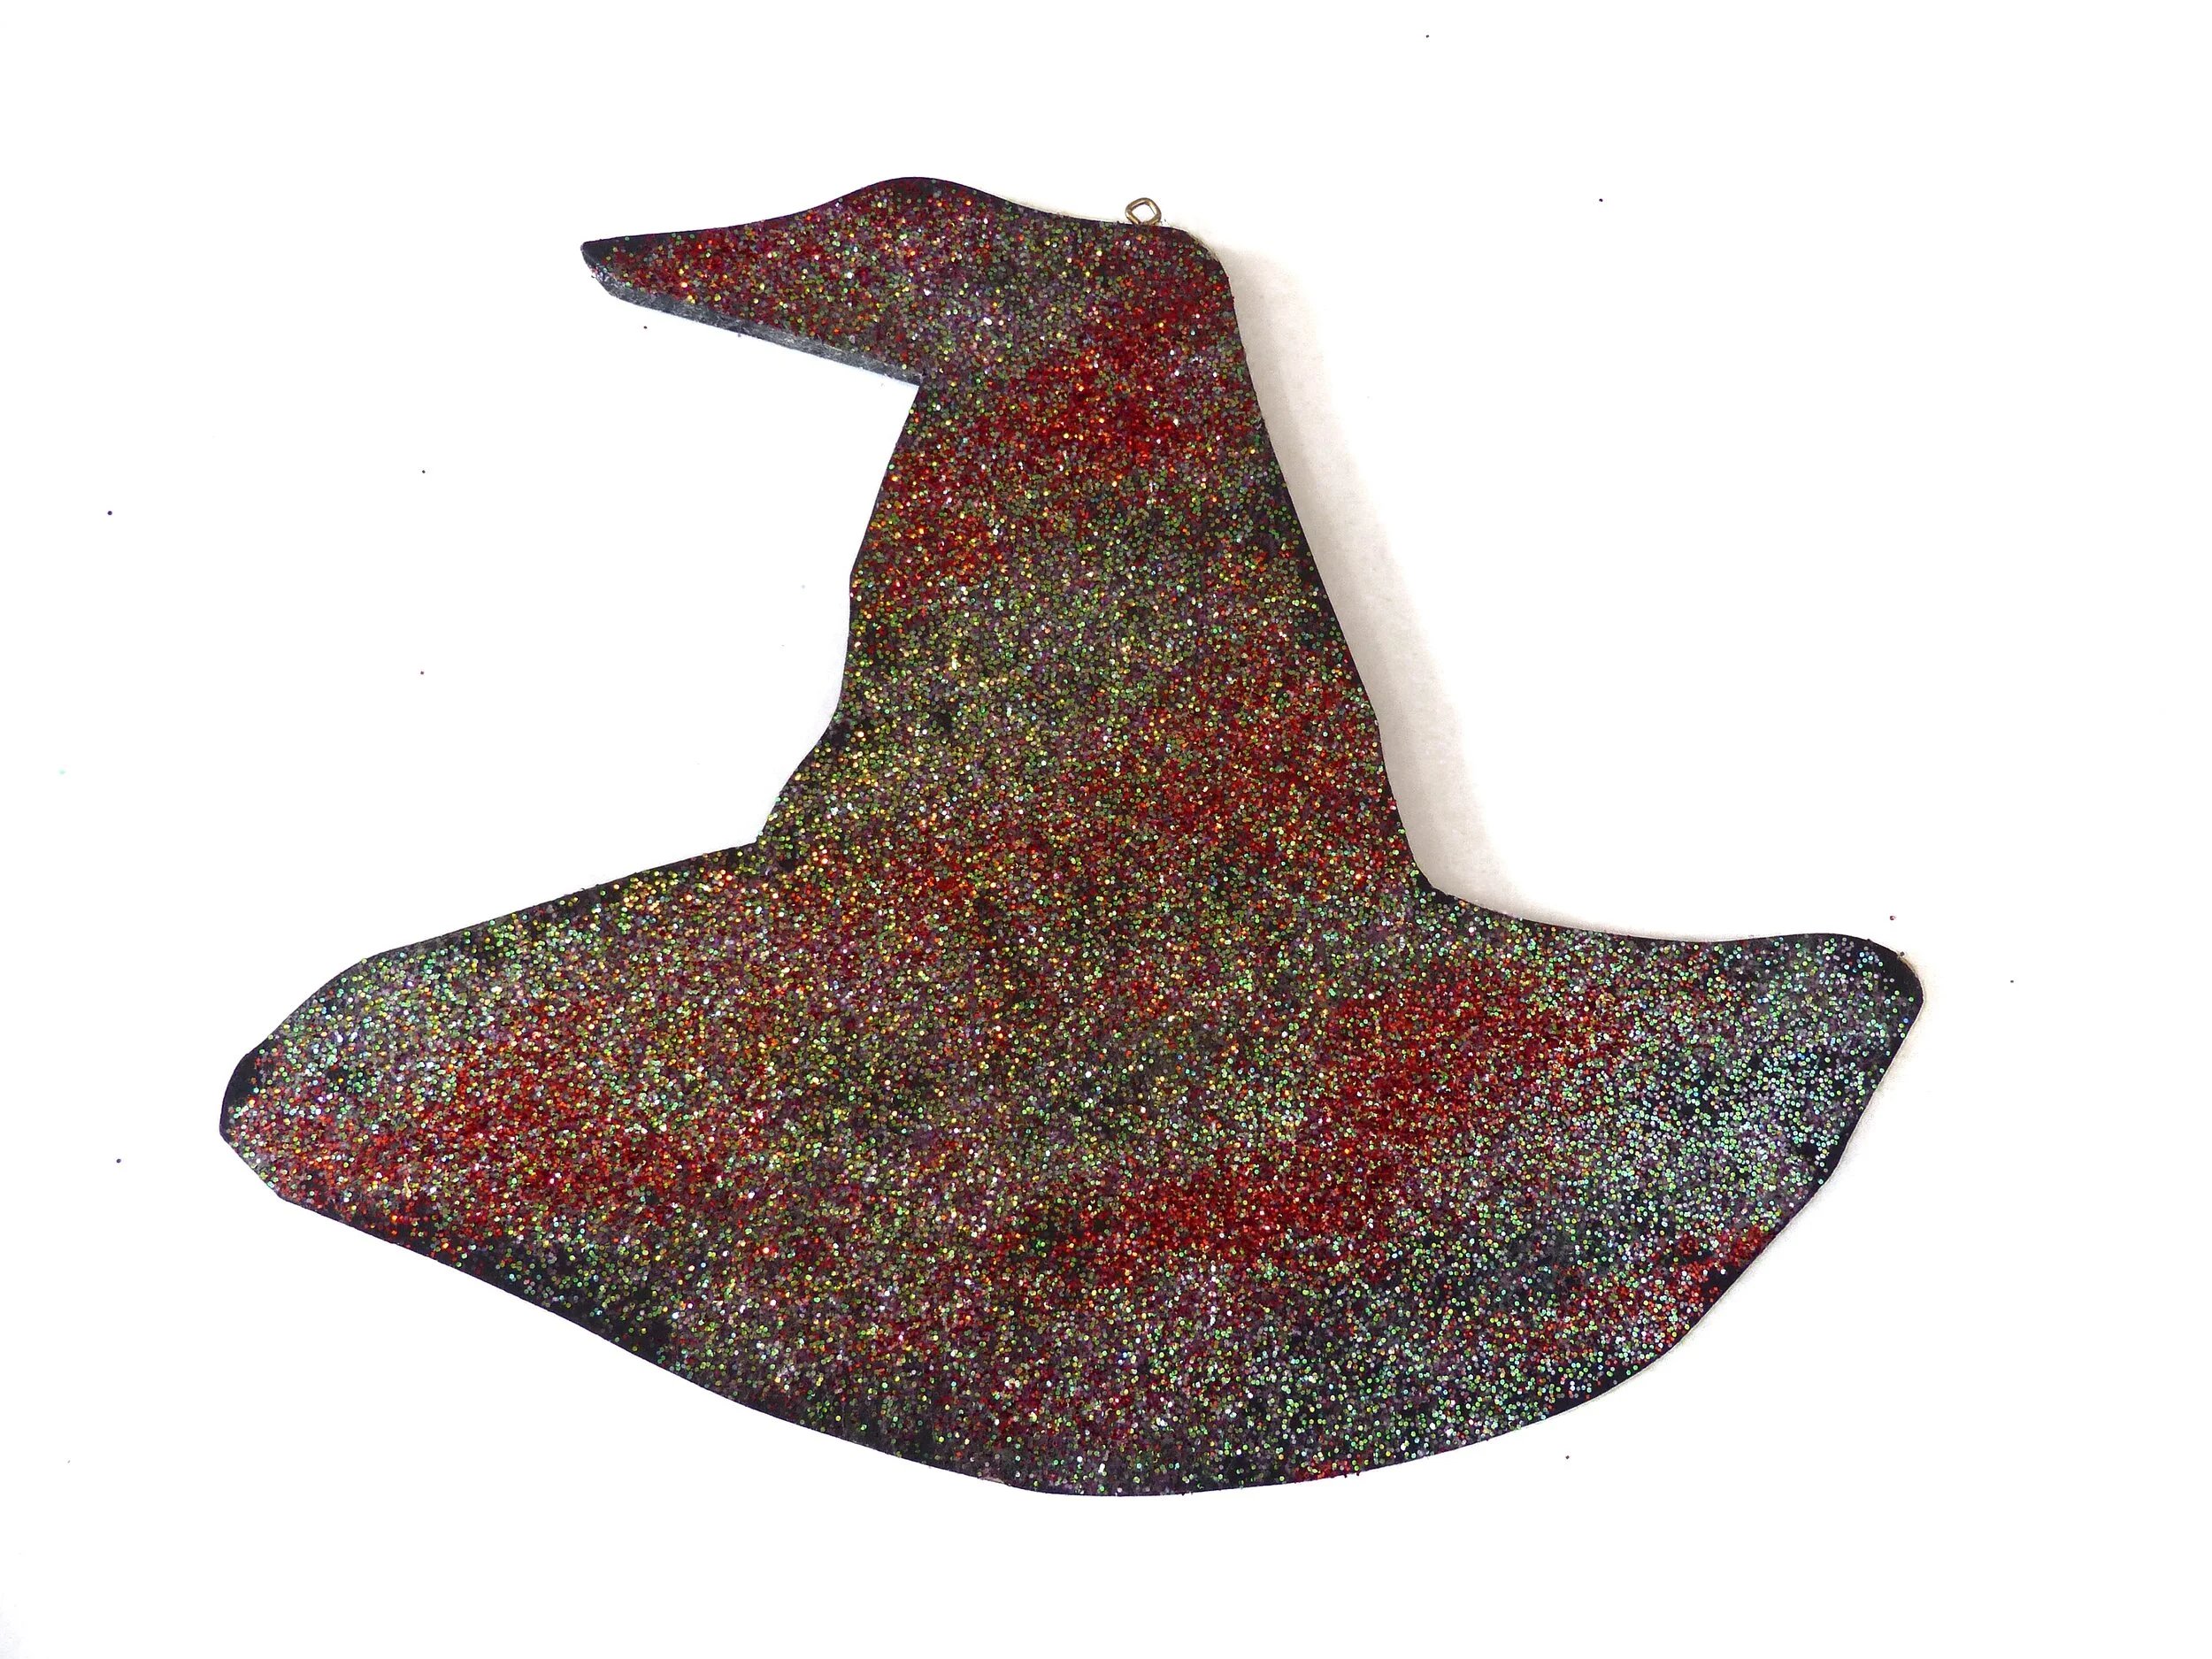
Inside, you’ll find spooky silhouettes of all the classic witchy gear:
A floppy witch hat
A fancy pointed hat
A witch’s curled boot
A classic broomstick
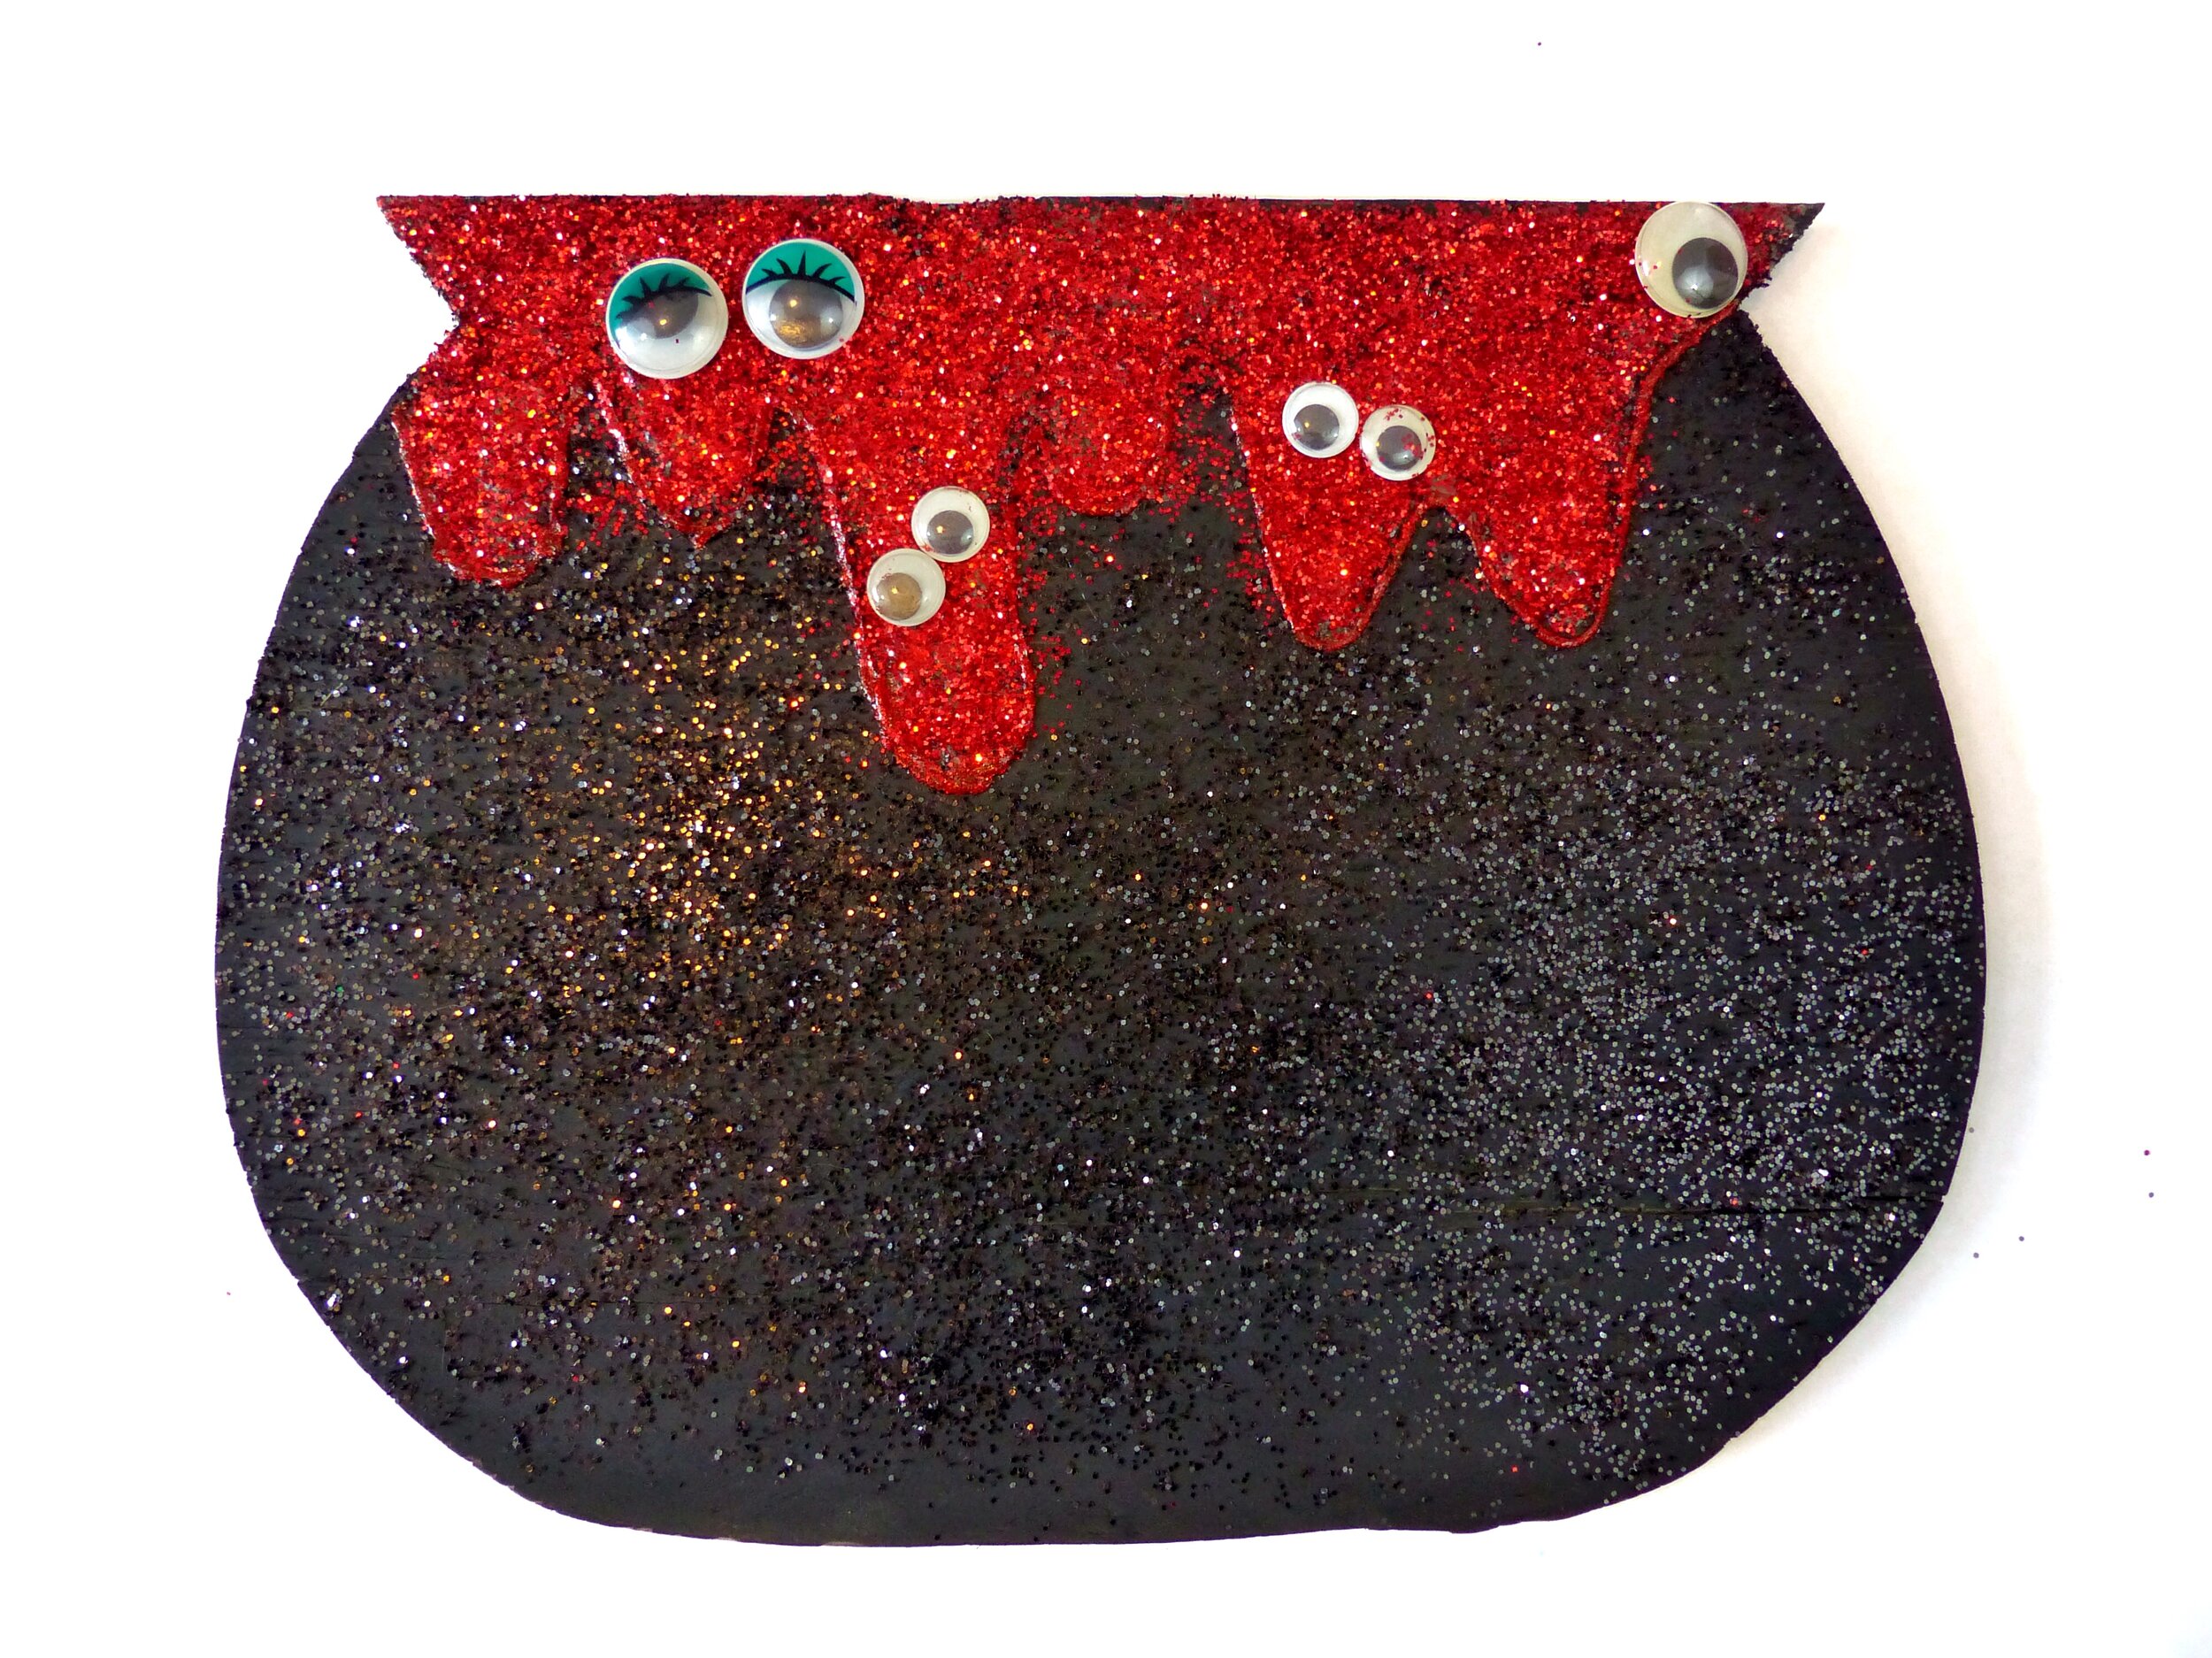
A bubbling cauldron
Download the pattern pages and instructions below, and get started creating a door hanger that screams witch lives here!
✨ Materials You Can Use
The Witch’s Closet templates are super versatile—you can craft them in fabric, wood, or paper/foam board, depending on your favorite tools and materials. Instructions for each are included!
🧵 Felt Fabric Door Hanger (Beginner-Friendly!)
Perfect for crafters who love hand sewing!
Supplies Needed:
Black felt fabric
Black embroidery floss & needle
Pins & scissors
Red felt (for cauldron goo)
Plastic googly eyes (cauldron only)
Hot glue gun
Adhesive spray
Assorted glitter
4" embroidery floss (to hang)
Instructions:
Print and tape your pattern pieces together, matching the letters.
Pin the pattern to your black felt and cut out four layers of fabric.
Use a whipstitch to sew the four layers together. (Need a refresher? Visit Sewing Bee University!)
For the cauldron, cut red felt goo and glue to the top. Add googly eyes.
Spray with adhesive and sprinkle glitter as desired.
Stitch a loop of embroidery floss to the top for hanging.
Hang it proudly on your door or wall!
🔨 Wooden Witch Decor
A fun challenge for more advanced crafters!
Supplies Needed:
Plywood
Jigsaw & sandpaper
Acrylic paint (black + red)
Black marker
Hook (for hanging)
Adhesive spray & glitter
Googly eyes (optional for cauldron)
Directions:
Trace your pattern onto plywood with a marker.
Carefully cut it out with a jigsaw.
Sand the edges smooth.
Paint it black. Add red goo if you're doing the cauldron!
Glue on googly eyes and sprinkle glitter with adhesive spray.
Screw in a hook at the top and hang it on a nail.
📄 Paper or Foam Board Hanger
Great for a quick craft session with kids or classrooms!
Supplies Needed:
Black poster board or foam board
Pencil
Scissors or craft knife
Spray adhesive & glitter
Googly eyes (optional for cauldron)
Ribbon for hanging
Directions:
Lightly trace the pattern with pencil.
Cut with scissors (poster board) or a craft knife (foam board).
Add glitter using spray adhesive.
For the cauldron, decorate the goo with red glitter and googly eyes.
Attach a loop of ribbon to the back and hang!
🧙♀️ Why You’ll Love This Project:
Fun for all skill levels
Great for decorating doors, classrooms, or craft rooms
Customizable with paint, glitter, and googly eyes
Perfect for Halloween parties, crafting with kids, or DIY décor night!


