Learn to Sew with an Adorable Puppy Pillow Pattern
So, you’ve decided to take the plunge into the wonderful world of sewing. High five! Or should I say, paw-five? 🐾 There’s no better way to start than with a simple, beginner-friendly project: a puppy pillow! This adorable creation will teach you essential sewing techniques, from setting up your sewing machine to mastering basic embroidery. Plus, who can resist that cute puppy face? Let’s dive in, one paw at a time.
Step 1: Gather Your Supplies
Before we unleash our creativity, we need to gather supplies. Here’s what you’ll need. Check out the additional post and tutorials for more details to help you shop for the perfect supplies.
Fabric: 1/2 yard of fleece fabric for the pillow and ears. (Choose a fun print or solid color!) Fleece is recommended due to the softness but any fabric type will work!
Where to shop:
💼 Shop fleece fabric on Amazon
💼 Shop fleece fabric on Etsy
Check out: Guide to Common Fabric Types: Choosing the Right Material for Your Project and Tips for Sewing with Fleece FabricFelt: Black and white felt for the eyes, and pink or black for the nose. You’ll need a fabric type that doesn’t fray around the edges.
Where to shop:
💼 Check out felt packs on Amazon
Check out: Non Fraying FabricsThread: Matching thread for your fabric and black crochet thread for embroidery.
where to shop:
💼 Get thread sets here
💼 Shop crochet thread
Check out: Sewing Thread Types and Their Uses and Let’s Talk ThreadPolyester Stuffing: For that fluffy, cuddly finish.
Where to shop:
💼 Buy stuffing on Amazon
Check out: The Stuff of Dreams: Choosing the Right Stuffing for Your ToysSewing Machine: Any beginner-friendly model will work.
Where to shop:
💼 Shop sewing machine at Sewing Machine Plus
💼 Shop Singer Heavy Duty sewing machine on Amazon
💼 Brother computerized sewing machine on Amazon
Check out: The Best Beginner Sewing Machines and Features of a Great Sewing MachineScissors or Rotary Cutter: To cut fabric and pattern pieces.
Where to shop:
💼 Check out rotary cutters
💼 Shop fabric scissors
Check out: Essential Cutting Tools for Sewing: A Comprehensive GuidePins or Clips: For securing fabric.
Where to shop:
💼 Shop pearl head pins
💼 Browse Pins and Clips
Check out: Clips vs PinsSewing Needles: For hand stitching
Where to shop:
💼 Shop sewing needles
Check out: Sewing Needle Guide: Types and UsesFusible Web (Optional): To iron-on felt features. You can also glue or stitch in place.
Where to shop:
💼 Shop fusible web
Check out: Mastering Fusible Web - Tips for Seamless Fabric FusingFabric Glue (Optional): To glue on felt features. You can also iron-on or stitch in place.
Where to shop:
💼 Shop fabric glue
Embroidery Needle: For hand-stitching the mouth. Find Needles Here
Where to shop:
💼 Shop embroidery needle
Step 2: Print and Assemble the Pattern
Our puppy pillow pattern comes in multiple pages. Here’s how to prepare it:
Download and Print: Click here to download to PDF. Print the pattern at 100% scale. To make a smaller or larger version, simply print at a smaller or larger scale. Two versions of the ears are available.
Assemble: Cut the pieces of each page and tape them together. Voilà, you’ve got your pattern ready to trace!
Step 3: Cut Your Fabric and Felt
Pin the Pattern: Pin the pattern pieces on your fabric.
Cut Out Pieces: Use sharp scissors or a rotary cutter for clean edges. Cut two opposite puppy pieces. Cut two sets of opposite ear patterns. Cut one nose, two eyes and two pupils.
Step 4: Setting Up Your Sewing Machine
Ready to fire up your sewing machine? Here’s a quick setup guide:
Thread the Machine: Follow your machine’s manual to thread the top and bobbin threads.
Select a Stitch: Use a straight stitch for this project.
Test on Scrap Fabric: Adjust tension and stitch length as needed.
New to Sewing Machines? Check Out:
Step 5: Add the Puppy Face
Attach Felt Features:
Option 1: Sew the eyes, pupils, and nose onto the pillow front. Stitch along the outer edge.
Option 2: Use fusible web to iron them on.
Option 3: Fabric glue for a no-sew option.
Embroider the Mouth:
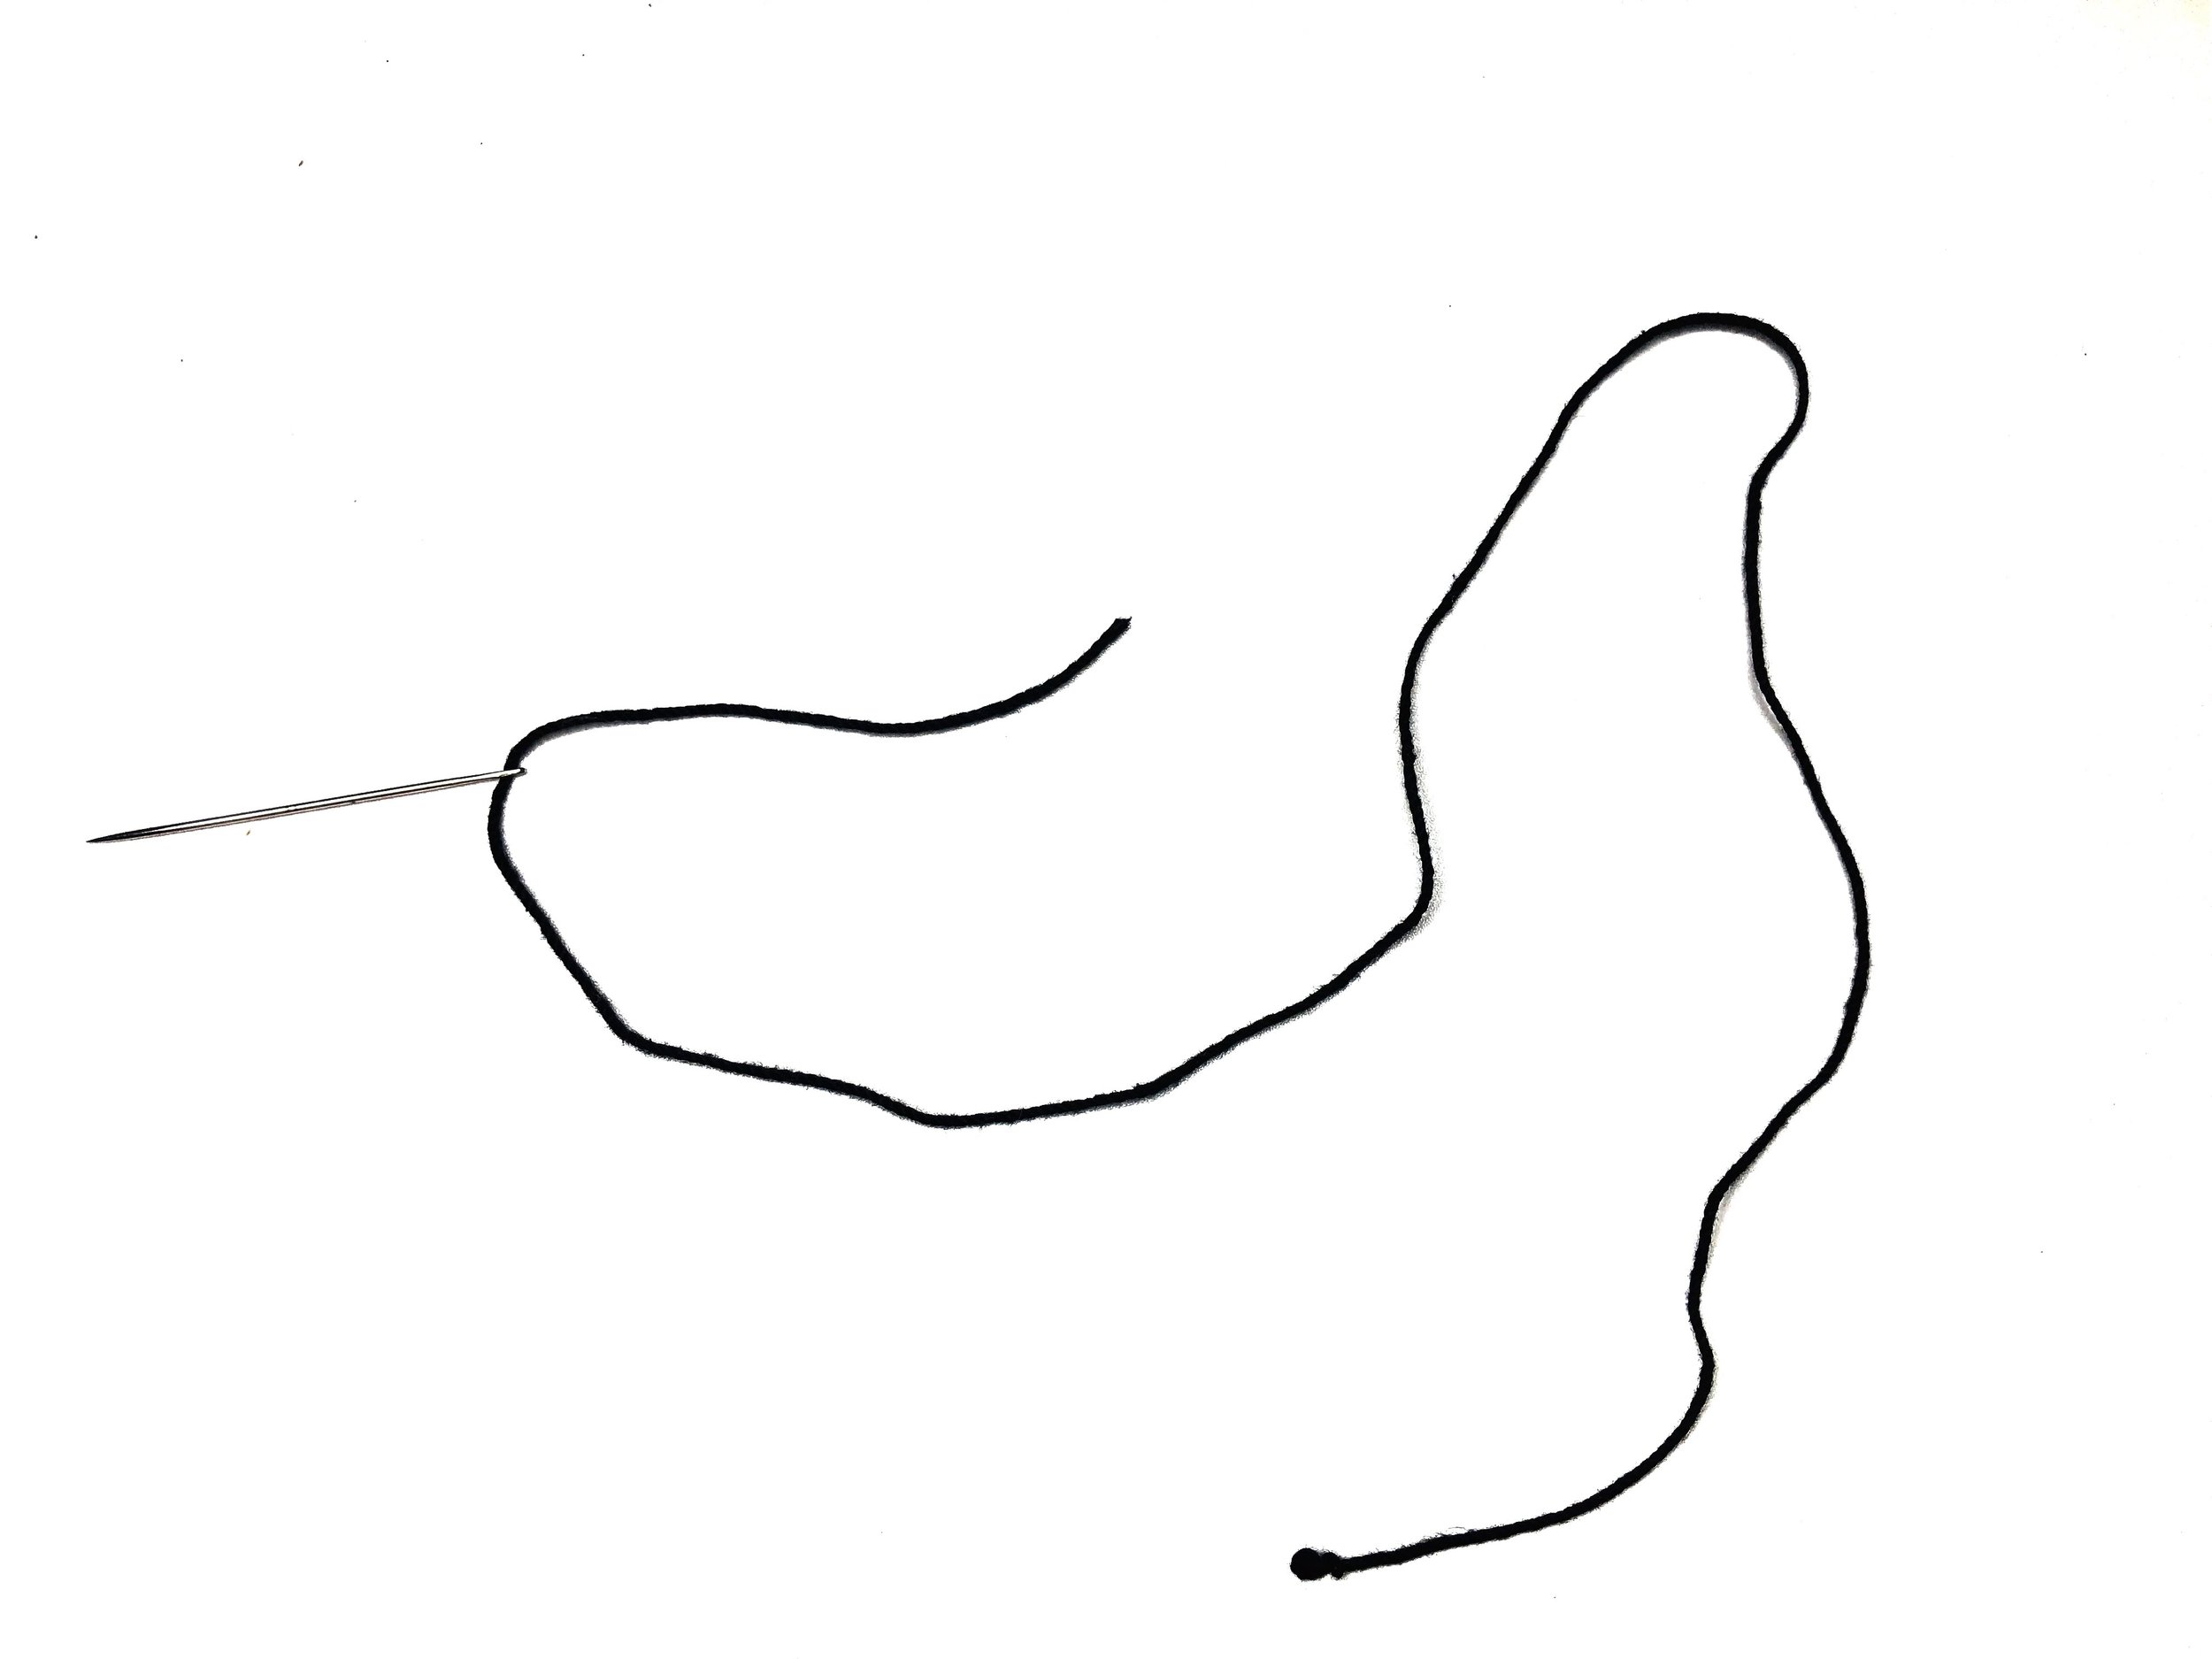
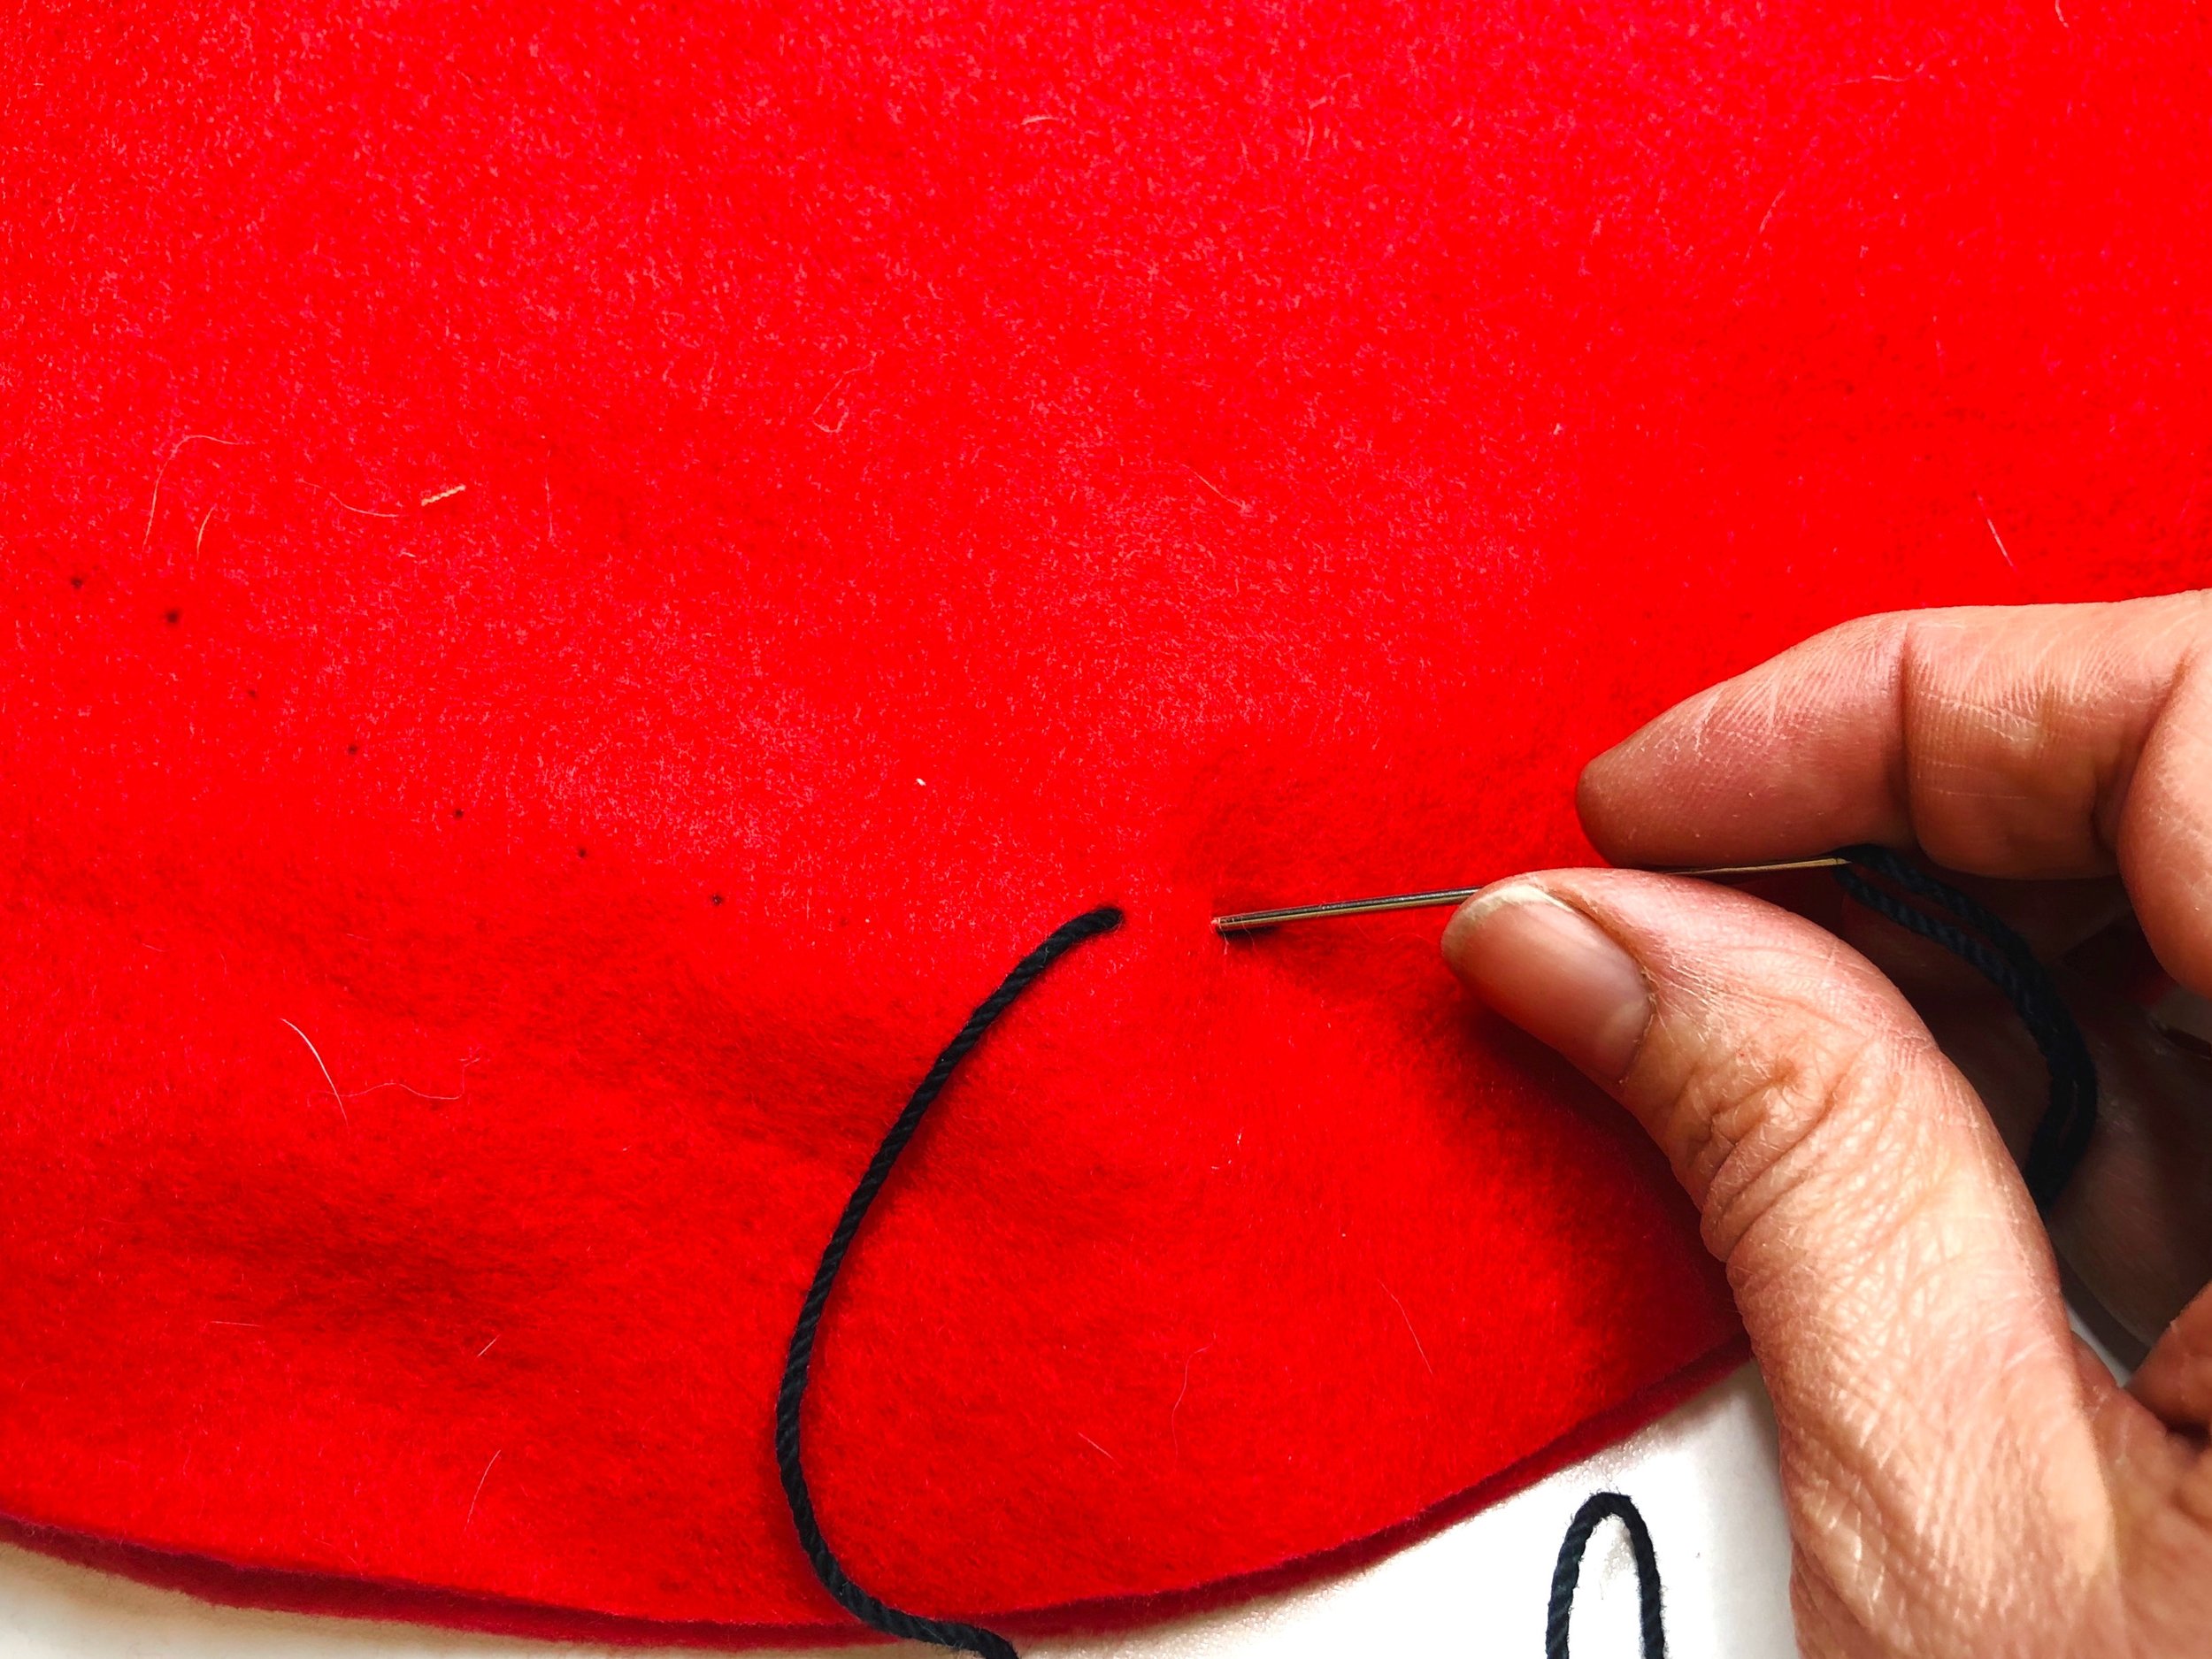
Thread your embroidery needle with black crochet thread.
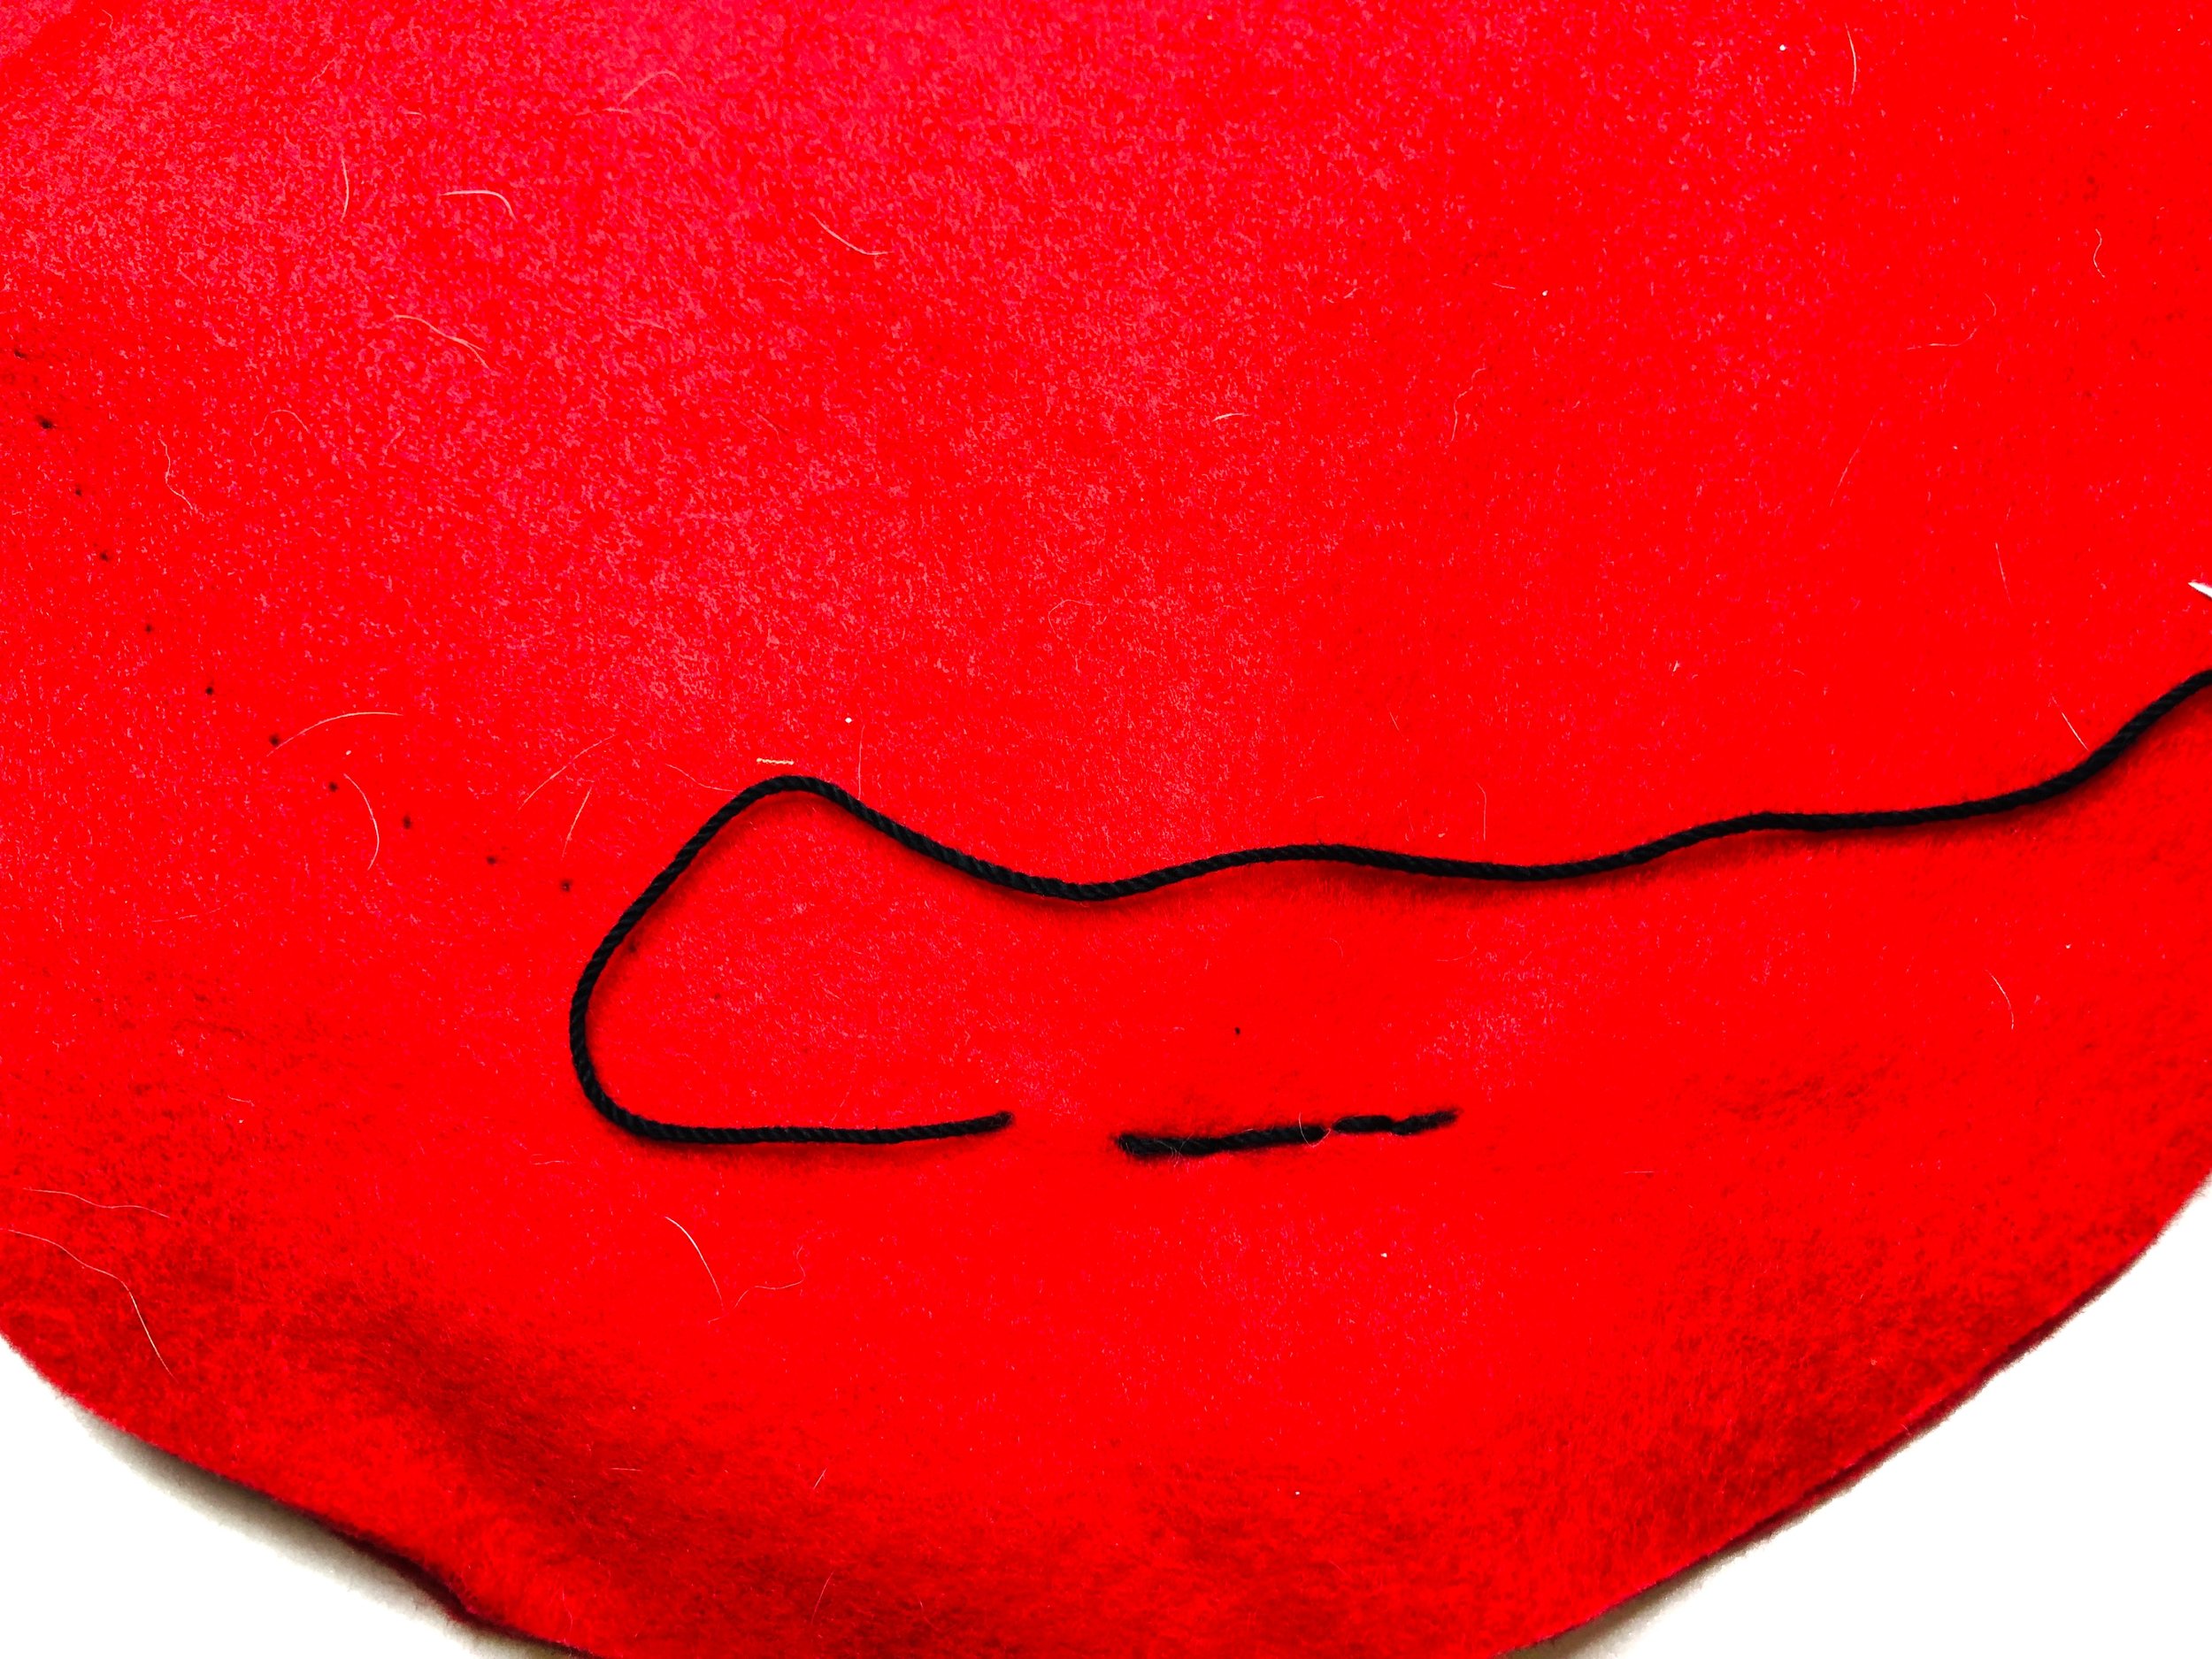
Place the paper pattern on top of the fabric. With the tip of a pencil, poke a hole through the paper and make a mark onto the fabric along the smile. This will be your guide to stitching the smile.
Use a backstitch to create a sweet puppy smile. Your first stitch will be forward, backstitch the rest and tie a knot to secure on the wrong side.
Need Help with Embroidery? Check Out: Backstitch
Step 6: Assemble the Puppy Pillow
Sew the Ears: Place the ear pieces right sides together. Stitch around, leaving the top open. Turn right side out and press.
Attach the Ears: Pin the ears to the top of the pillow front, pointing inward.
Sew the Pillow Body: Place the pillow front and back right sides together. Stitch around the edges, leaving a small opening at the bottom for stuffing.
Turn and Press: Turn the pillow right side out through the opening and press the edges (optional).
Step 7: Stuff and Close
Stuff the Pillow: Use polyester stuffing to fill the pillow until it’s squishy and cuddly.
Check out: Secrets to a Perfectly Stuffed Plushie: Tips for Even Stuffing and Avoiding LumpsClose the Opening: Hand-stitch the opening closed with an invisible stitch for a clean finish.
Check out: Stitching an Opening Closed
Step 8: Celebrate Your Success!
Congratulations, you’ve just created an adorable puppy pillow! 🐶 Give yourself a pat on the back—or better yet, a big puppy hug.
What’s Next?
Ready for more advanced projects? Take a Sewing Class at Craftsy
Protect your back while sewing! Tips for Perfect Posture and Protecting the Back
Create your sewing room! Designing and Decorating Your Perfect Sewing Room
Want to try another pattern? Try our free Teddy Bear Sewing Pattern.
Shop Classes and Patterns
Looking to level up your skills? Check out these beginner-friendly sewing classes:
Sewing 101: Basics and Beyond
Mastering Fabric Cutting Techniques
Creative Embroidery for Beginners
Don’t forget to browse our Shop Patterns for more adorable projects!
Check out Sewing Bee University for more free sewing tips and tutorials.
Happy sewing, and may your stitches be straight and your seams strong!
Disclosure: This post contains affiliate links. If you make a purchase through these links, I may earn a small commission at no extra cost to you. Thank you for supporting Sew Cute Patterns!


