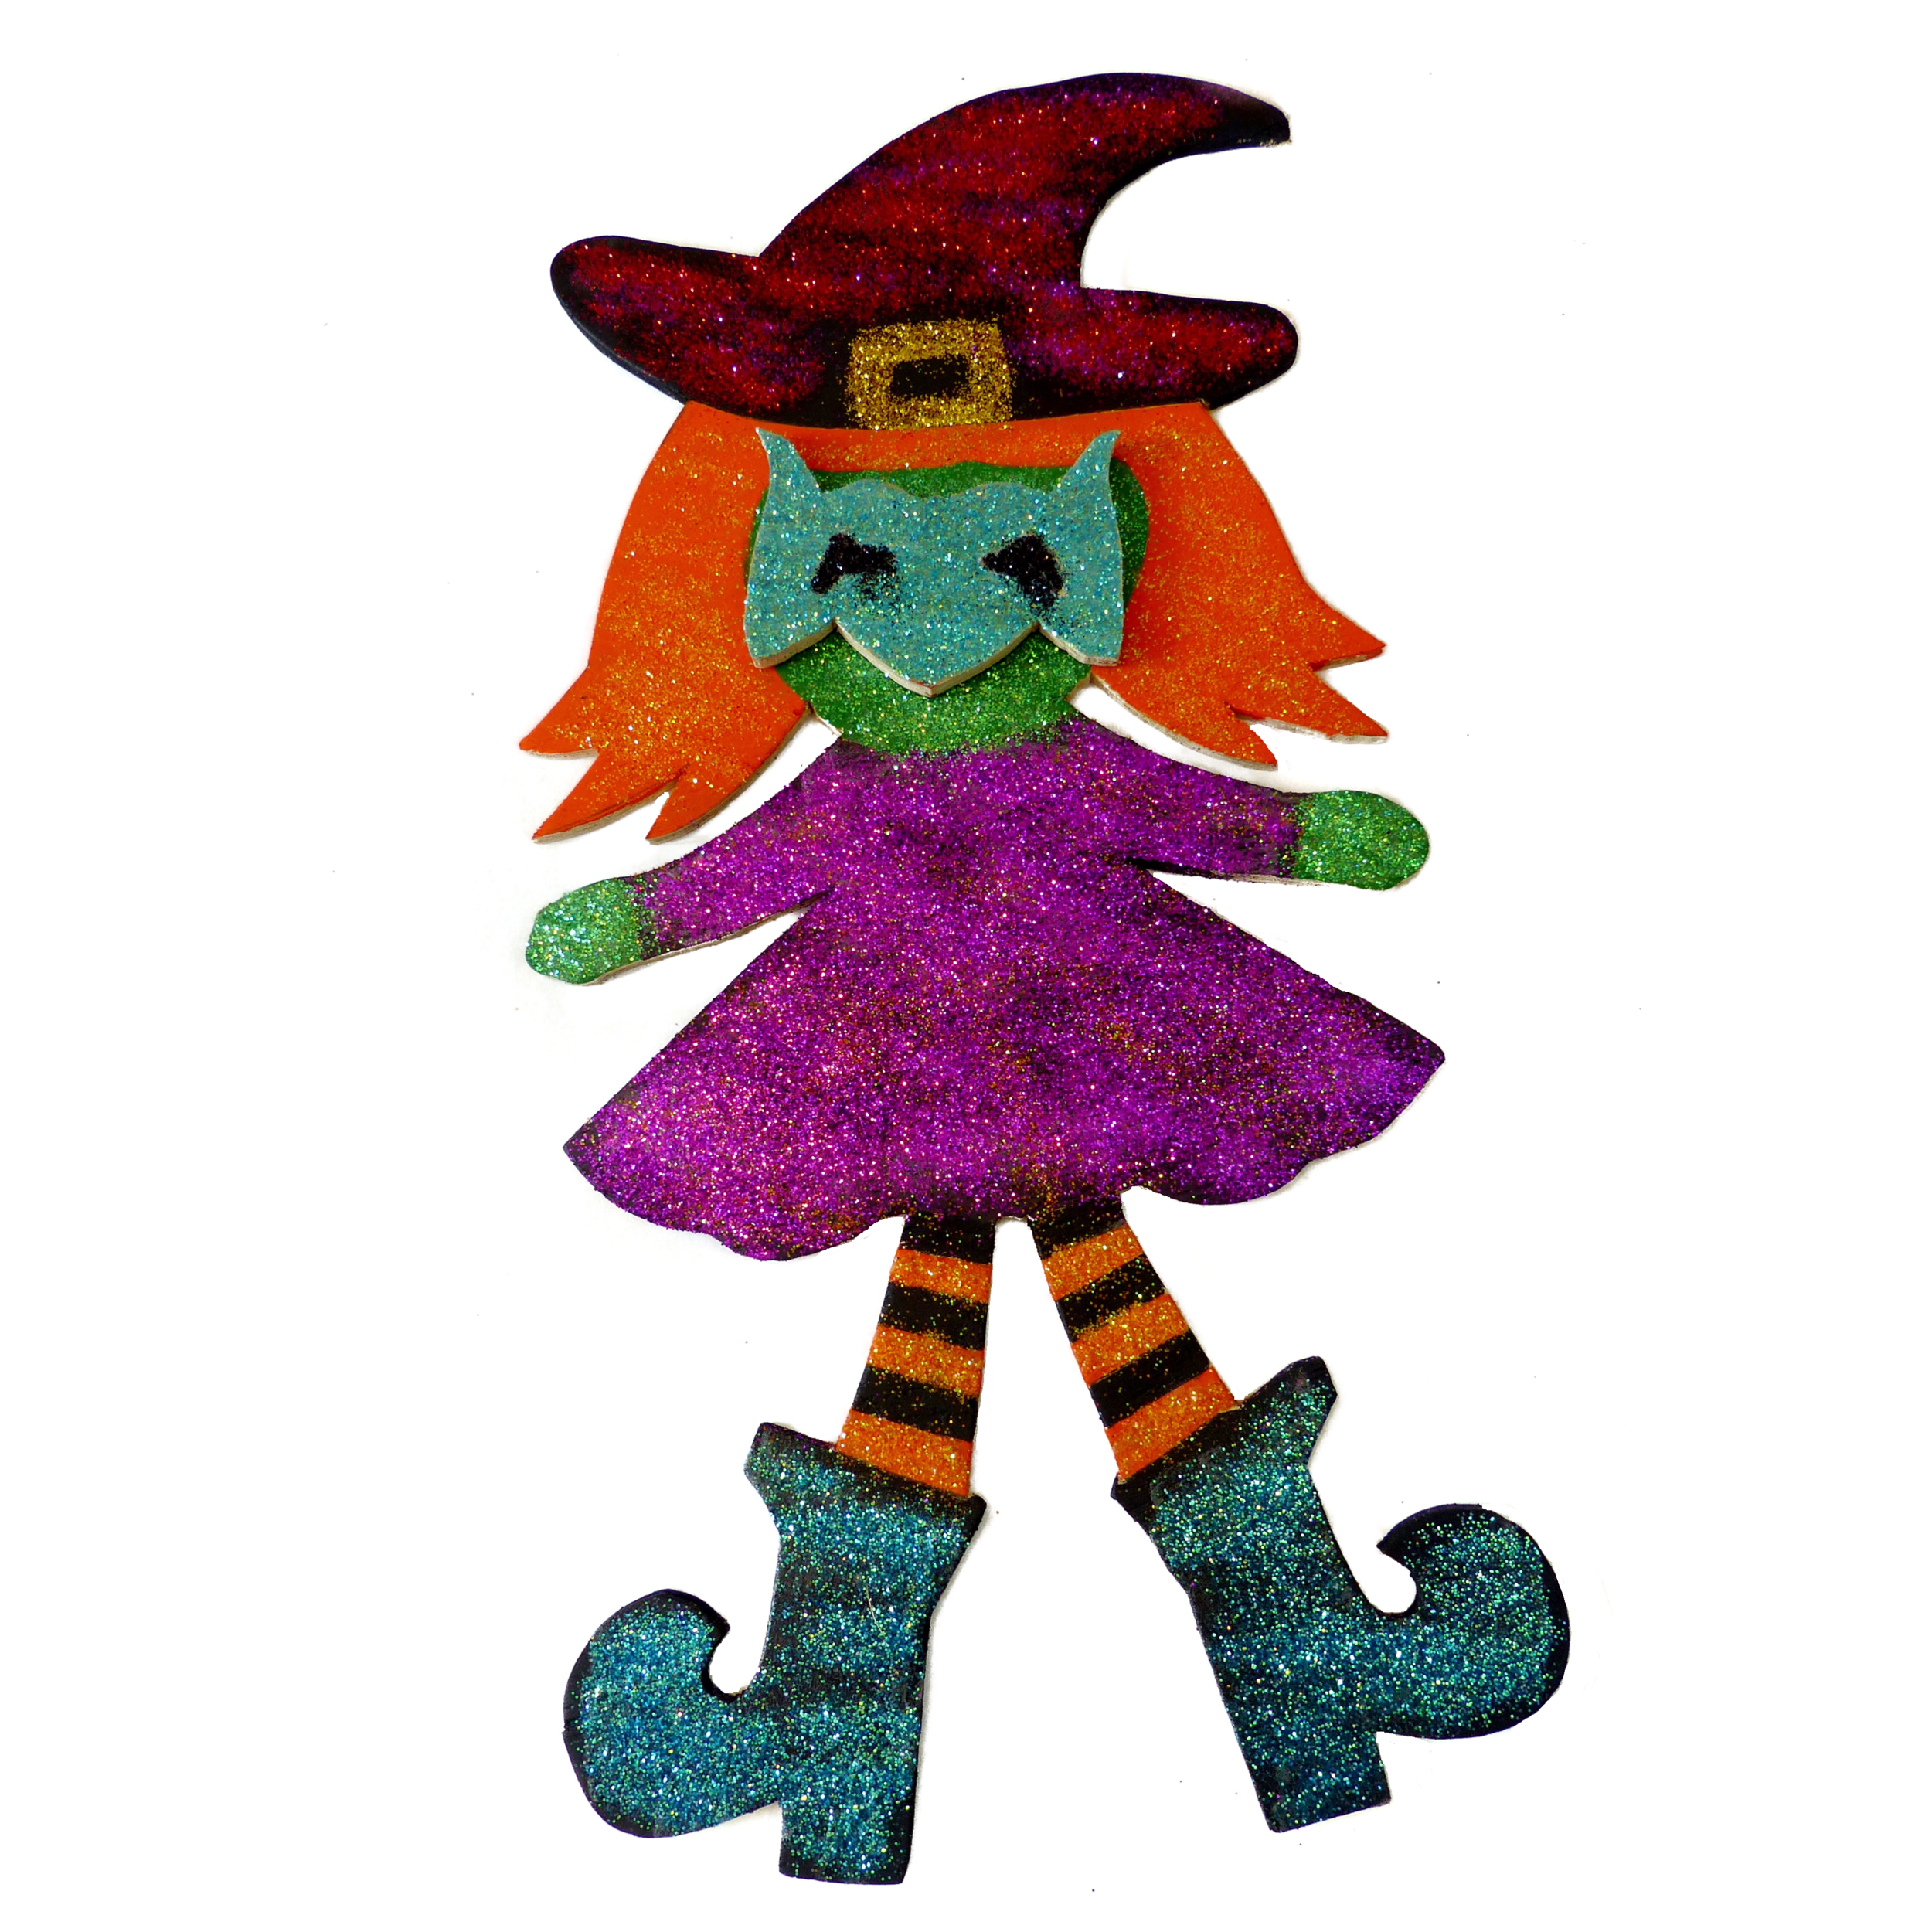
Free Witch Template
Decorating for the holidays is so much fun. Add this awesome wooden party witch to the front lawn or hang her on the front door! She’s made from plywood so you’ll need a jigsaw to cut the template. But you can also make her out of poster board. Below you’ll find instructions to make both!
The template includes four masks to choose from. Choose your favorite or make all four!
Witch Templates
Click here to download the templates.
Wooden Witch
Supplies:
Plywood Sandpaper
Black marker
Jigsaw
Glitter in a variety of colors as desired
Spray adhesive for wood
Hot glue gun or wood glue
Latex paint (black for hat, dress, shoes, stockings & broom, orange for hair & stockings, green for face & hands)
Paint brush
Hook to create a door hanger
Conduit and conduit strap to create a lawn decoration
Directions:
First, cut all pattern pieces from pattern pages. Witch pattern prints on multiple pages and will need to be taped together. Match up the letters and use as a guide when taping together. Tape along the dotted lines.
Trace the witch and broom patterns on the plywood using a black marker.
With a jigsaw, cut around the design.
Using sandpaper, smooth out the wood around the entire edge of the design.
Paint the witch and broom using latex paint. (We used black for hat, dress, shoes, stockings & broom, orange for hair & stockings, green for face and hands.) Let dry completely.
Spray with adhesive spray for wood and using various colors, sprinkle with glitter as desired. (We used blue for boots, orange for stockings & hat, purple for dress, green for face, red for hat, gold for hat band and silver for broom.) Let dry completely.
Choose which style glasses you would like for your witch. Trace the glasses pattern on the plywood and with a jigsaw, cut around the design. You will not need to cut out the hole in the middle of glasses. With sandpaper, smooth out the edges.
Paint the glasses with latex paint in whatever color desired.
To decorate the glasses with glitter, lay the paper mask pattern on the wooden glasses. The eye holes should be cut out of the paper pattern. Spray the eye holes with adhesive spray. Remove paper pattern and sprinkle with glitter in whatever color desired. Let dry completely. Spray the rest of the glasses with adhesive spray. Sprinkle with glitter in whatever color desired. Let dry completely.
Using wood glue or a hot glue gun, glue the glasses to the witch’s face.
Door Hanger -
To create a door hanger, screw a hook into the top of the witch’s head and hang to the door with a nail and hammer.
Lawn Decor -
To create a lawn decoration, hammer a 4 foot conduit into the ground, sinking about 6 inches into the ground. Attach the back of the witch to the conduit with a conduit strap.
Paper Witch
Supplies:
Black poster board
Glitter in a variety of colors as desired
Spray adhesive for paper
Acrylic paint in a variety of colors
Pencil
Scissors
Tacky glue
Ribbon to create a hook to hang
Directions:
Using a pencil, lightly trace the witch and broom patterns on white poster board and cut.
Using a pencil, lightly trace the glasses pattern on white poster board. You don’t need to cut out the holes in the glasses. You will cover these areas with glitter.
Using acrylic paints, paint the witch and broom as desired. Let dry completely.
Decorate with glitter. Spray the area you’d like to cover on the witch and broom with adhesive spray. Sprinkle with glitter. Spray and cover remaining areas until finished. Let dry completely.
To decorate the masks with glitter , place the paper pattern on top of the mask. Your eye holes should be cut out of the paper pattern. Carefully spray the eye hole area with adhesive spray and sprinkle with glitter. Let dry completely. Next, spray the area around the eye holes with adhesive spray and cover with glitter. Let dry completely.
Glue the masks to the witch’s face.
Glue the broom to the witch's body.
Loop a 4 inch ribbon to the back of the top of the witches hat to create a hook to hang.


