Free Moon and Stars Pillow Sewing Patterns
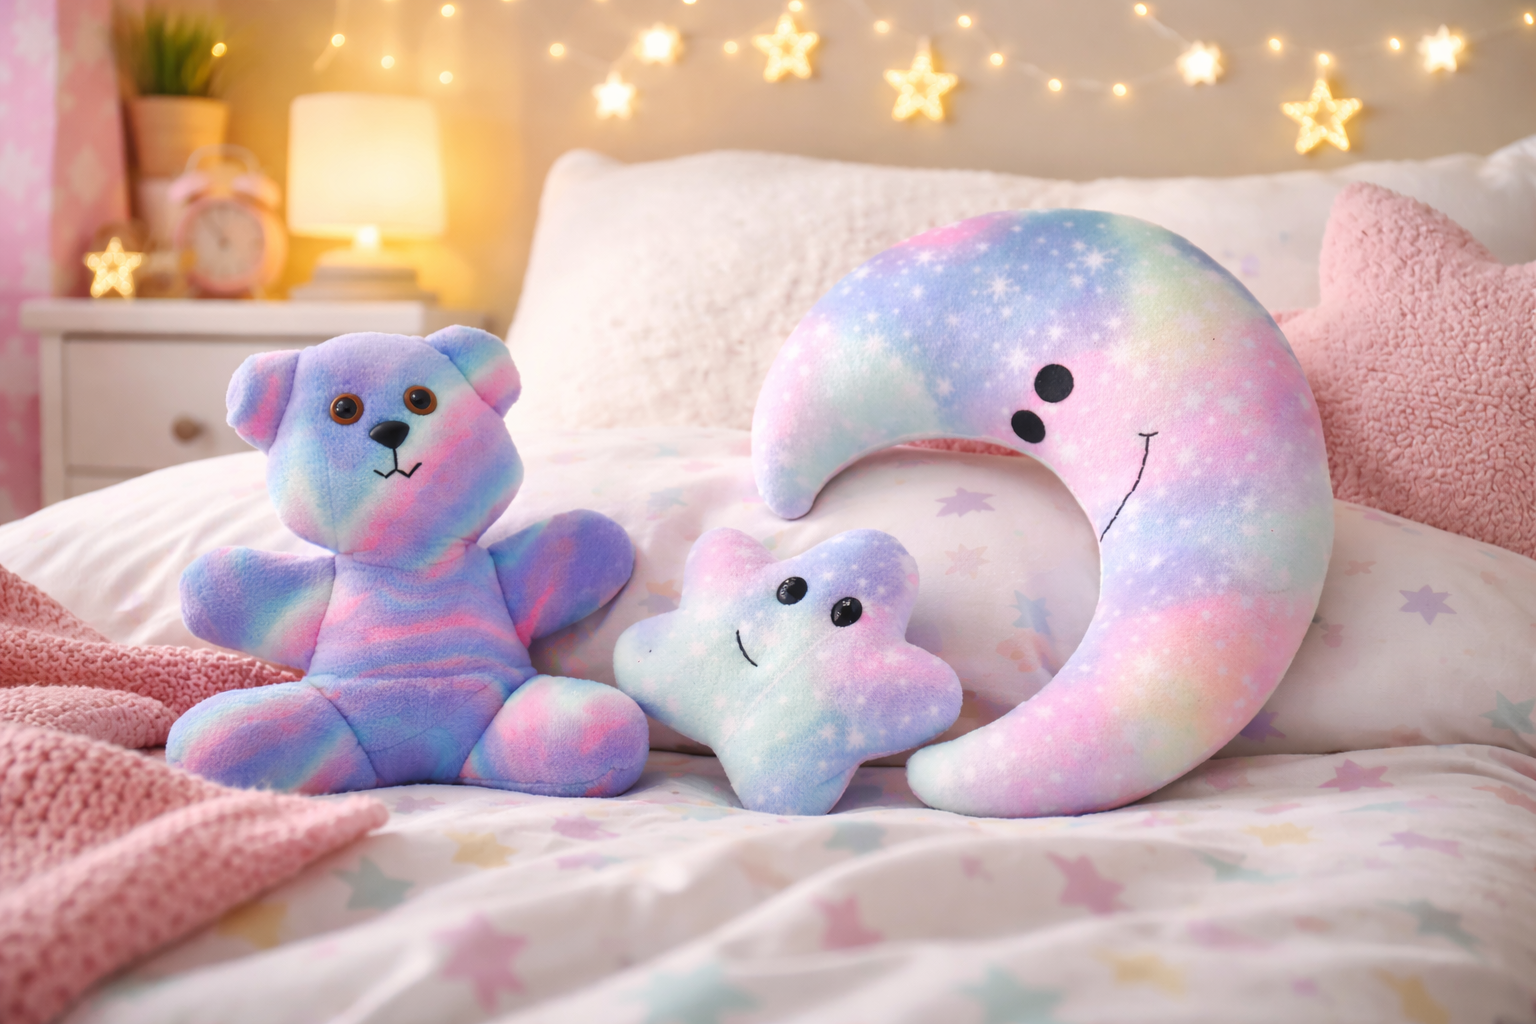
Are you looking to add a touch of celestial magic to your nursery decor? Look no further! We're excited to share our free Moon and Stars Pillow Sewing Pattern today. This delightful pattern set includes one pattern for the moon and another for the stars, perfect for creating a dreamy atmosphere in any room. Follow along with the step-by-step guide, and don't forget to check out our affiliate links for the best supplies.

These pillows are not only fun to make but also add a whimsical touch to any bedroom, nursery, or lounge area. Let's dive into the supplies you'll need and the steps to create your very own celestial cushions.
Supplies Needed
To create your Moon and Stars pillows, you'll need the following supplies. Click the links to purchase these items directly from our trusted partners.
Fabric: Soft fleece or flannel cotton fabric in your choice of colors (yellow for the moon, white or other colors for the stars). Plus a strap of felt fabric for the eyes.
Polyester Stuffing: Polyester stuffing for a plush and cozy feel.
Sewing Machine: A reliable sewing machine for easy stitching.
Needle and Thread: Matching thread and sewing needle for hand-sewing the final opening.
Scissors: Fabric scissors for precise cutting.
Pins: Sewing pins to hold your fabric pieces together.
Pattern Template: Download the free Moon and Stars pillow pattern template here.
Glue: Fabric glue or hot glue gun to glue the eyes to the pillow.
Crochet thread: Black crochet thread and needle to stitch the smile. You’ll need a needle with an eye large enough to feed the crochet thread, which is thicker than thread. You can also use the crochet thread to stitch the eyes as an alternative to using felt fabric.
Make DIY magic with unique craft supplies on Etsy
Step-by-Step Instructions
1. Download and Print the Patterns Download the free Moon and Stars pillow patterns and print them at full size. Cut out the pattern pieces. Tape the pieces together. Use the letters as a guide to taping the pieces together. Match up the letters for each pattern and tape along the dashed lines.
2. Cut Your Fabric Using the pattern pieces, cut out two moon shapes and two star shapes from your fabric. Make sure you have two pieces for each pillow (one front and one back).
3. Create the face Place the paper patterns on top of the right side of the front fabric. With the tip of a pencil poke through the paper and make marks onto the fabric along the smile (about 1/4” apart) and at the location of the eyes. Using fabric glue (or hot glue gun and glue sticks), glue the eyes to the moon or star. Using black crochet thread and needle, backstitch the mouth. Visit SBU for a free backstitch tutorial:
4. Sew the Pillow Pieces Together Place the two moon pieces right sides together and pin around the edges. Repeat for the star pieces. Sew around the edges with a 1/4-inch seam allowance, leaving a small opening for turning and stuffing.
5. Turn and Stuff Carefully turn your moon and star pillows right side out through the opening. Use a pencil or a chopstick to gently push out the edges and points. Stuff the pillows with polyester stuffing until they are plump and soft.
6. Hand-Sew the Opening Once your pillows are stuffed, hand-sew the opening closed using a needle and matching thread. Make sure the stitches are tight and secure to prevent any stuffing from escaping. Visit SBU for a free tutorial on stitching an opening closed with a ladder stitch.
7. Enjoy Your New Pillows! Your Moon and Stars pillows are now ready to add a magical touch to your home. Arrange them on your bed, couch, or favorite reading nook for a dreamy and cozy vibe.

Free Sewing Tutorials
For more delightful free patterns and sewing inspiration, visit our Sewing Bee University page.
Looking for other fun projects? Check out our shop page or free patterns for a range of plush patterns, including stuffed animals, soft toys, aprons, Halloween patterns and more.
Happy sewing!
Try the free teddy bear pattern!