Free Burlap Flowers Template & Tutorial
Bring a little rustic charm to your holiday decor with these easy-to-make burlap flowers! Whether you're dressing up your table centerpiece, adding flair to a wreath, or just love the look of handmade decorations, these flowers are a beautiful (and budget-friendly!) way to get crafty for the season.
In this free tutorial, I’ll walk you through each step of the process—no fancy tools or floral experience required. Just some burlap, a bit of wire, and a few cheerful pom-poms for the center. 🎄✨
Let’s make something bloomin’ beautiful!

Materials needed:
Burlap fabric
Glitter glue pens
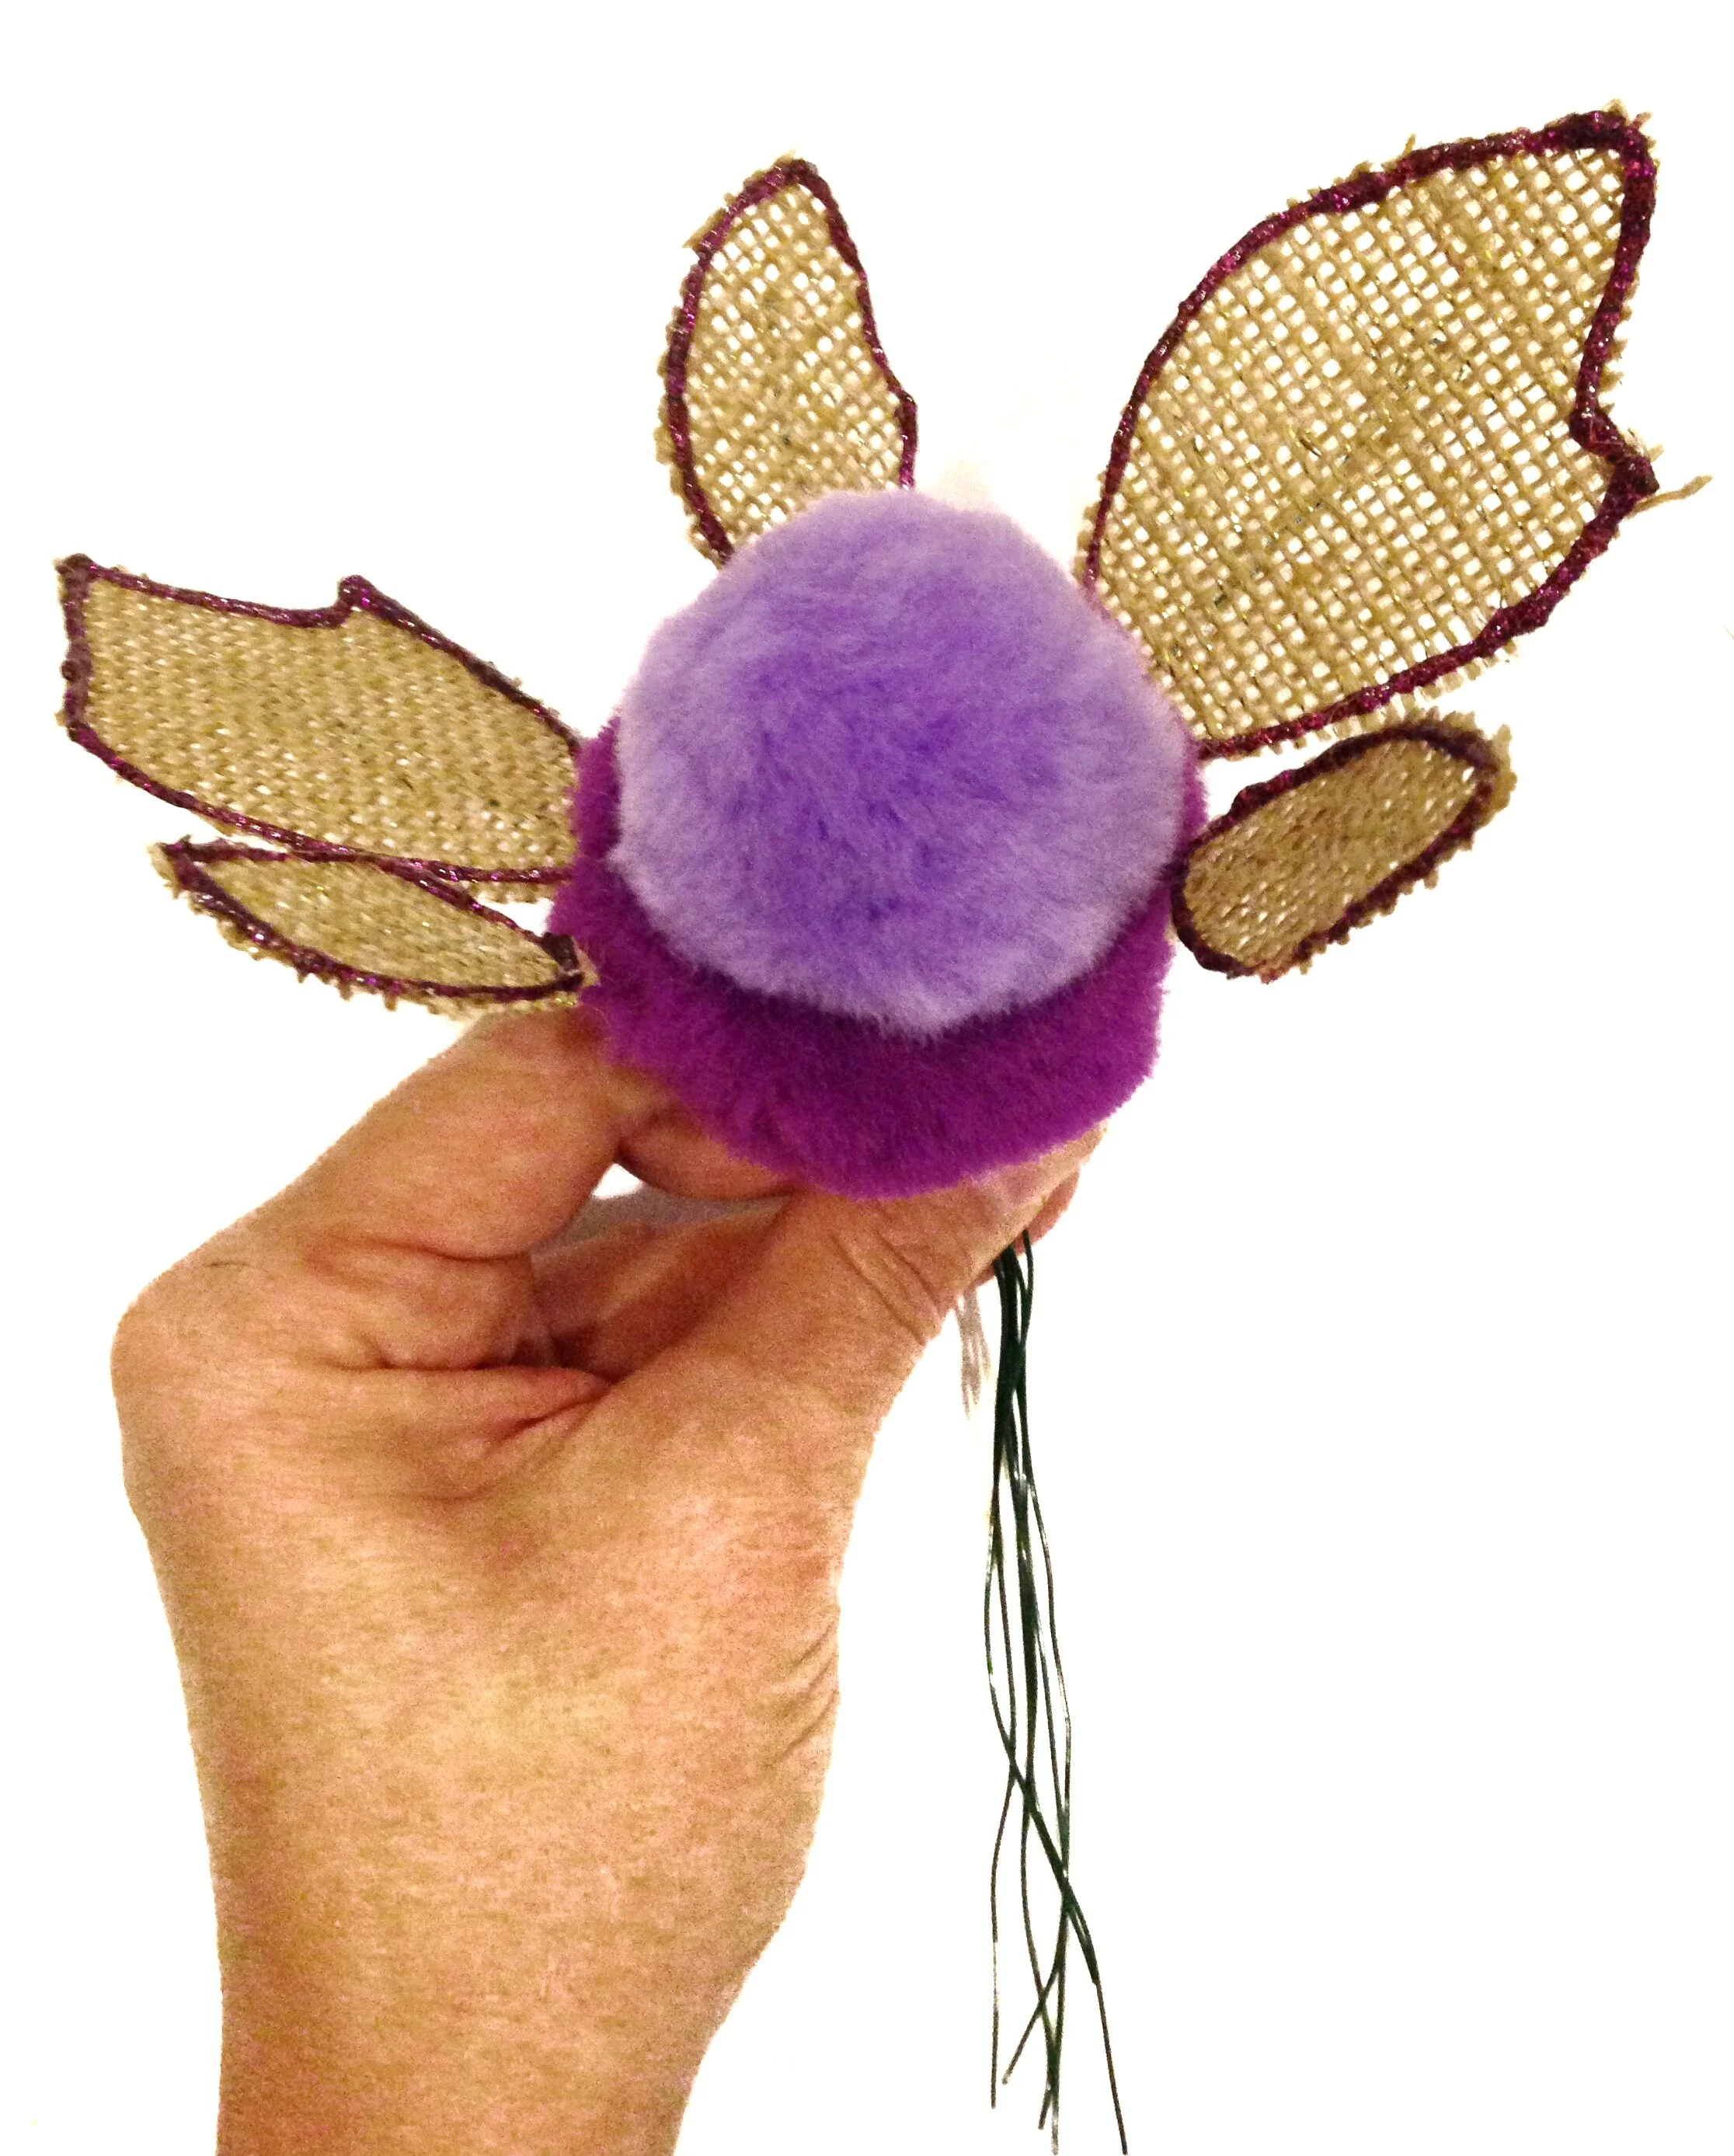
Medium or large pompoms in whatever color desired
Green stem wrap tape
Green florist wire
Hot glue gun and glue sticks
Templates download to PDF here


Instructions:
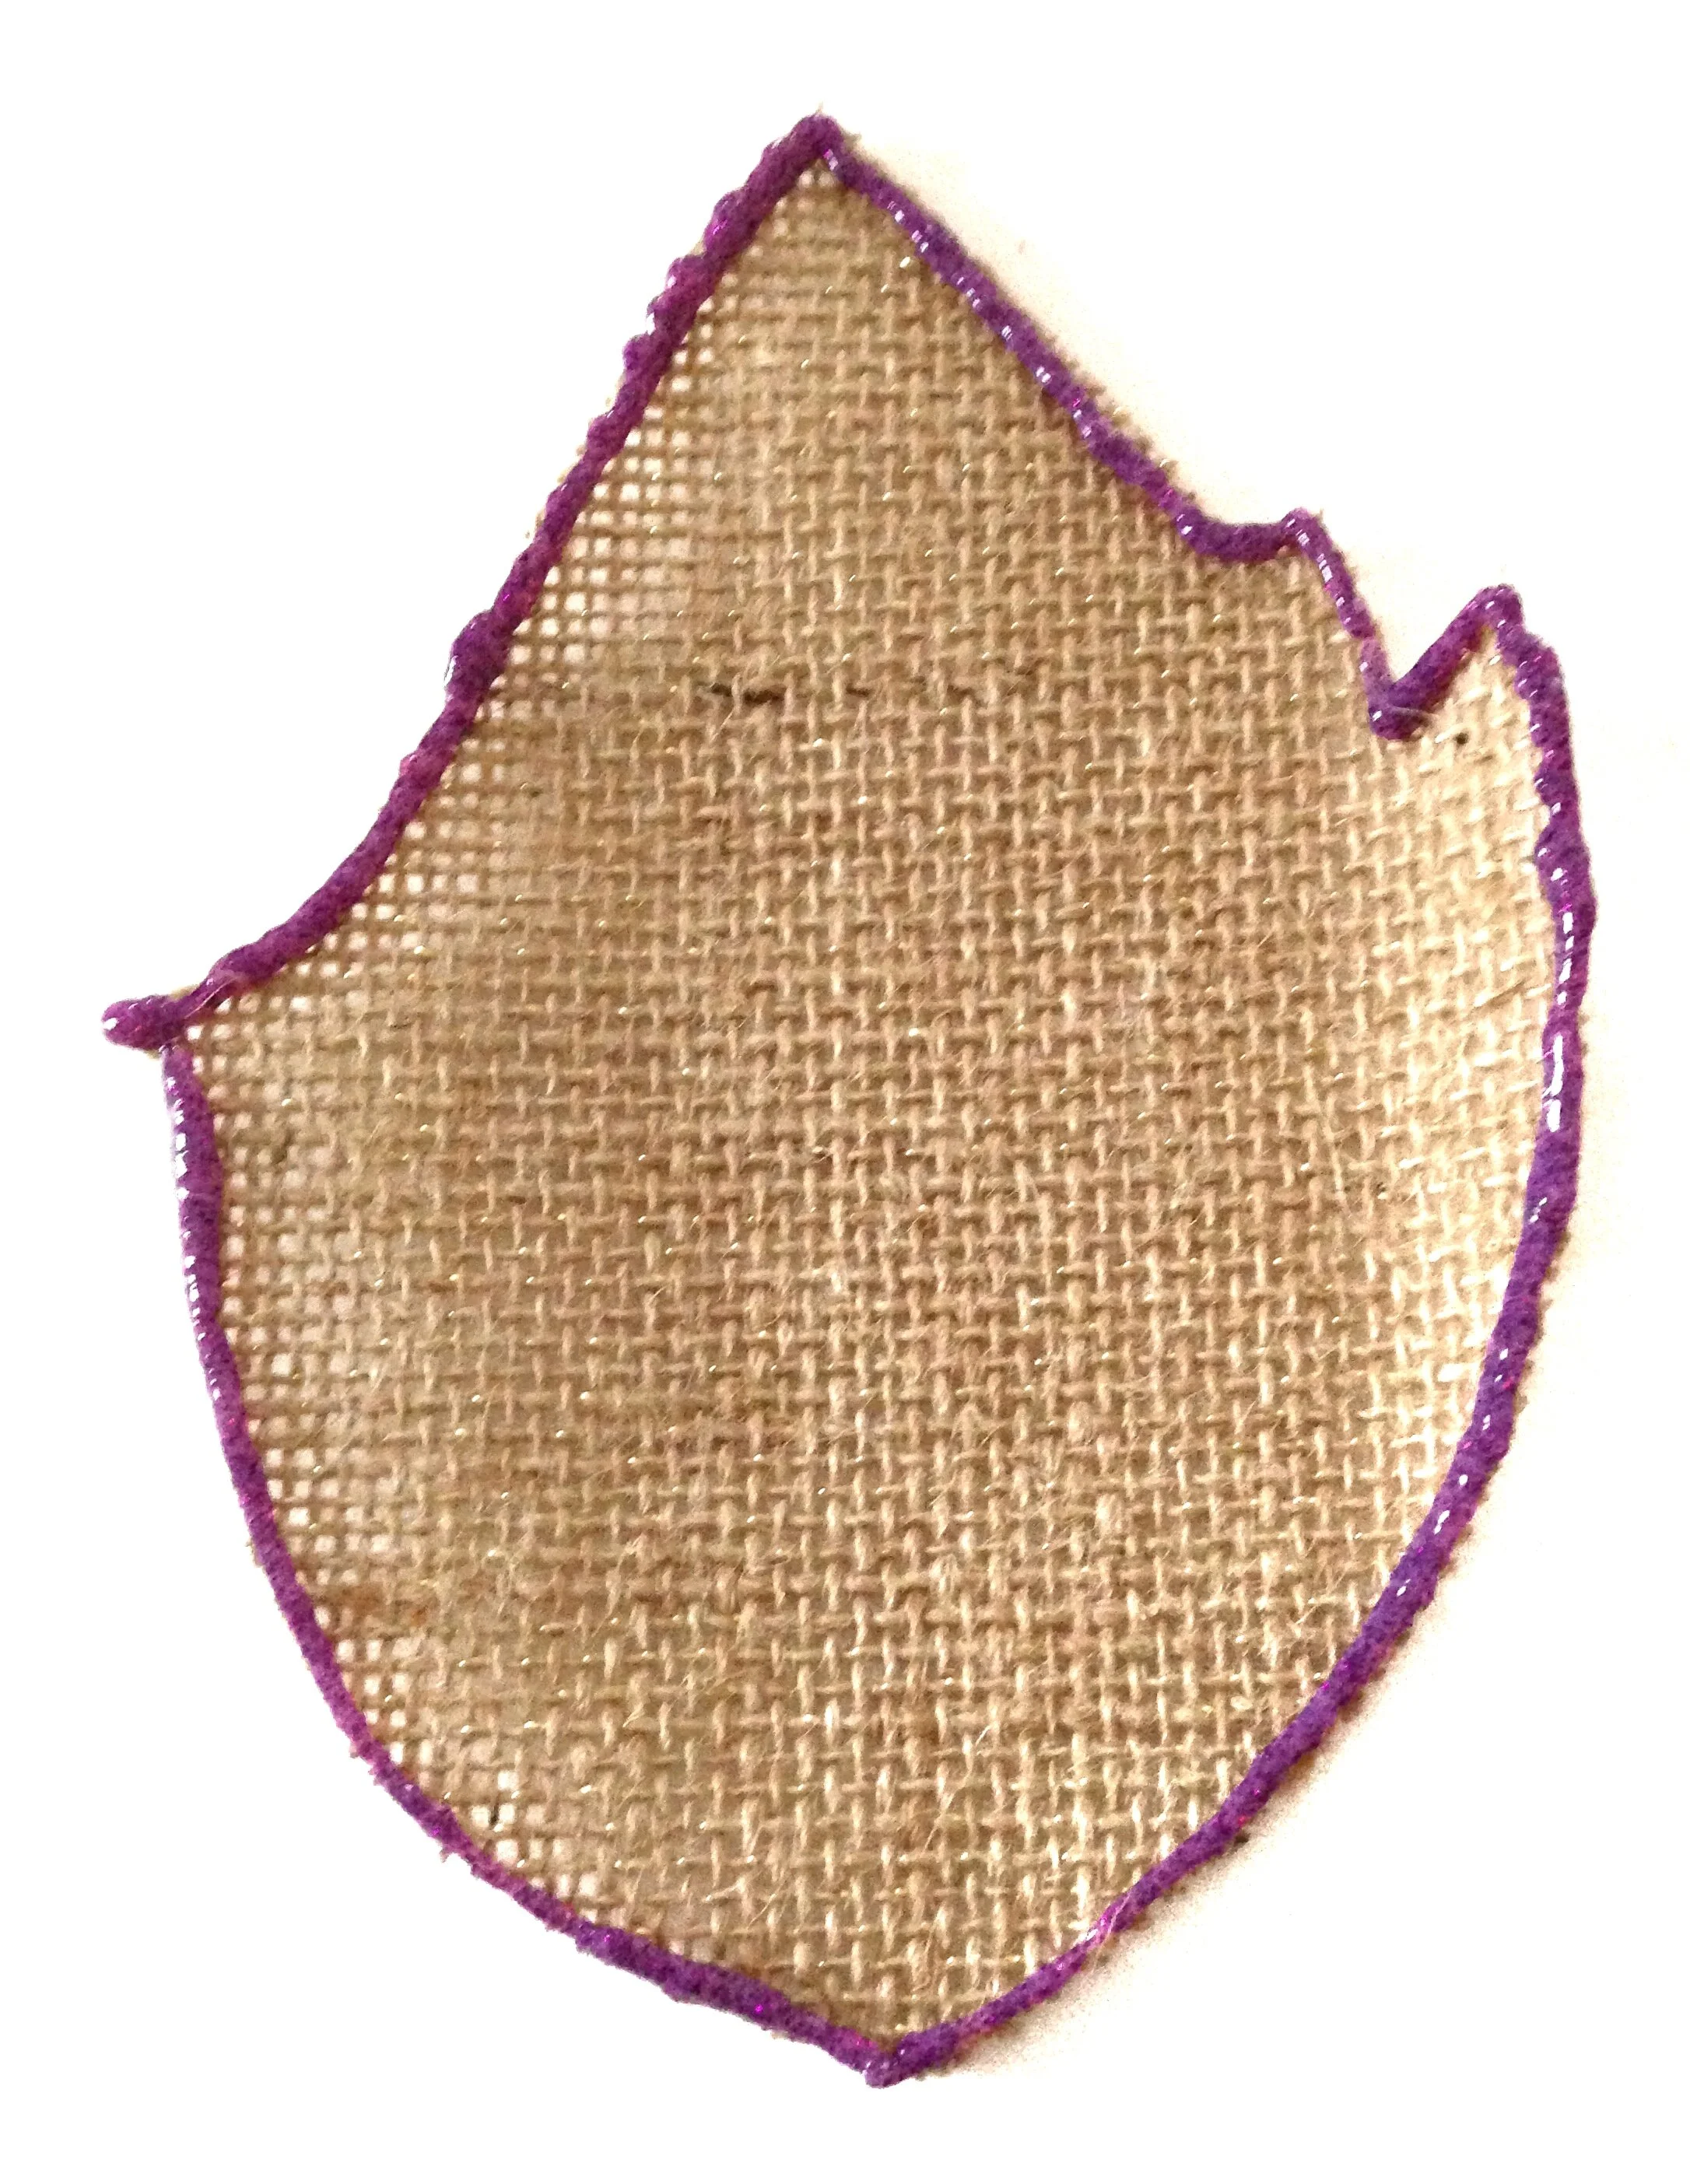
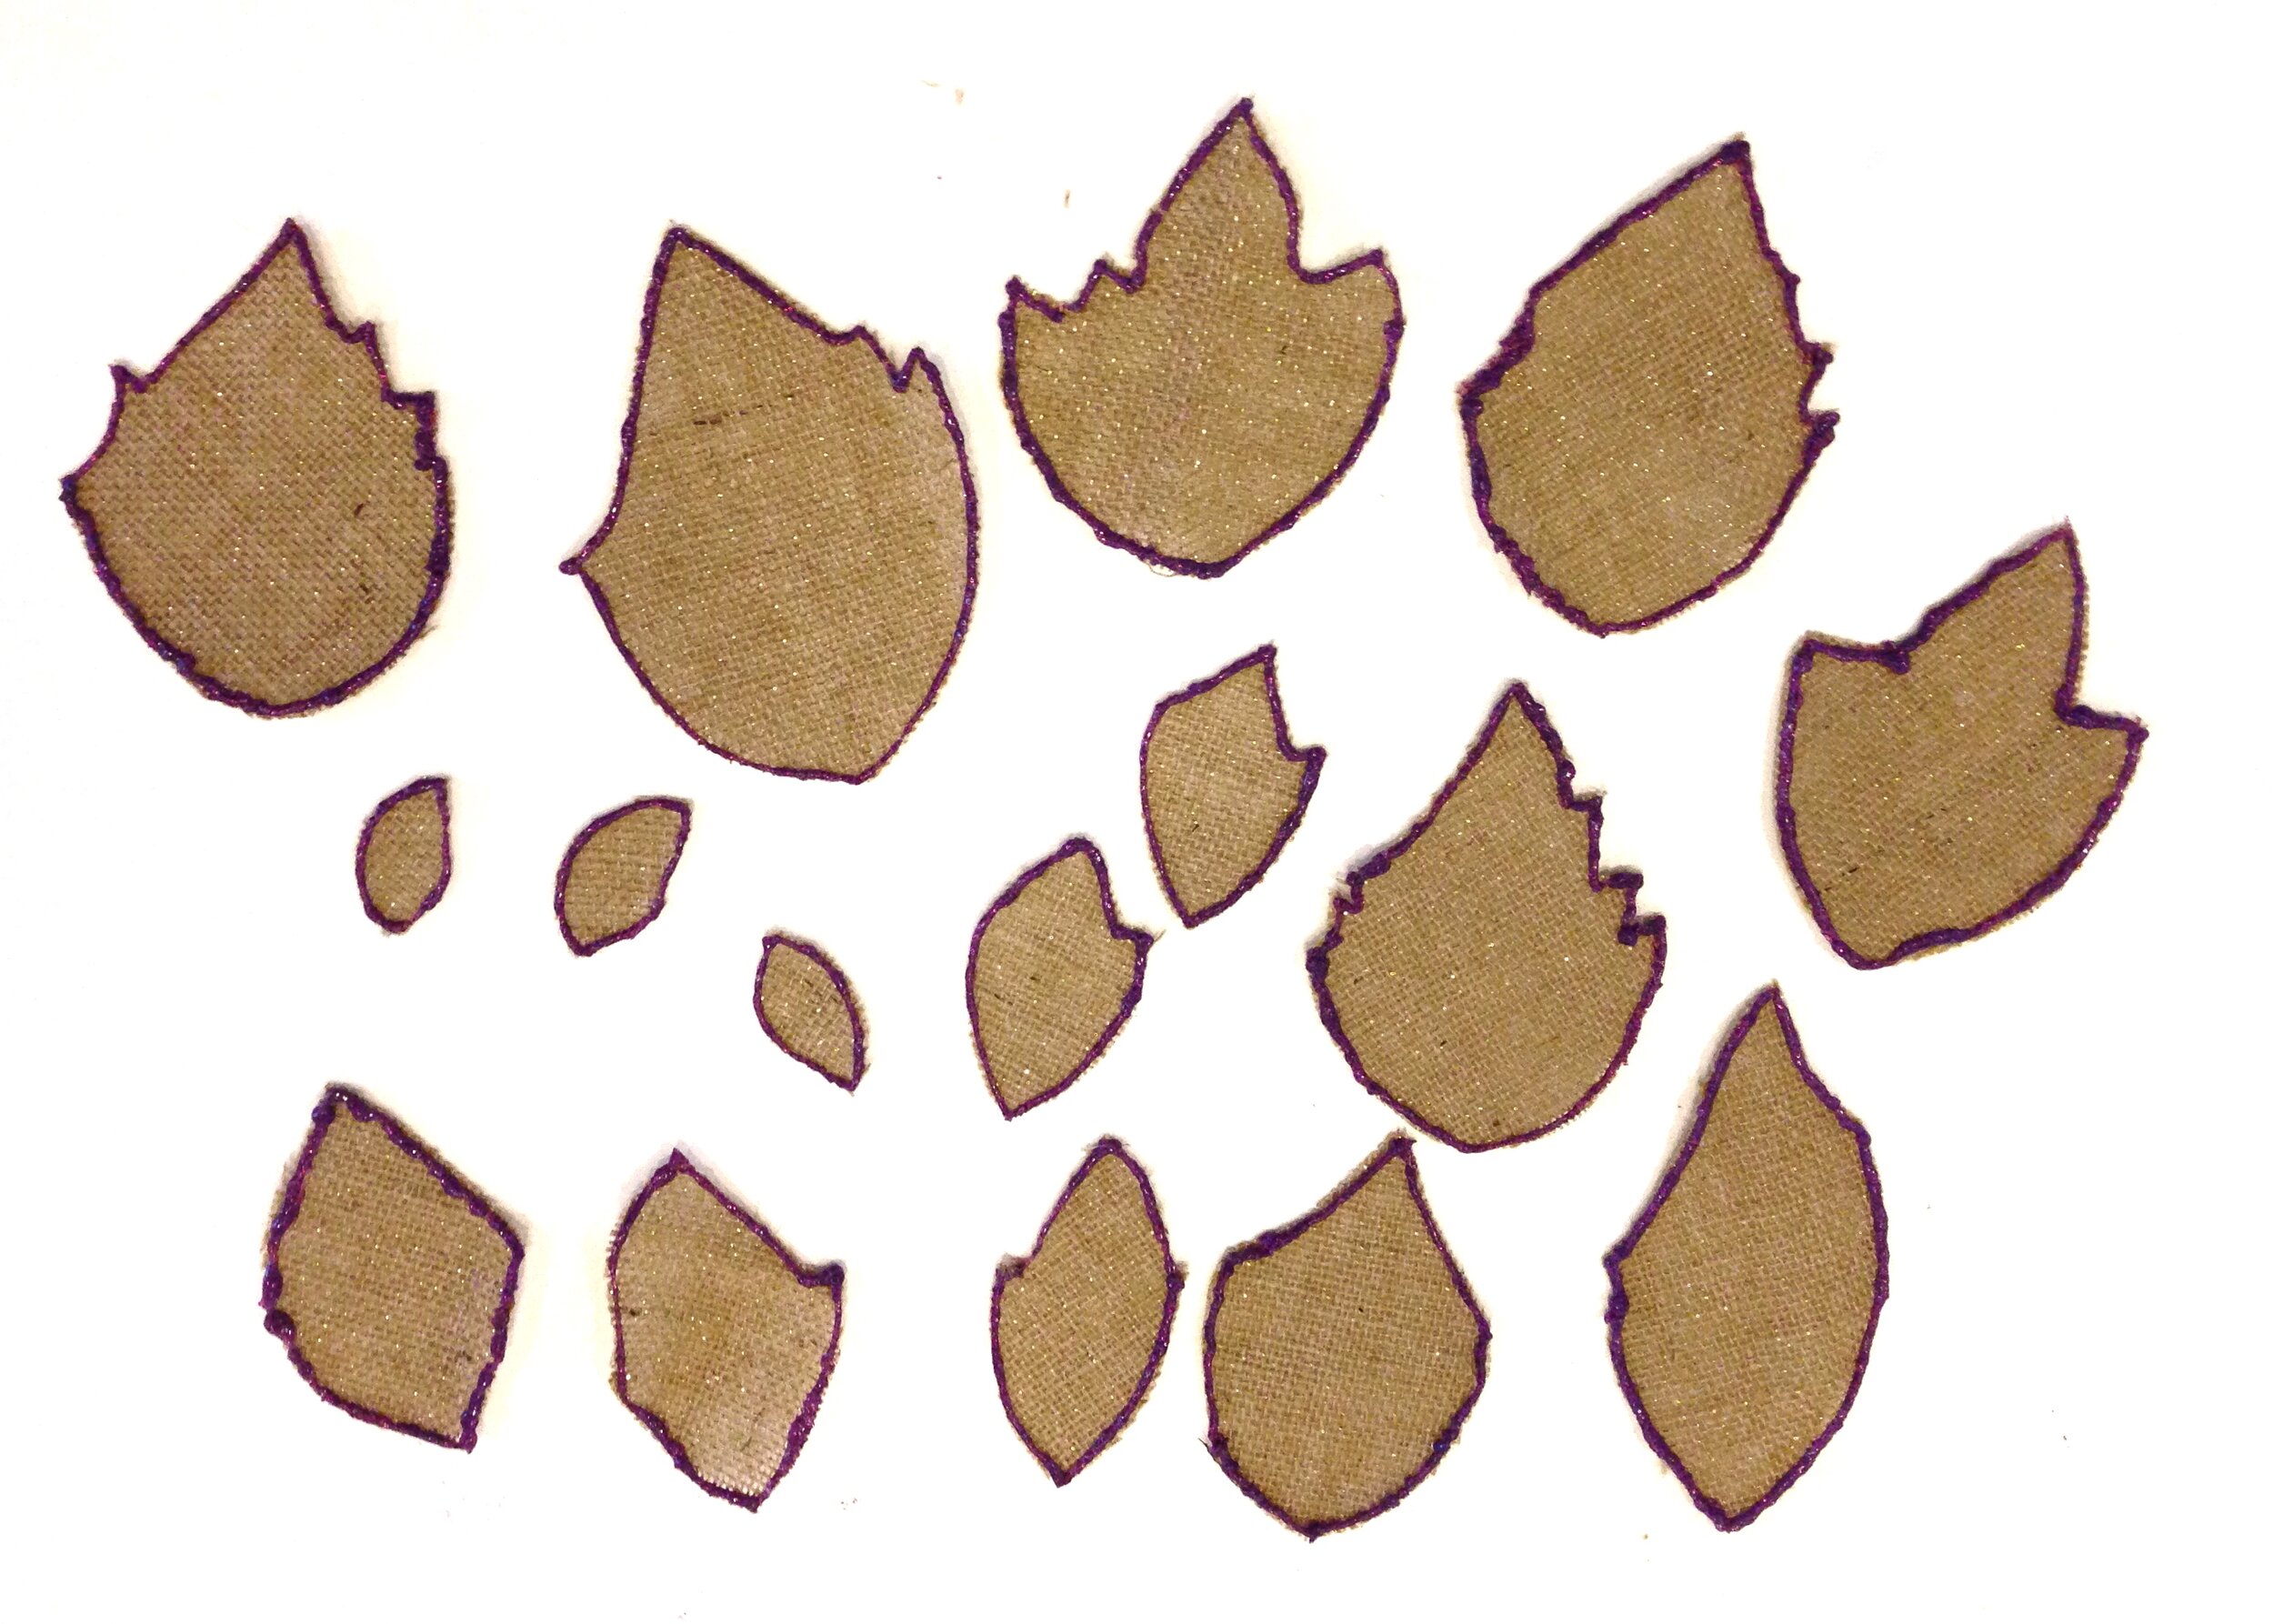
Cut all leaf pattern pieces from pattern pages.
Pin each leaf to burlap fabric and cut one of each leaf.


Using a glitter glue pen in color desired, outline the entire edge of each leaf. Let dry completely. Glue may take several hours to dry completely.

Cut 16 florist wires 8” long each, one for each leaf.

Turn leaves to the wrong side and hot glue one florist wire to the center of the back of the each leaf. The wire should almost reach the top of each leaf.


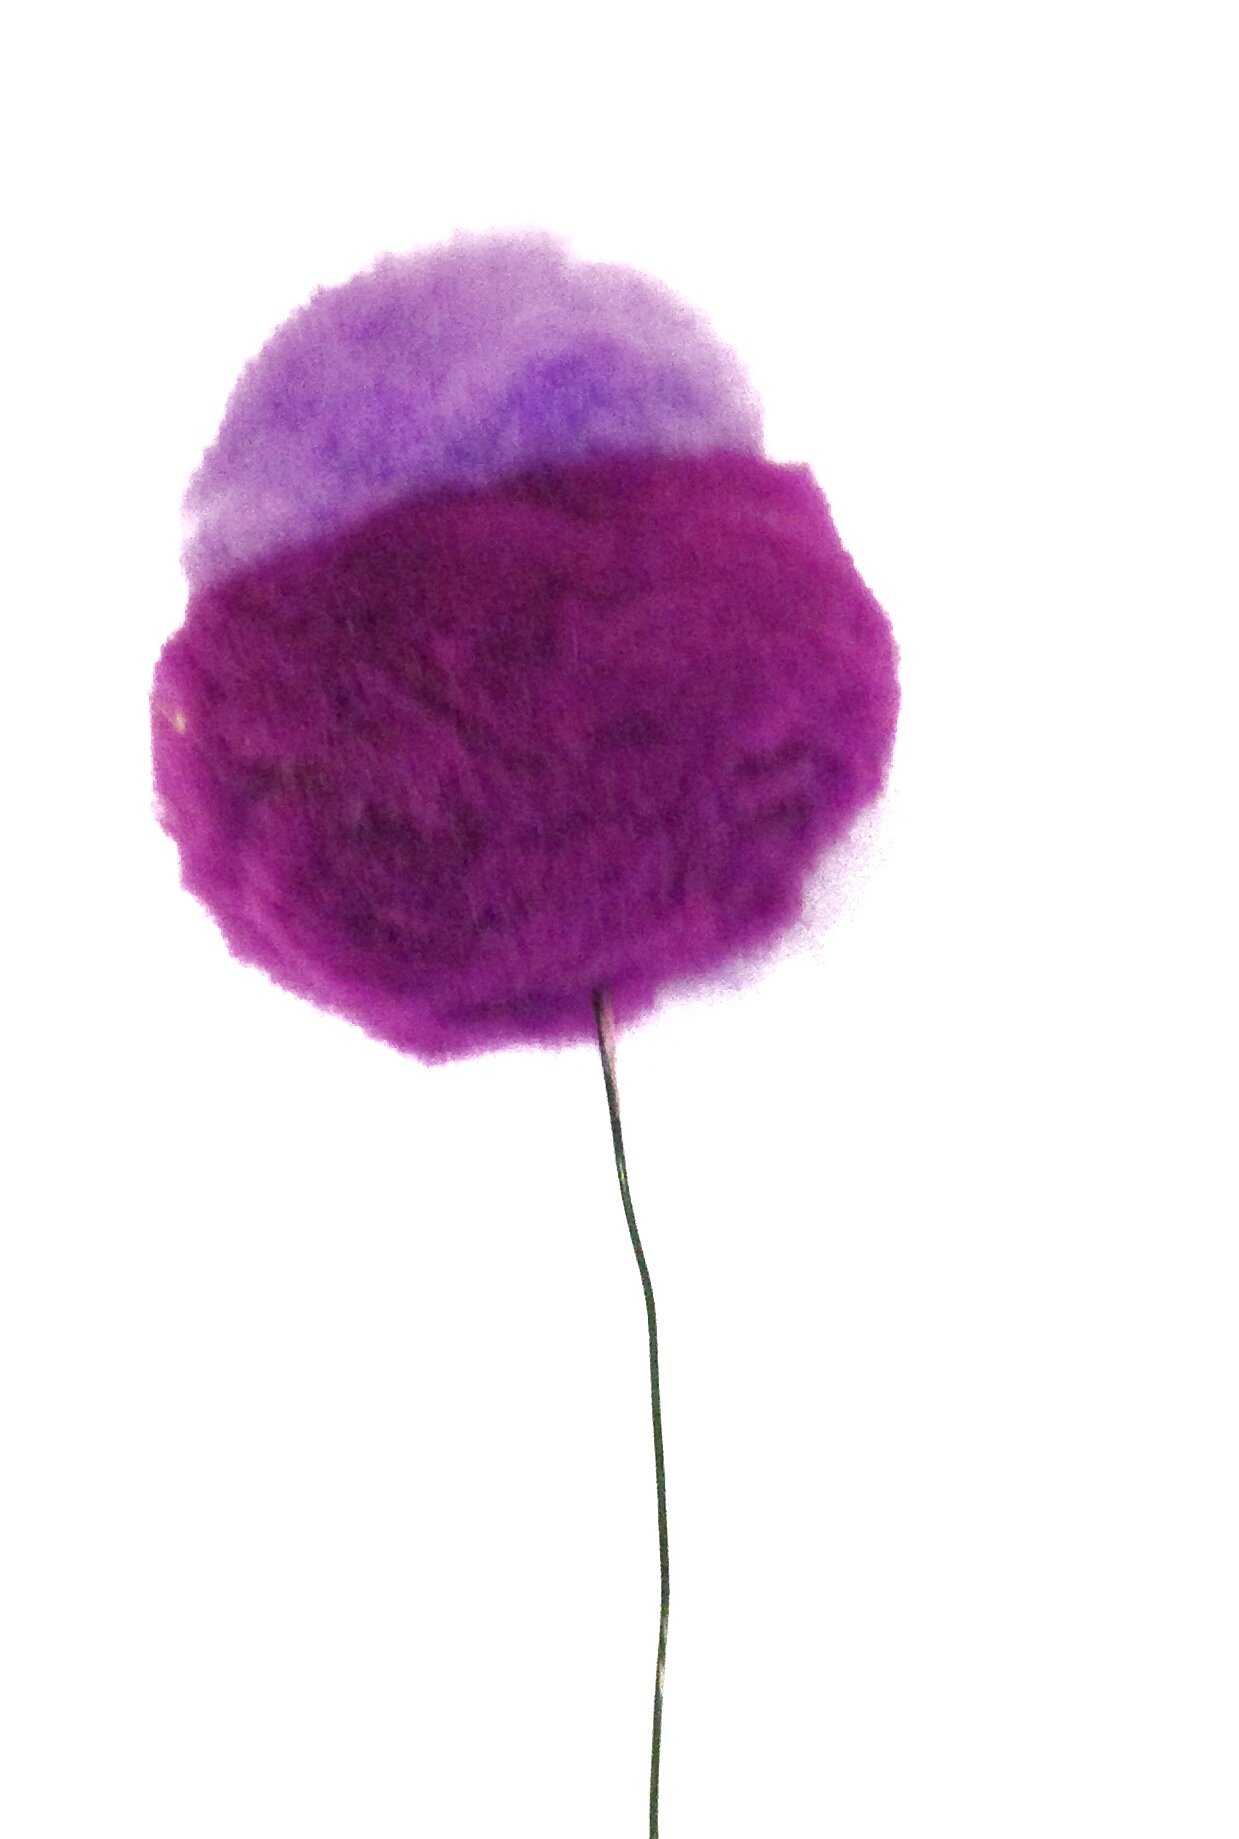
Select the color and quantity of pompoms you would like to use in the center of your flower. Cut another 8” wire and poke through the center of the pompom. If desired poke another pompom through. Drop a little hot glue where the wire enters the pompom to secure in place.


Or cut 1-2 more wires and poke through two more pompoms.
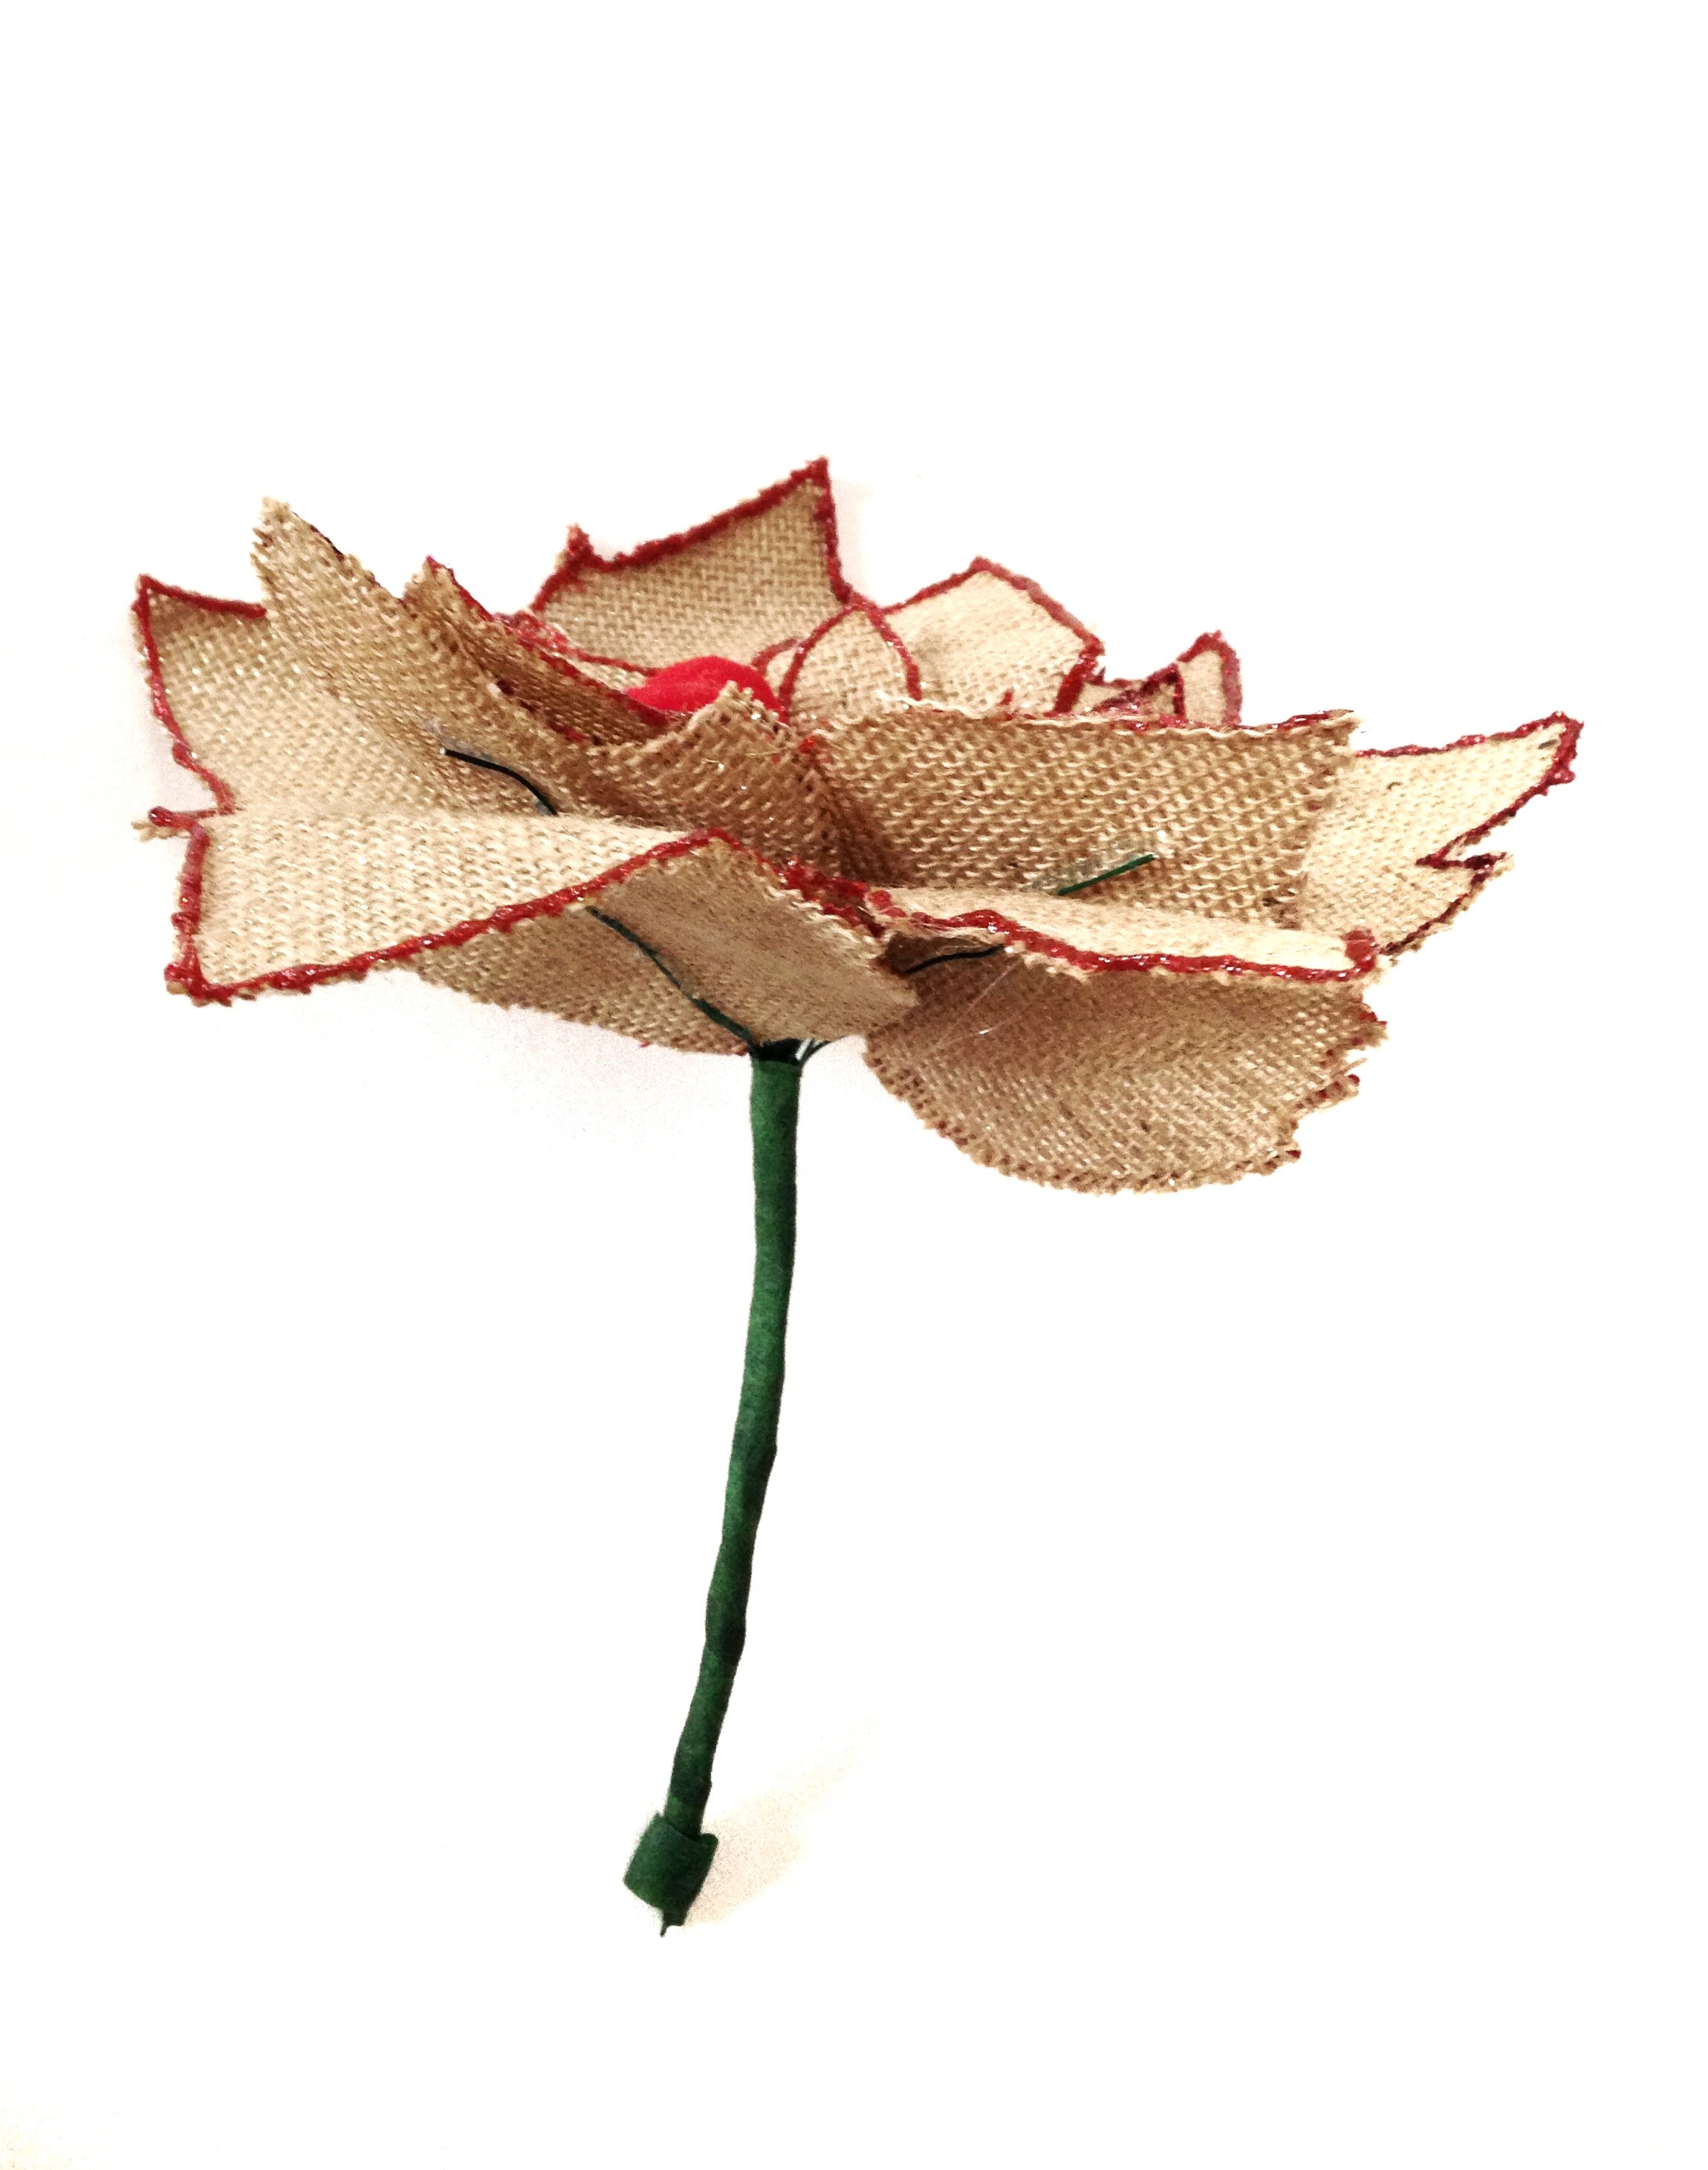
Next, lets put the flower together.
Start with the pompoms and add the first layer of flowers around the pompoms. The front of the flower with the glitter glue should be facing up.
Next place the second, third, fourth and fifth layer of flowers around the pompoms and the other leaves.


Holding all of the wire stems in place, wrap the entire stem twice with stem wrap tape.