Free Elephant Pattern
Download the sewing pattern pages and follow the instructions to make an adorable elephant pillow! Then download the adoption certificate to make it official.
Sewing skill level
Beginner, basic sewing skills needed
Size
14” wide when finished.
What you’ll need:
1/2 yard fabric for body and ears (fleece or flannel cotton fabric is recommended because of it’s softness but any fabric type will work)
polyester stuffing
black and white felt fabric for eyes
5 large pompoms for tail
hot glue gun or fusible web
pattern pages
sewing machine and basic sewing tools
Pattern pages
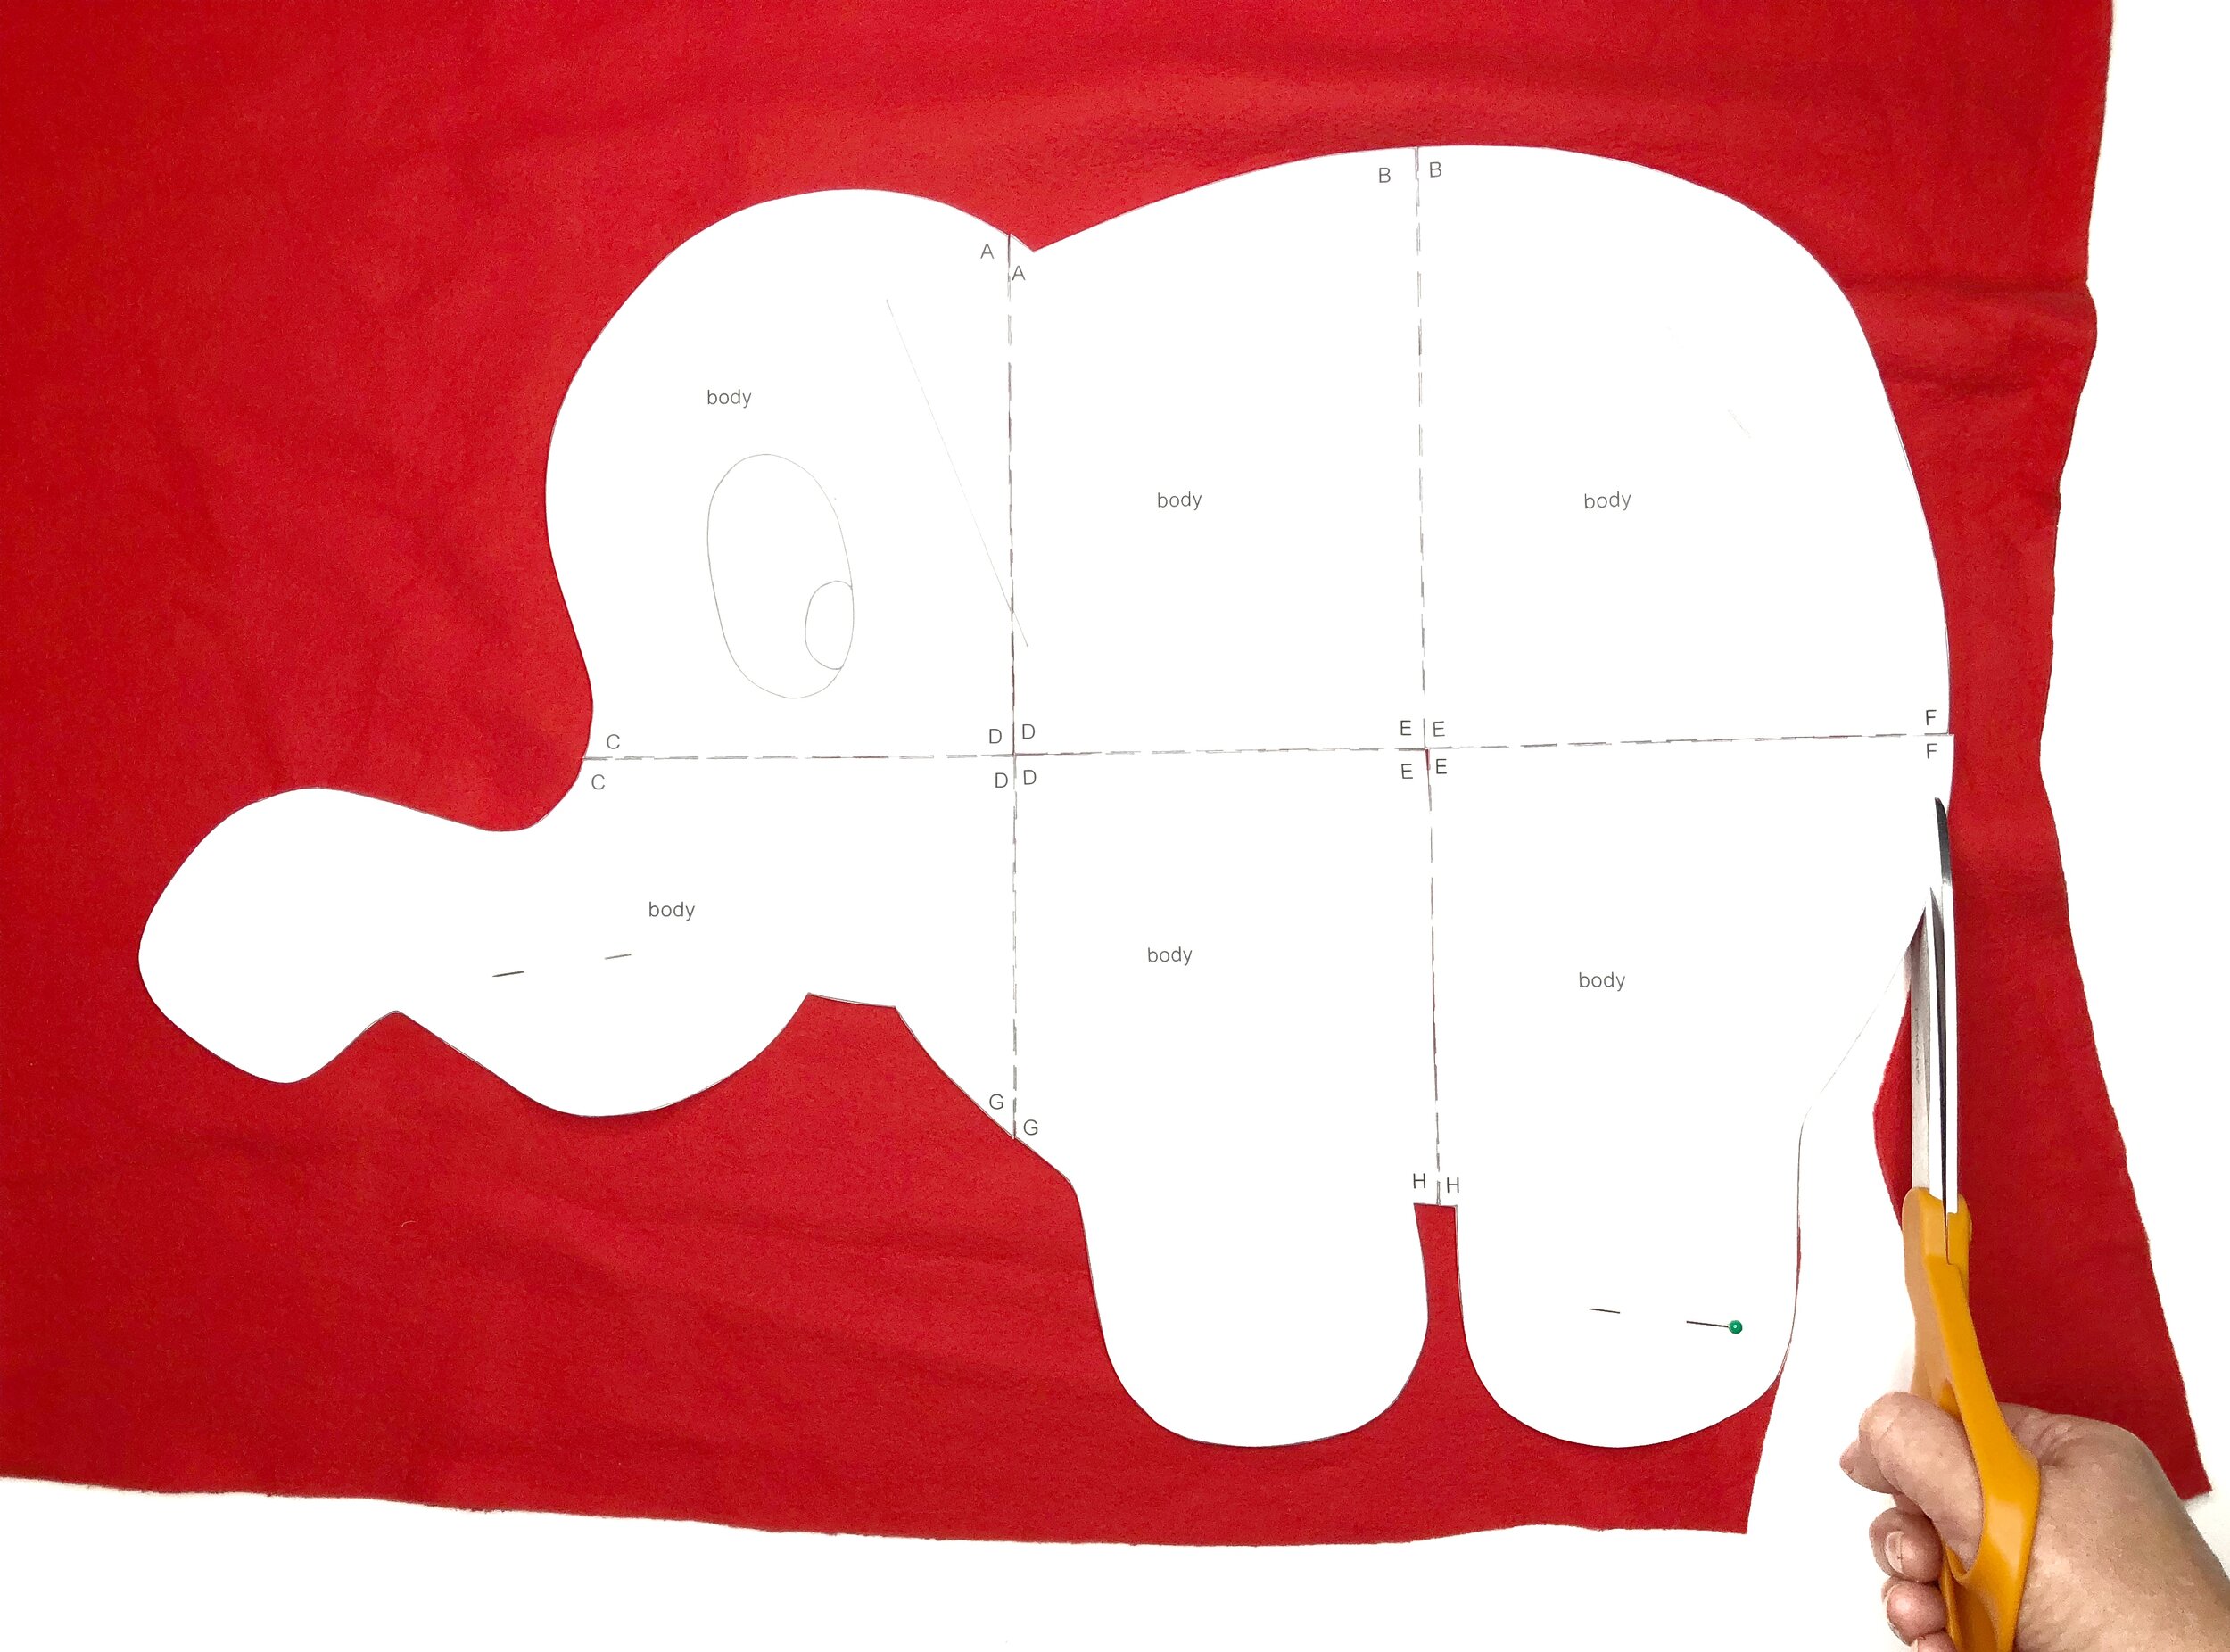
Click here to download the pattern pages. The pattern pieces print on multiple pages so they need to be cut and taped together. Match up the letters and use them as a guide to taping the pieces together. Tape along the dashed lines.
Instructions
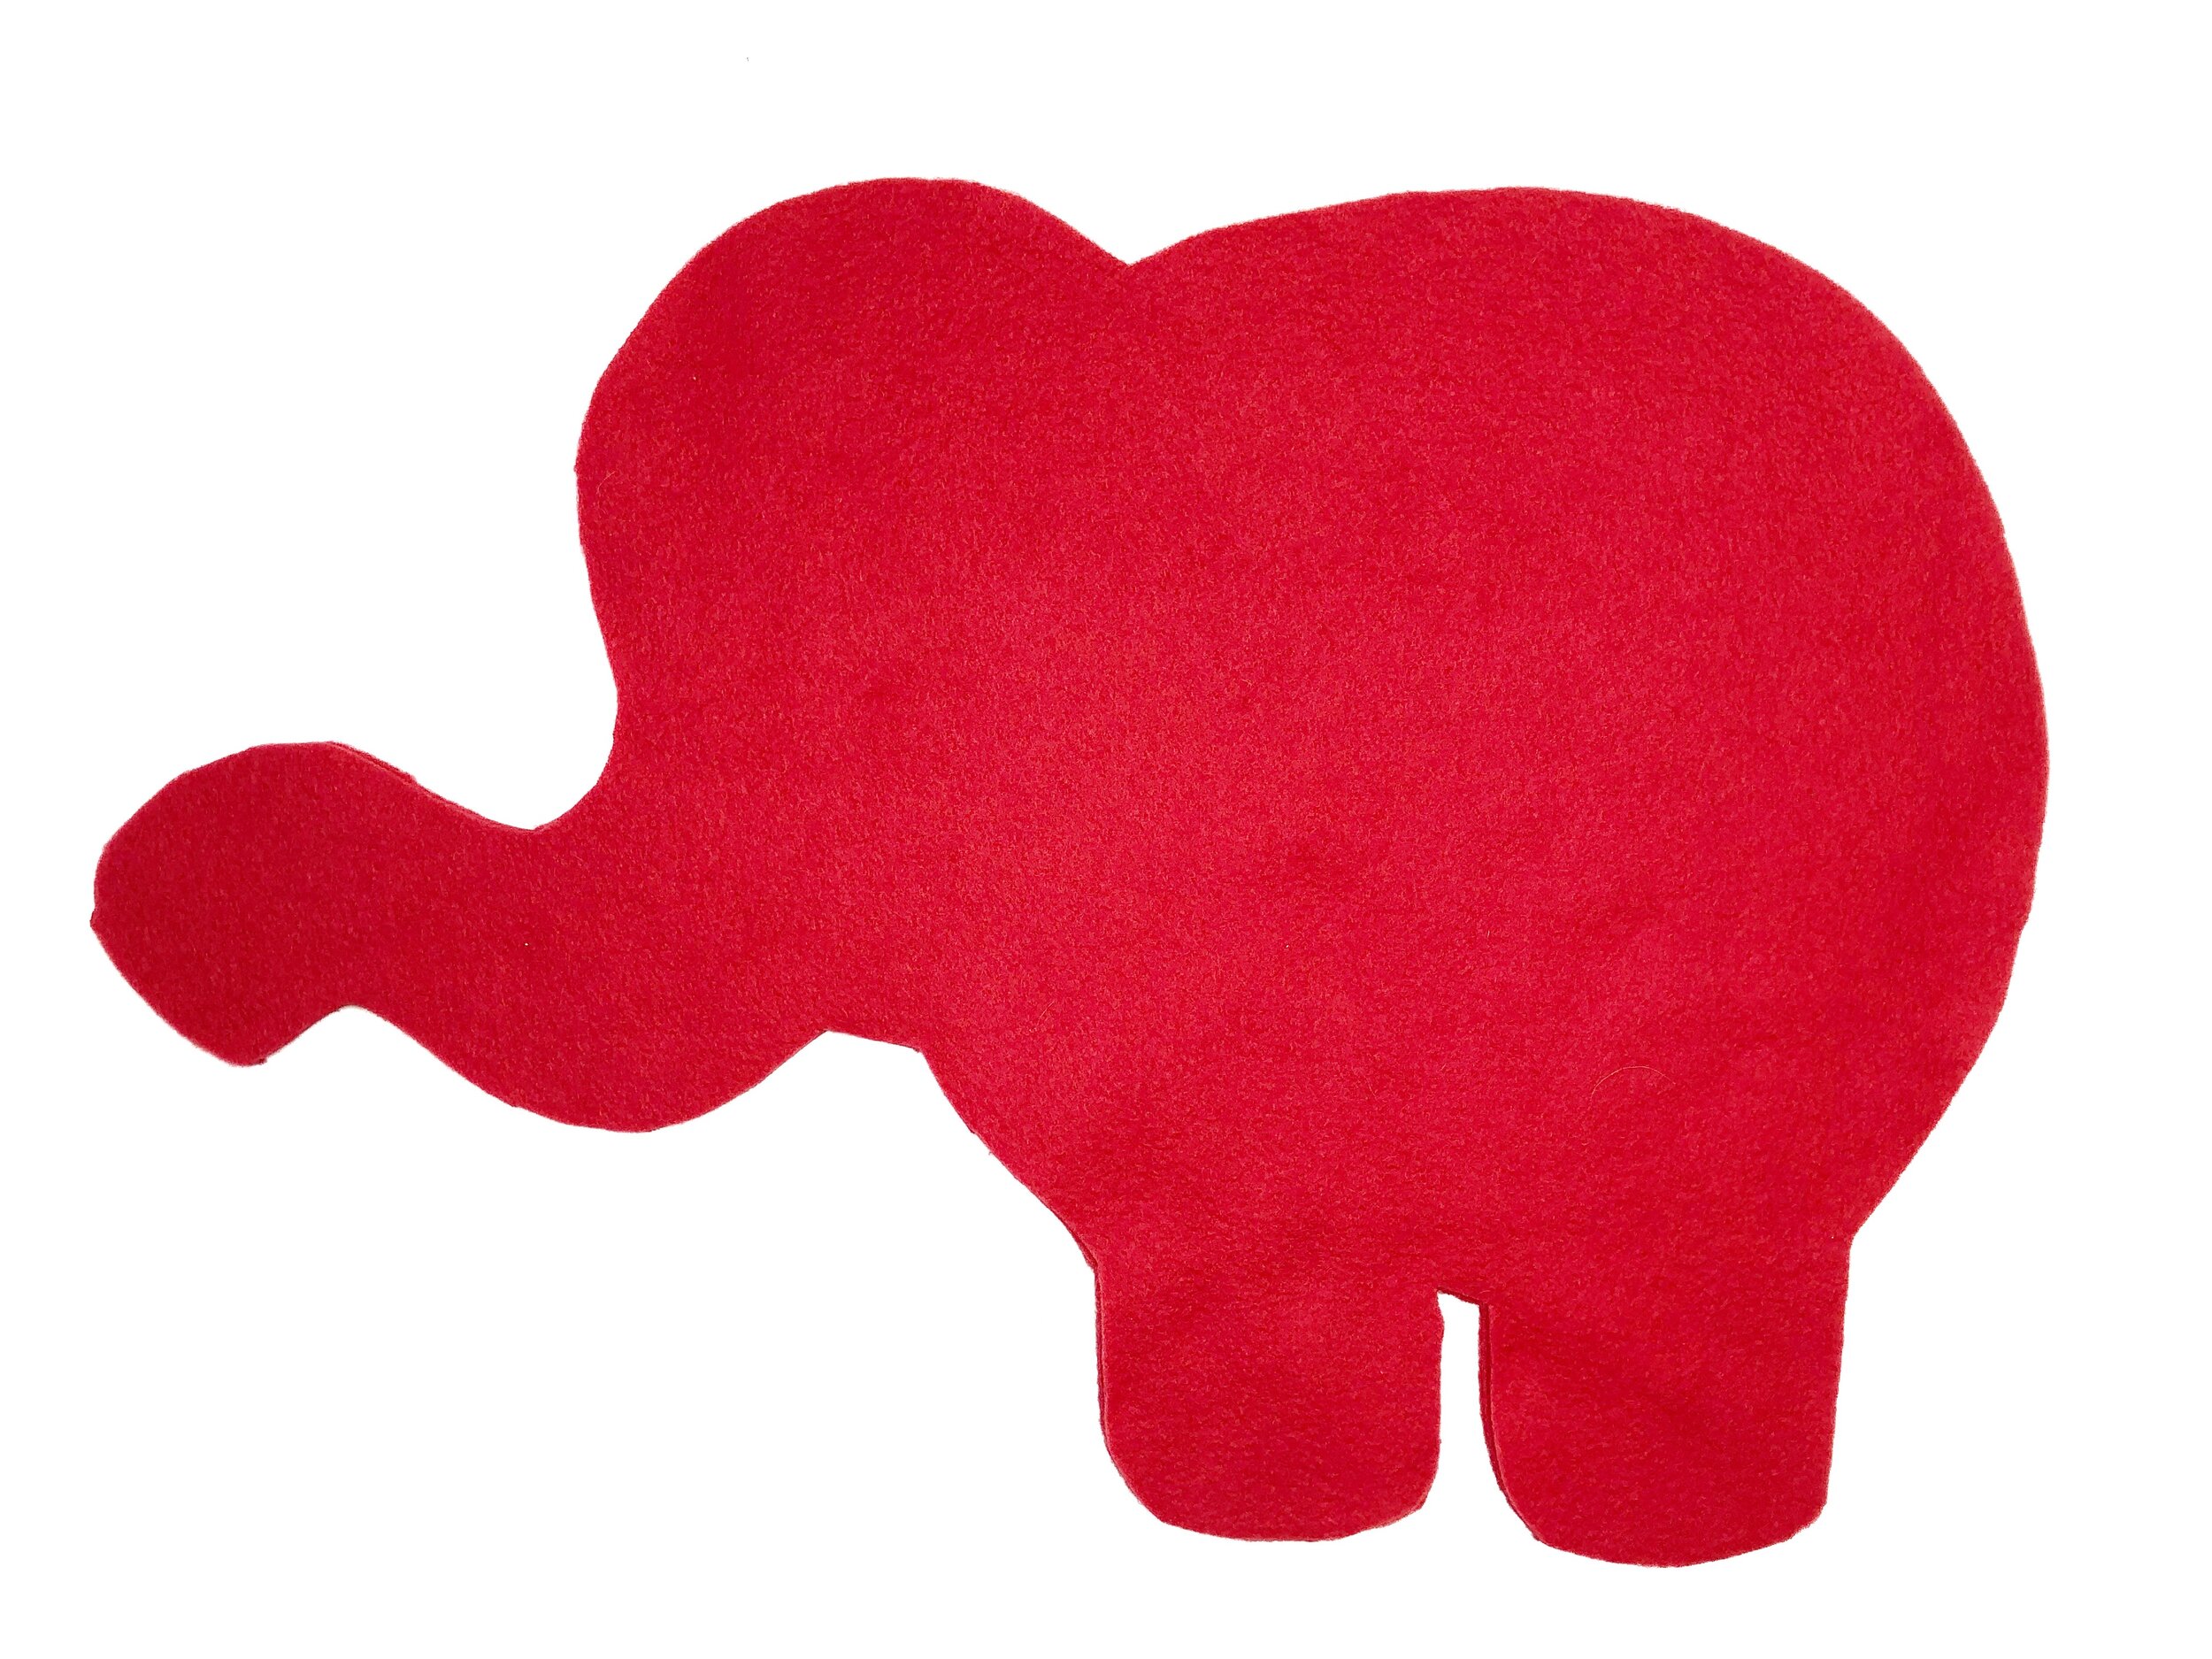
Pin the body pattern to double layered fabric and cut one.
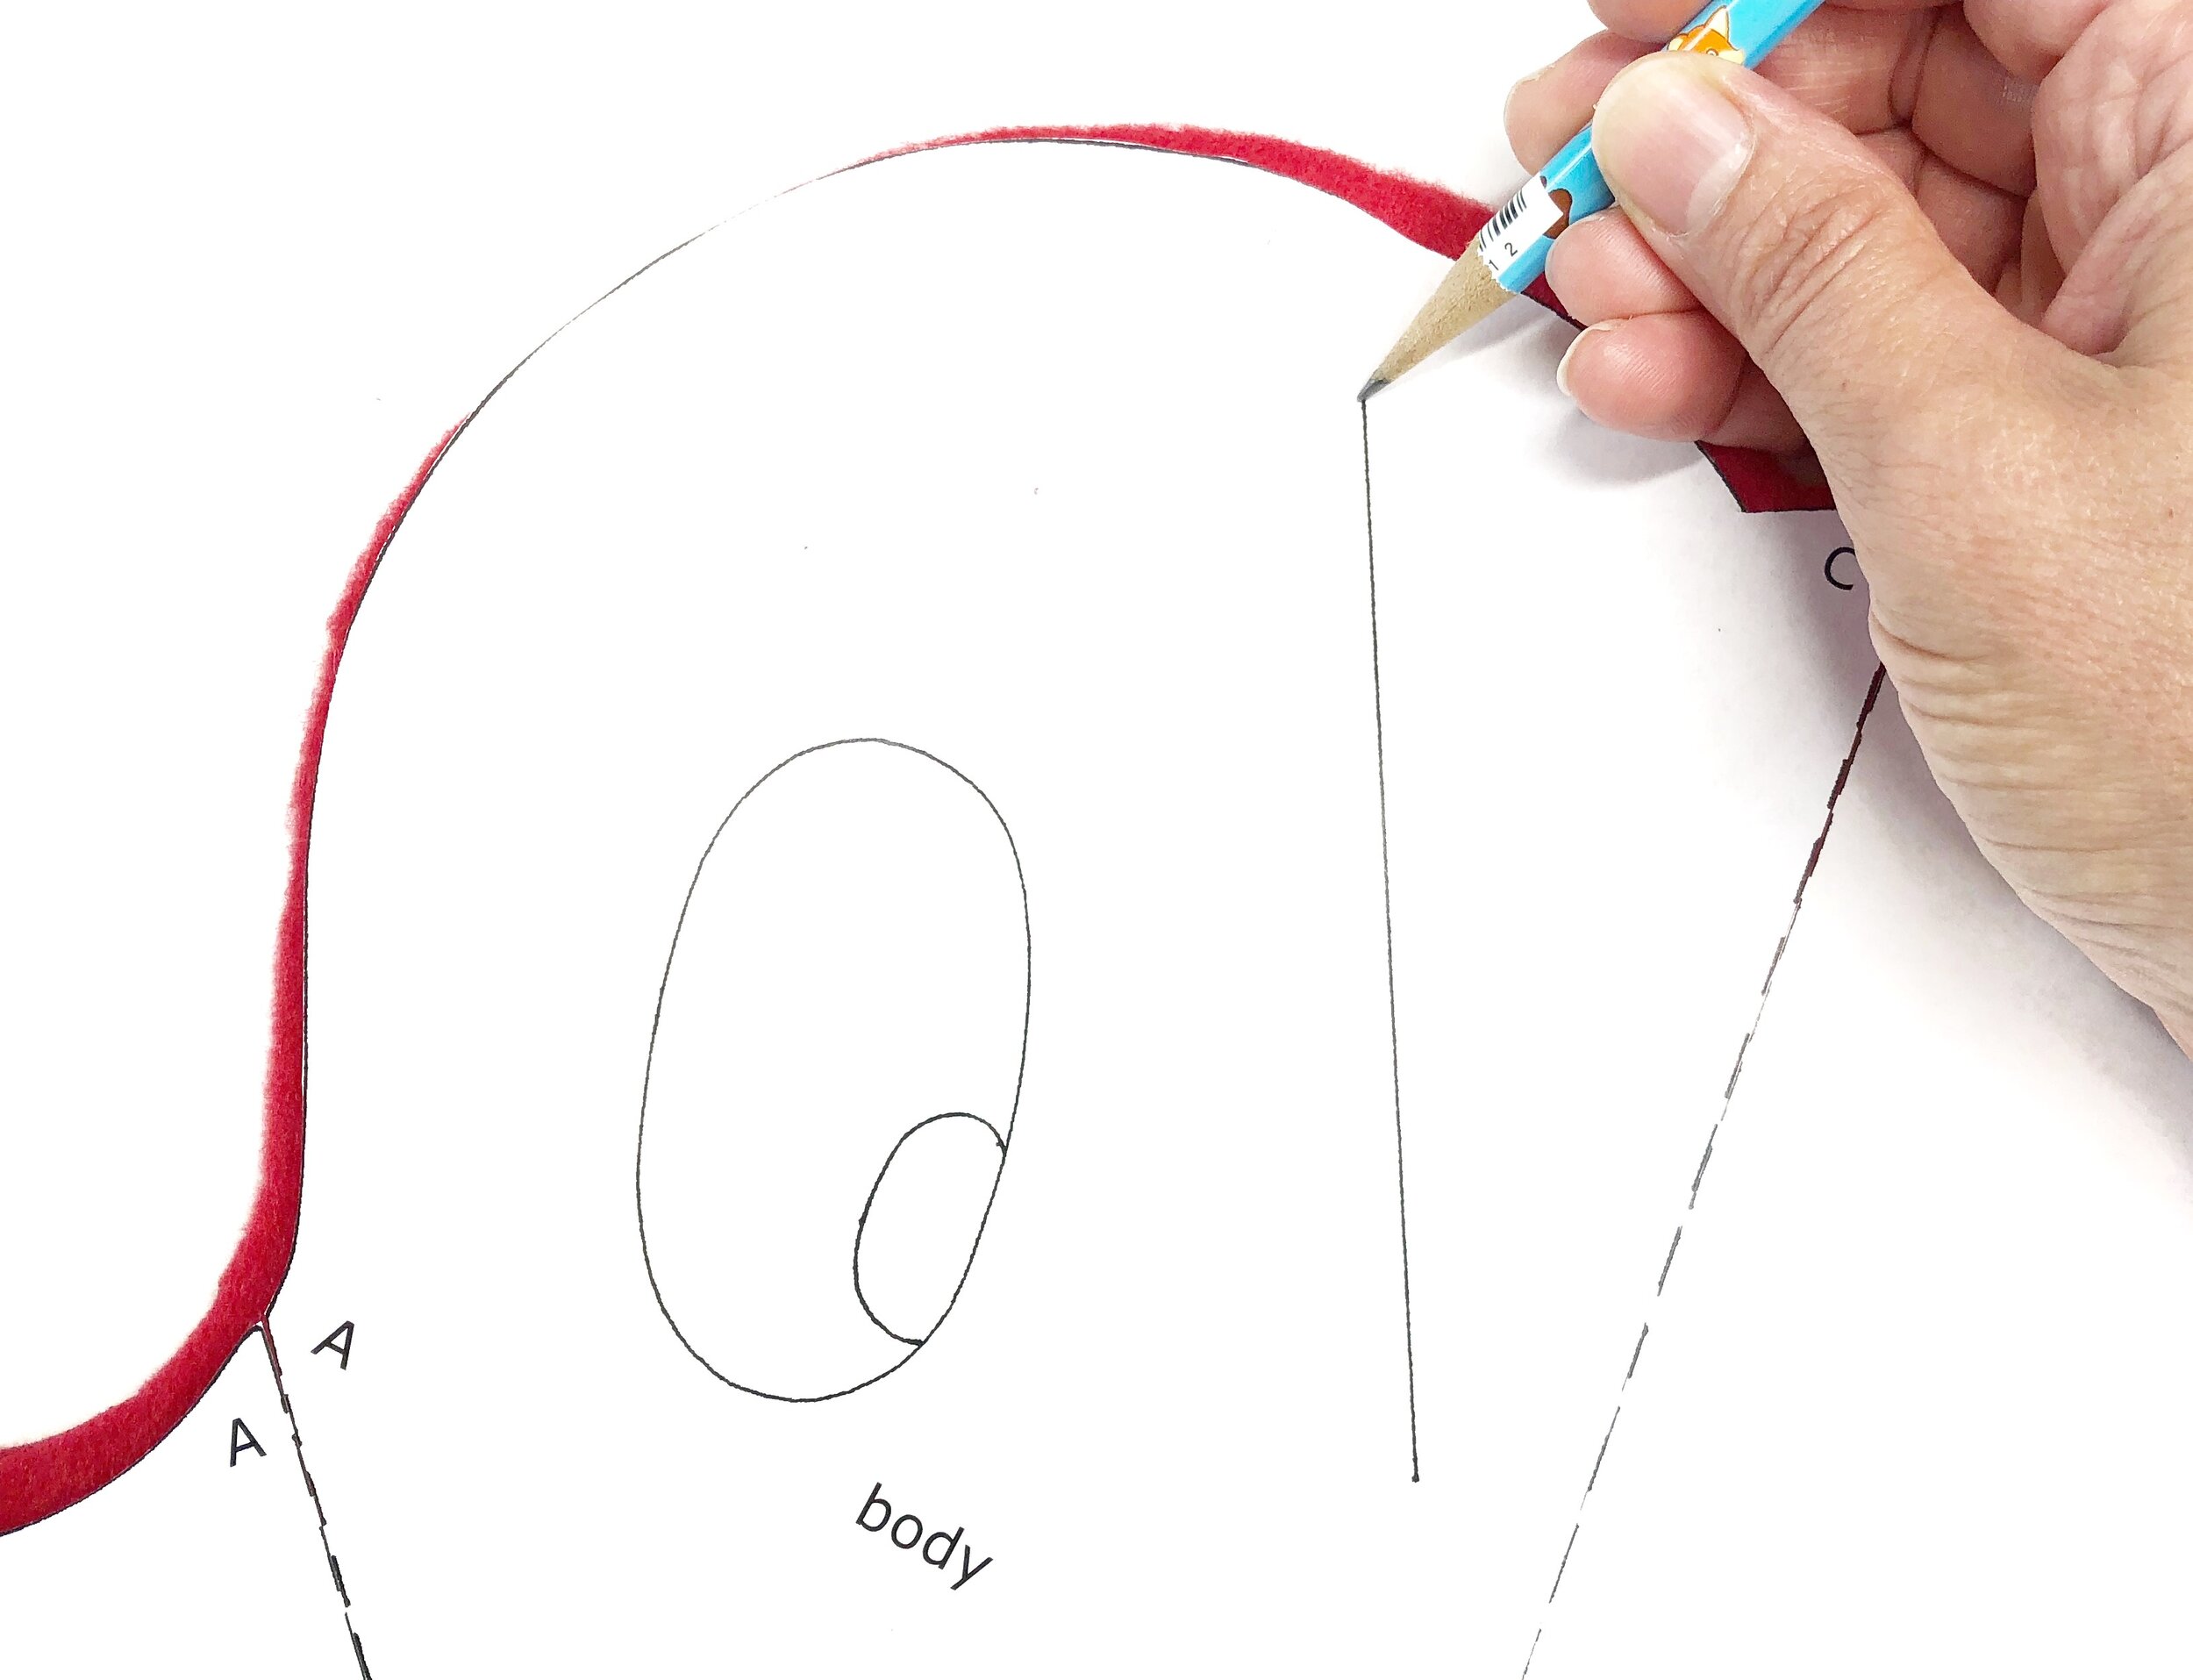
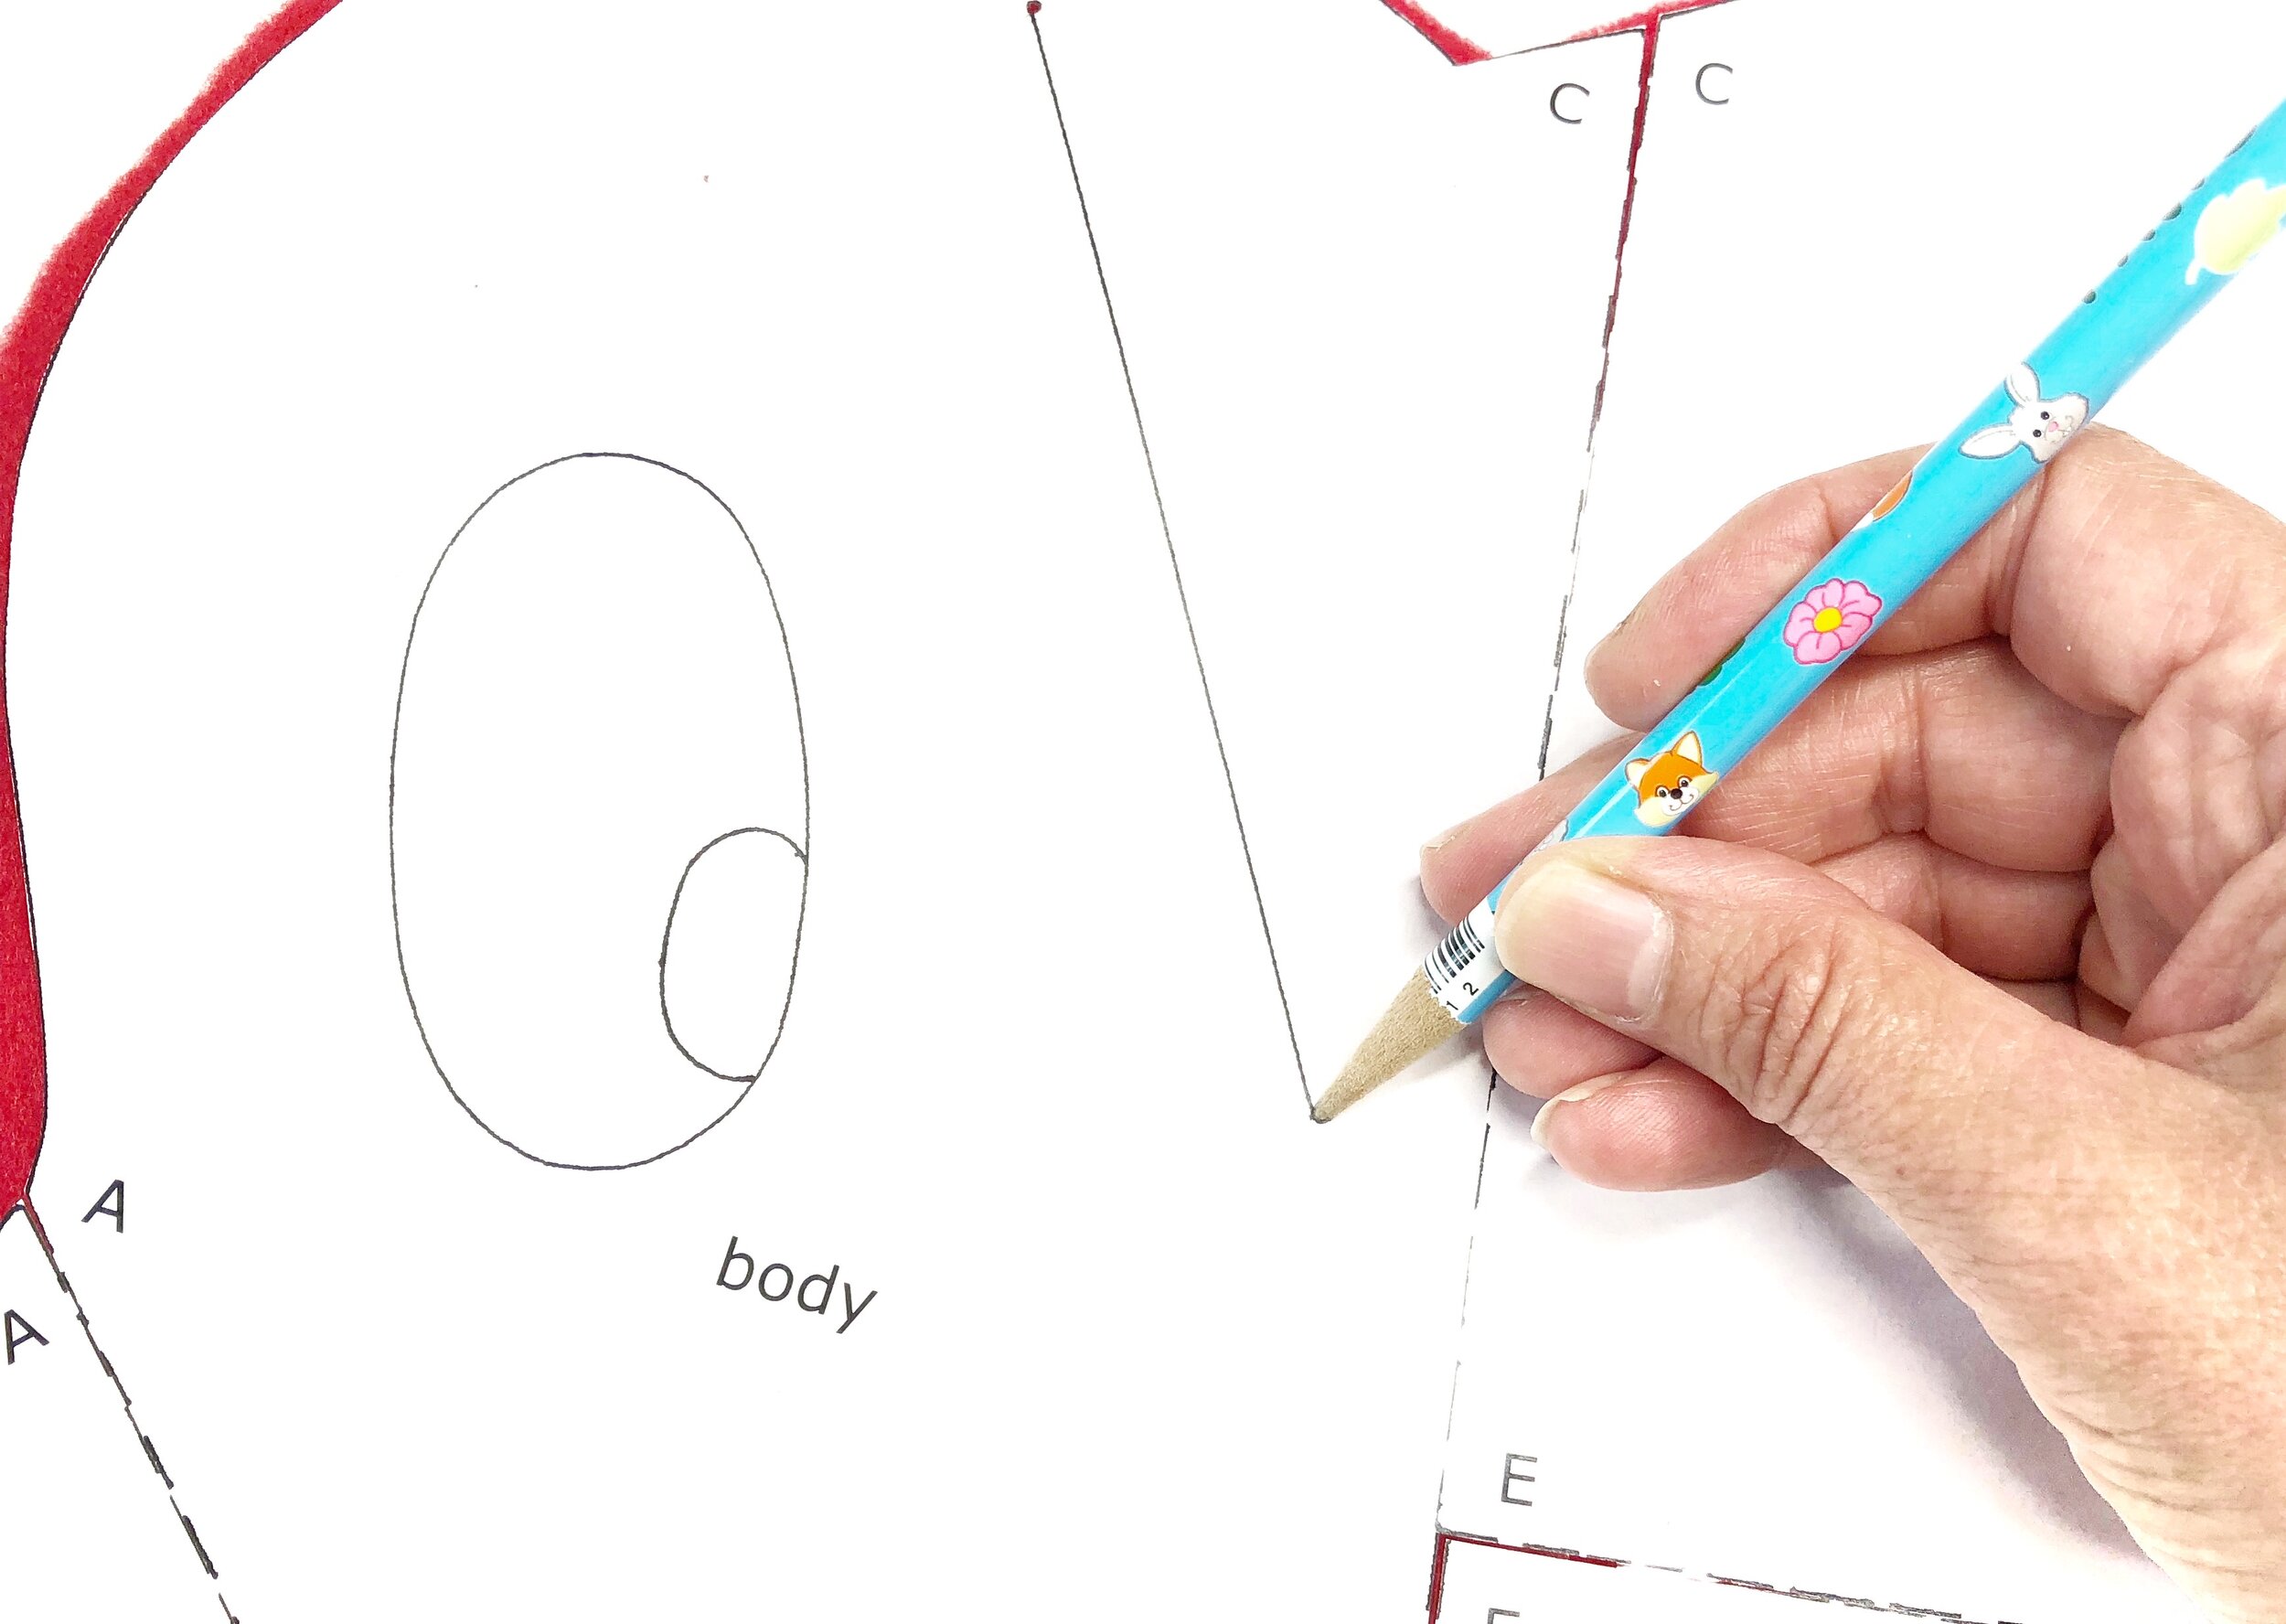
The seams where the ears will be inserted need to be cut open. One ear will be placed on the front and one on the back. Place the paper pattern on top of one of the body pieces, poke a hole with a tip of a pencil at the start and end of the ear and make a mark onto the fabric.
Cut a slash for the ear on both body fabric pieces.
Pin the ear pattern to double layered fabric and cut two.
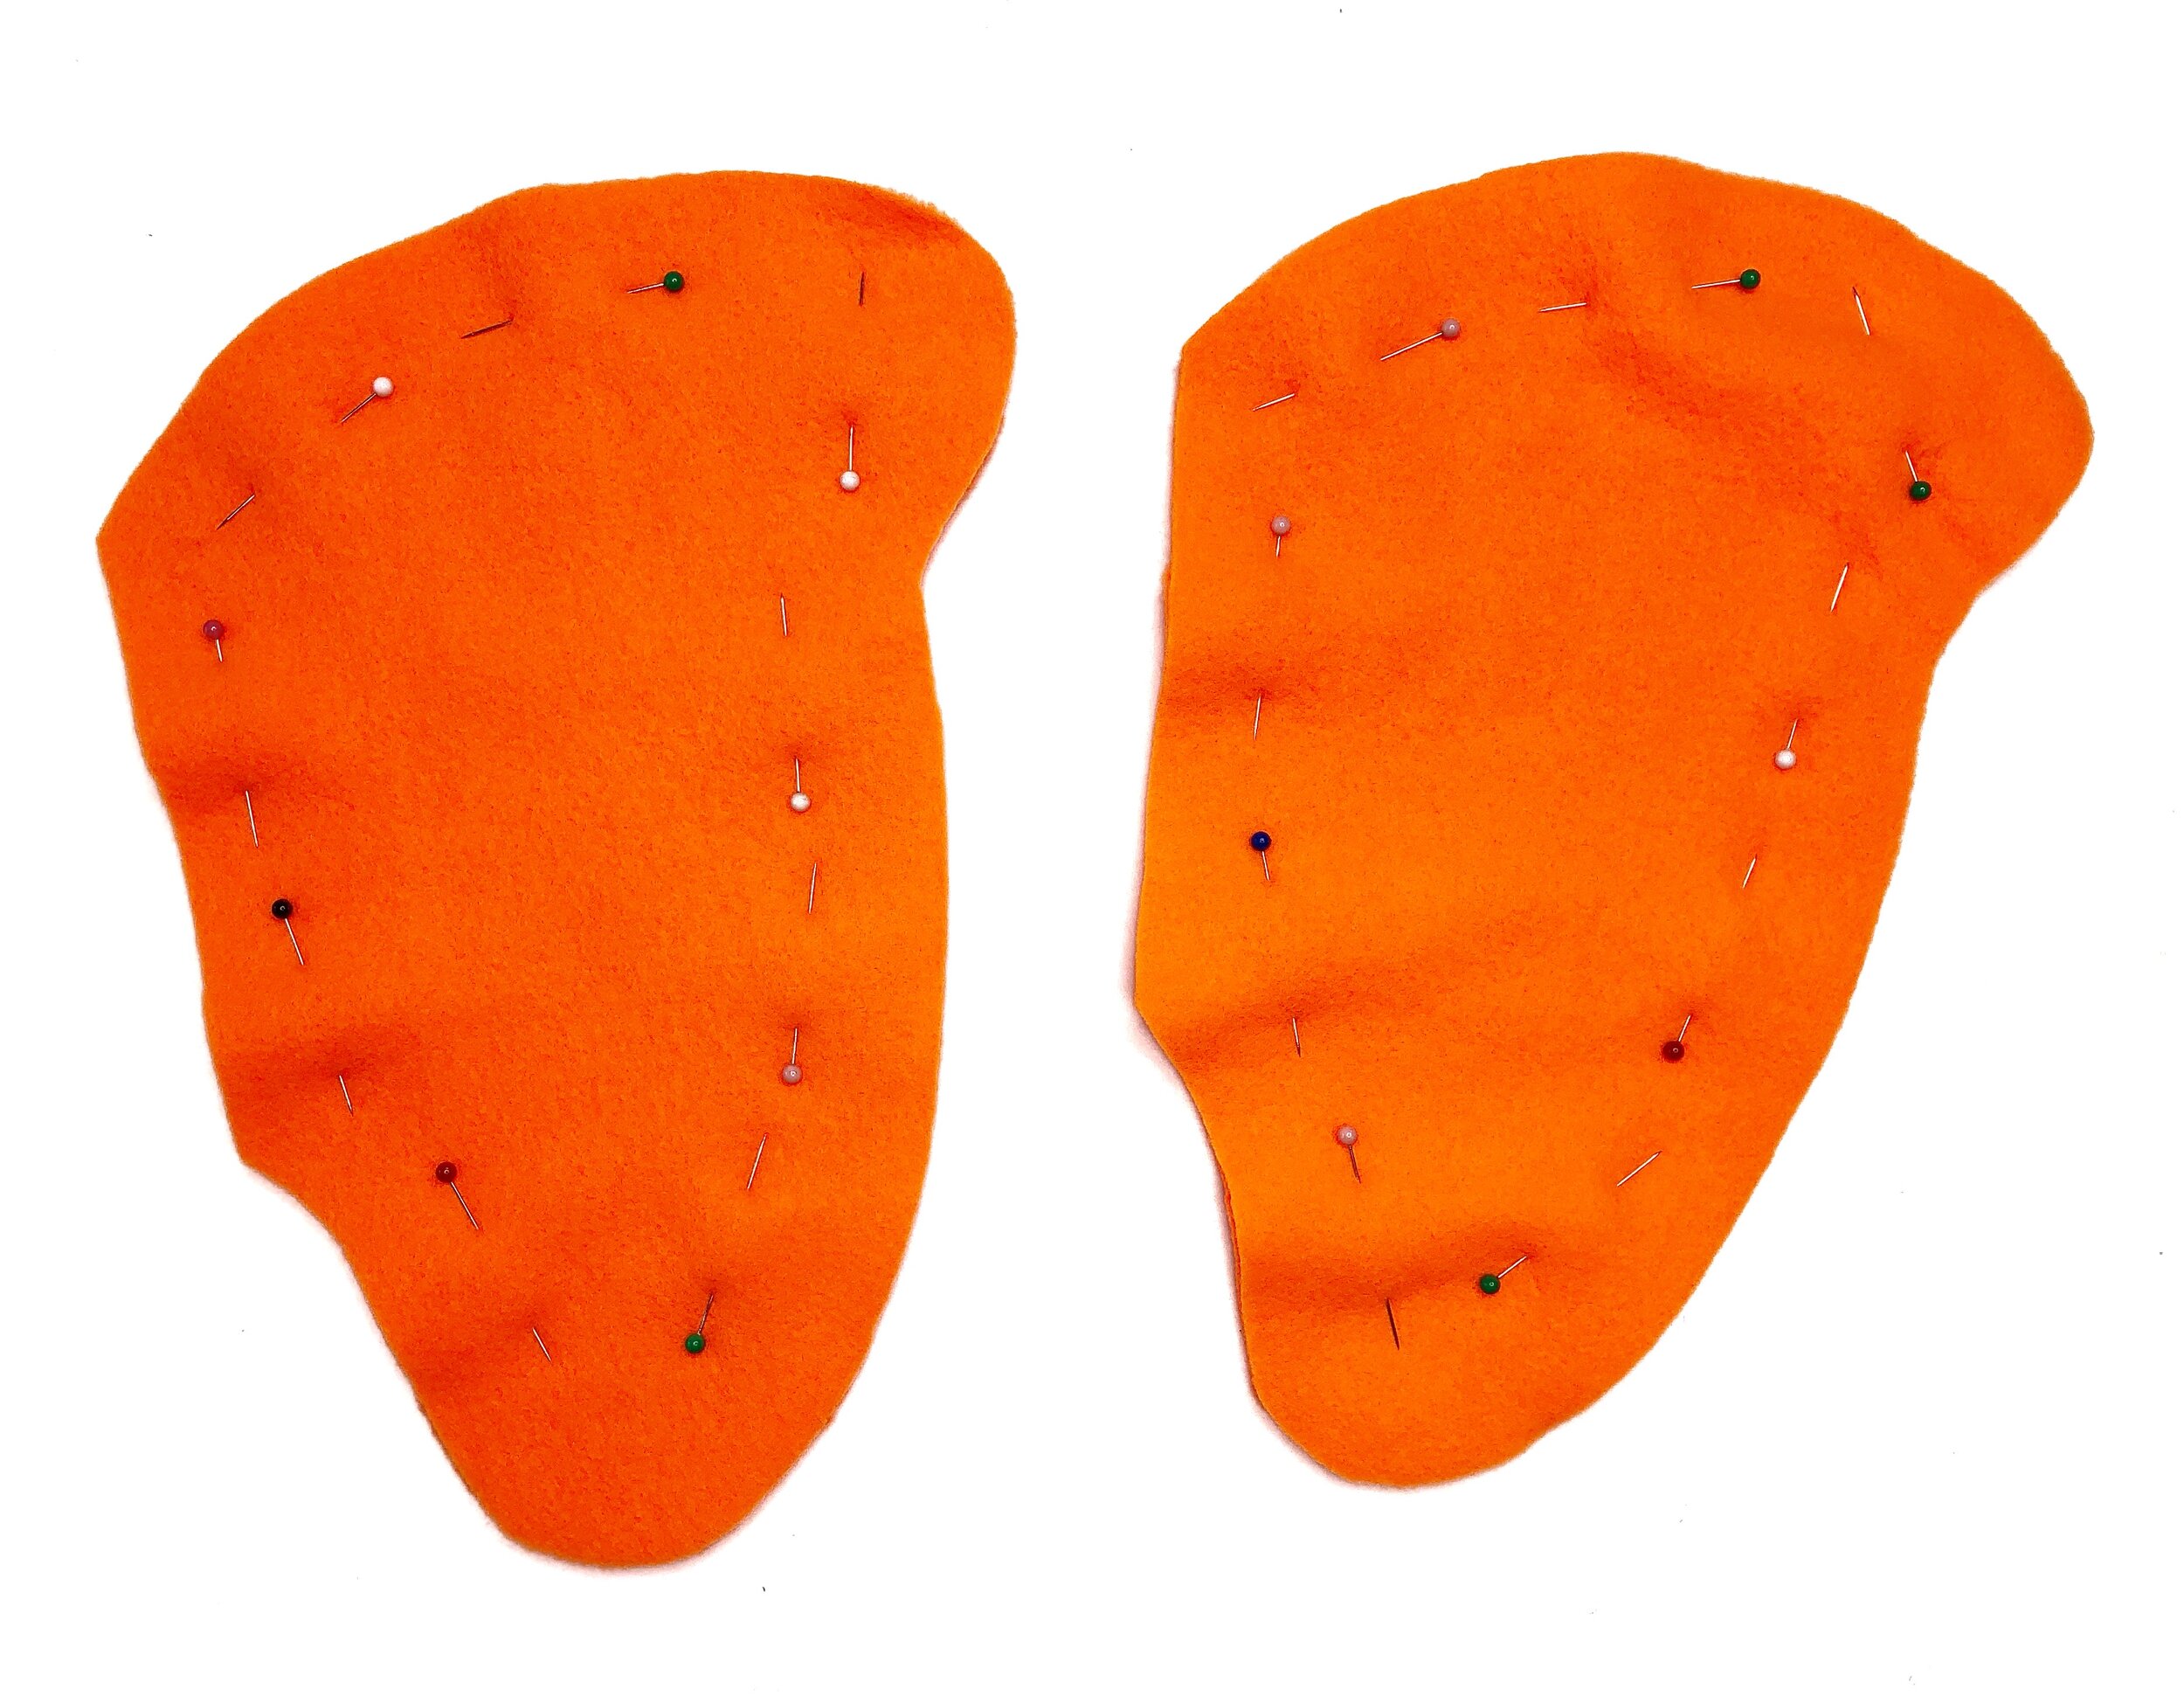
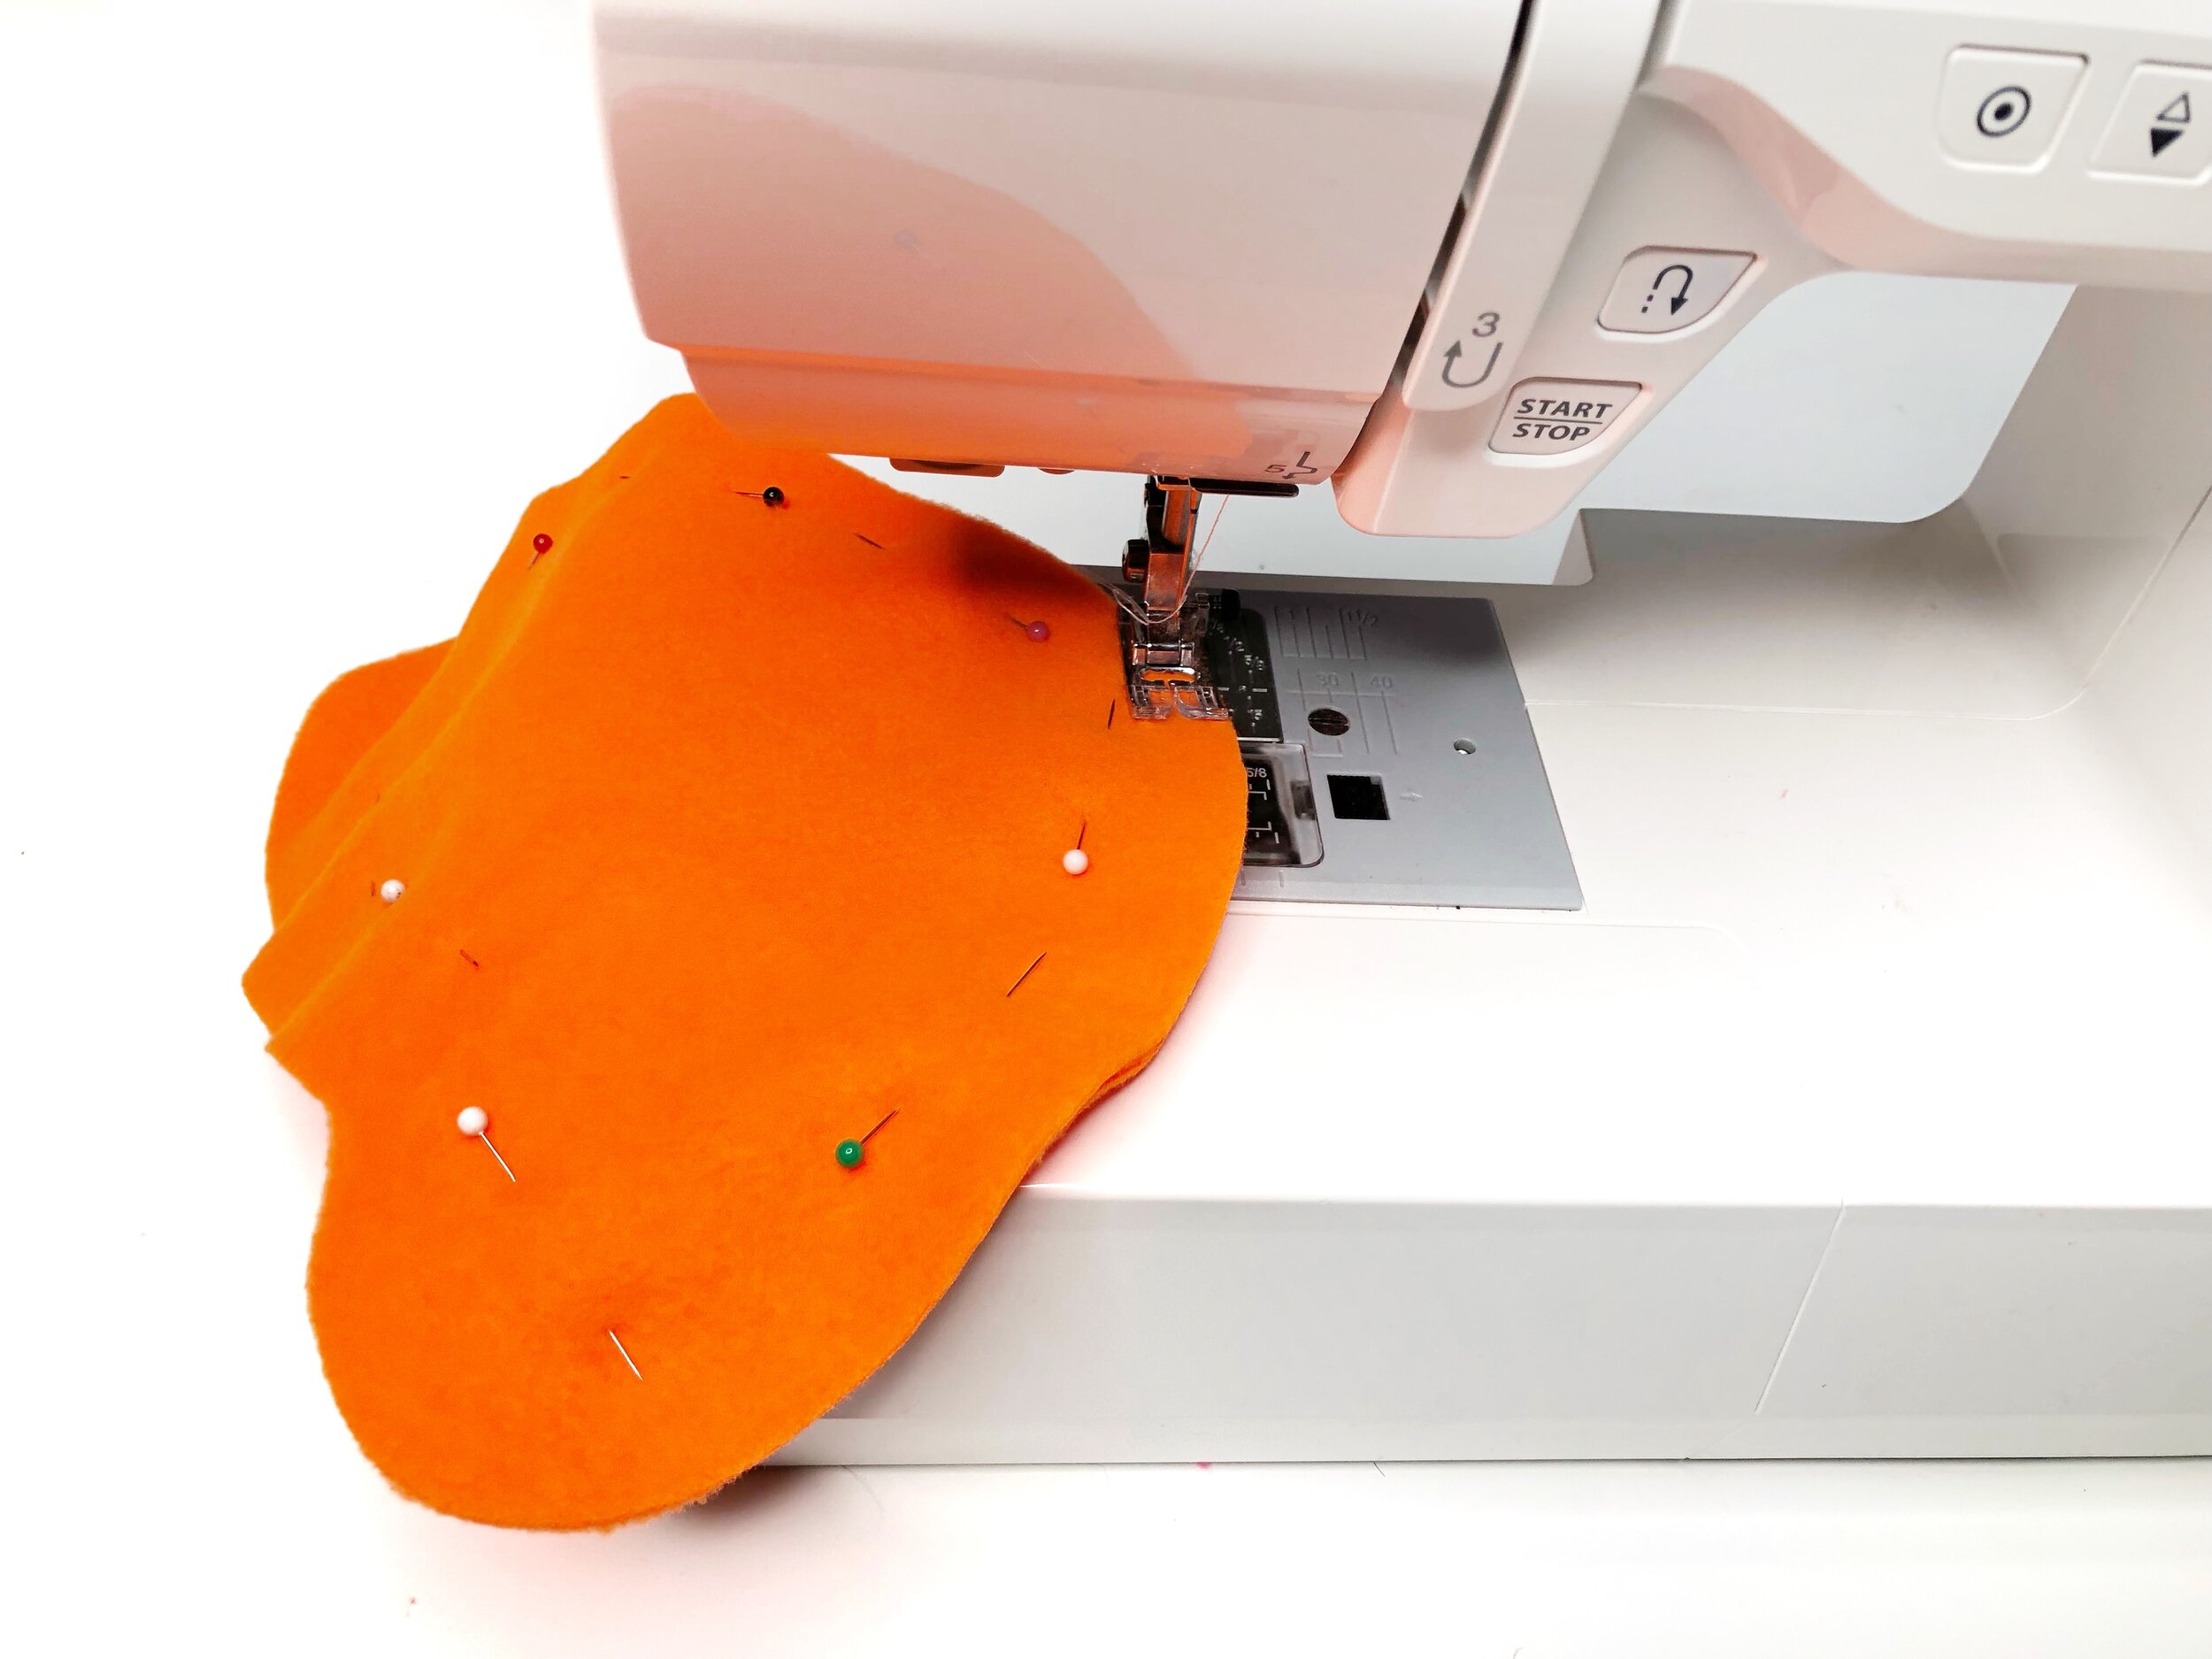
With fabric right sides together, stitch the ear around the curved edges leaving the straight edge open.
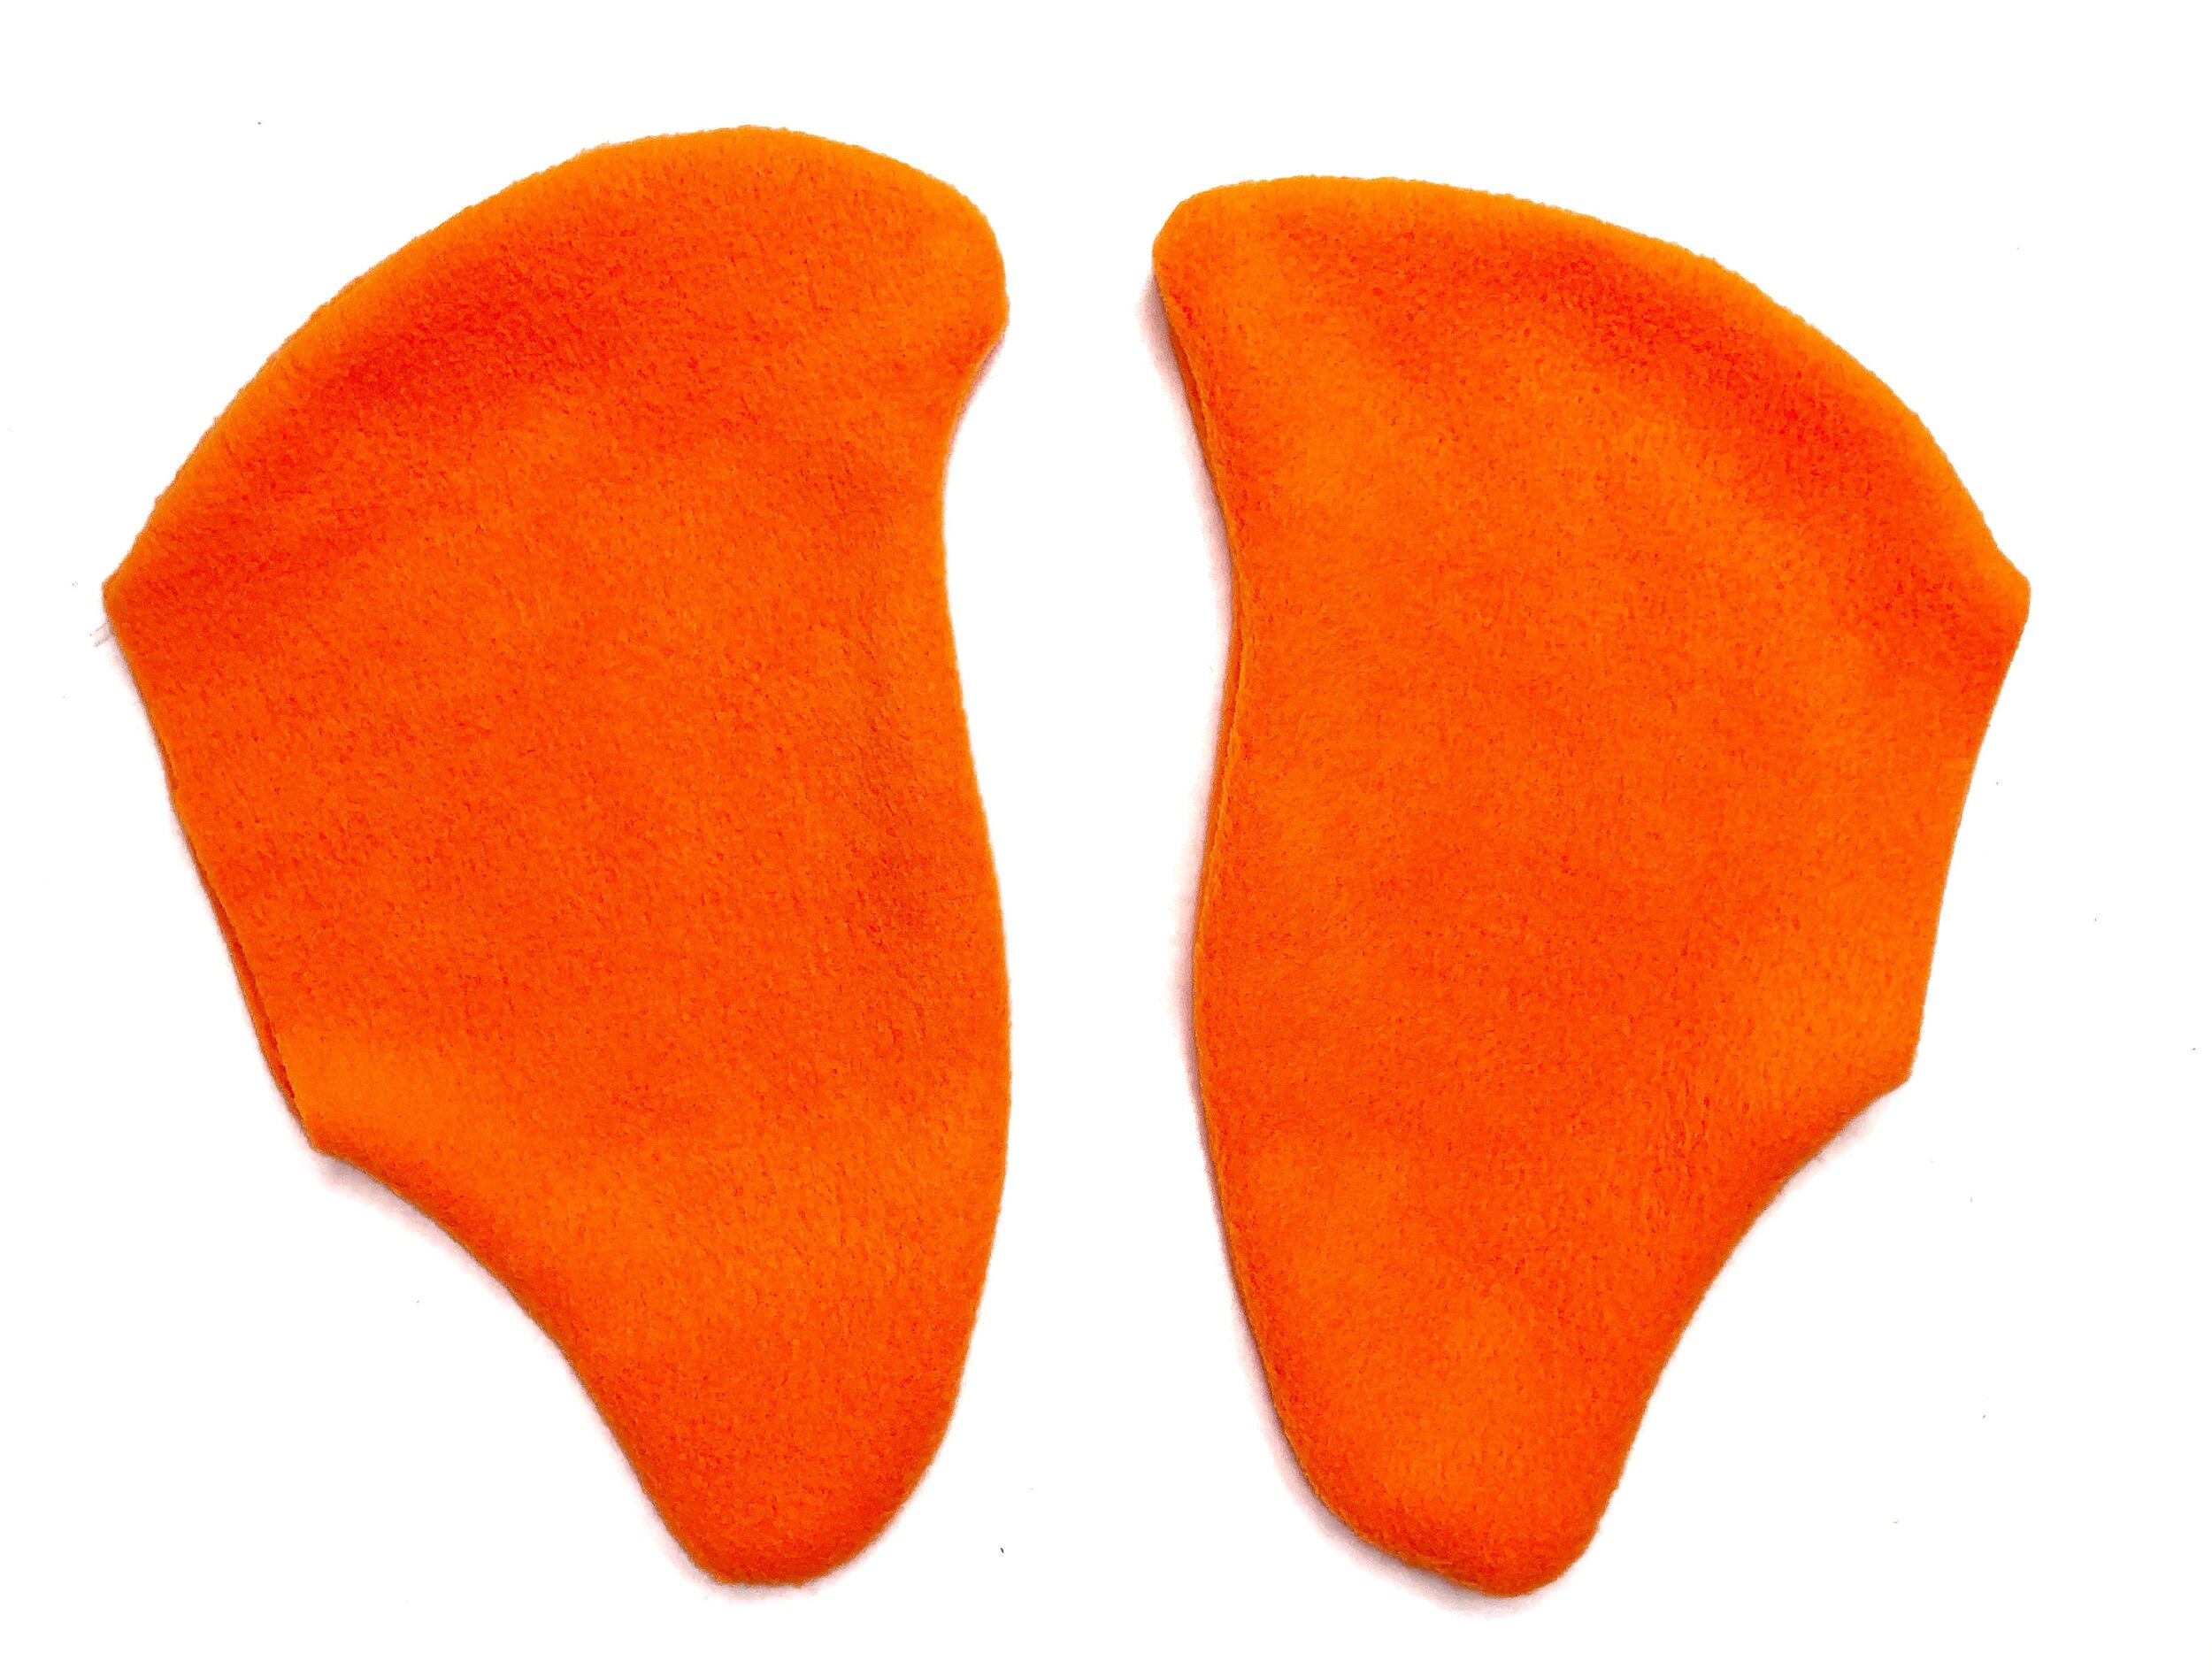
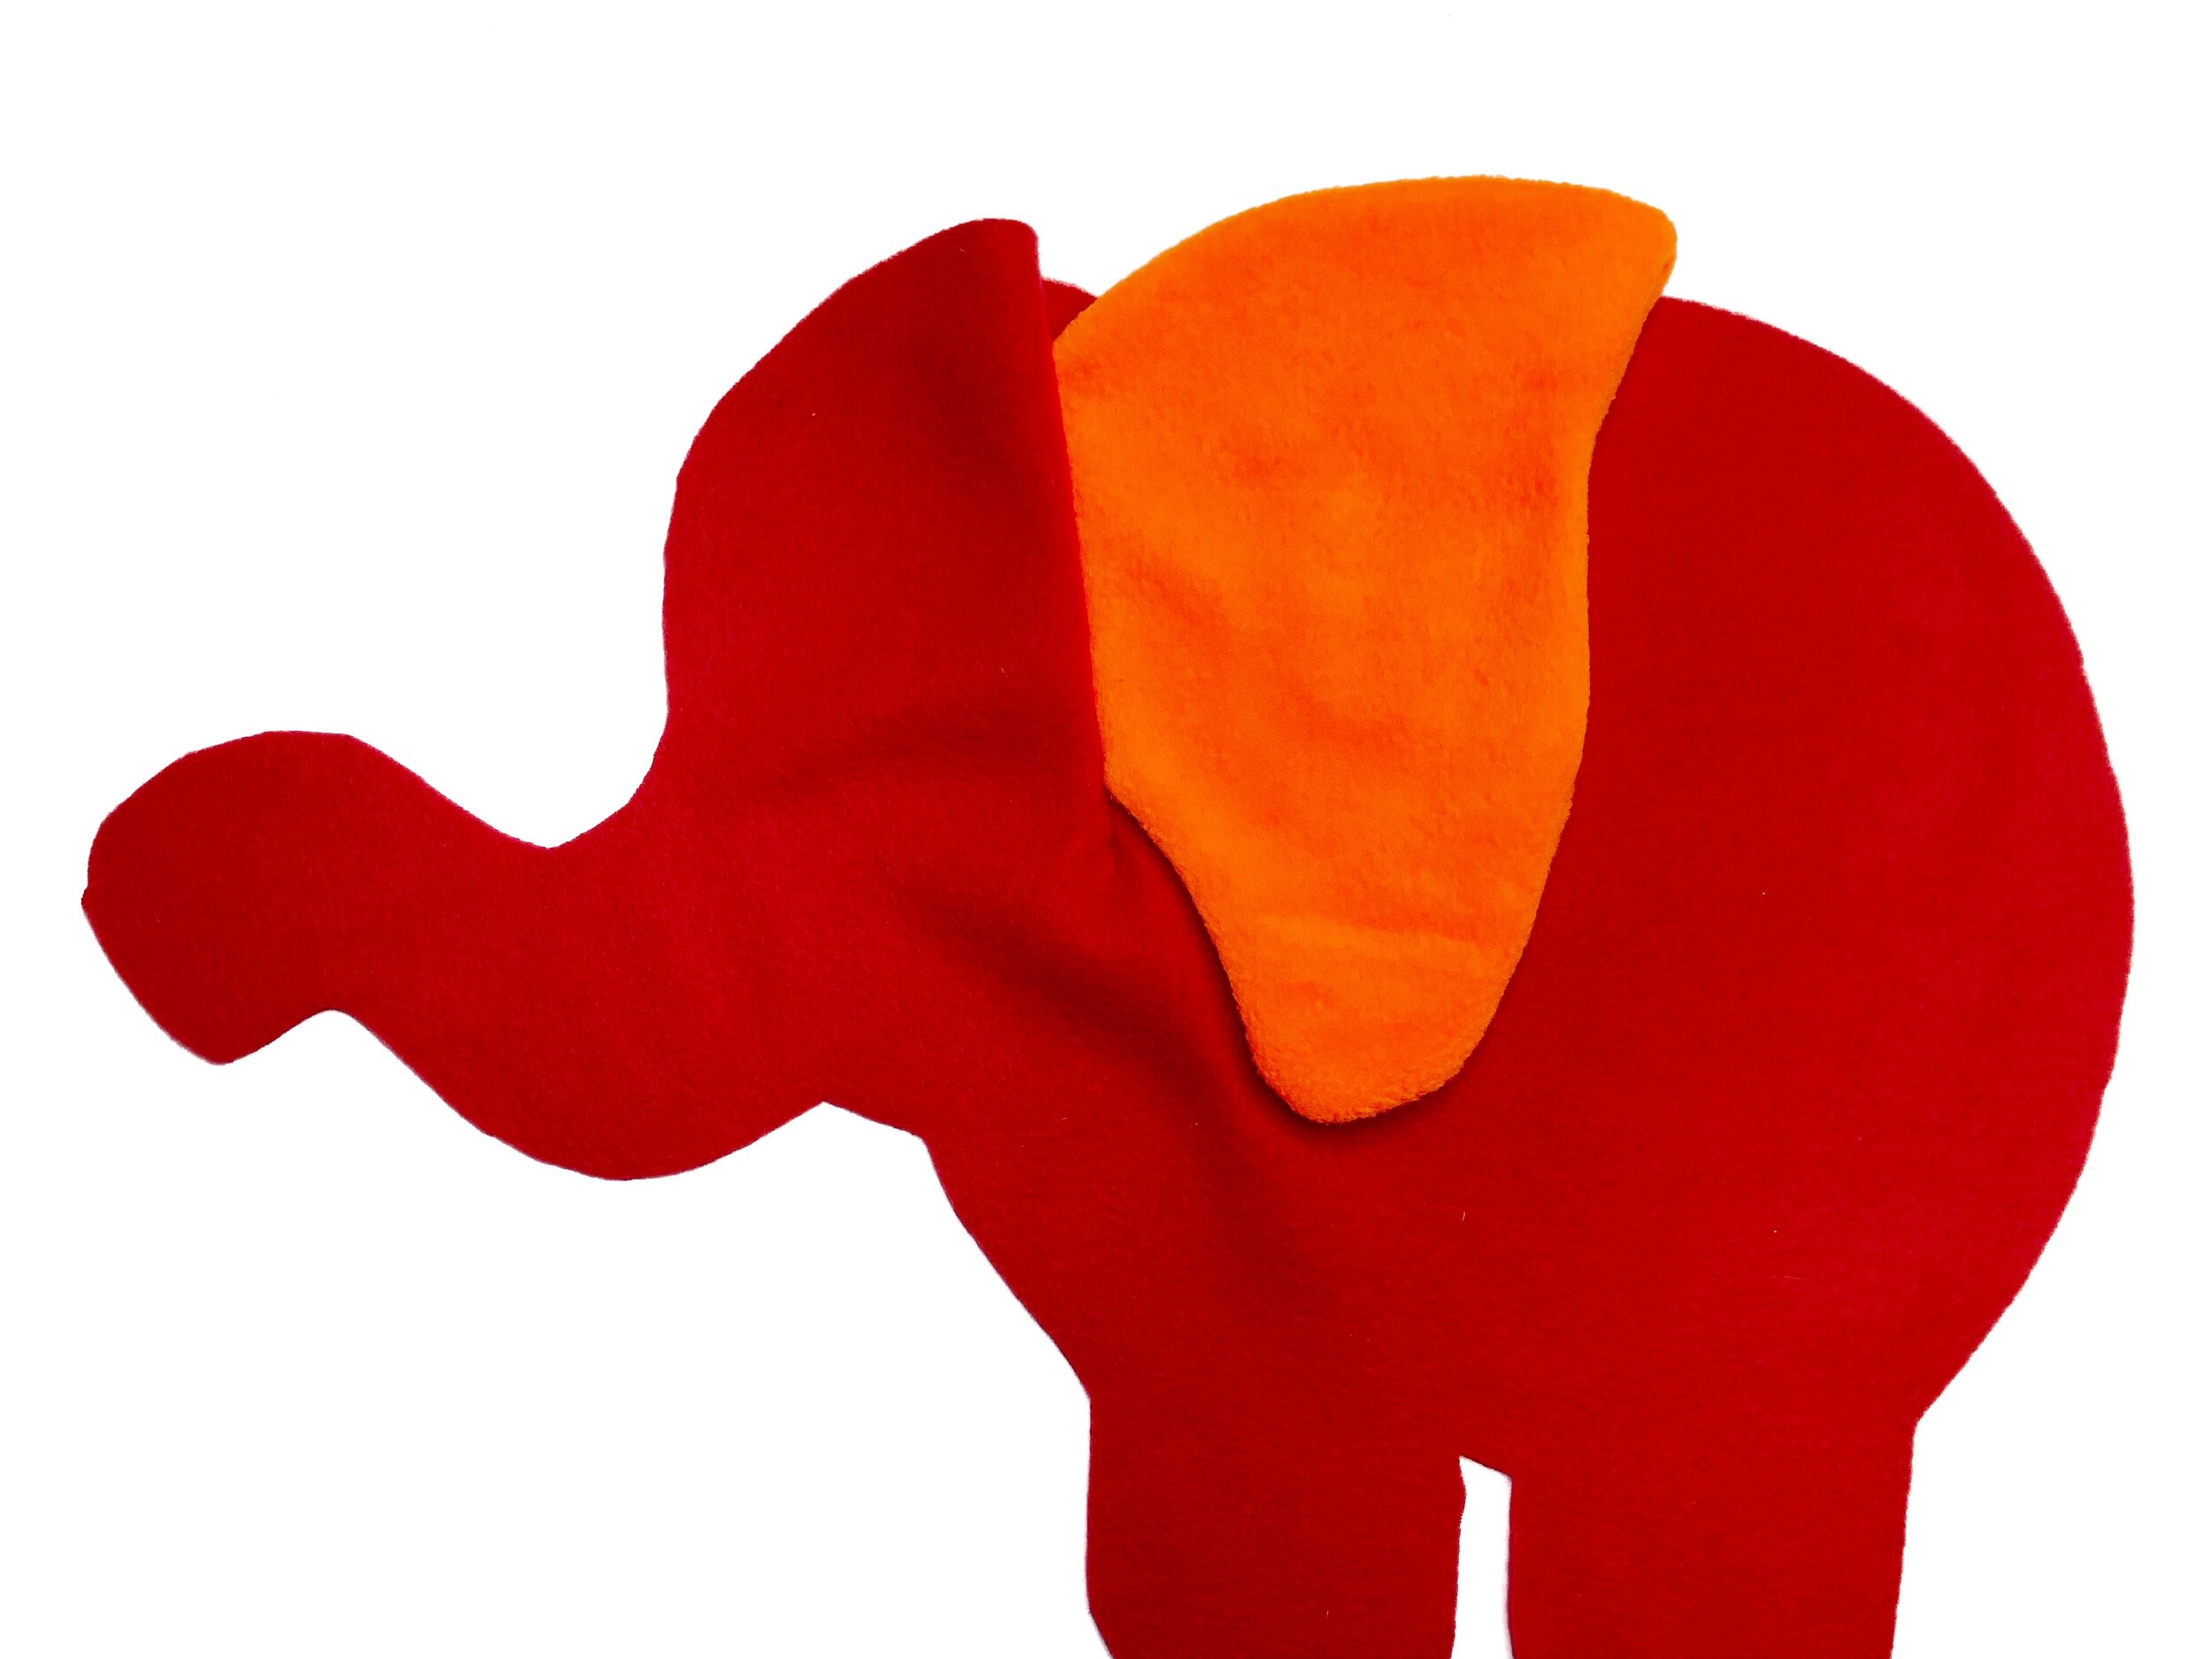
Reverse ears right side out.
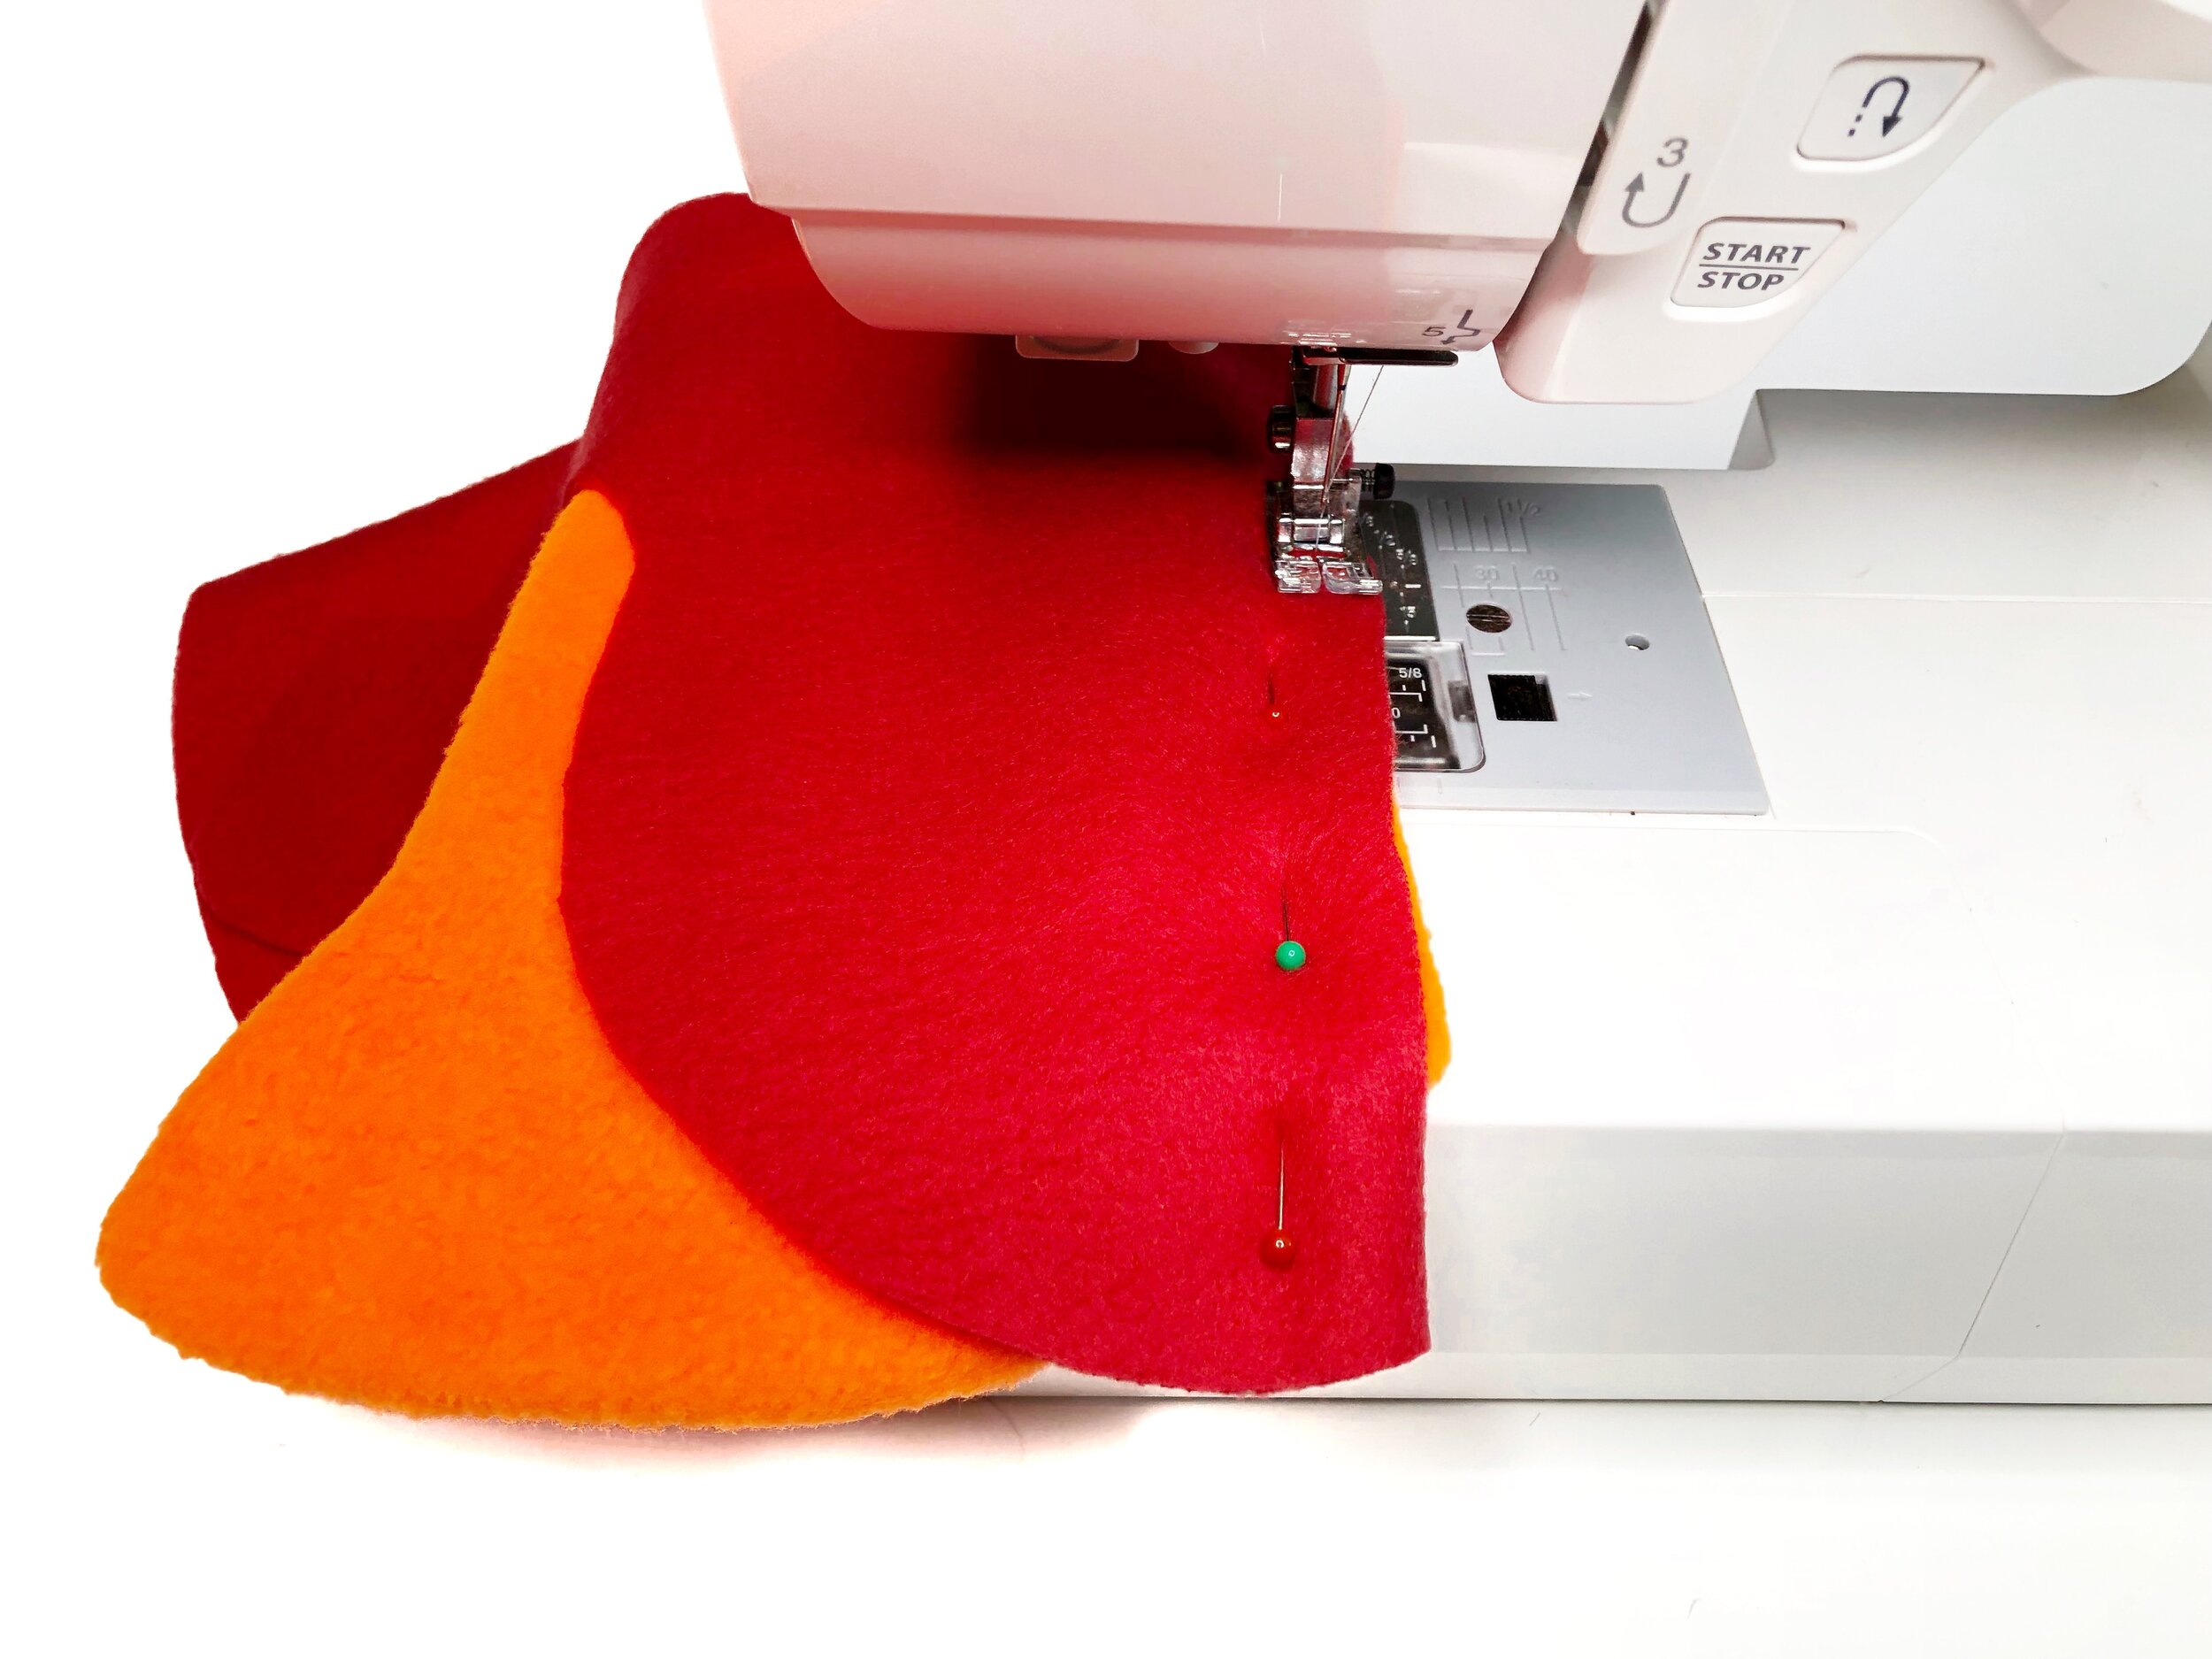
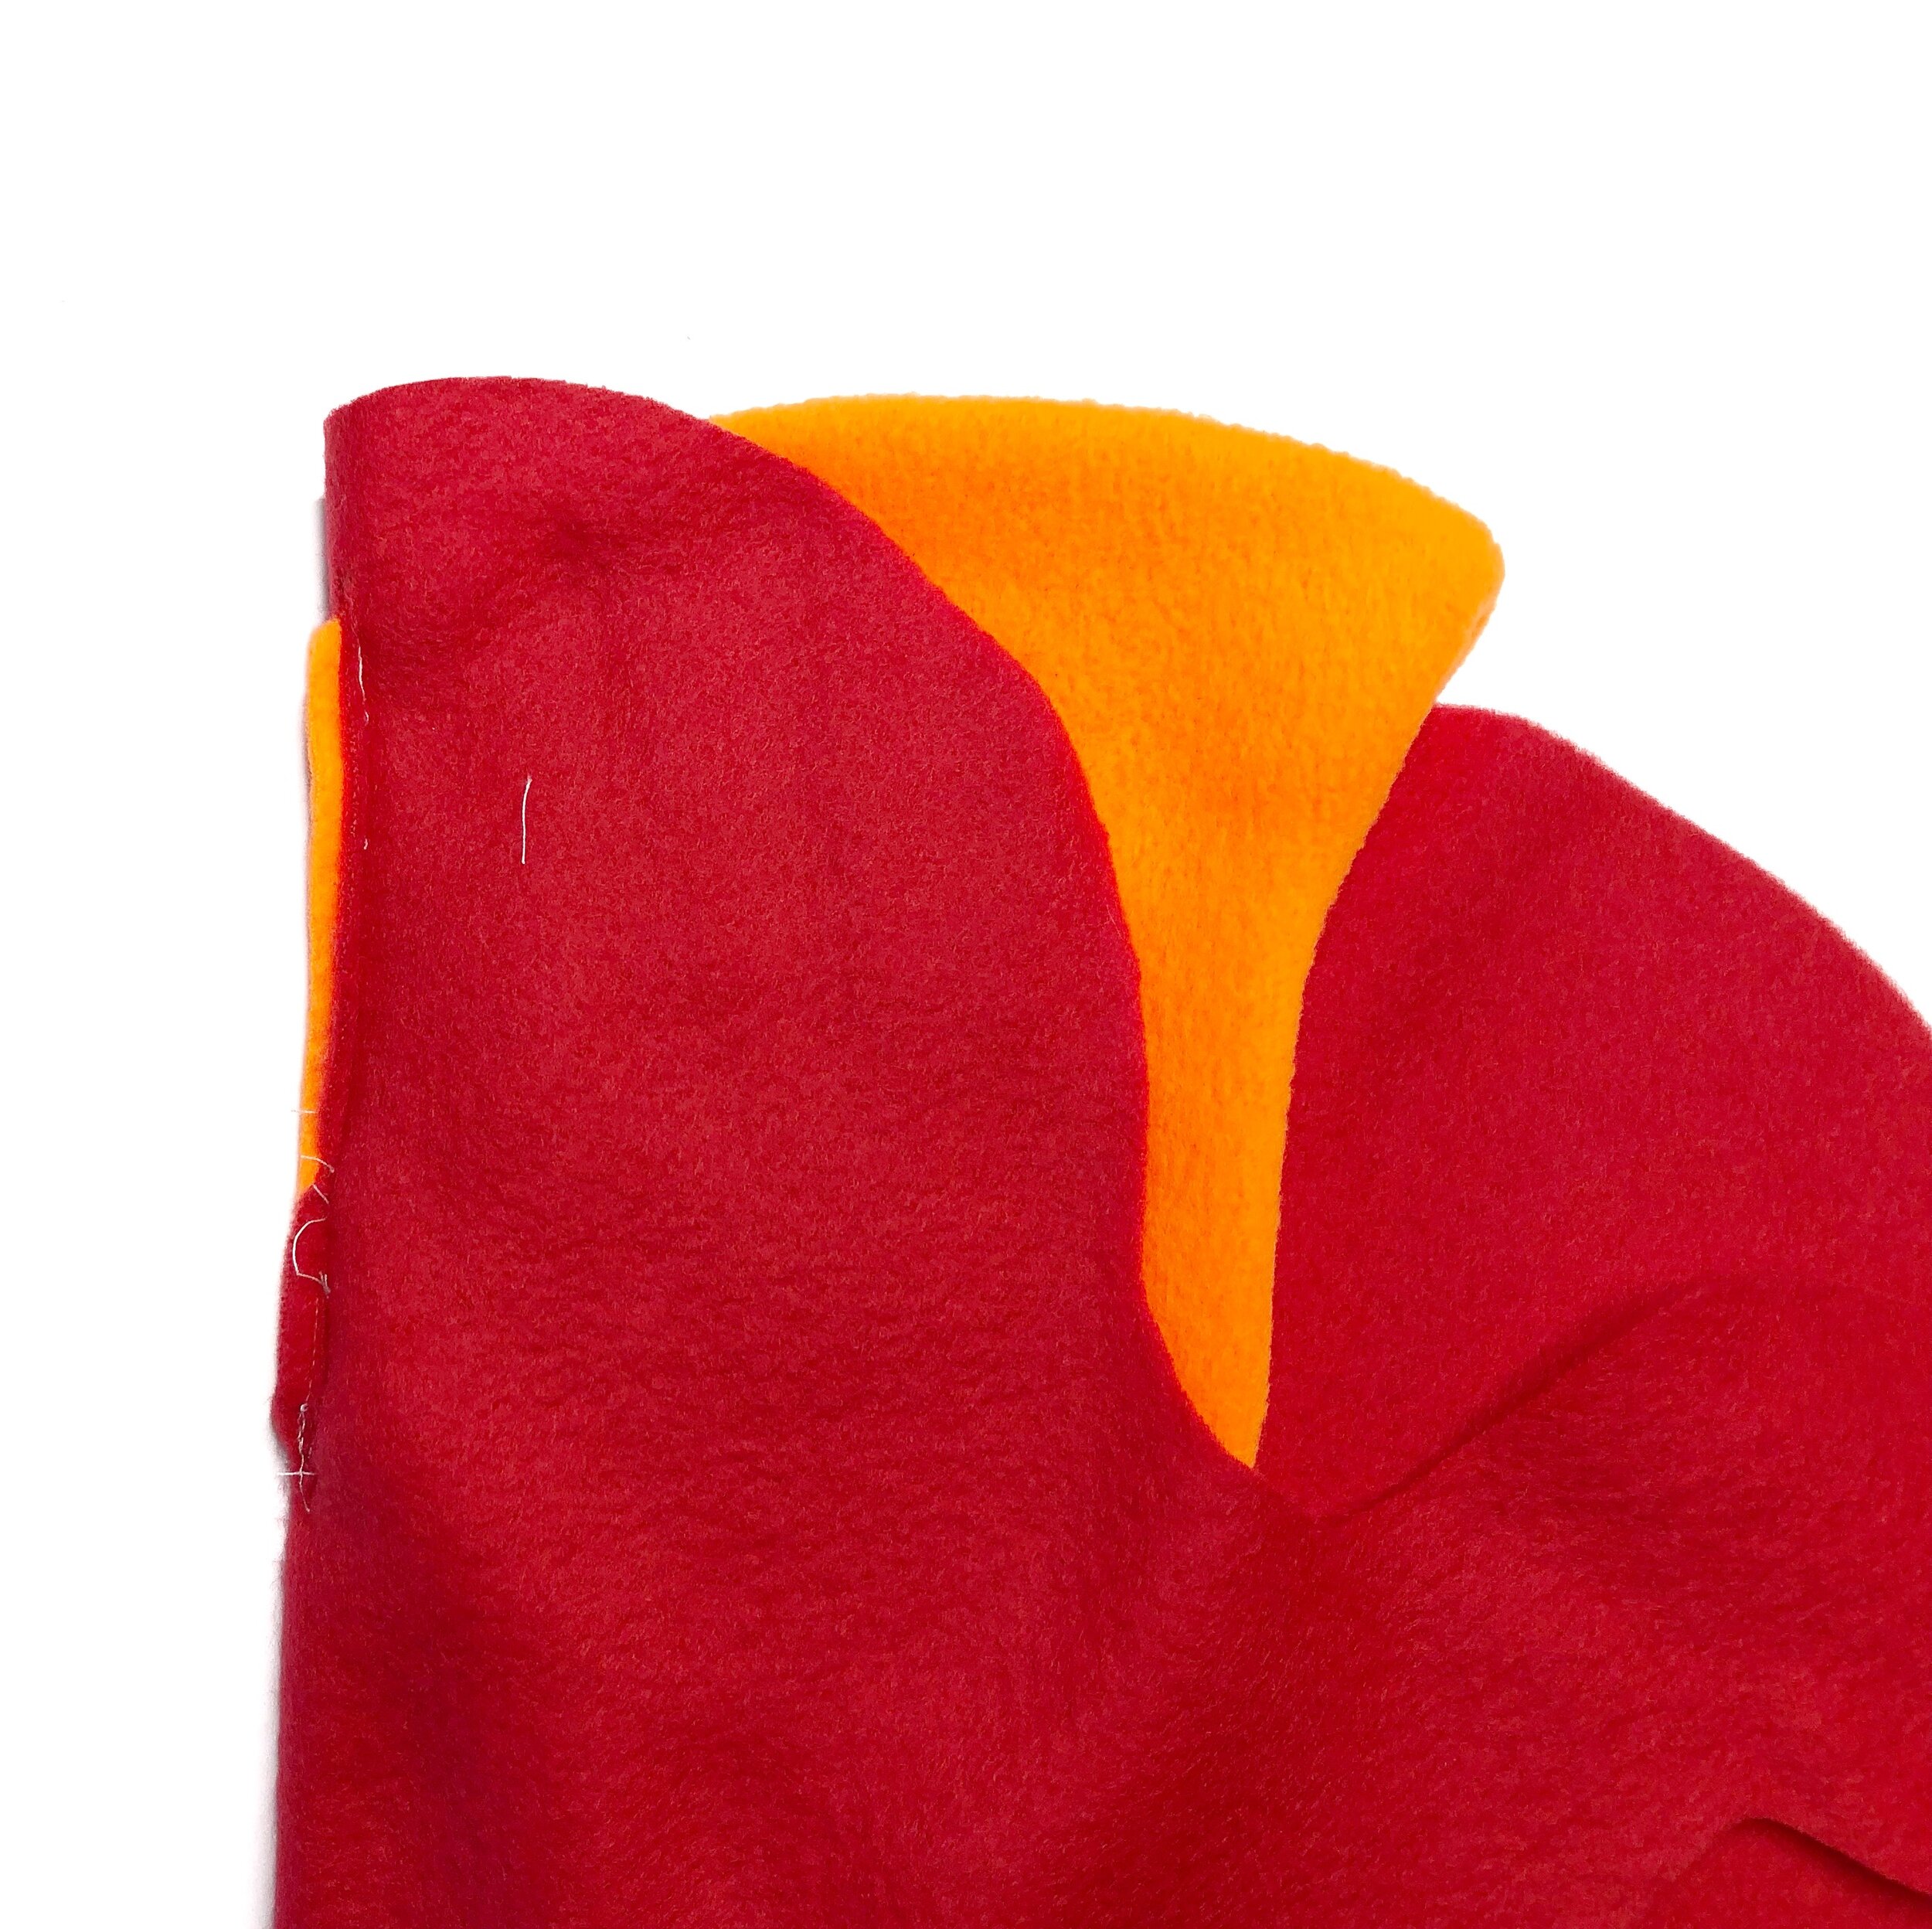
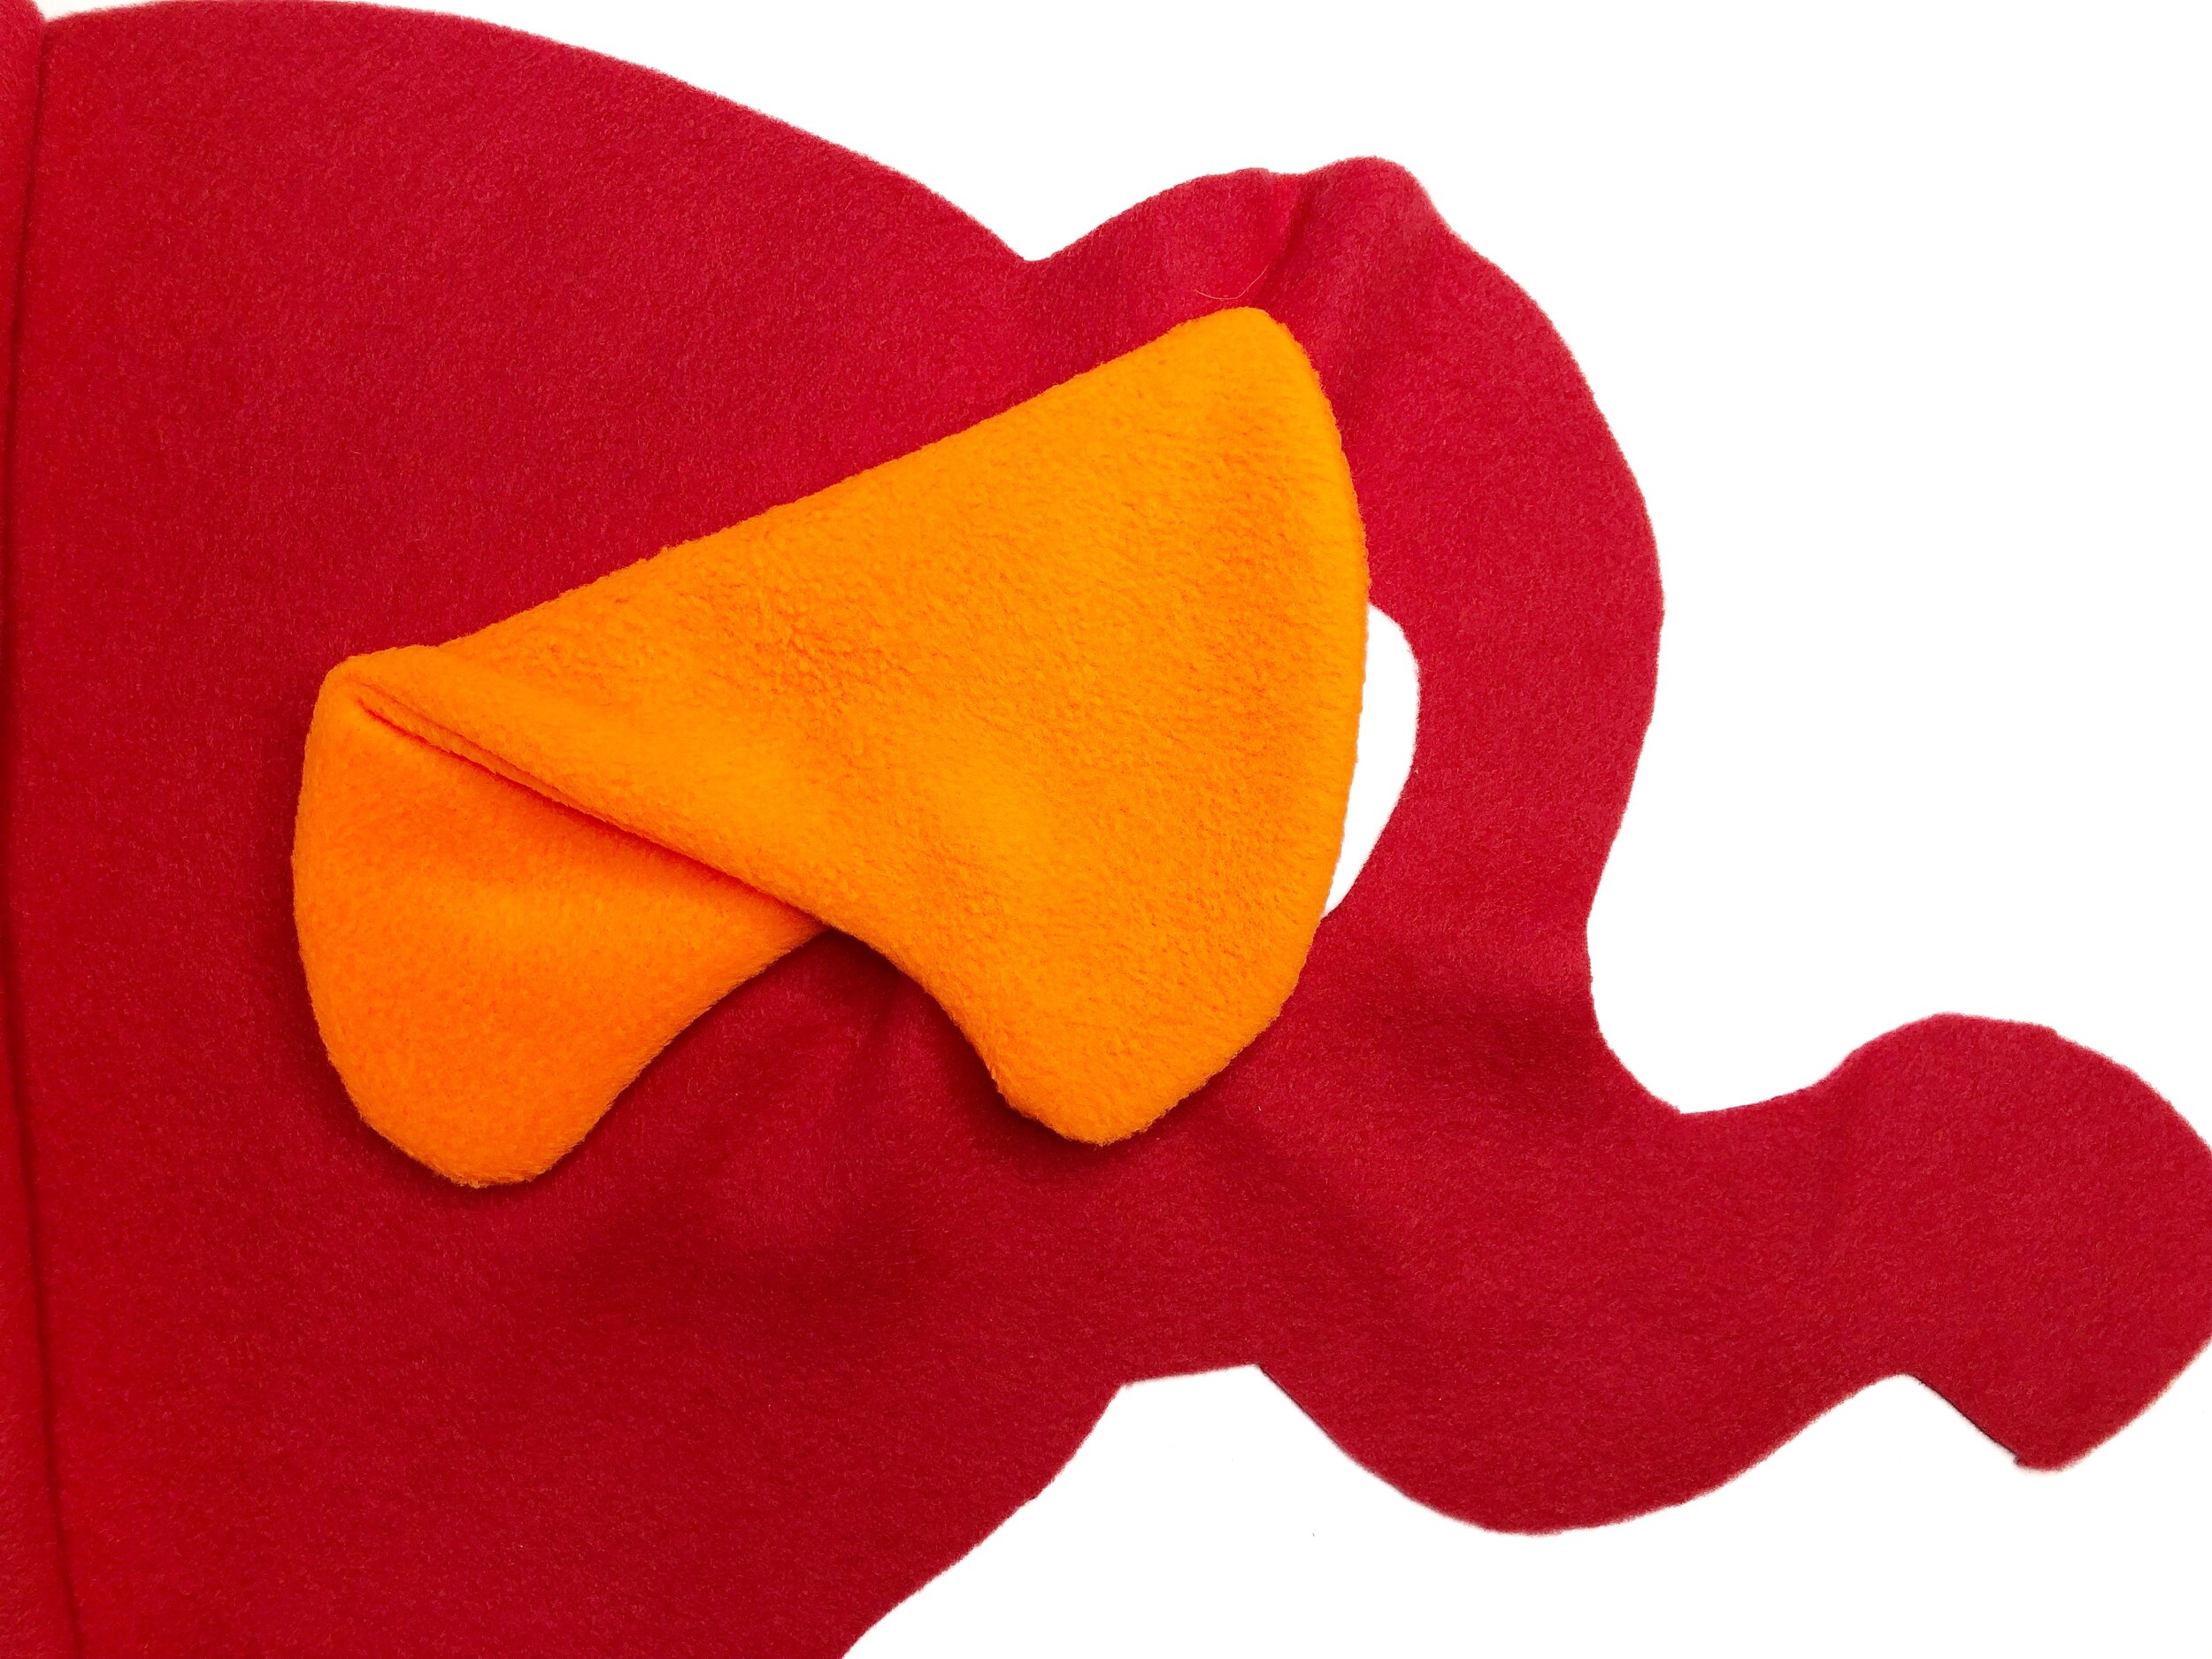
From the right side, insert the straight edge of the ear into the seam, aligning the raw edges. Pin together and re-stitch the seam to close with ear attached.
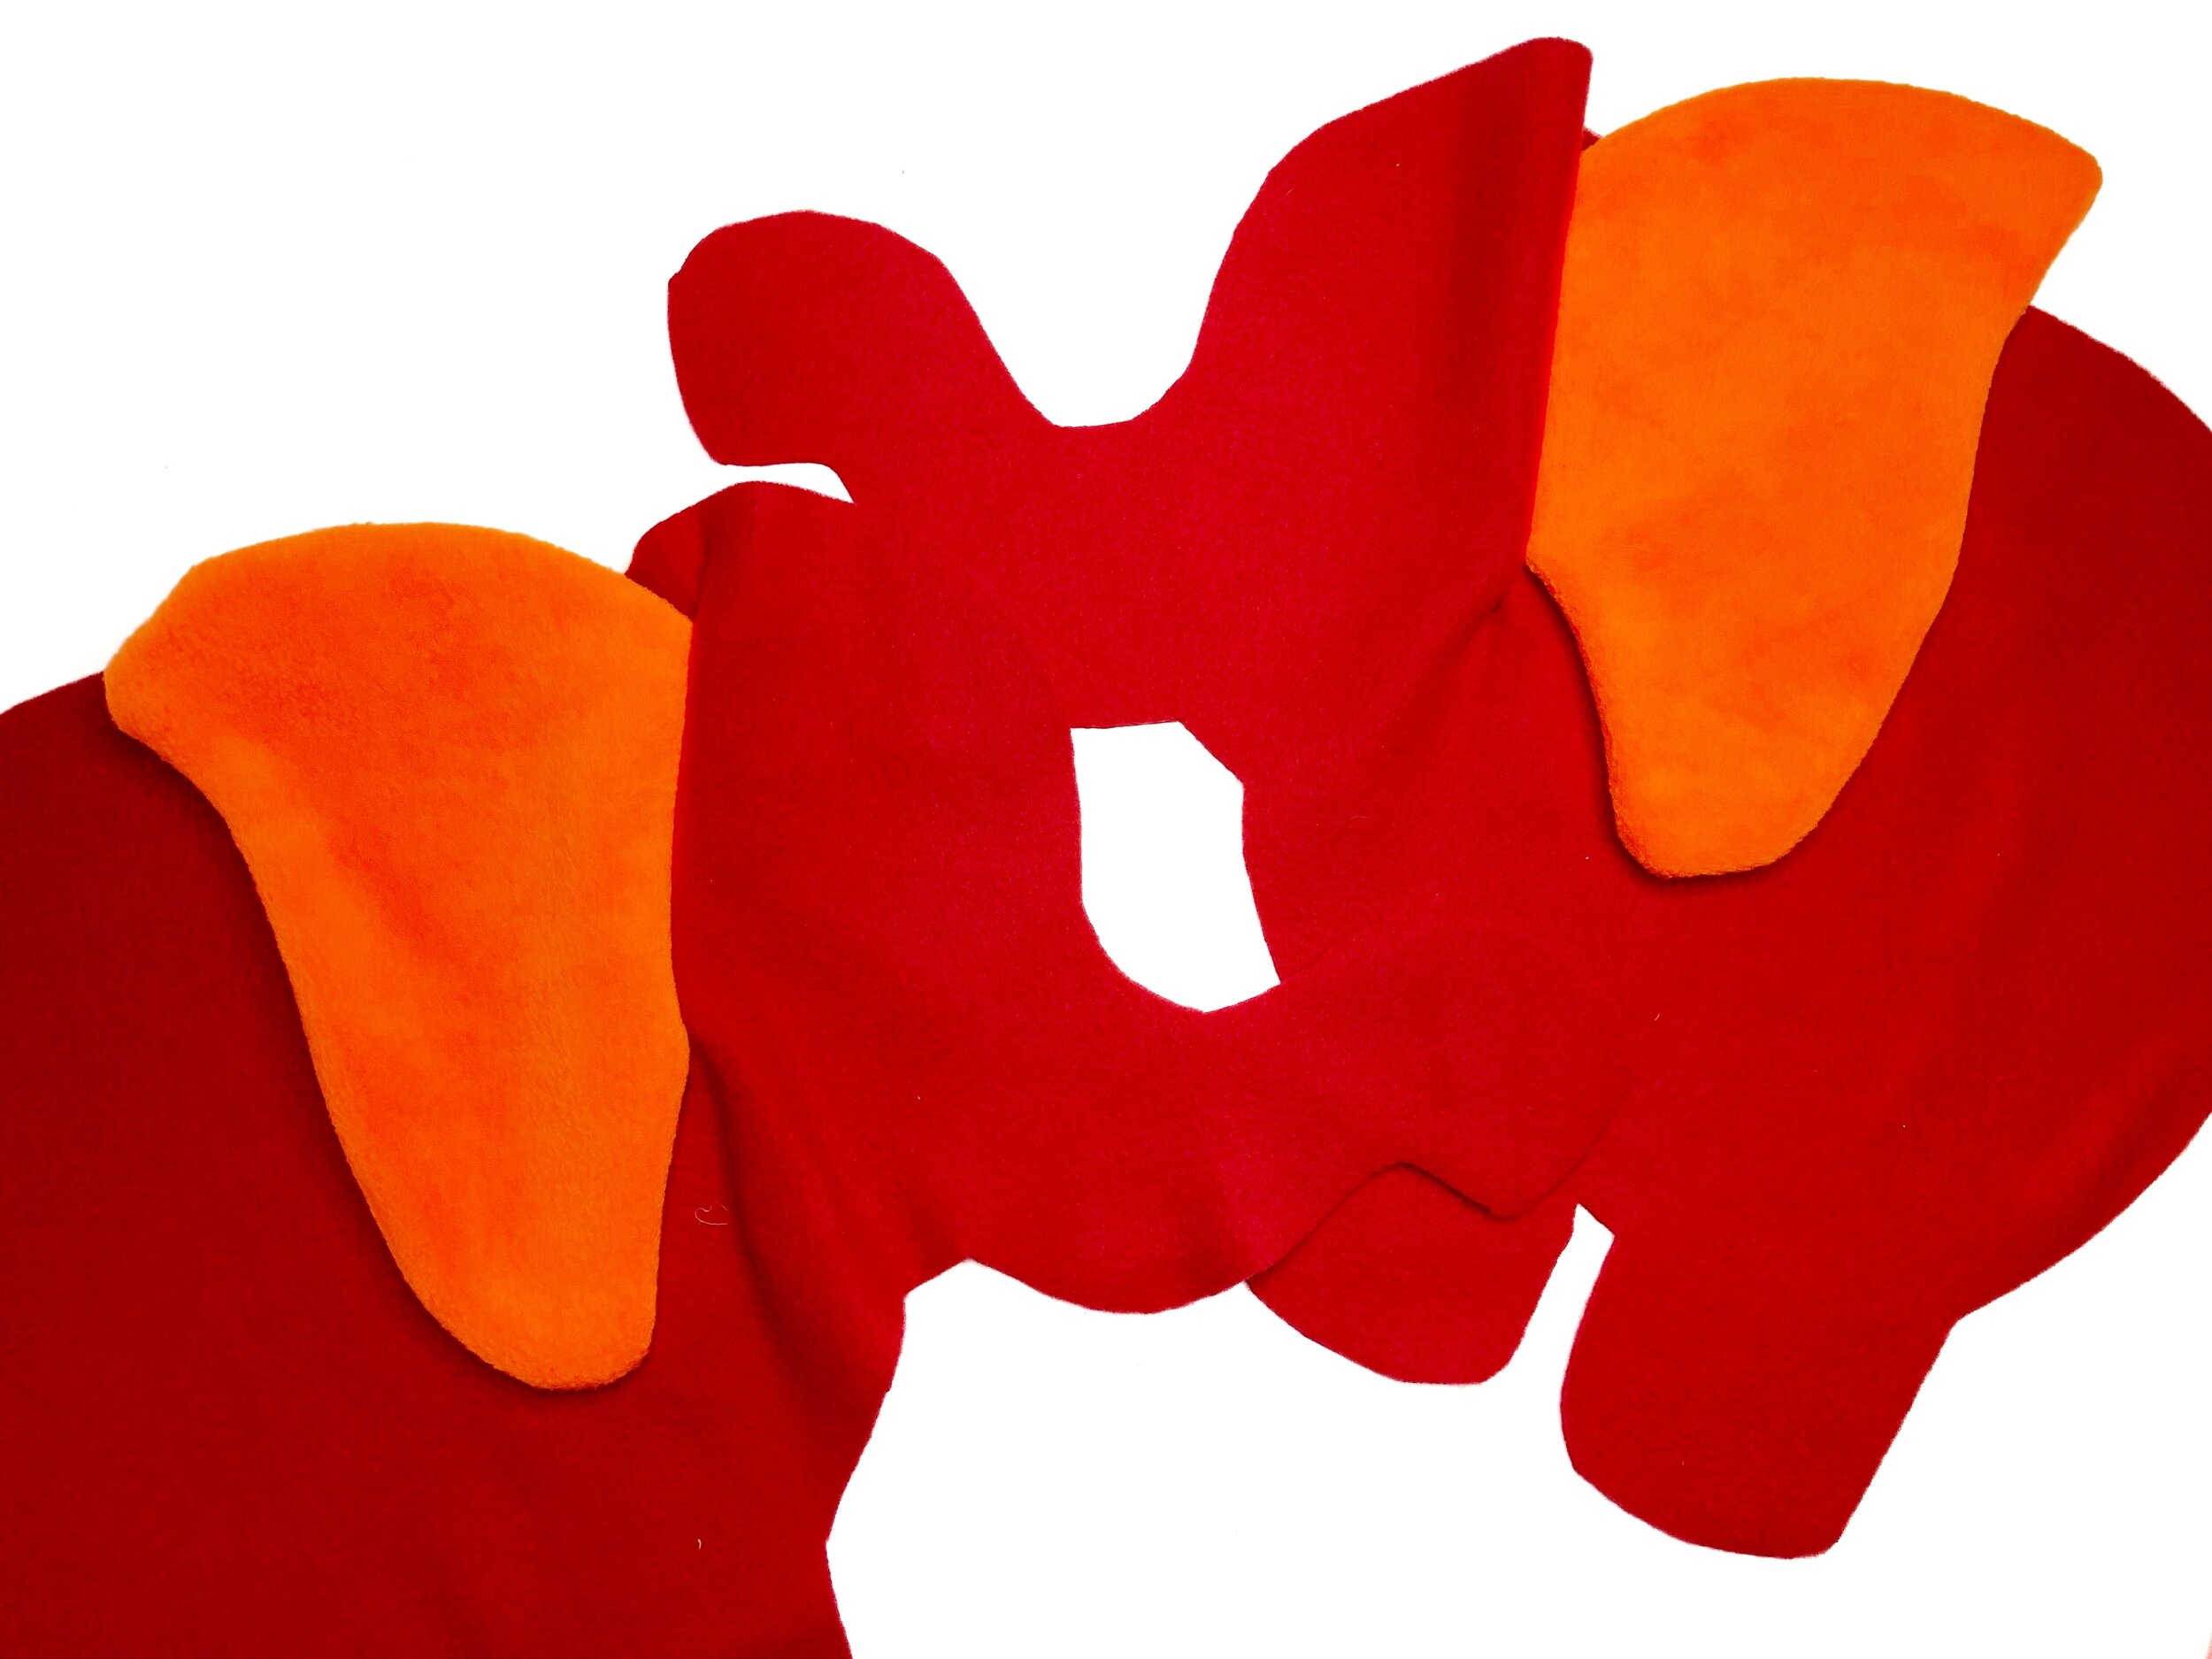
Repeat to attach the second ear.
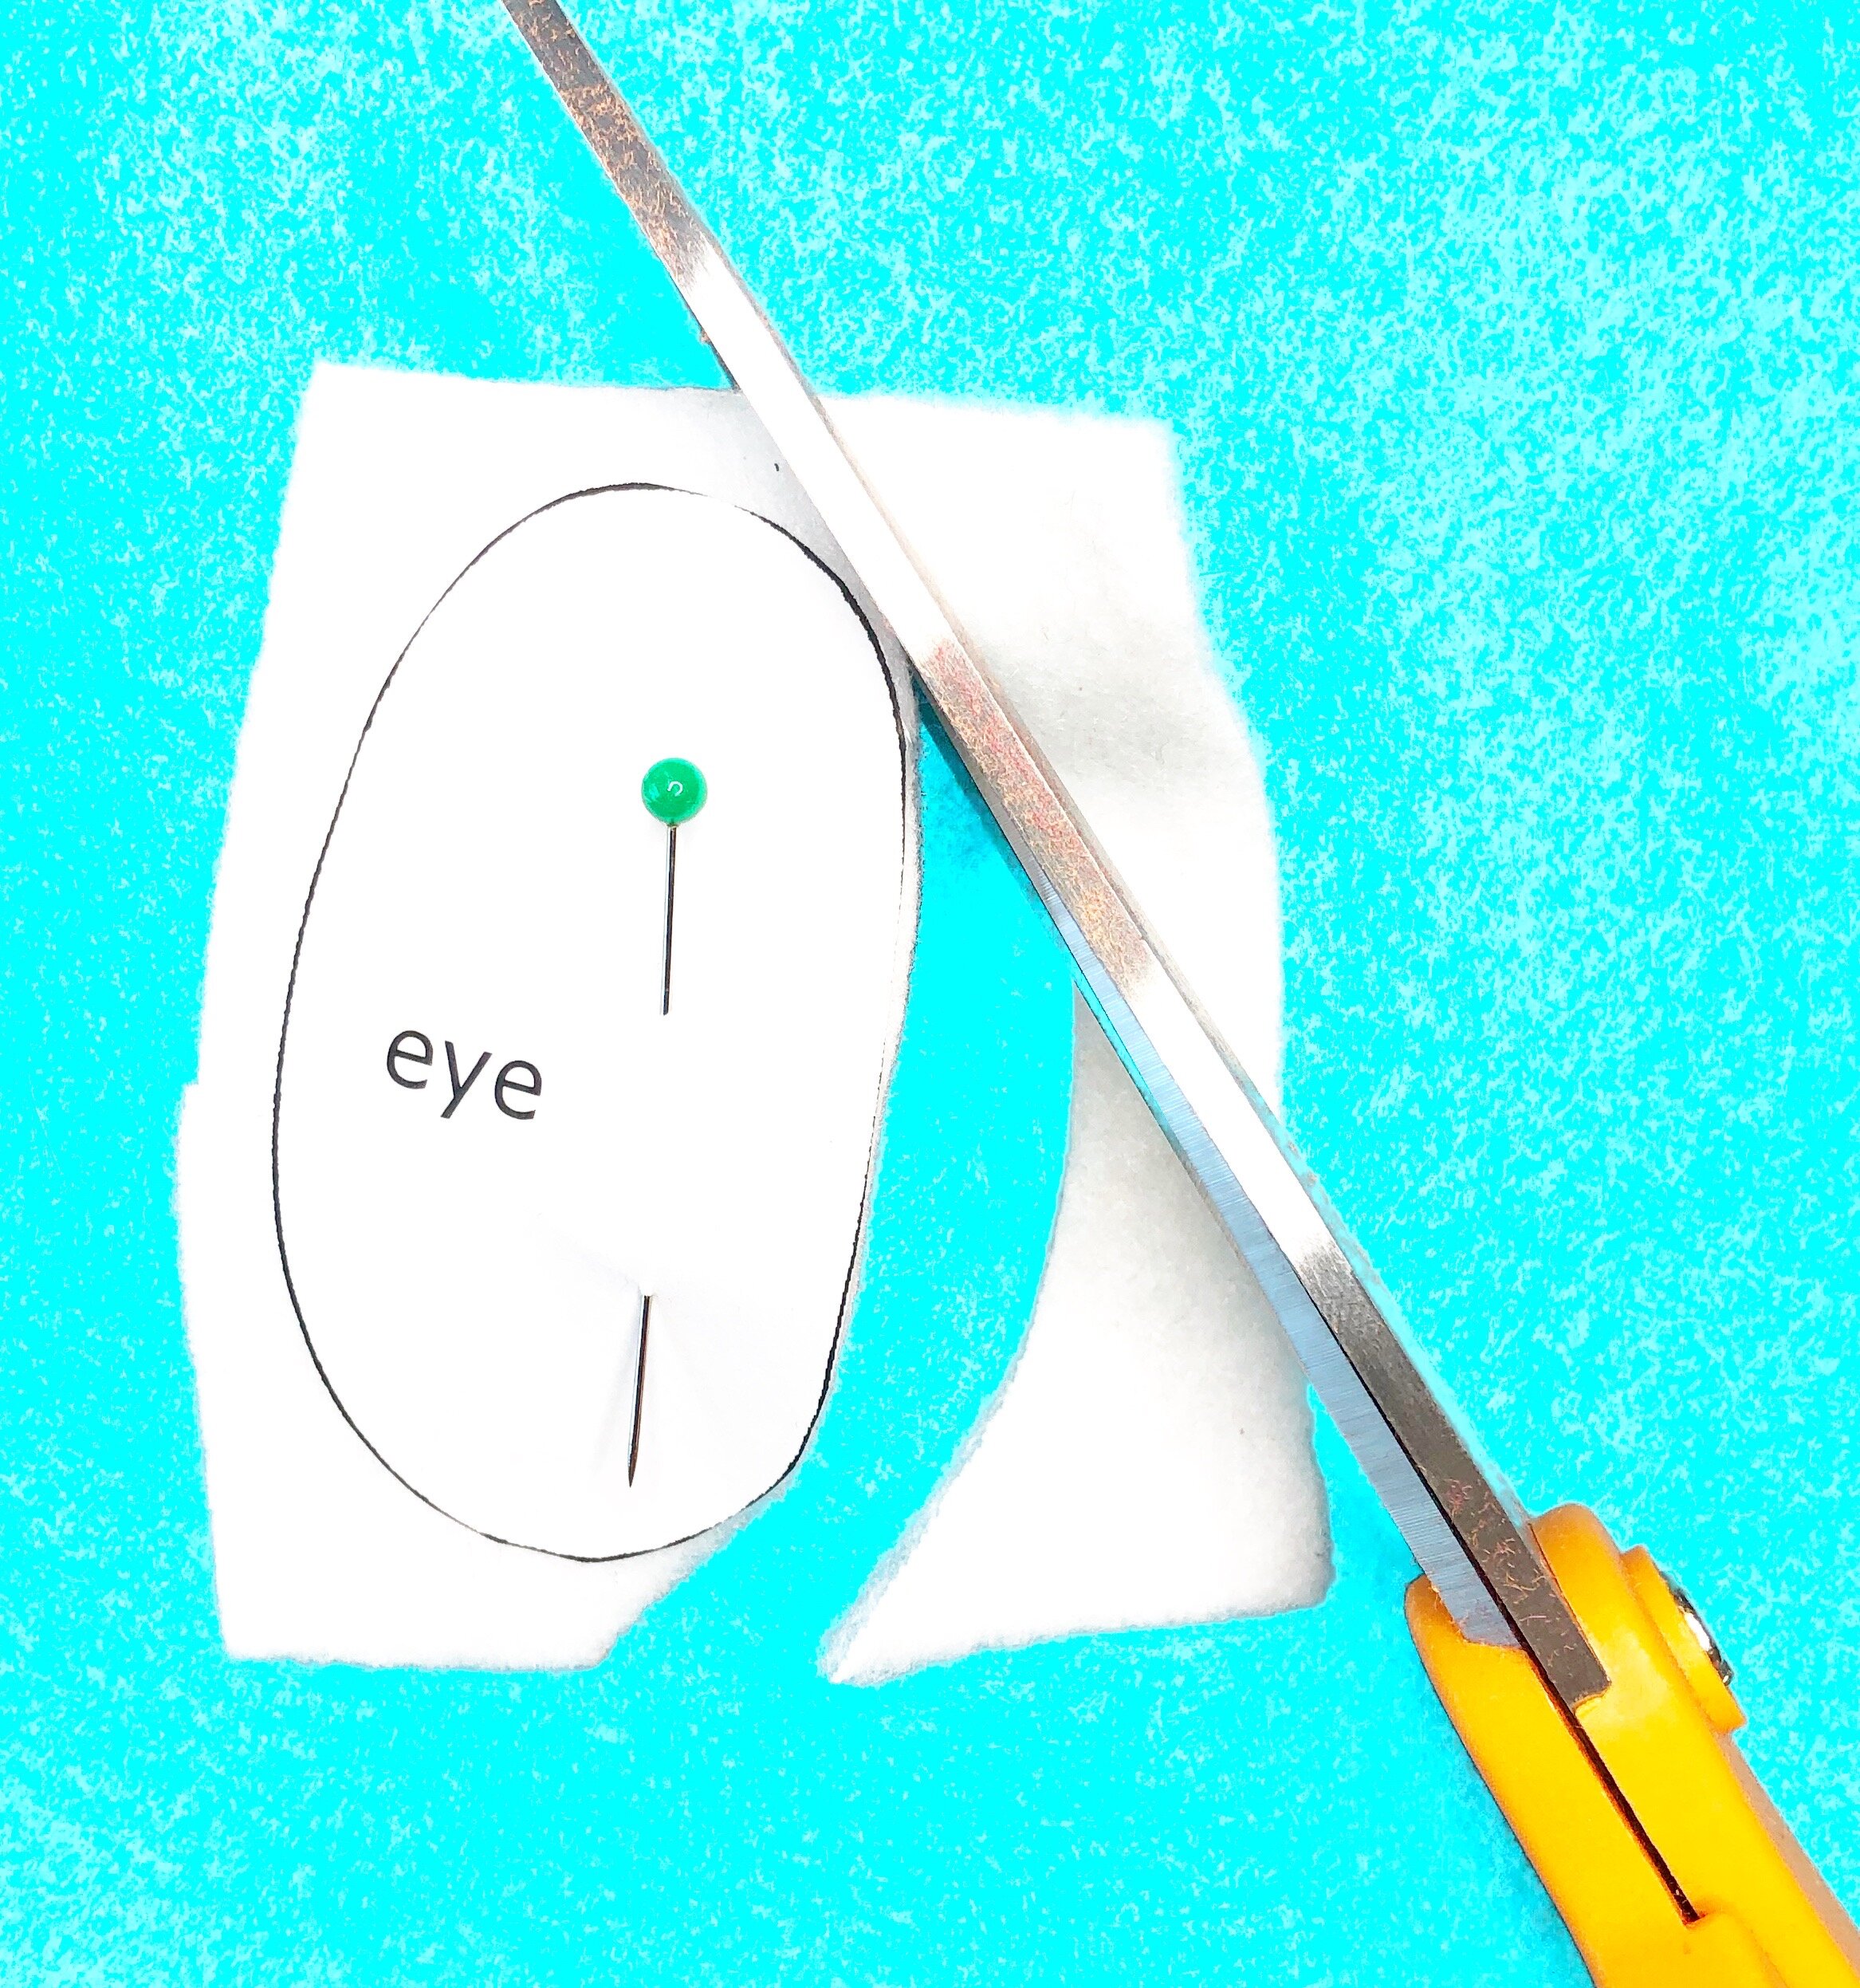
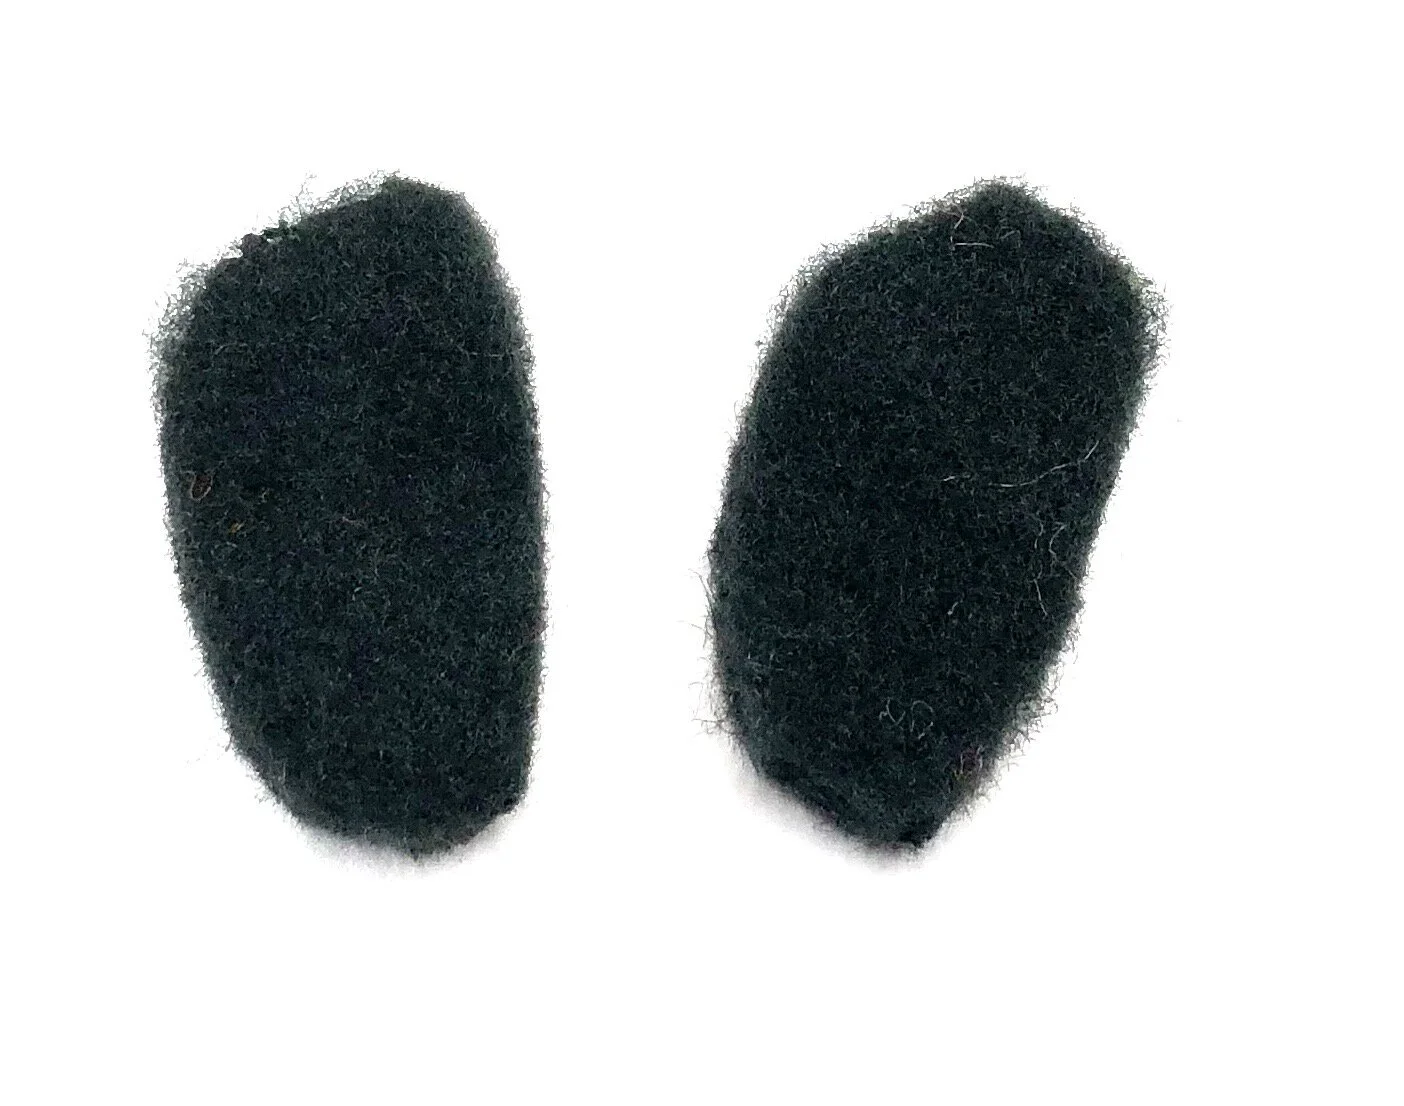
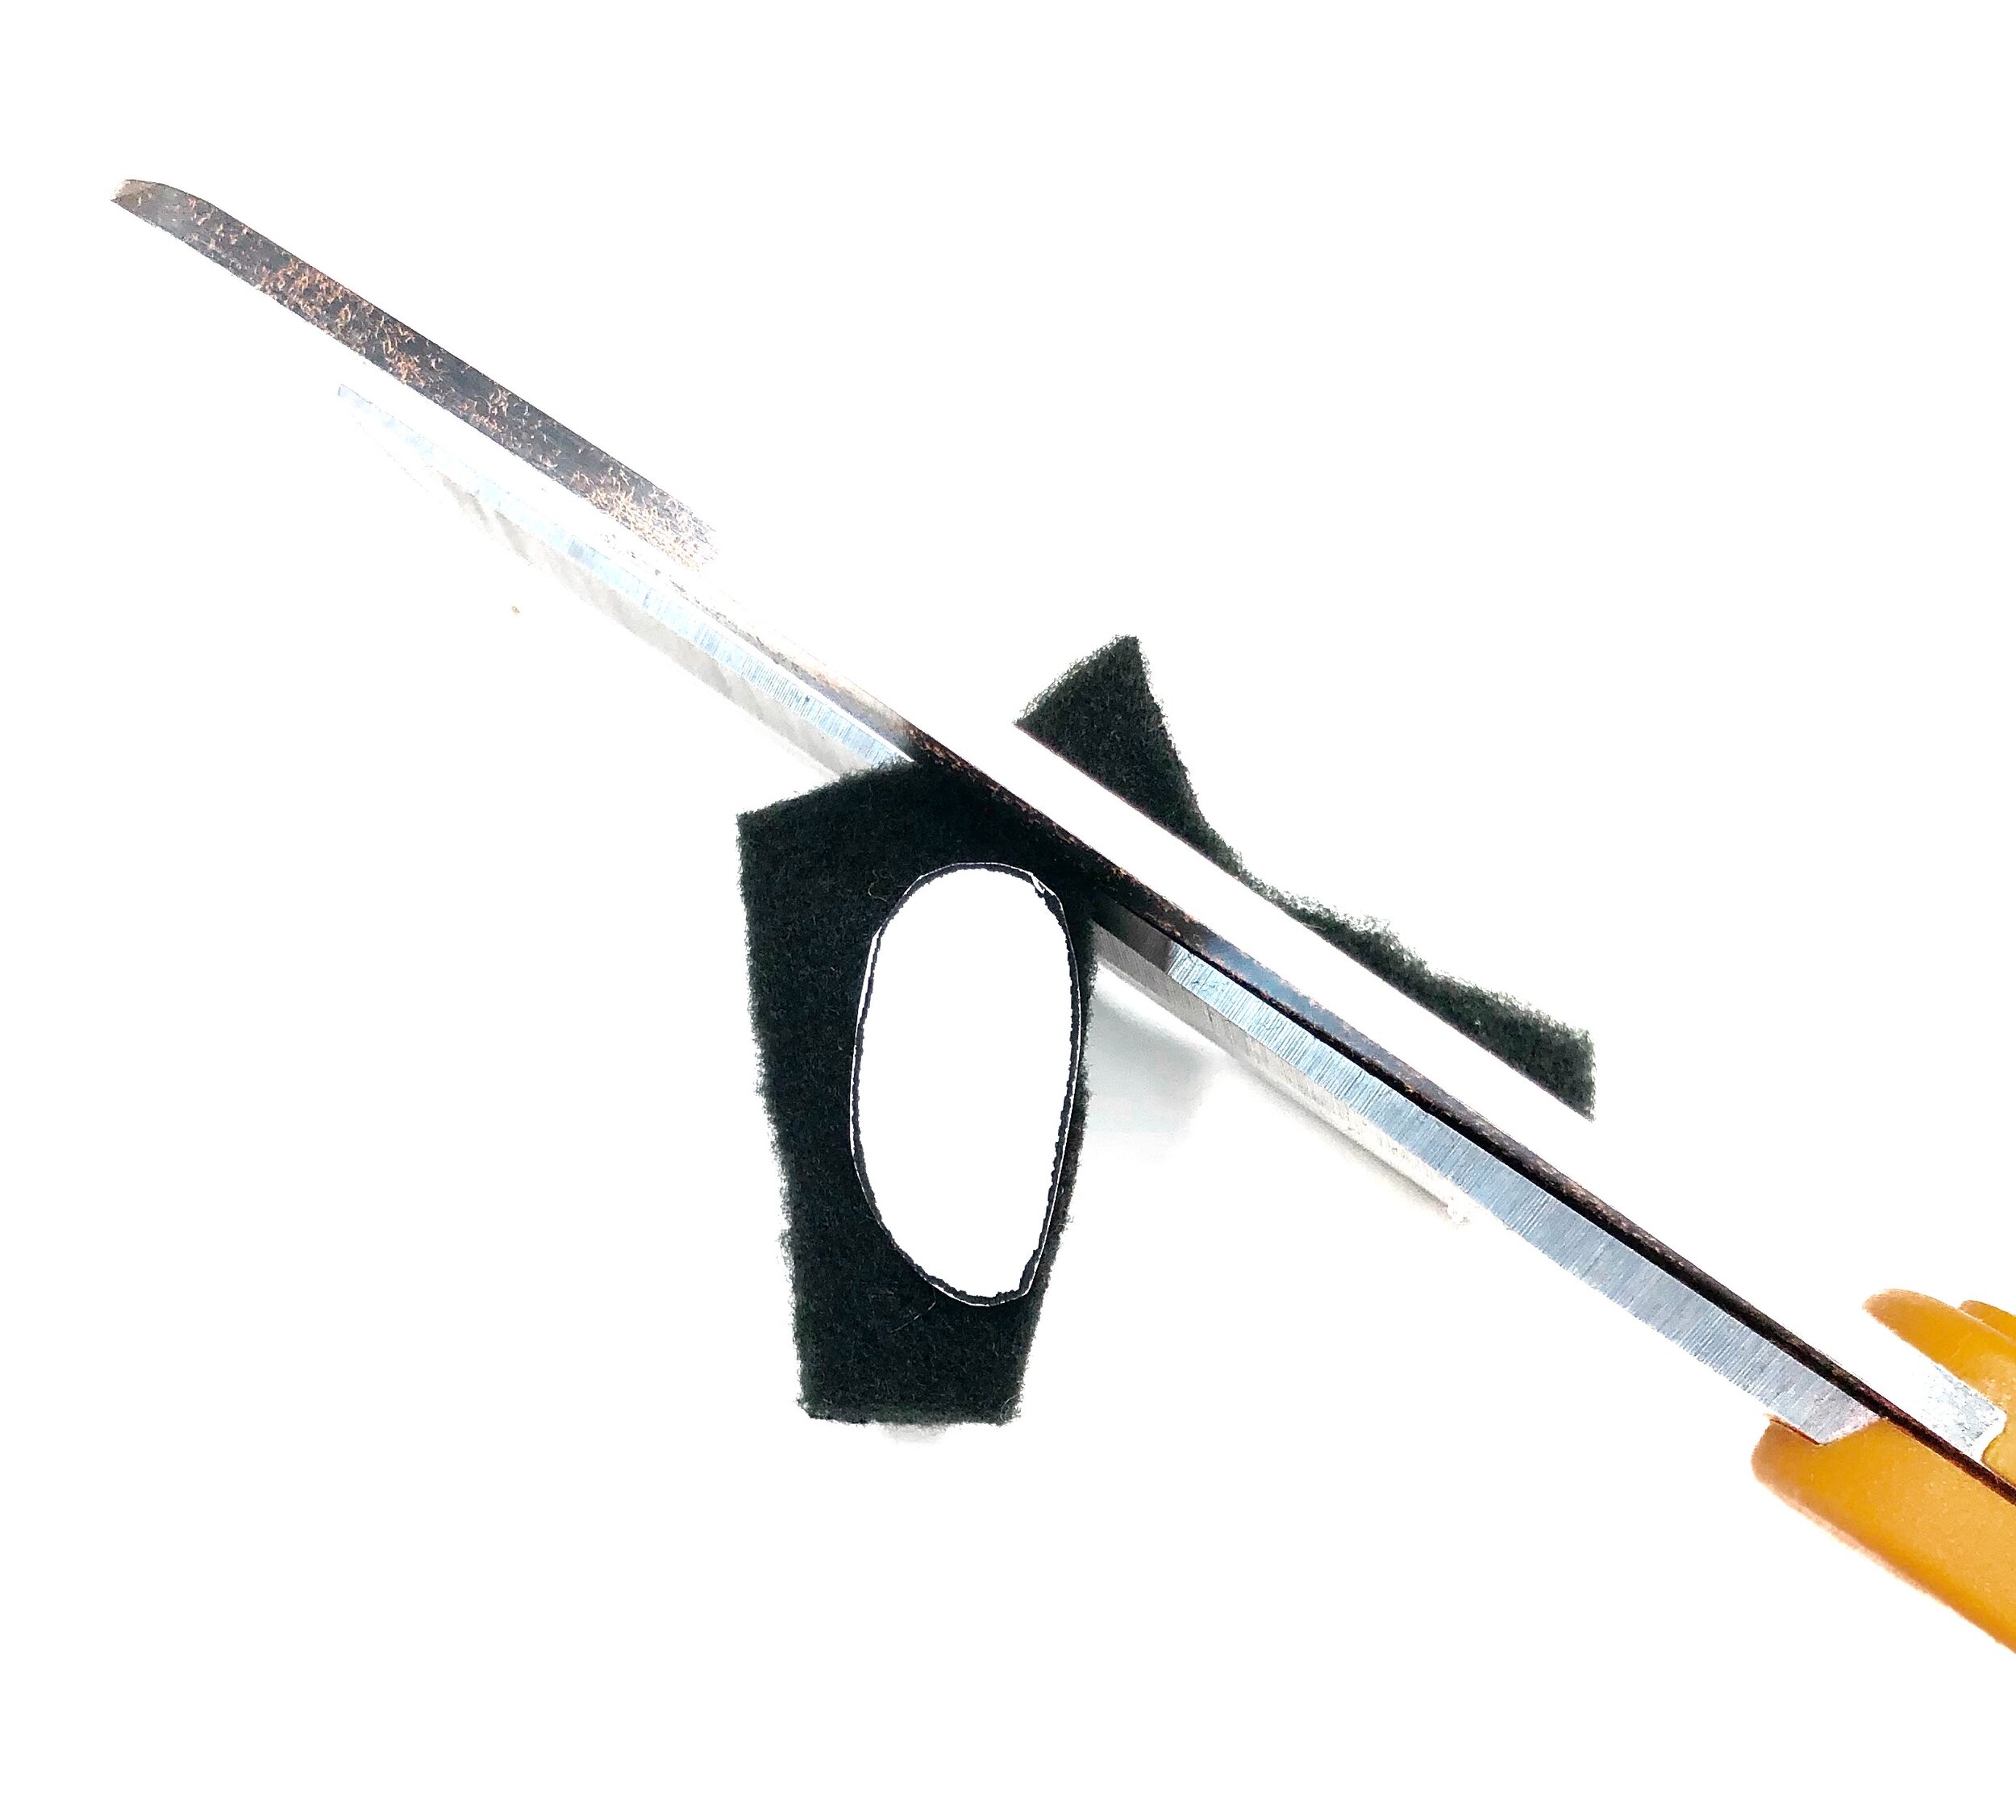
Cut two eye patterns from single layered white felt fabric. Cut two pupils from single layered black felt fabric.
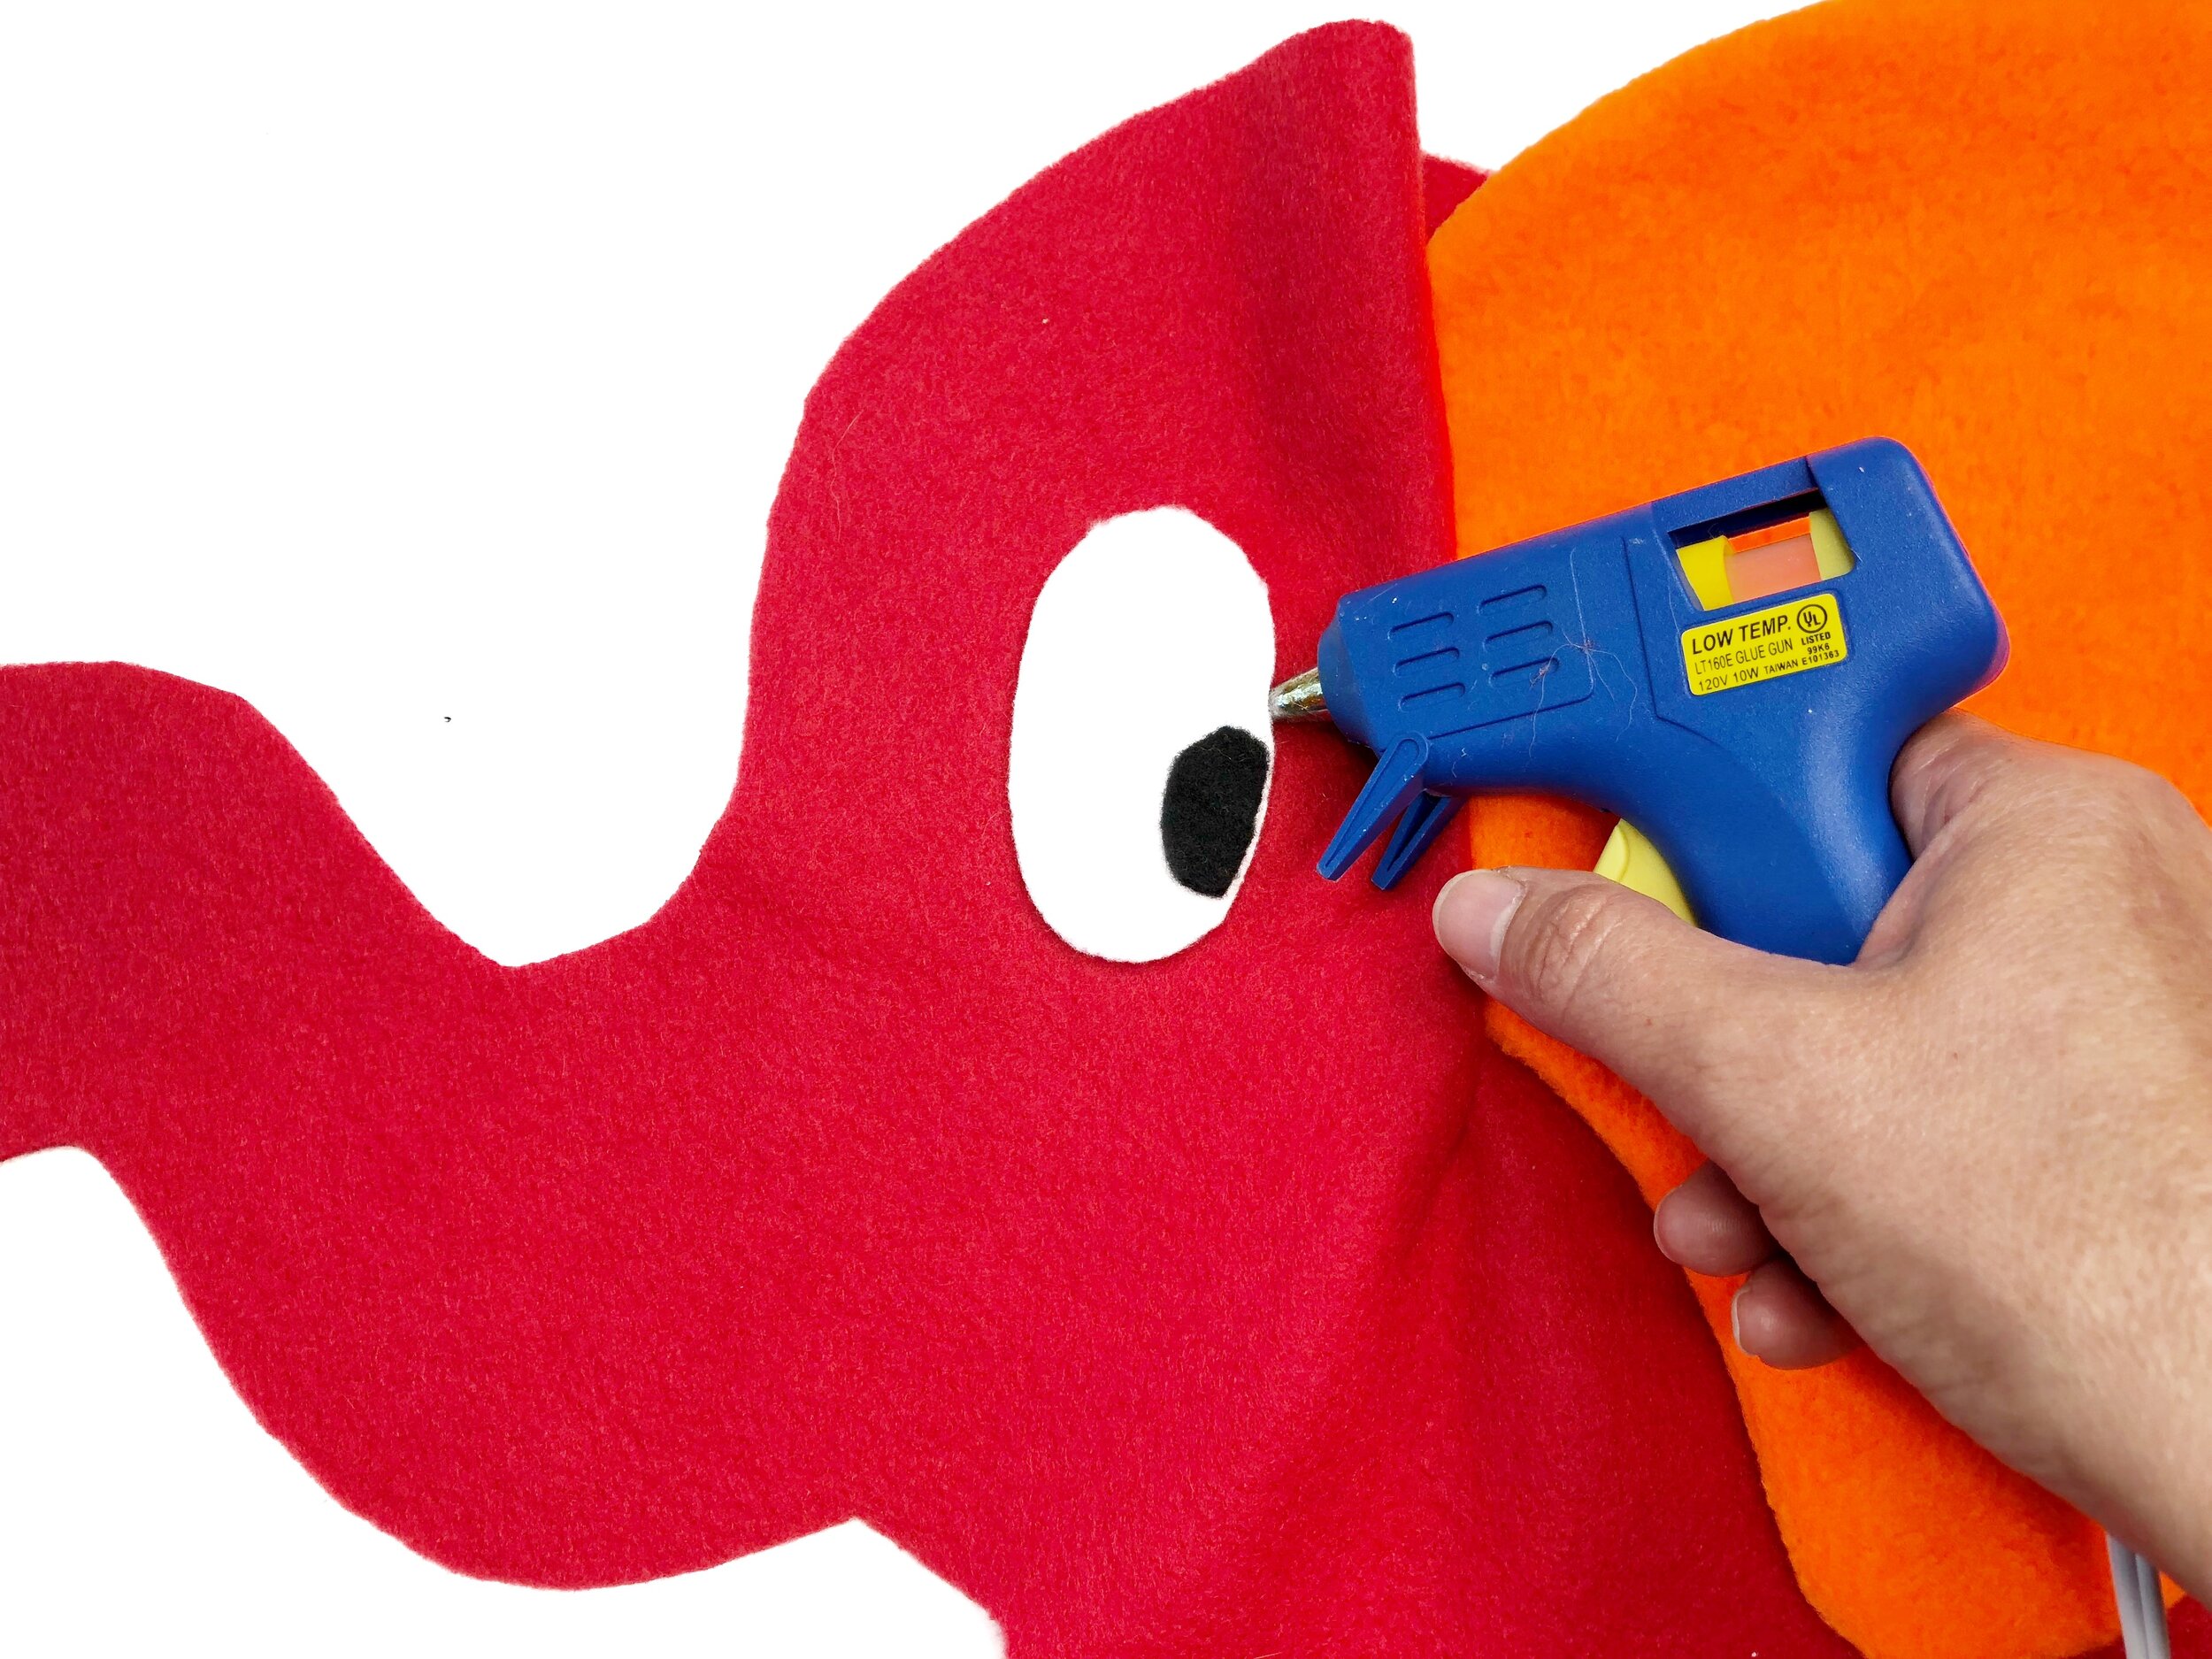
Hot glue the pupils to the eye and hot glue the eyes to each body fabric. Use could also use fusible web and iron on the eyes and pupils.
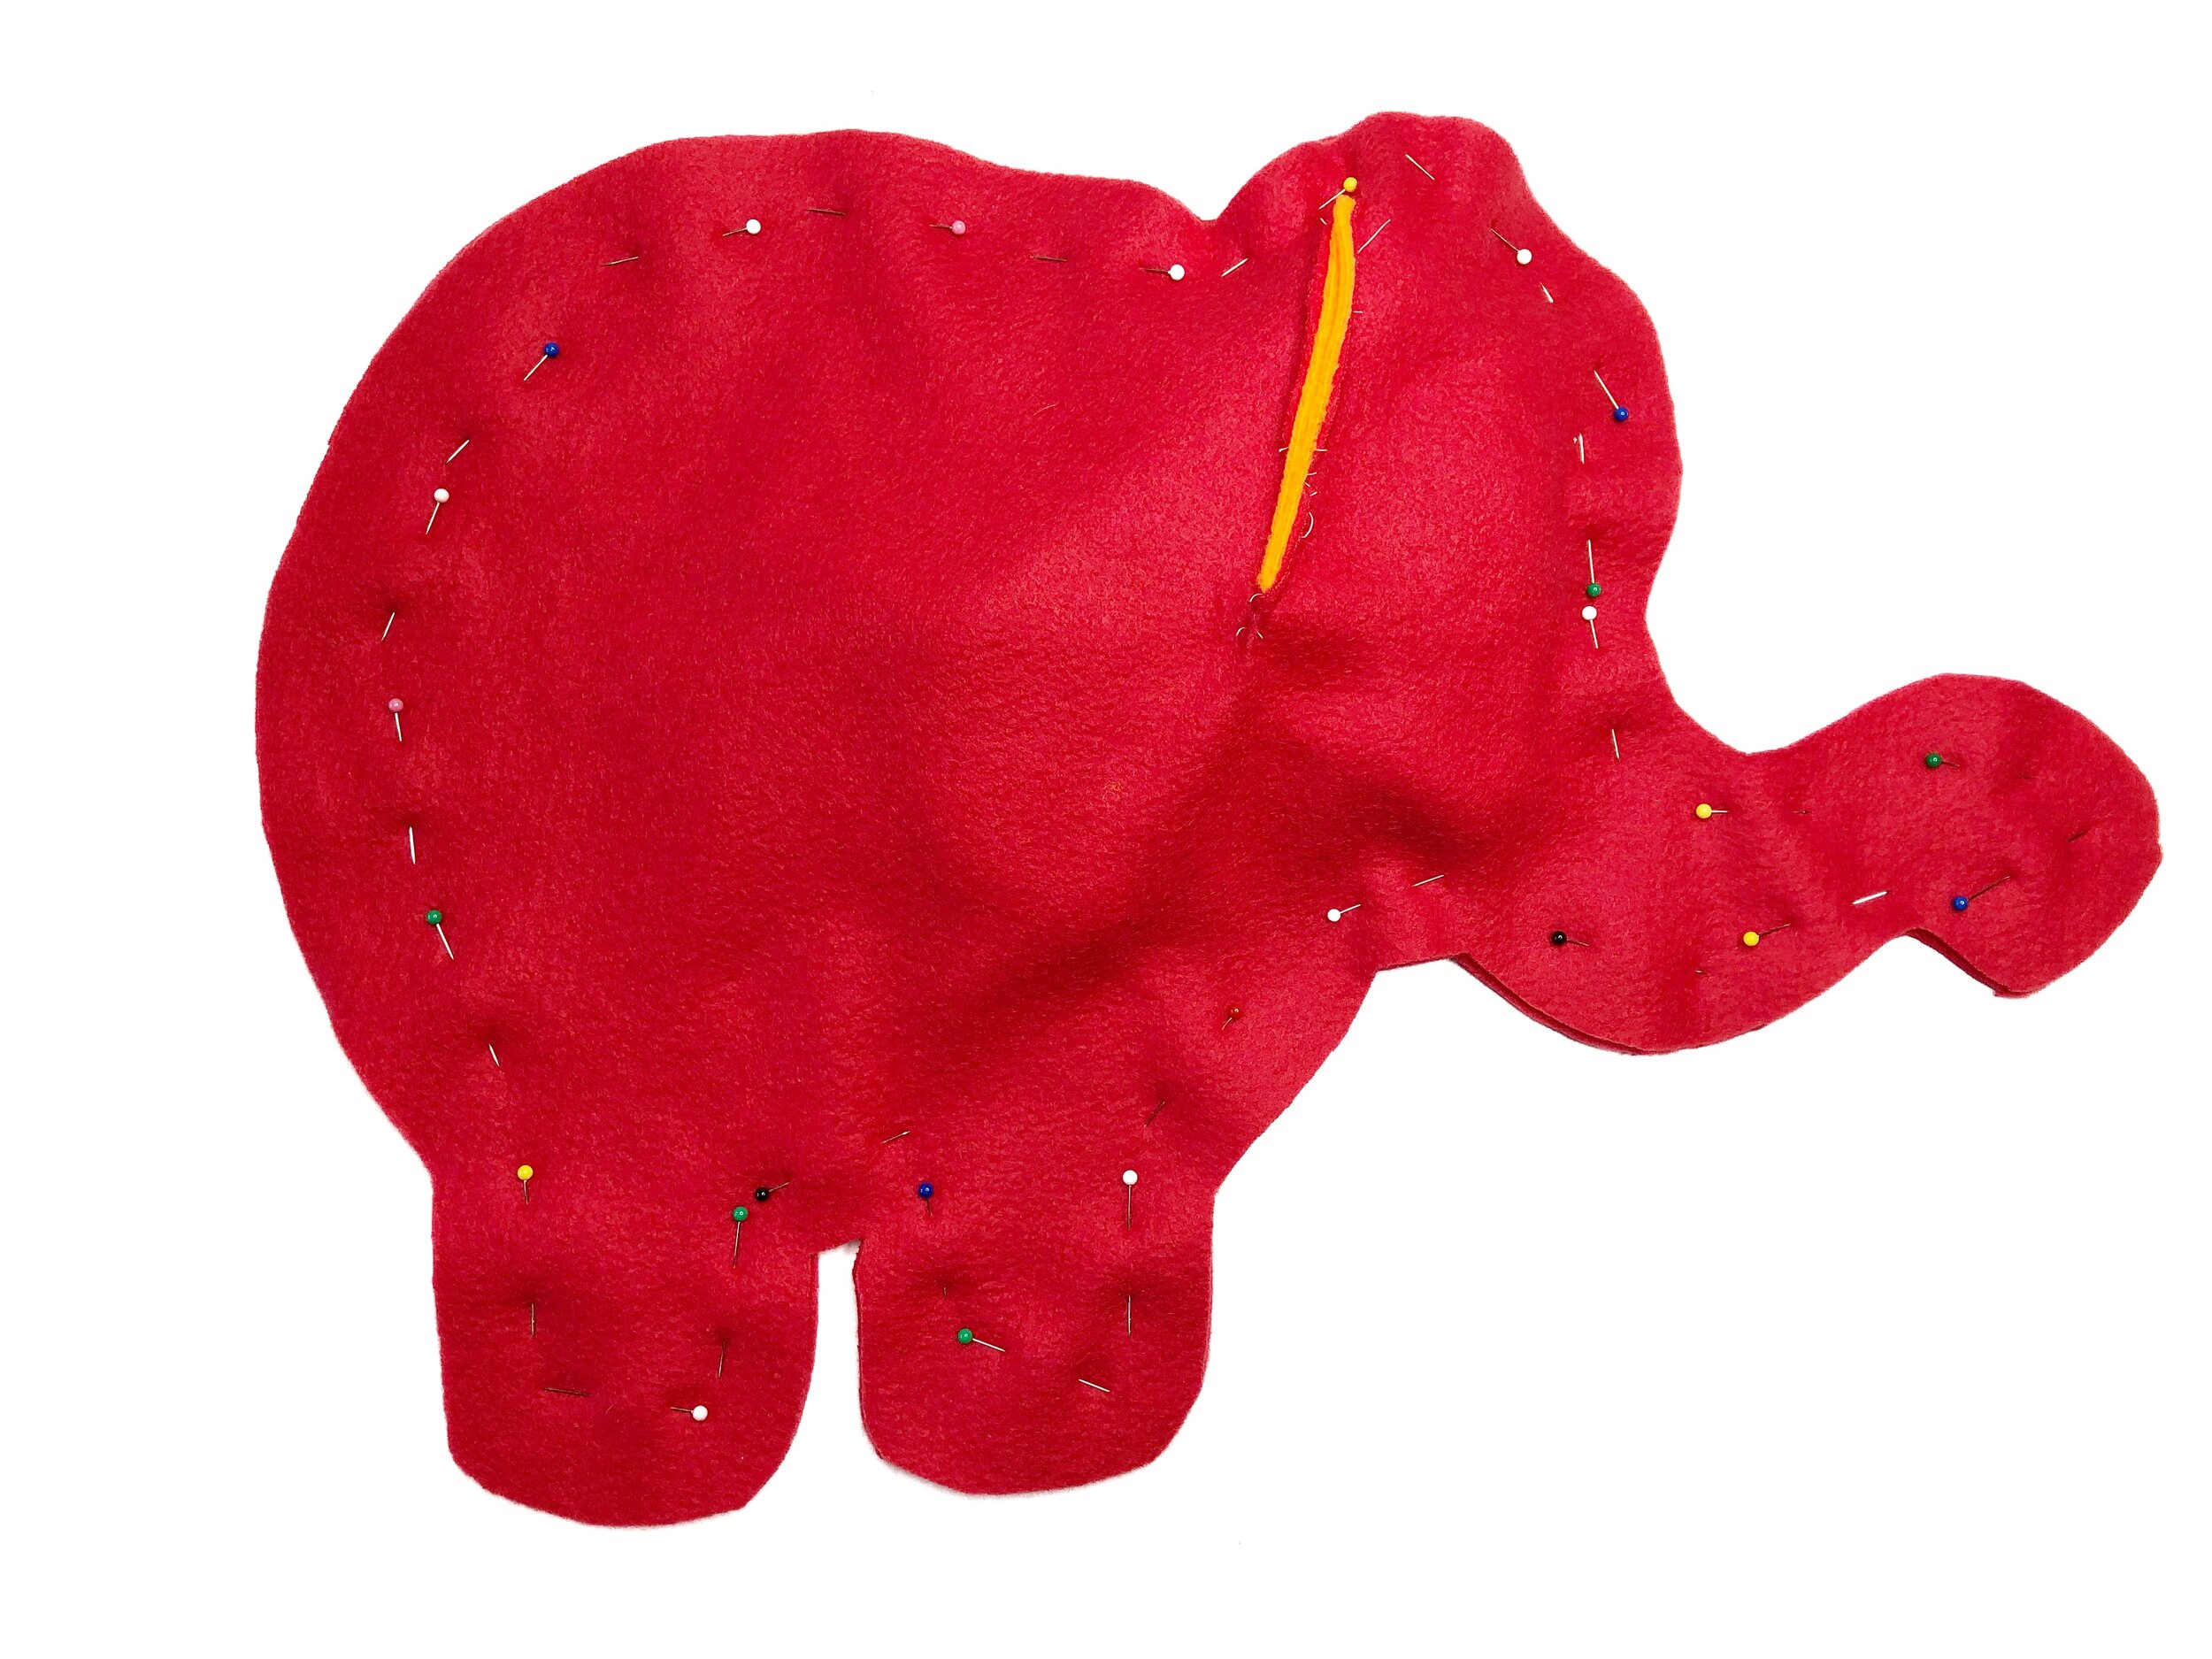
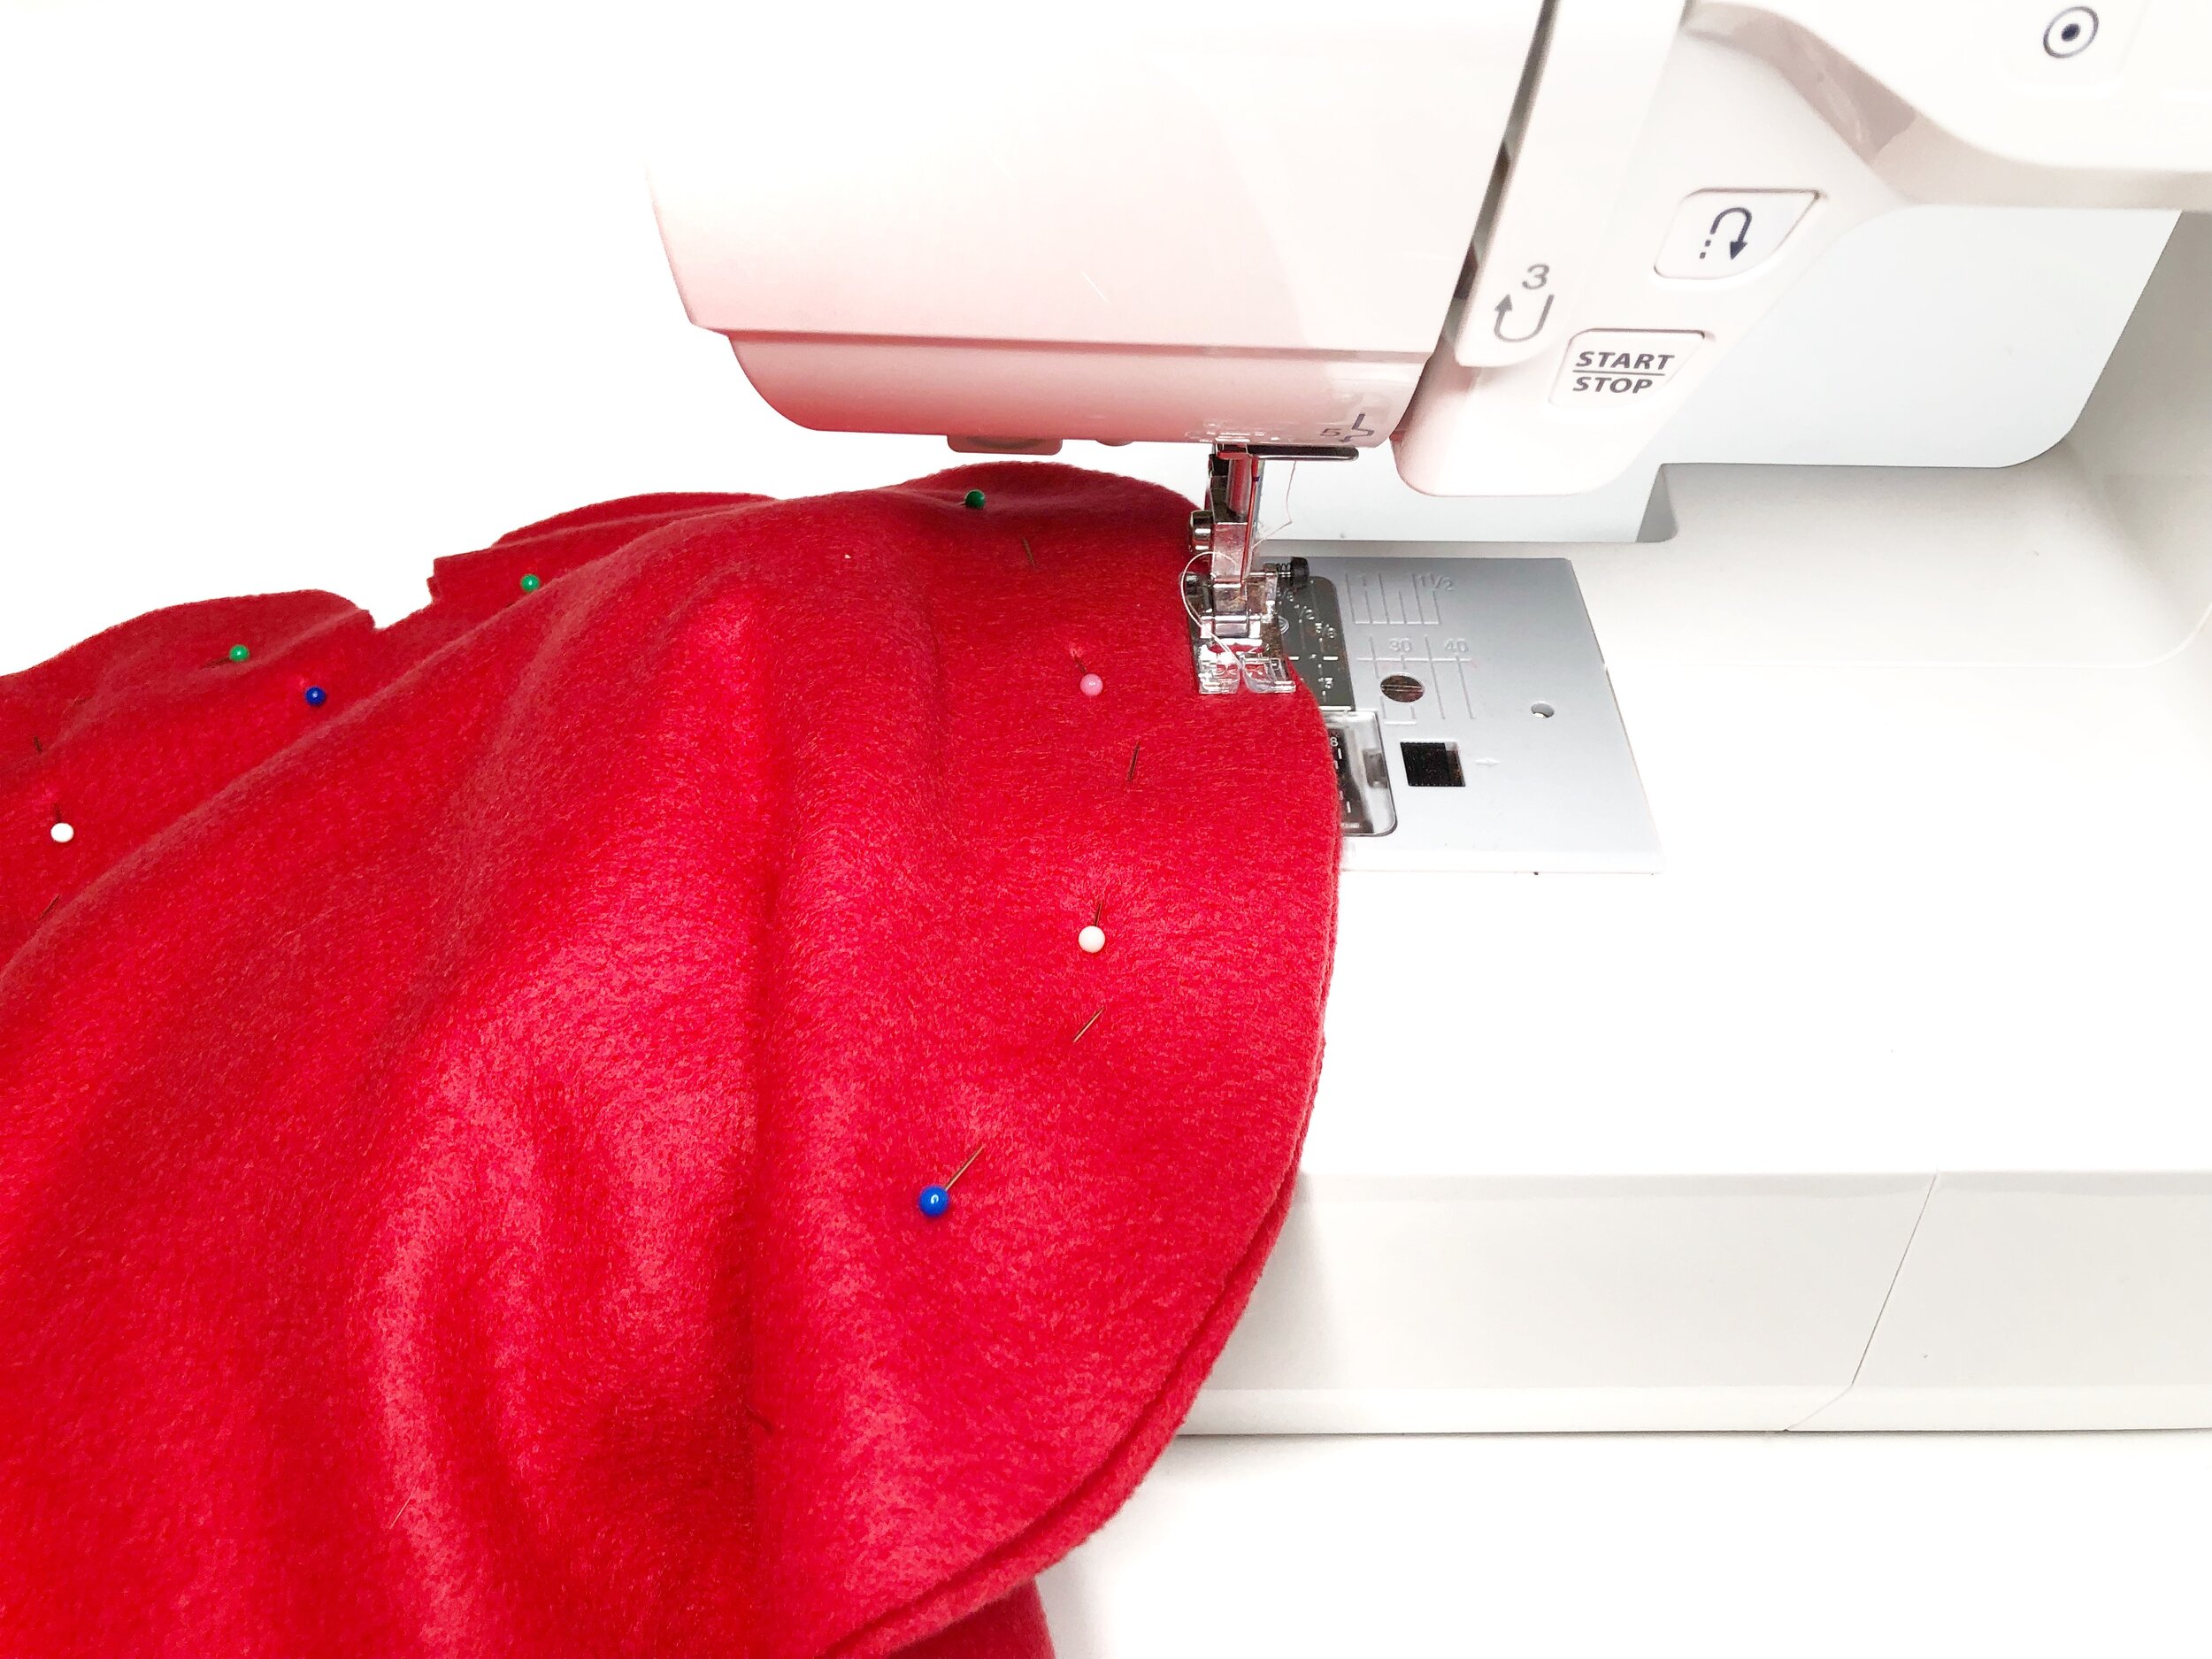
With fabric right sides together, pin the body, tucking in the ears away from the seam where you will be stitching. Stitch the fabric pieces together, leaving an opening to reverse and stuff.
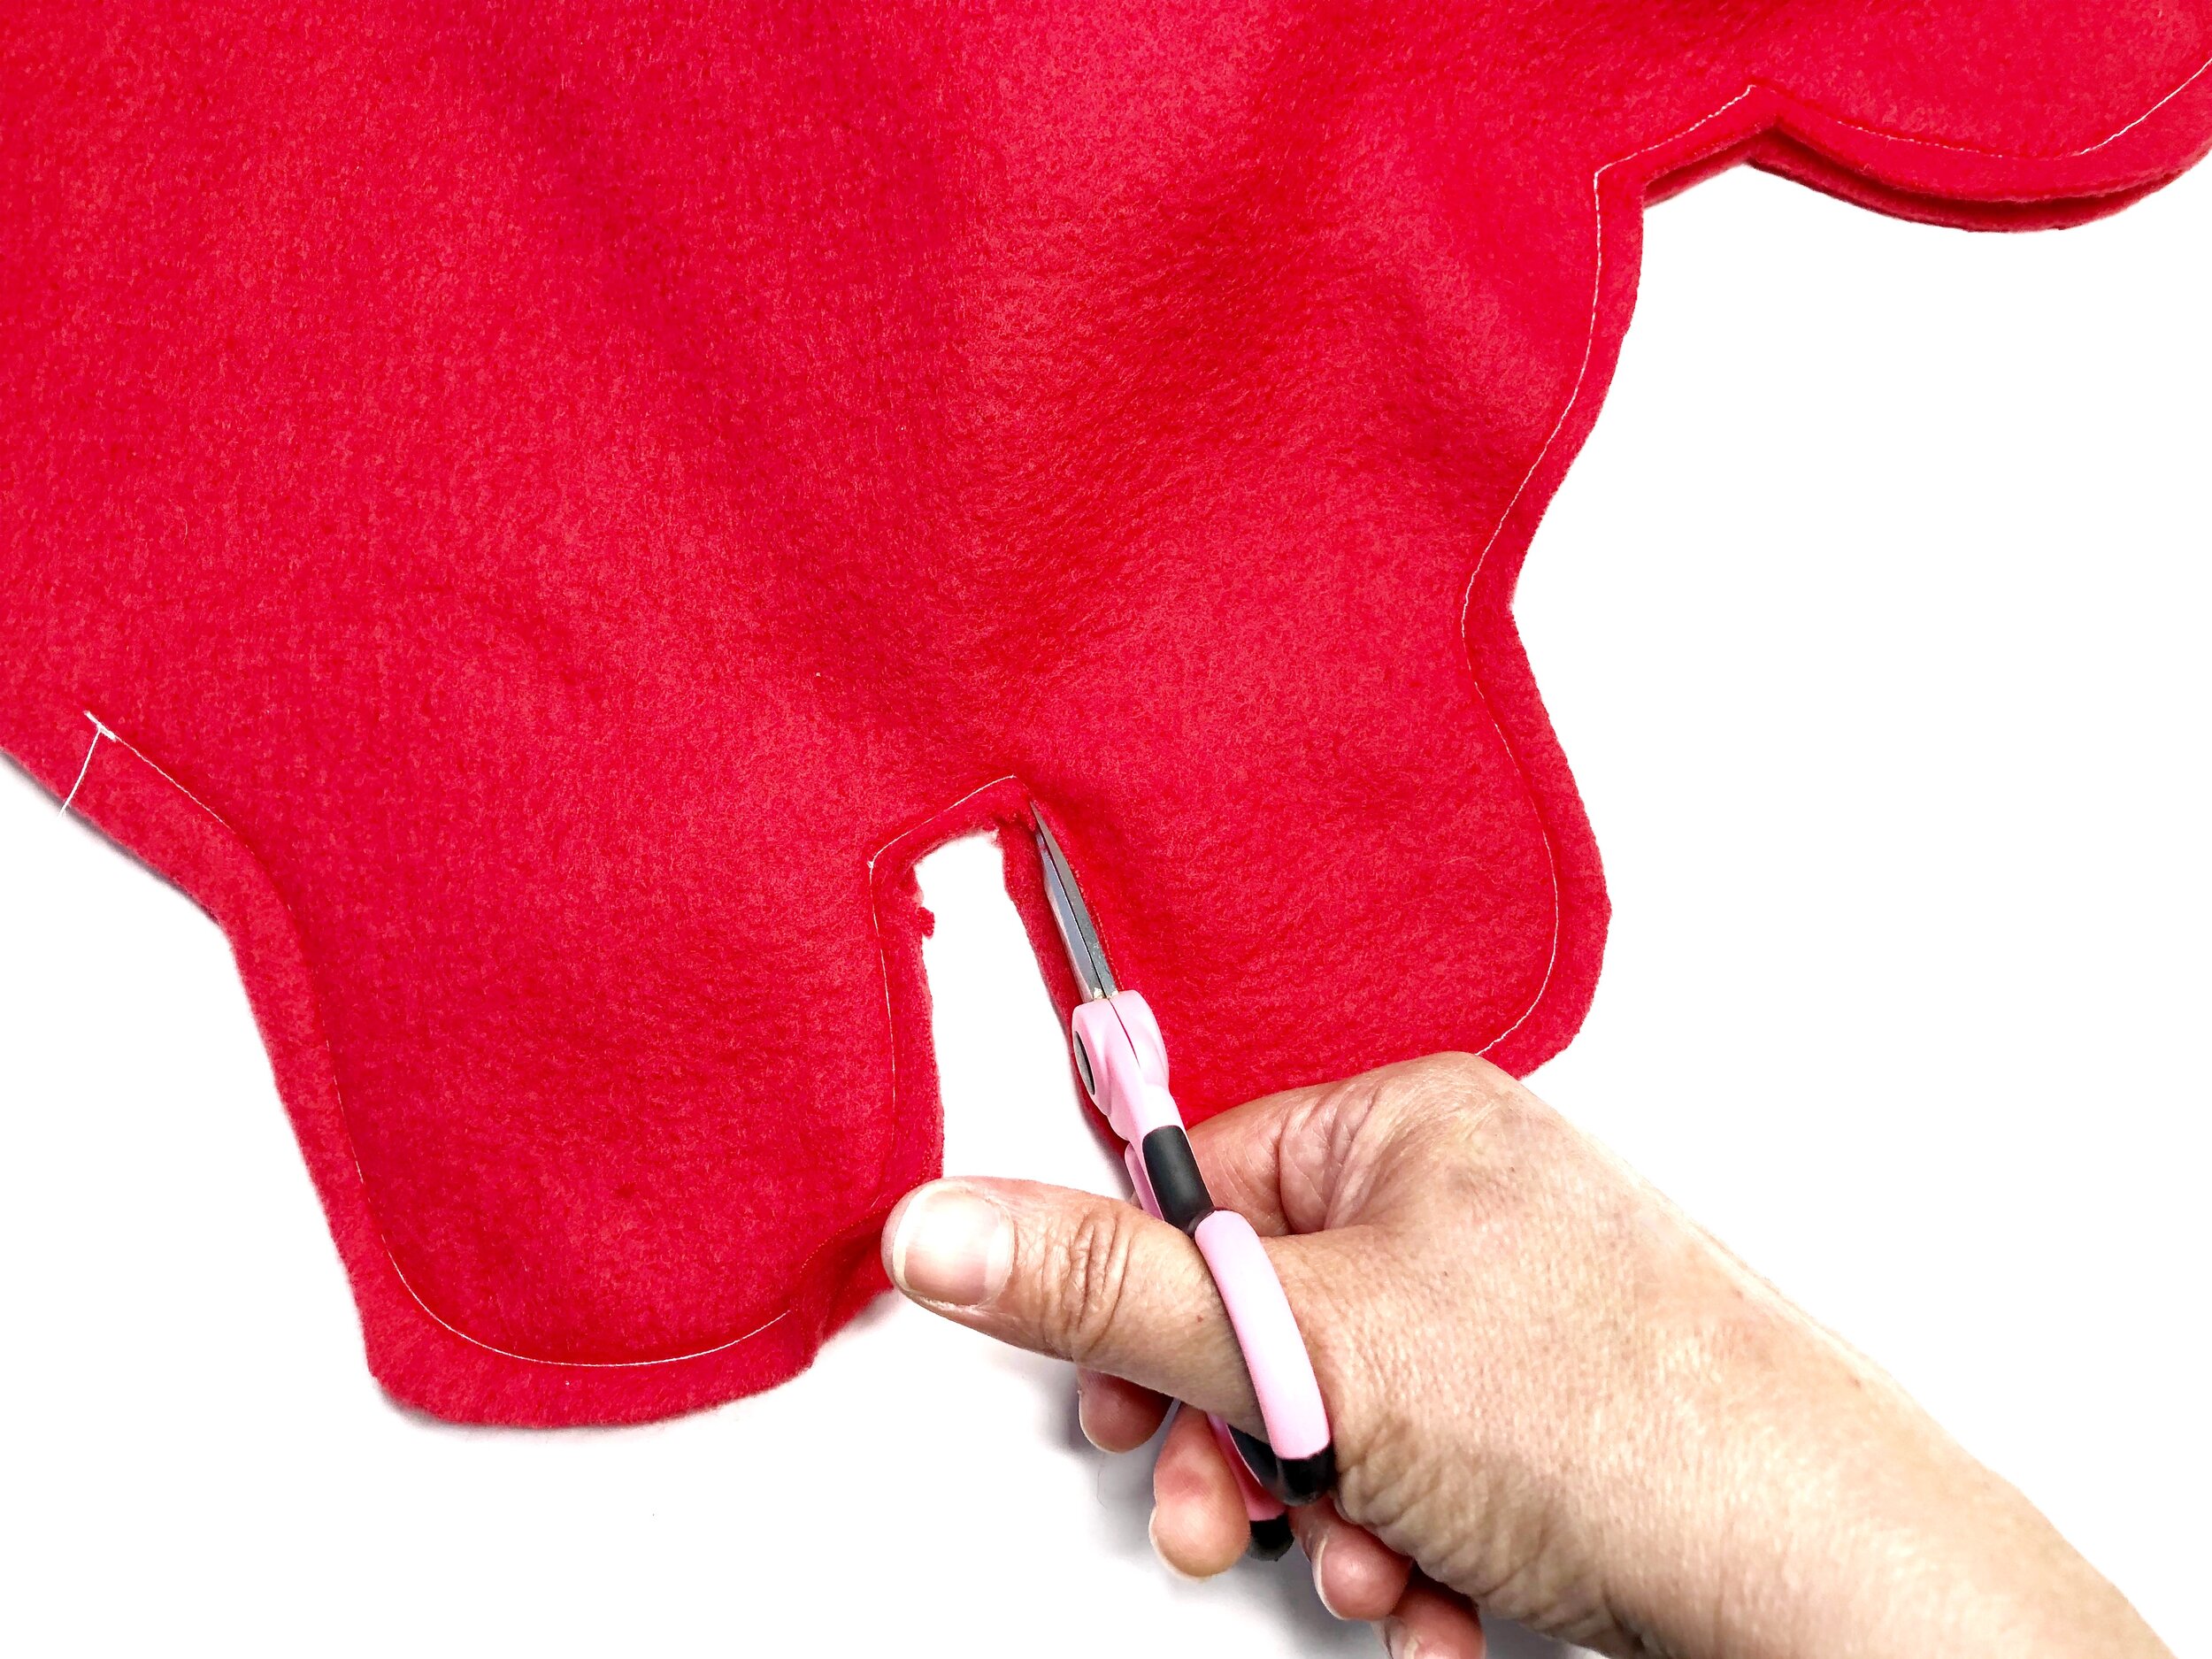
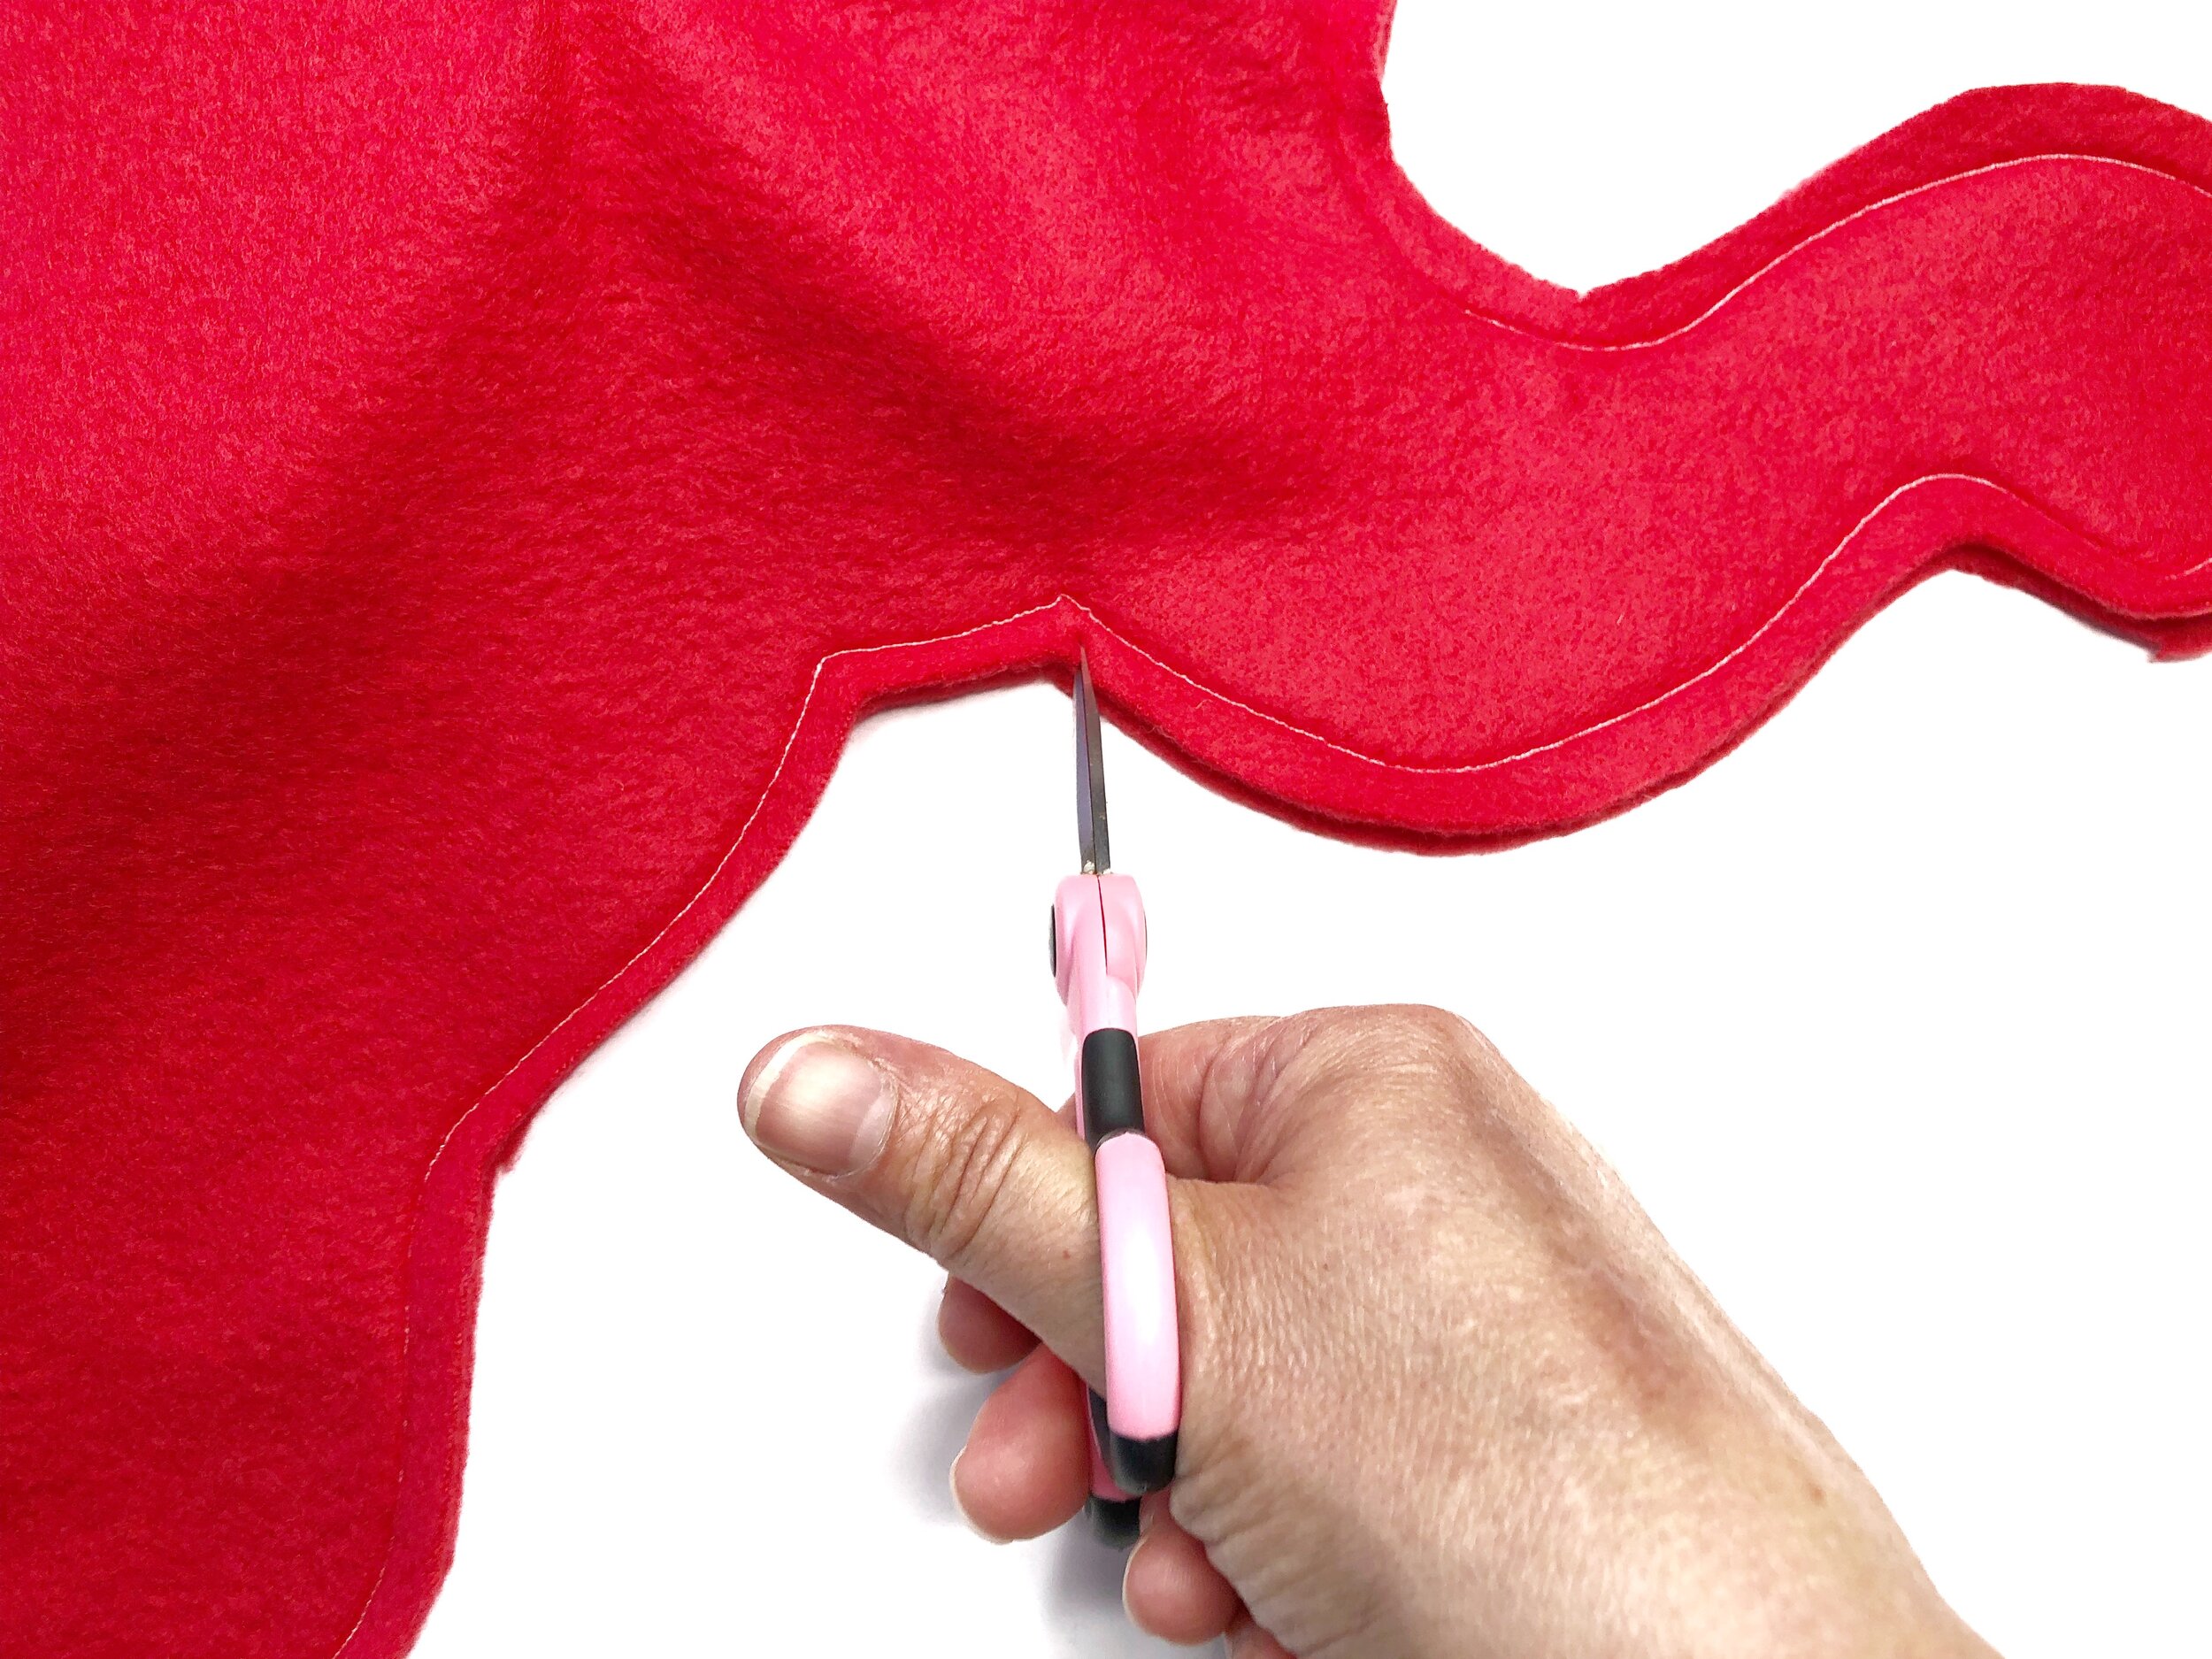
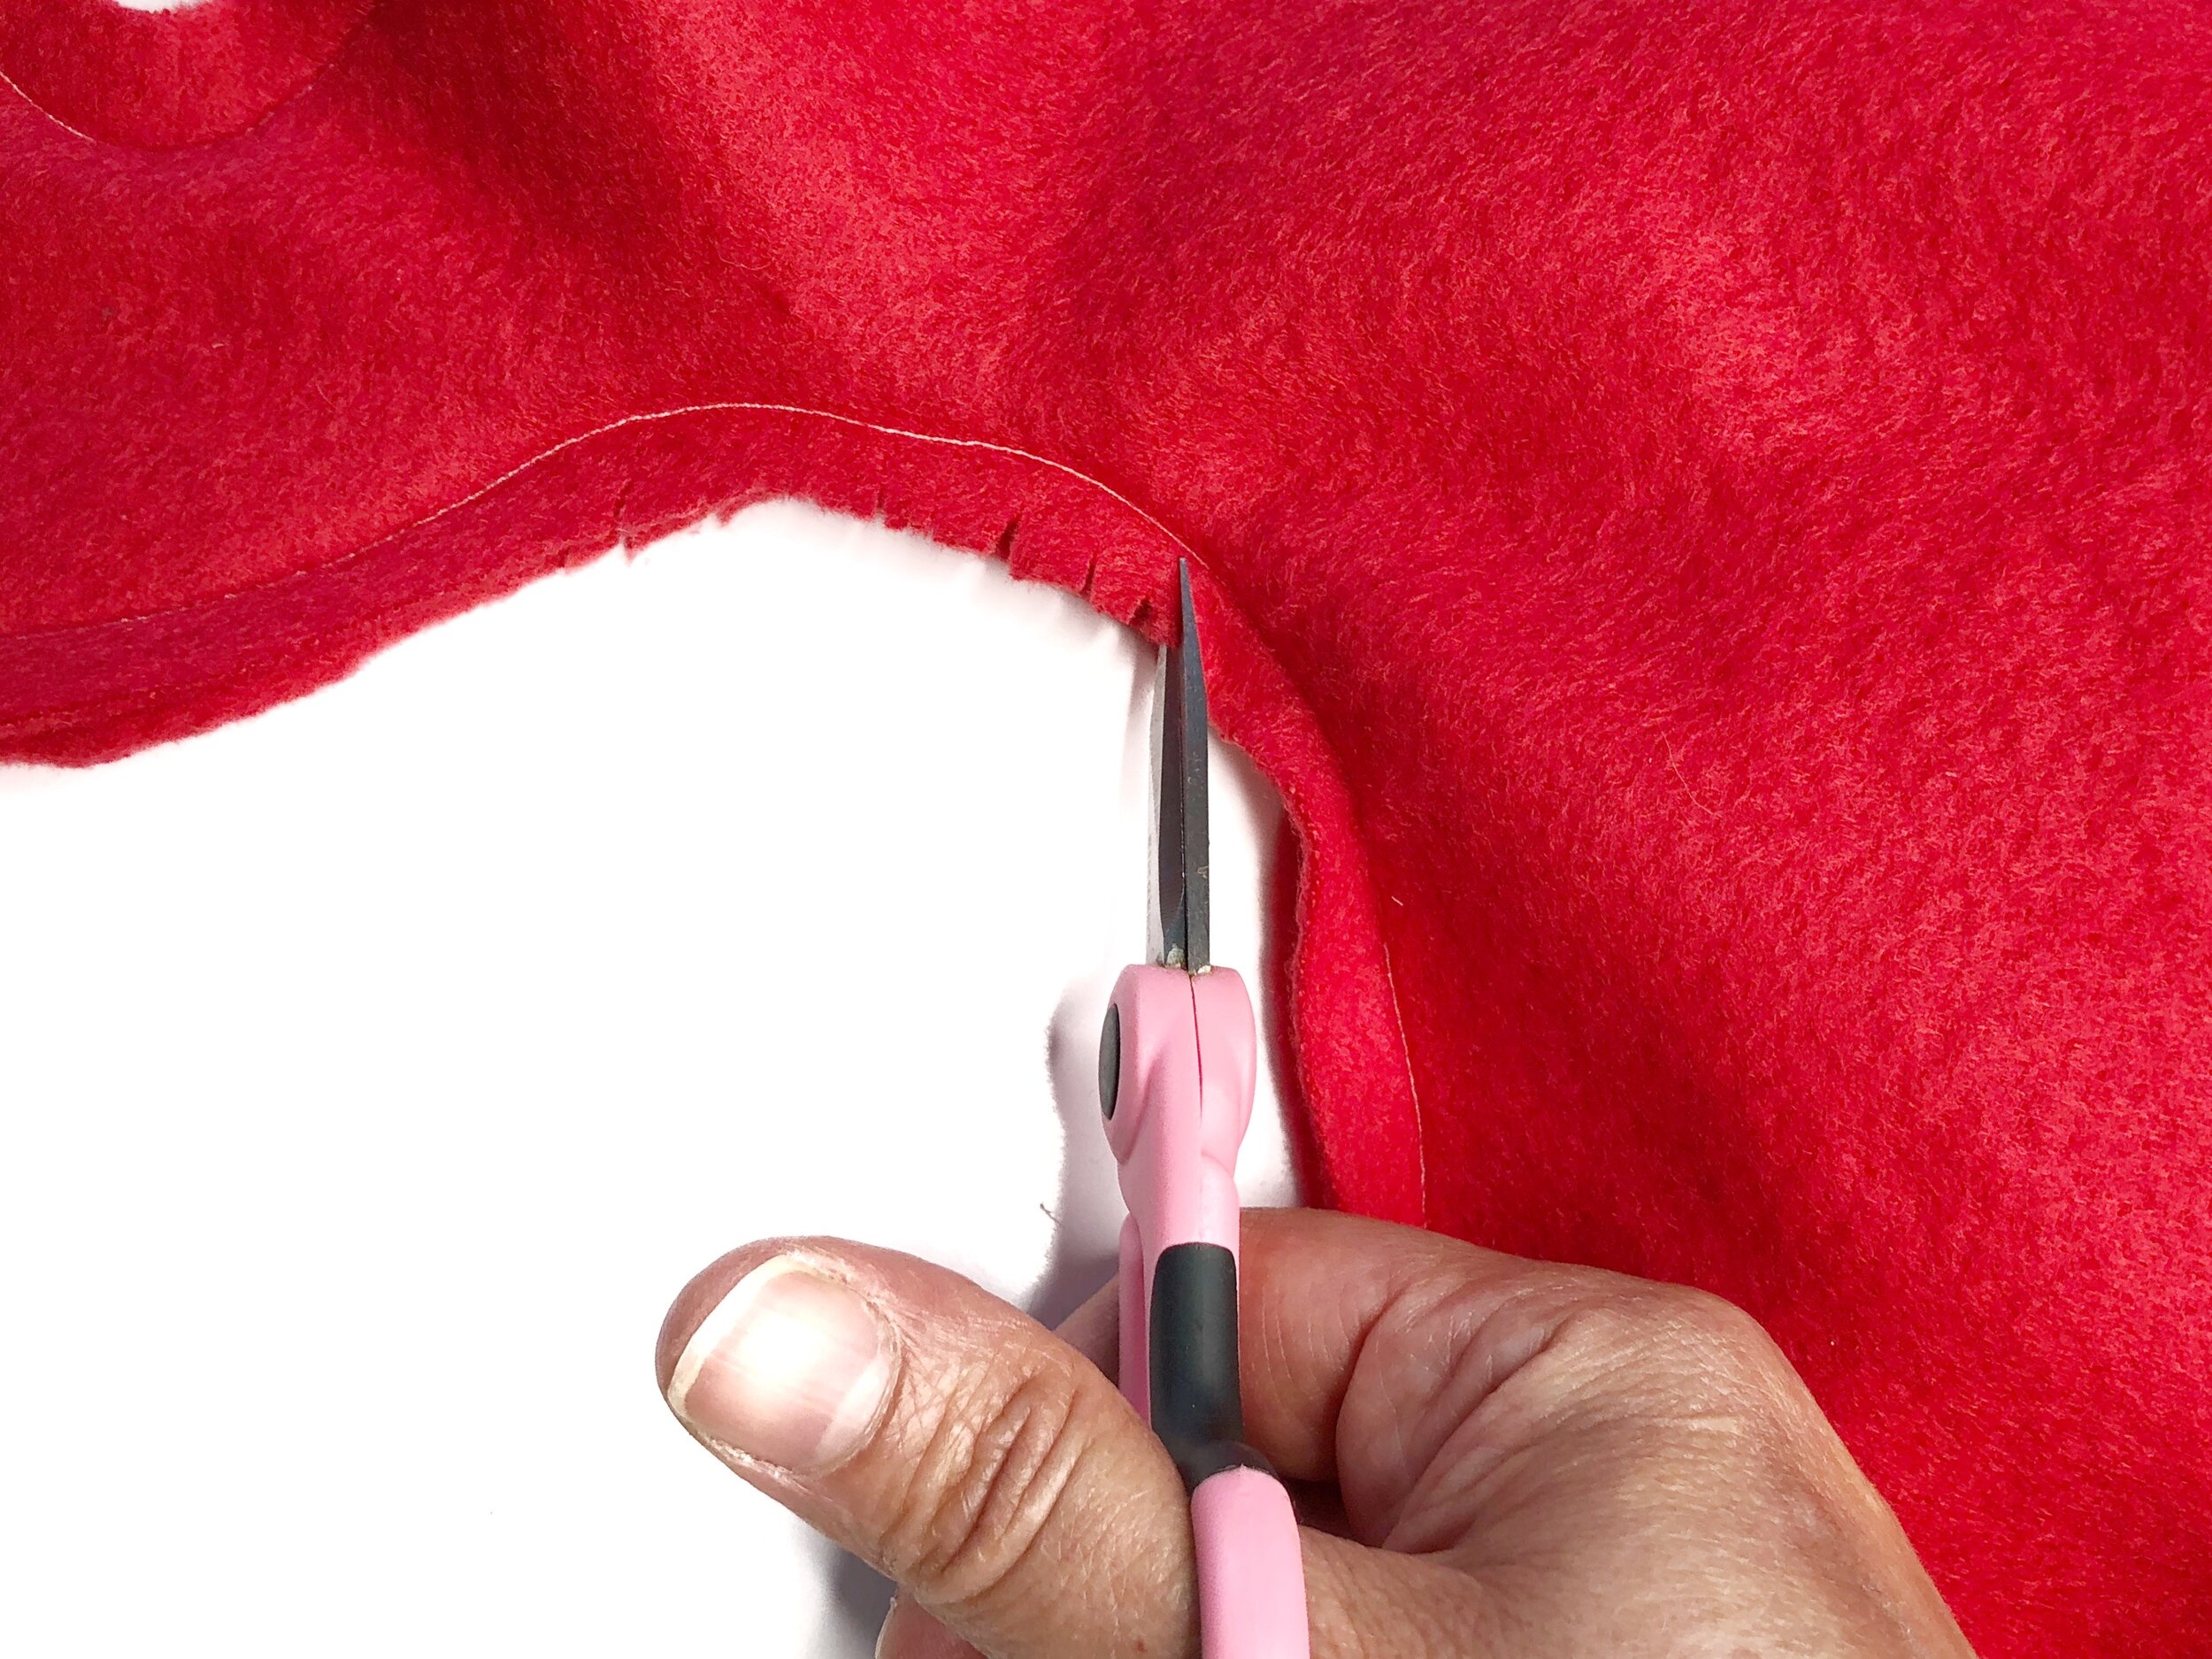
Clip the inward seams between the legs and around the trunk,
Reverse right side out through the opening.
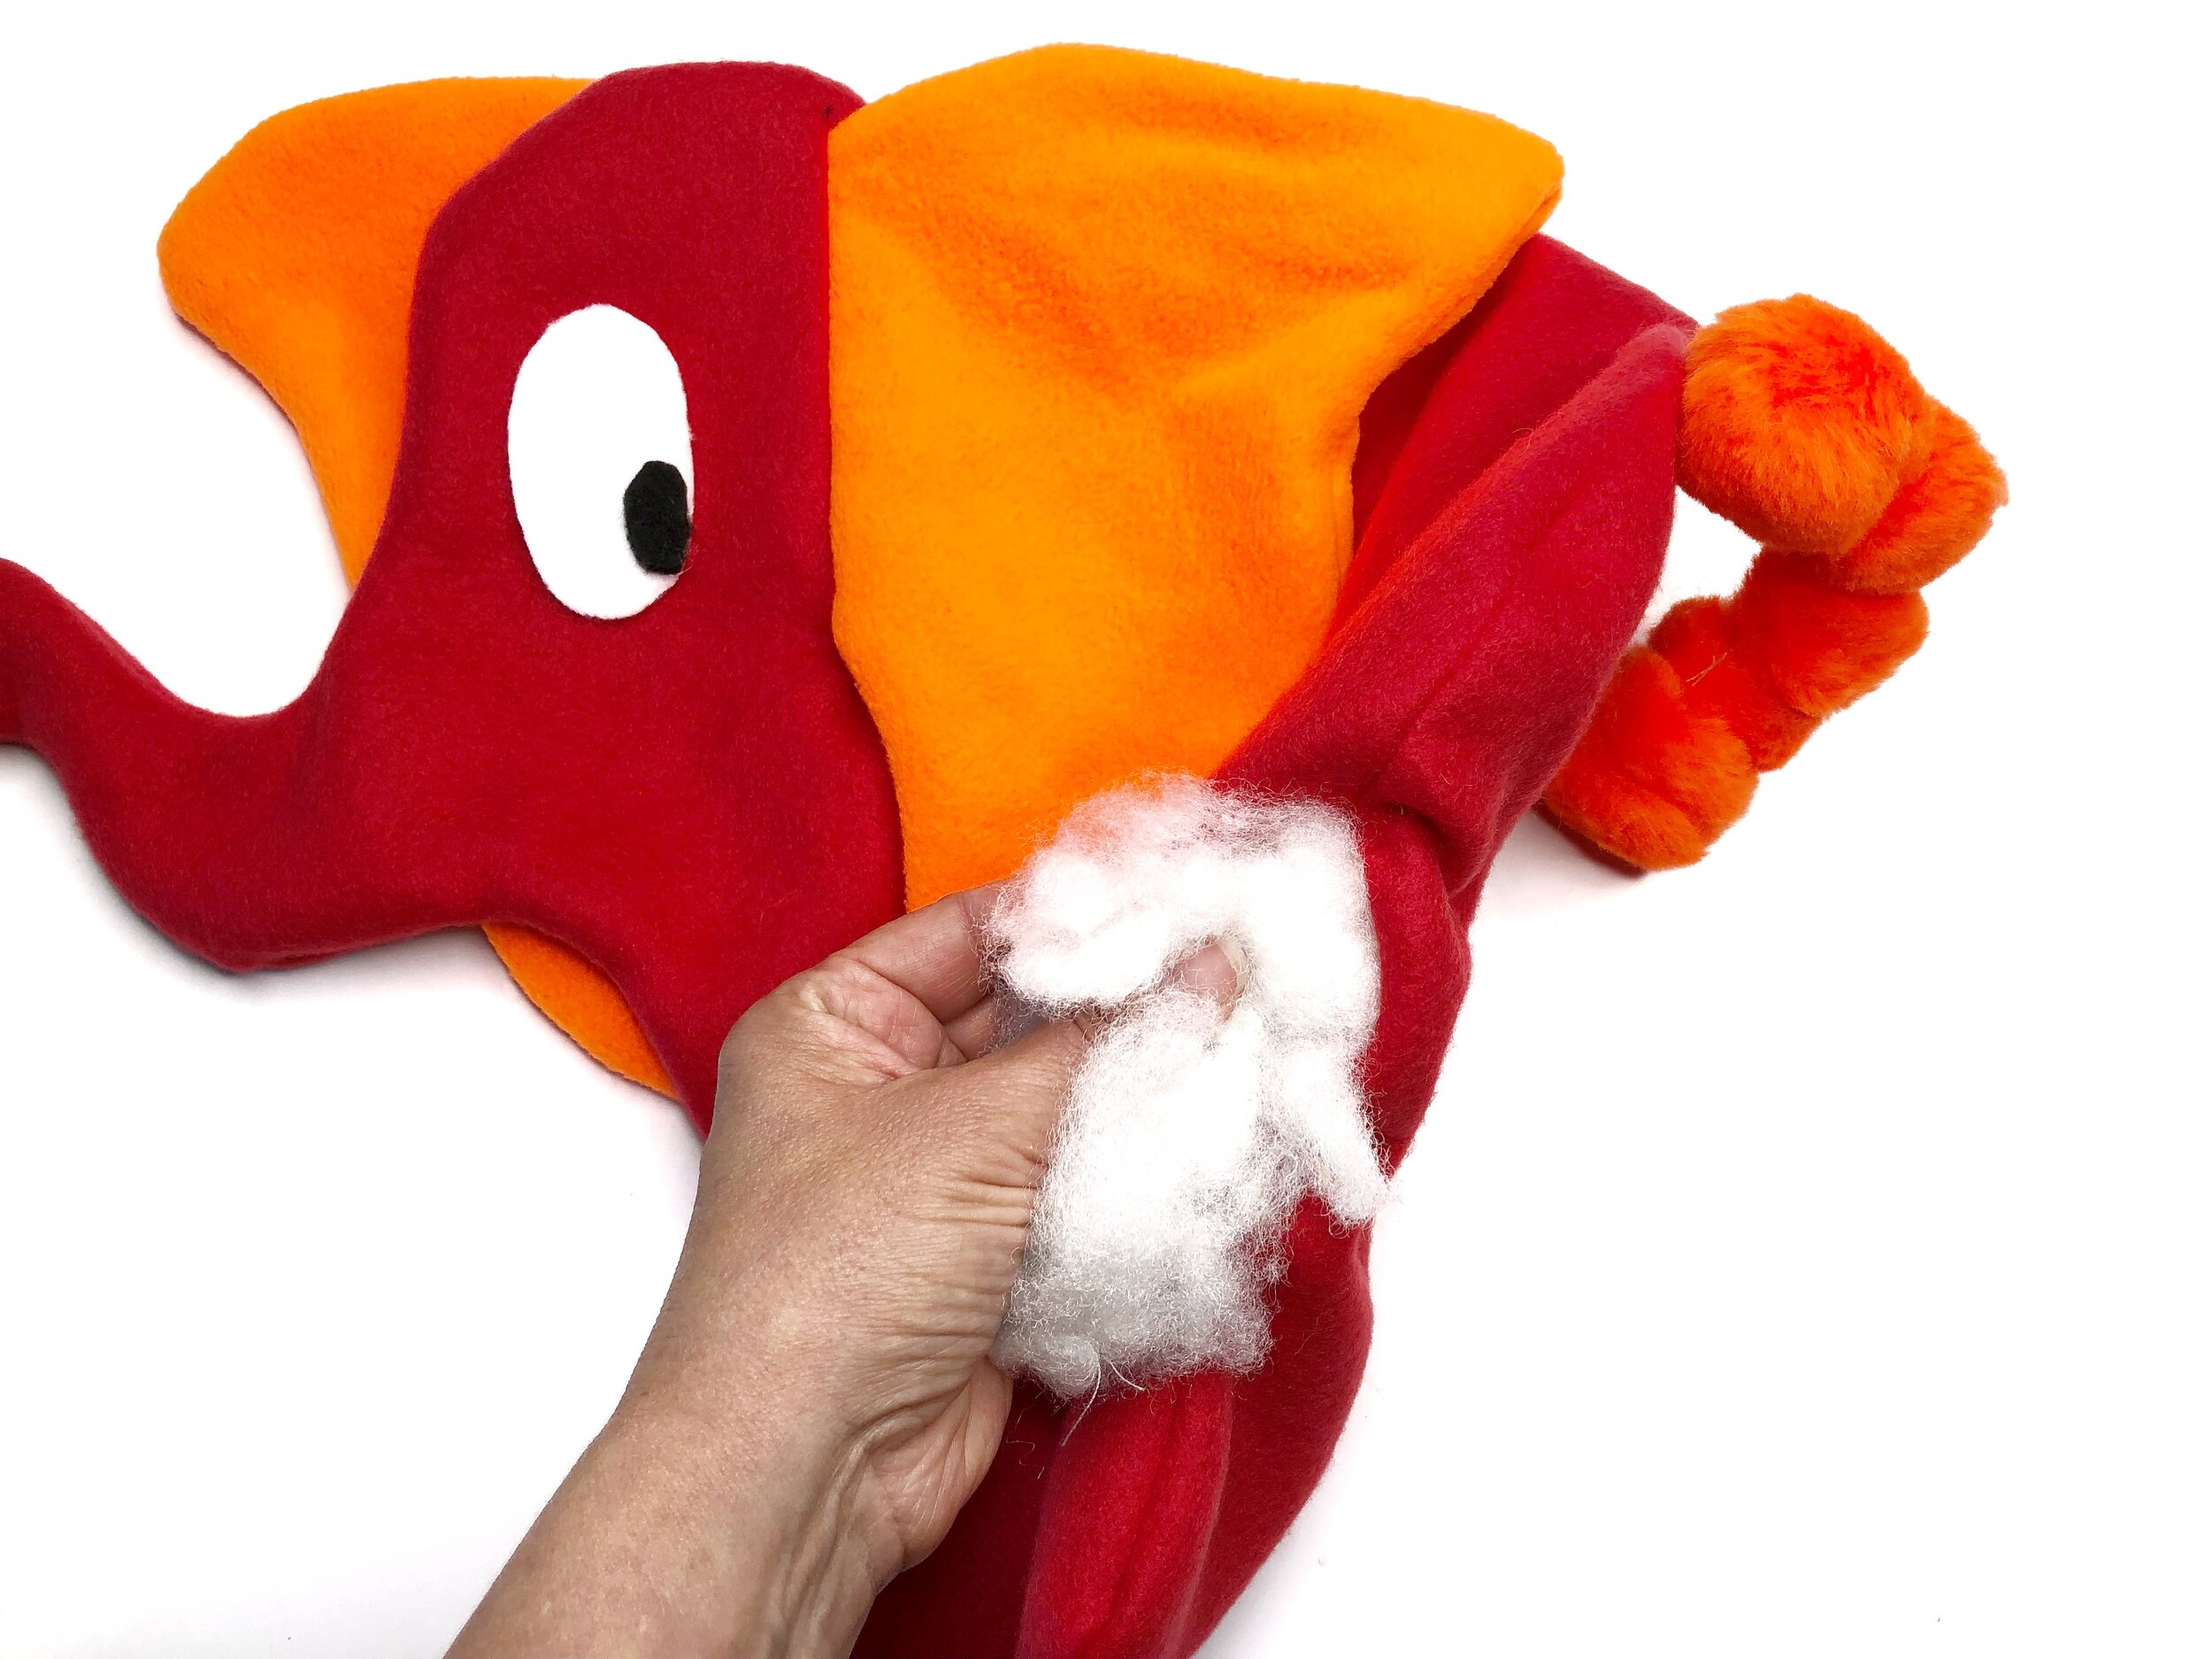
Stuff with polyester stuffing.
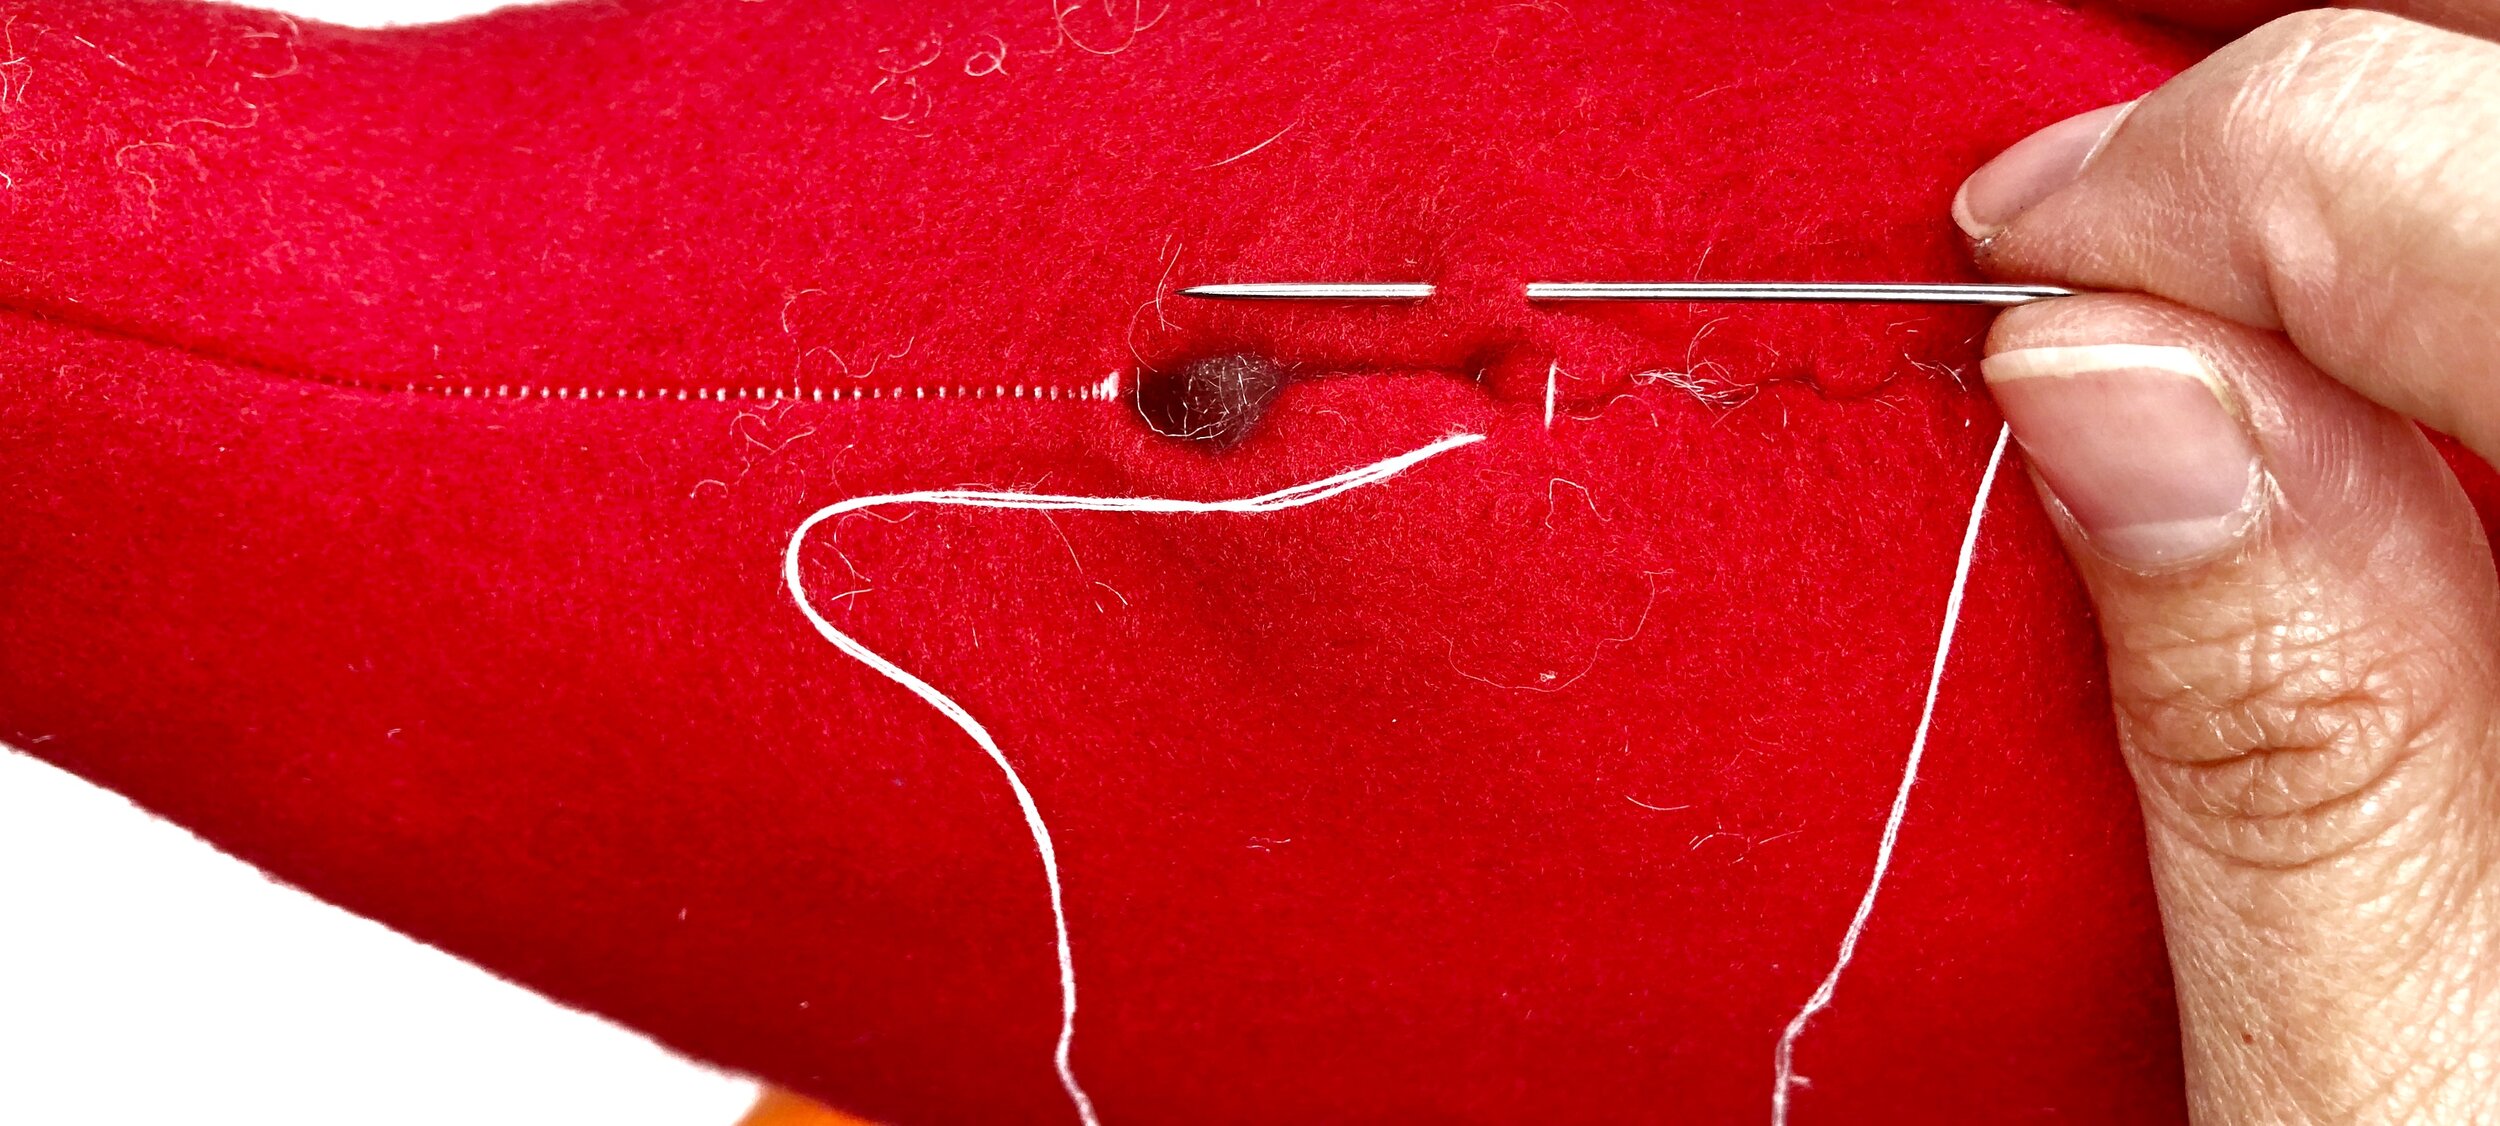
Stitch the opening closed by hand using a ladder stitch.
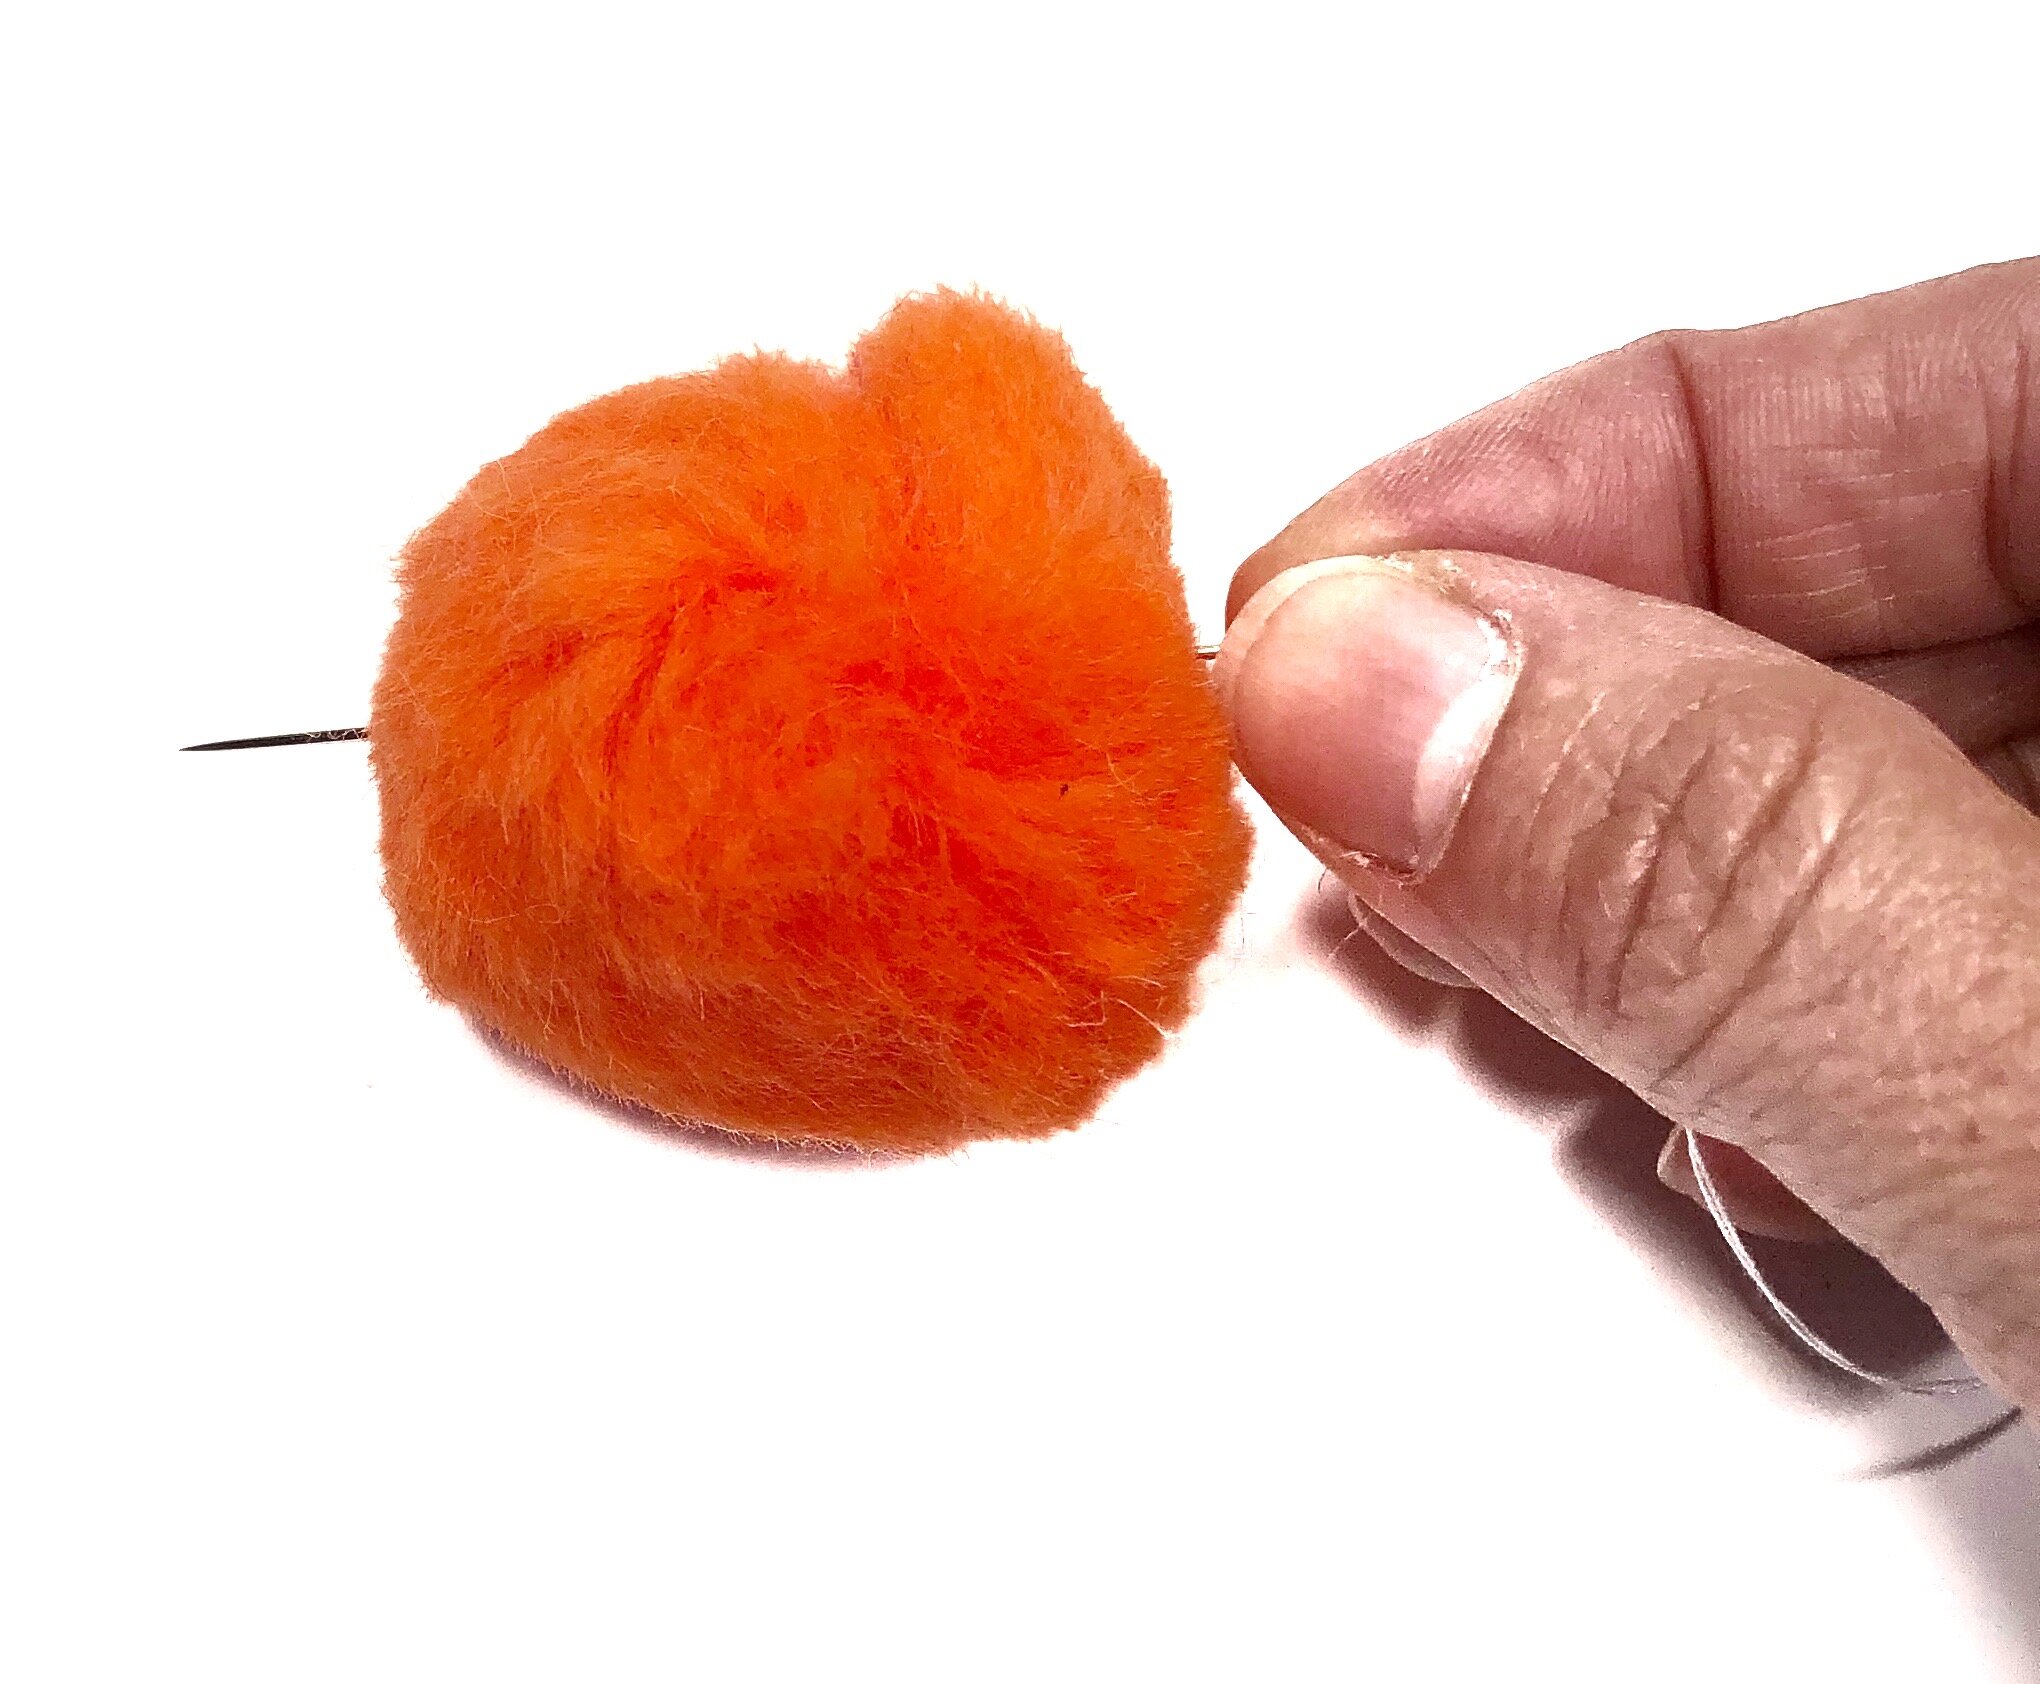
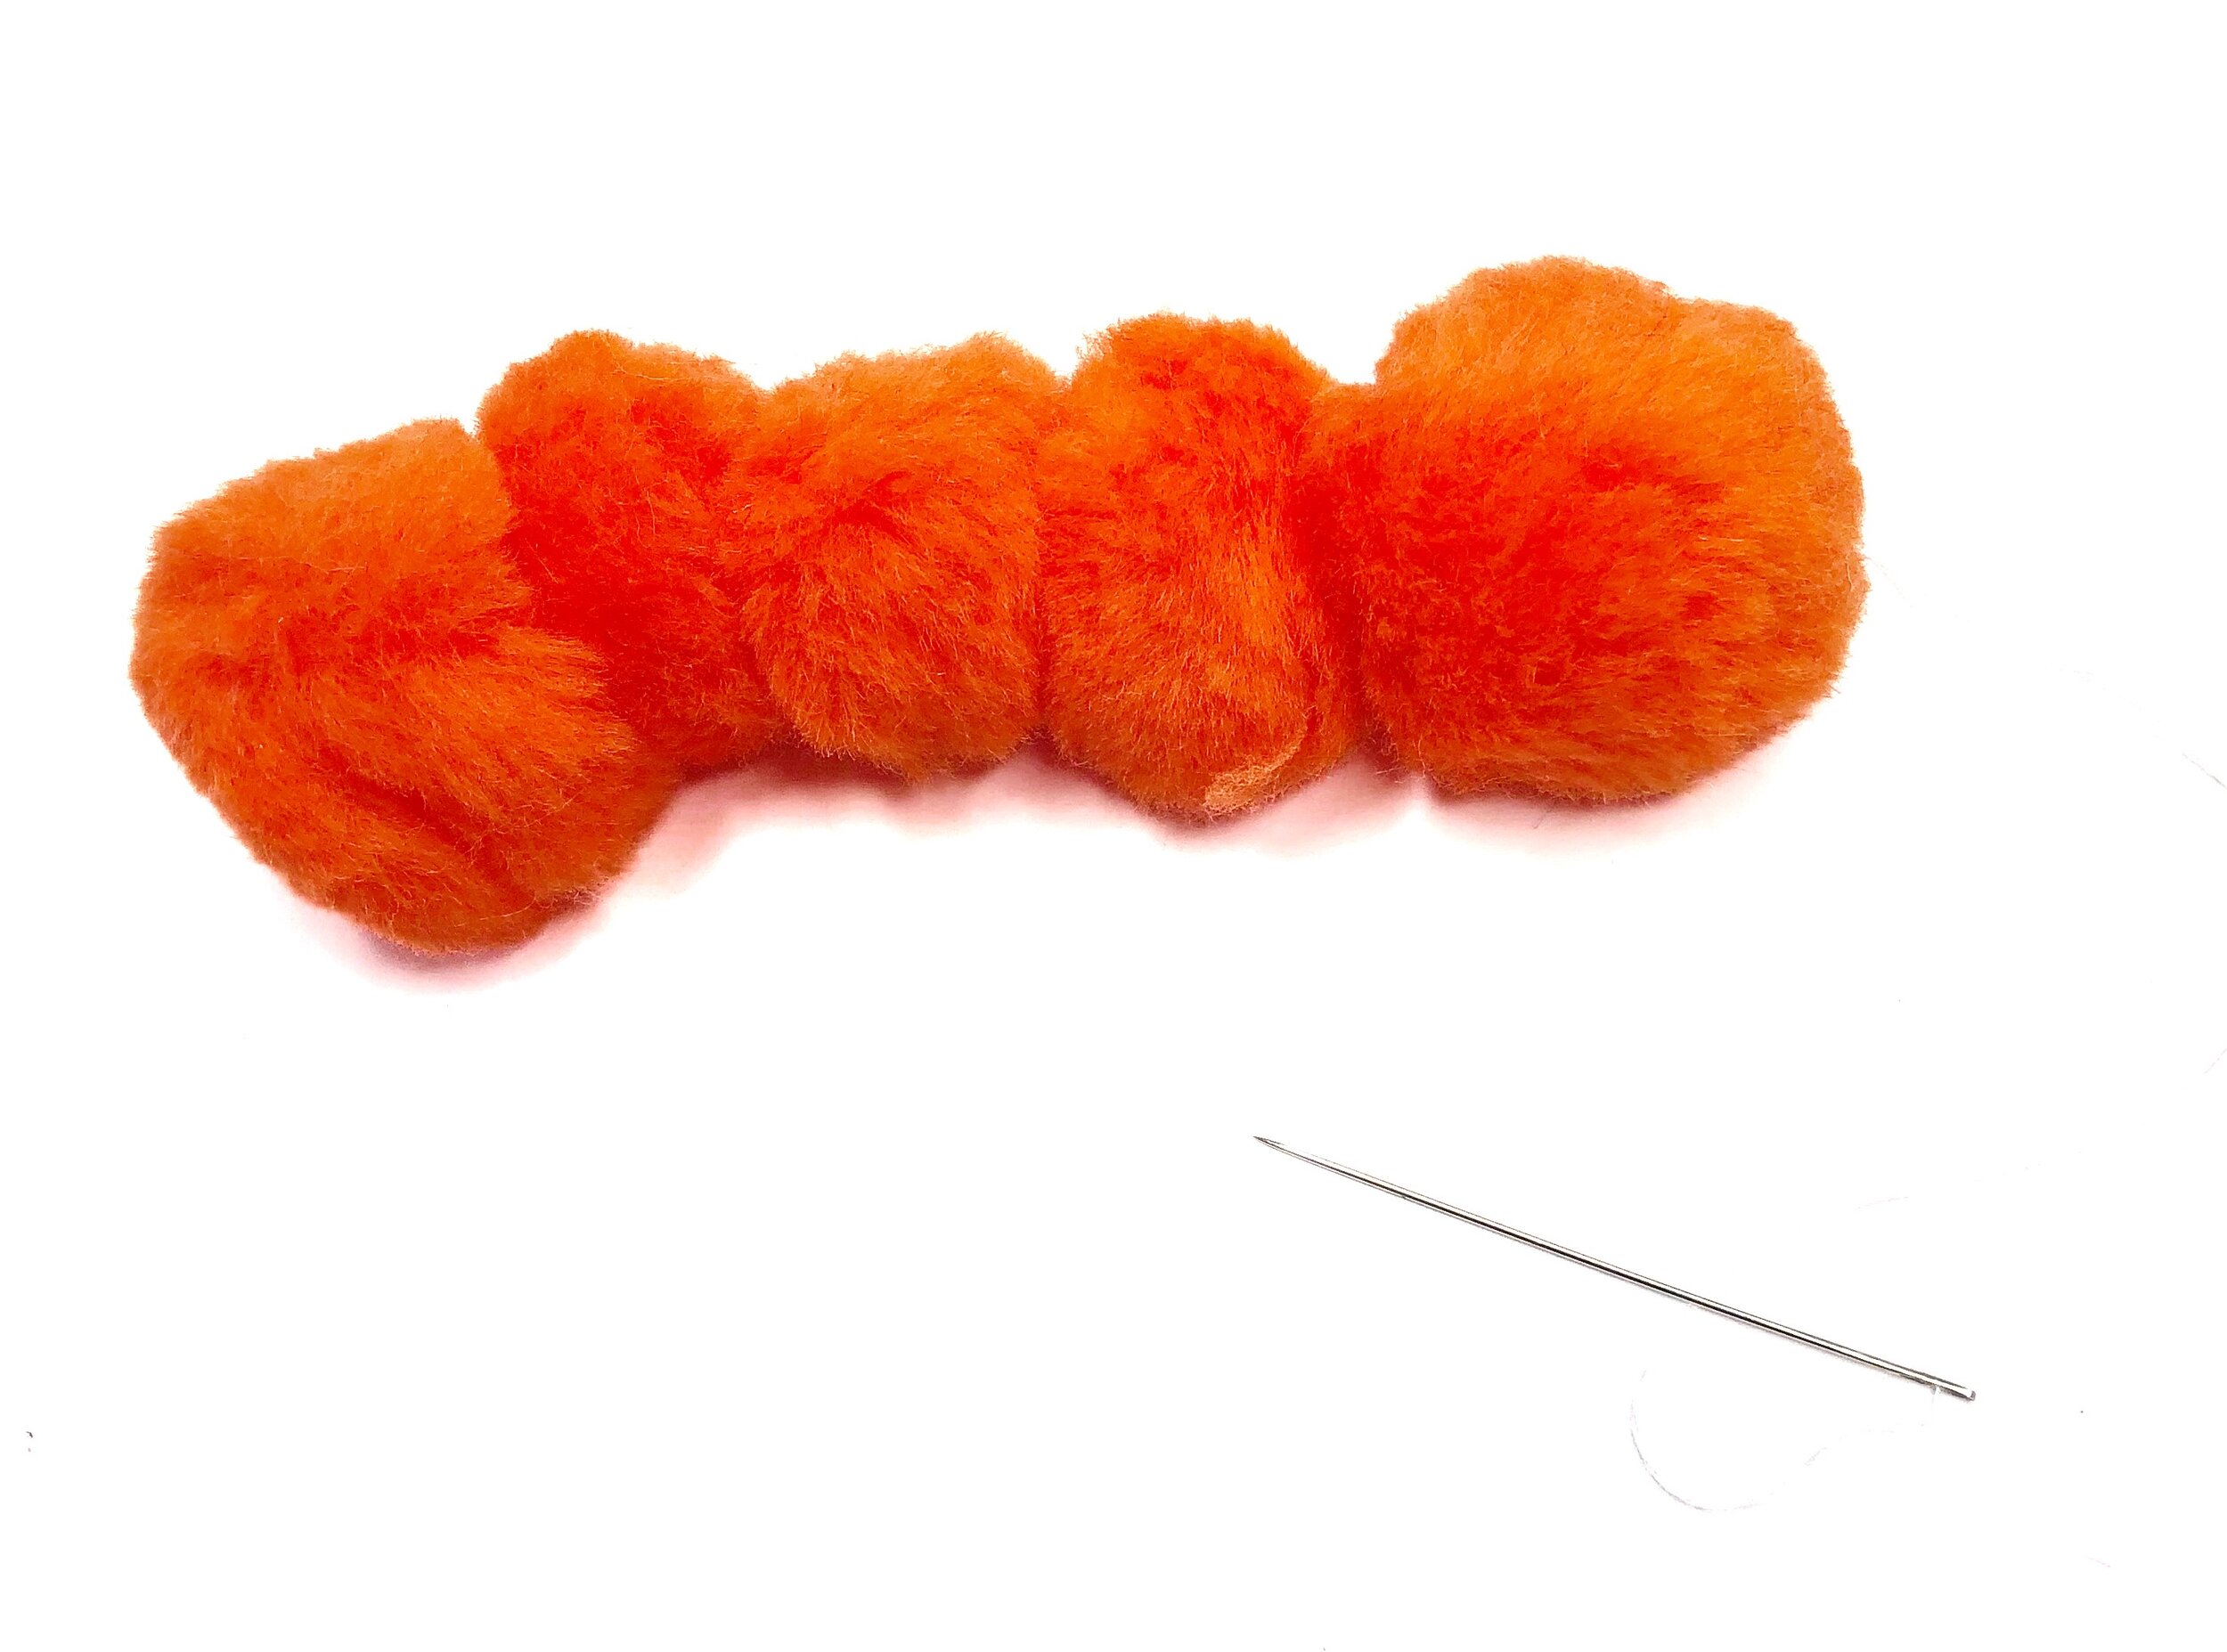
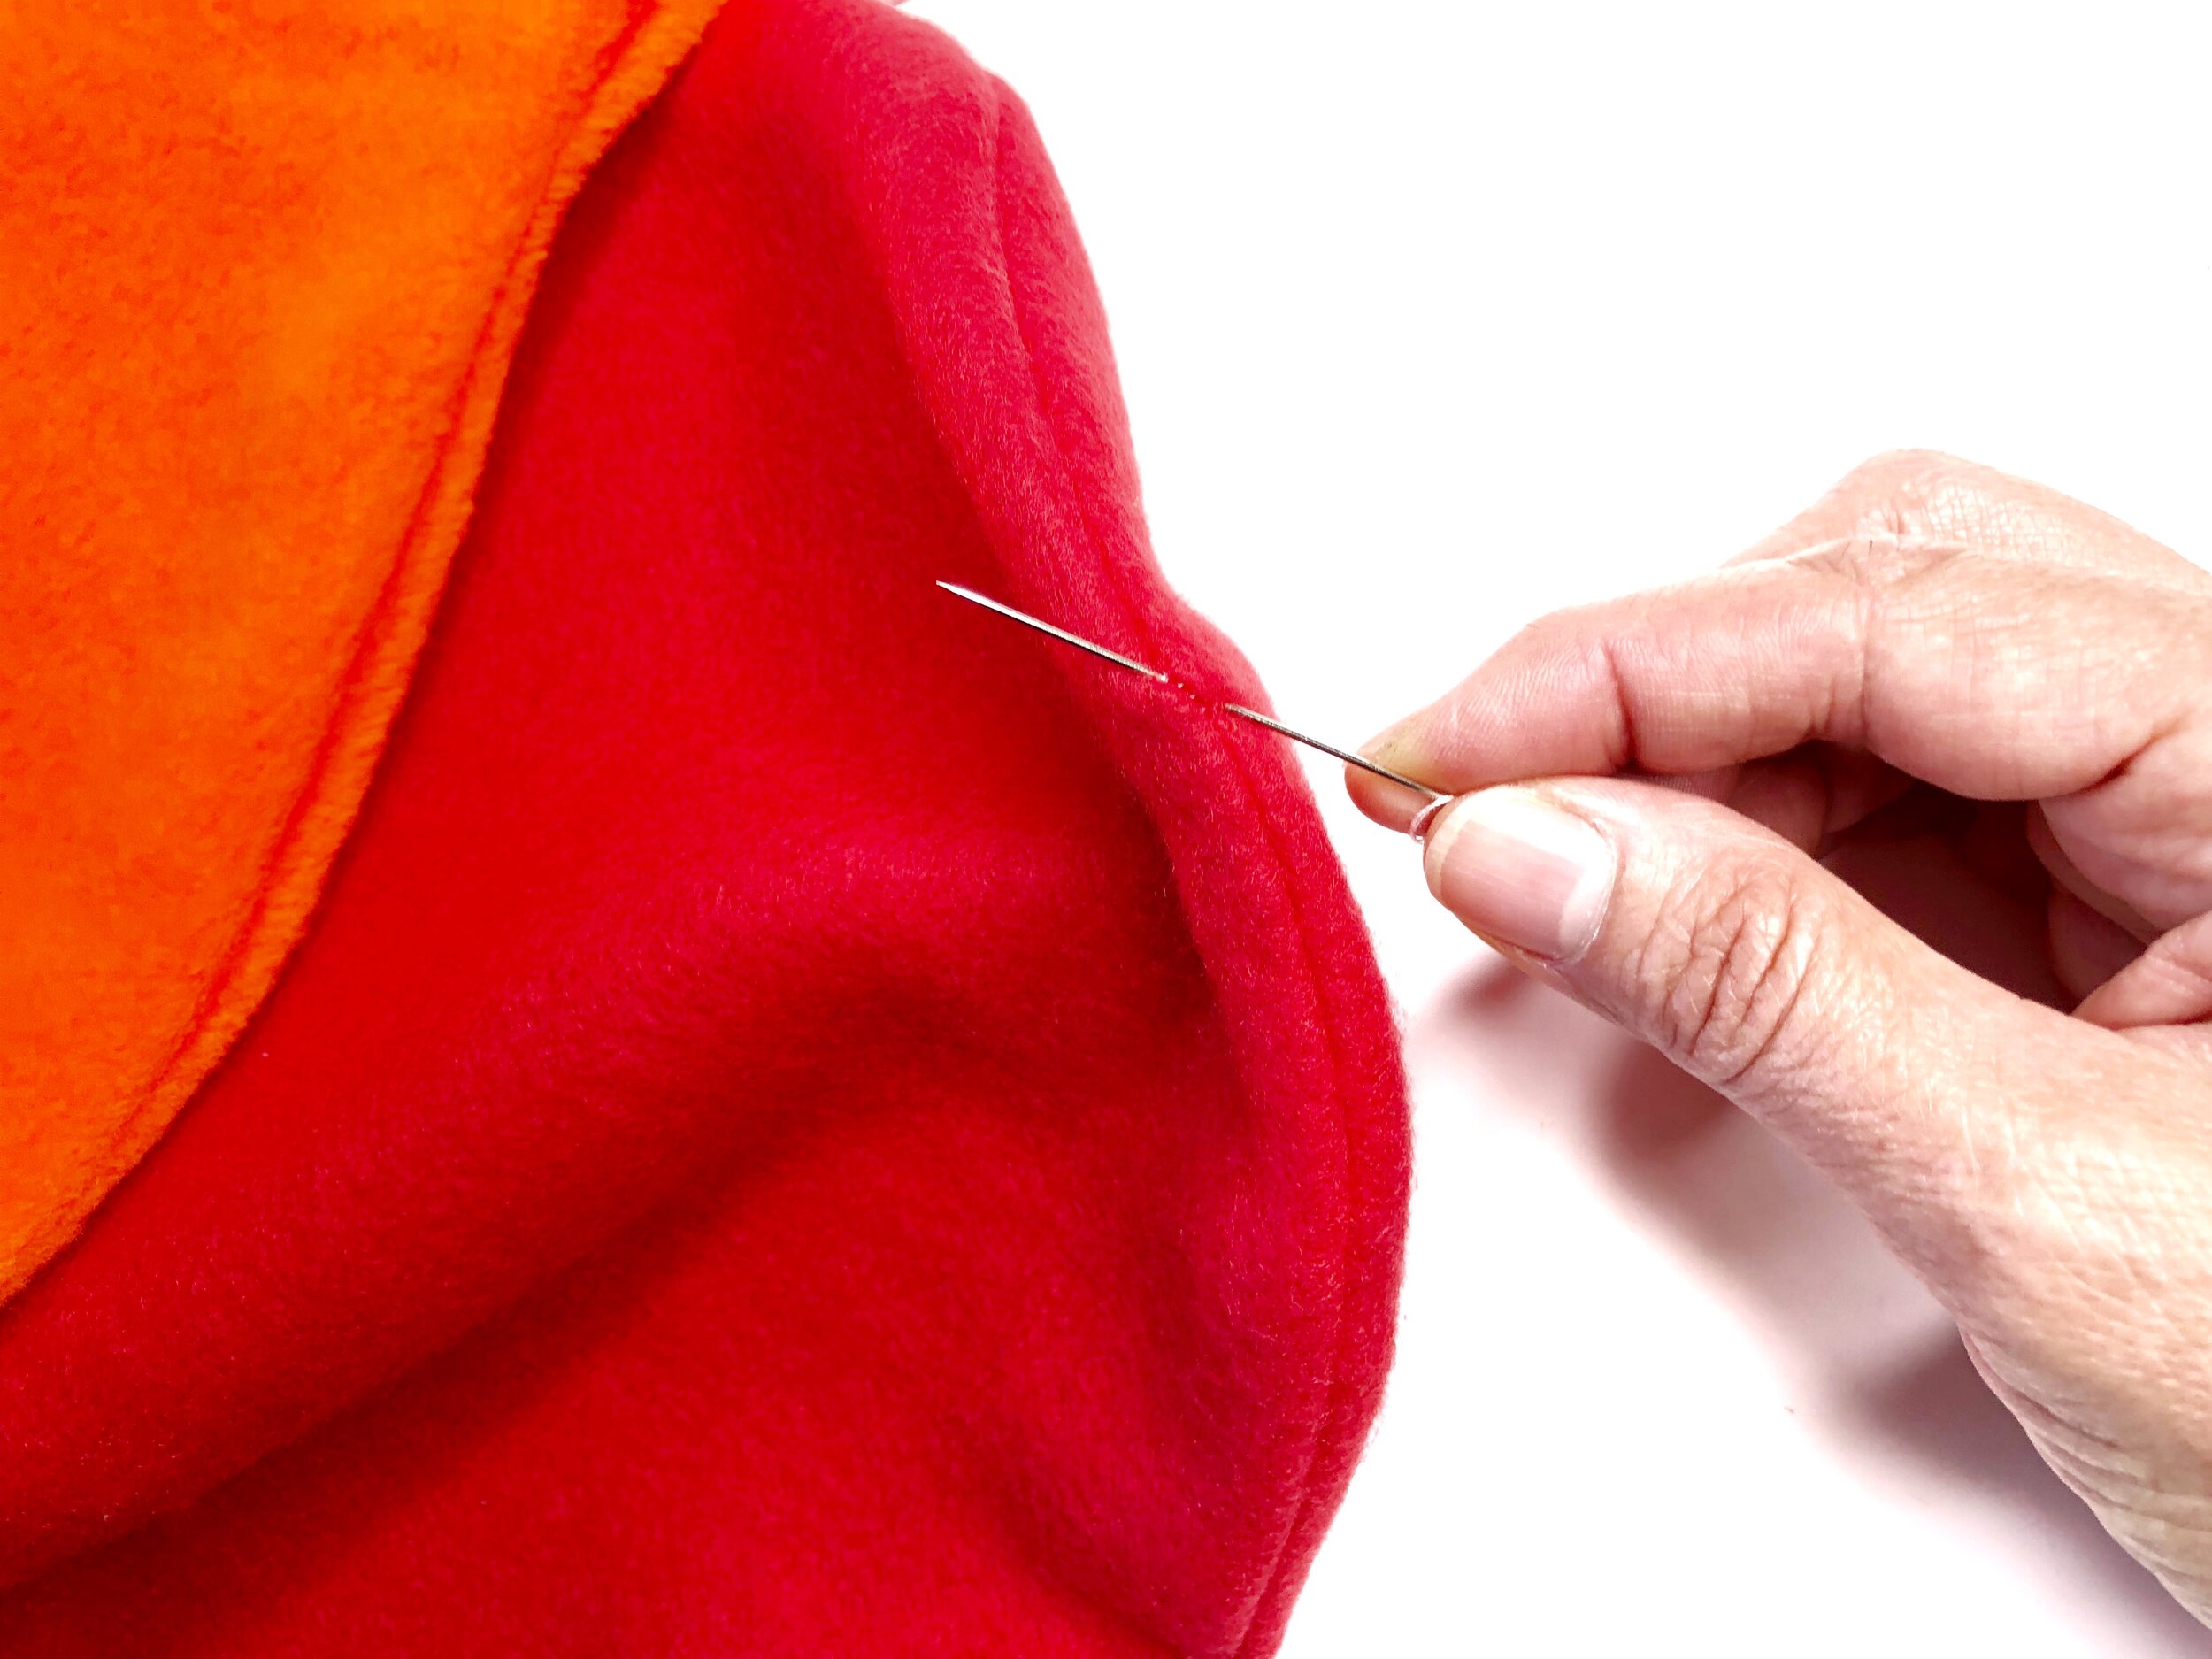
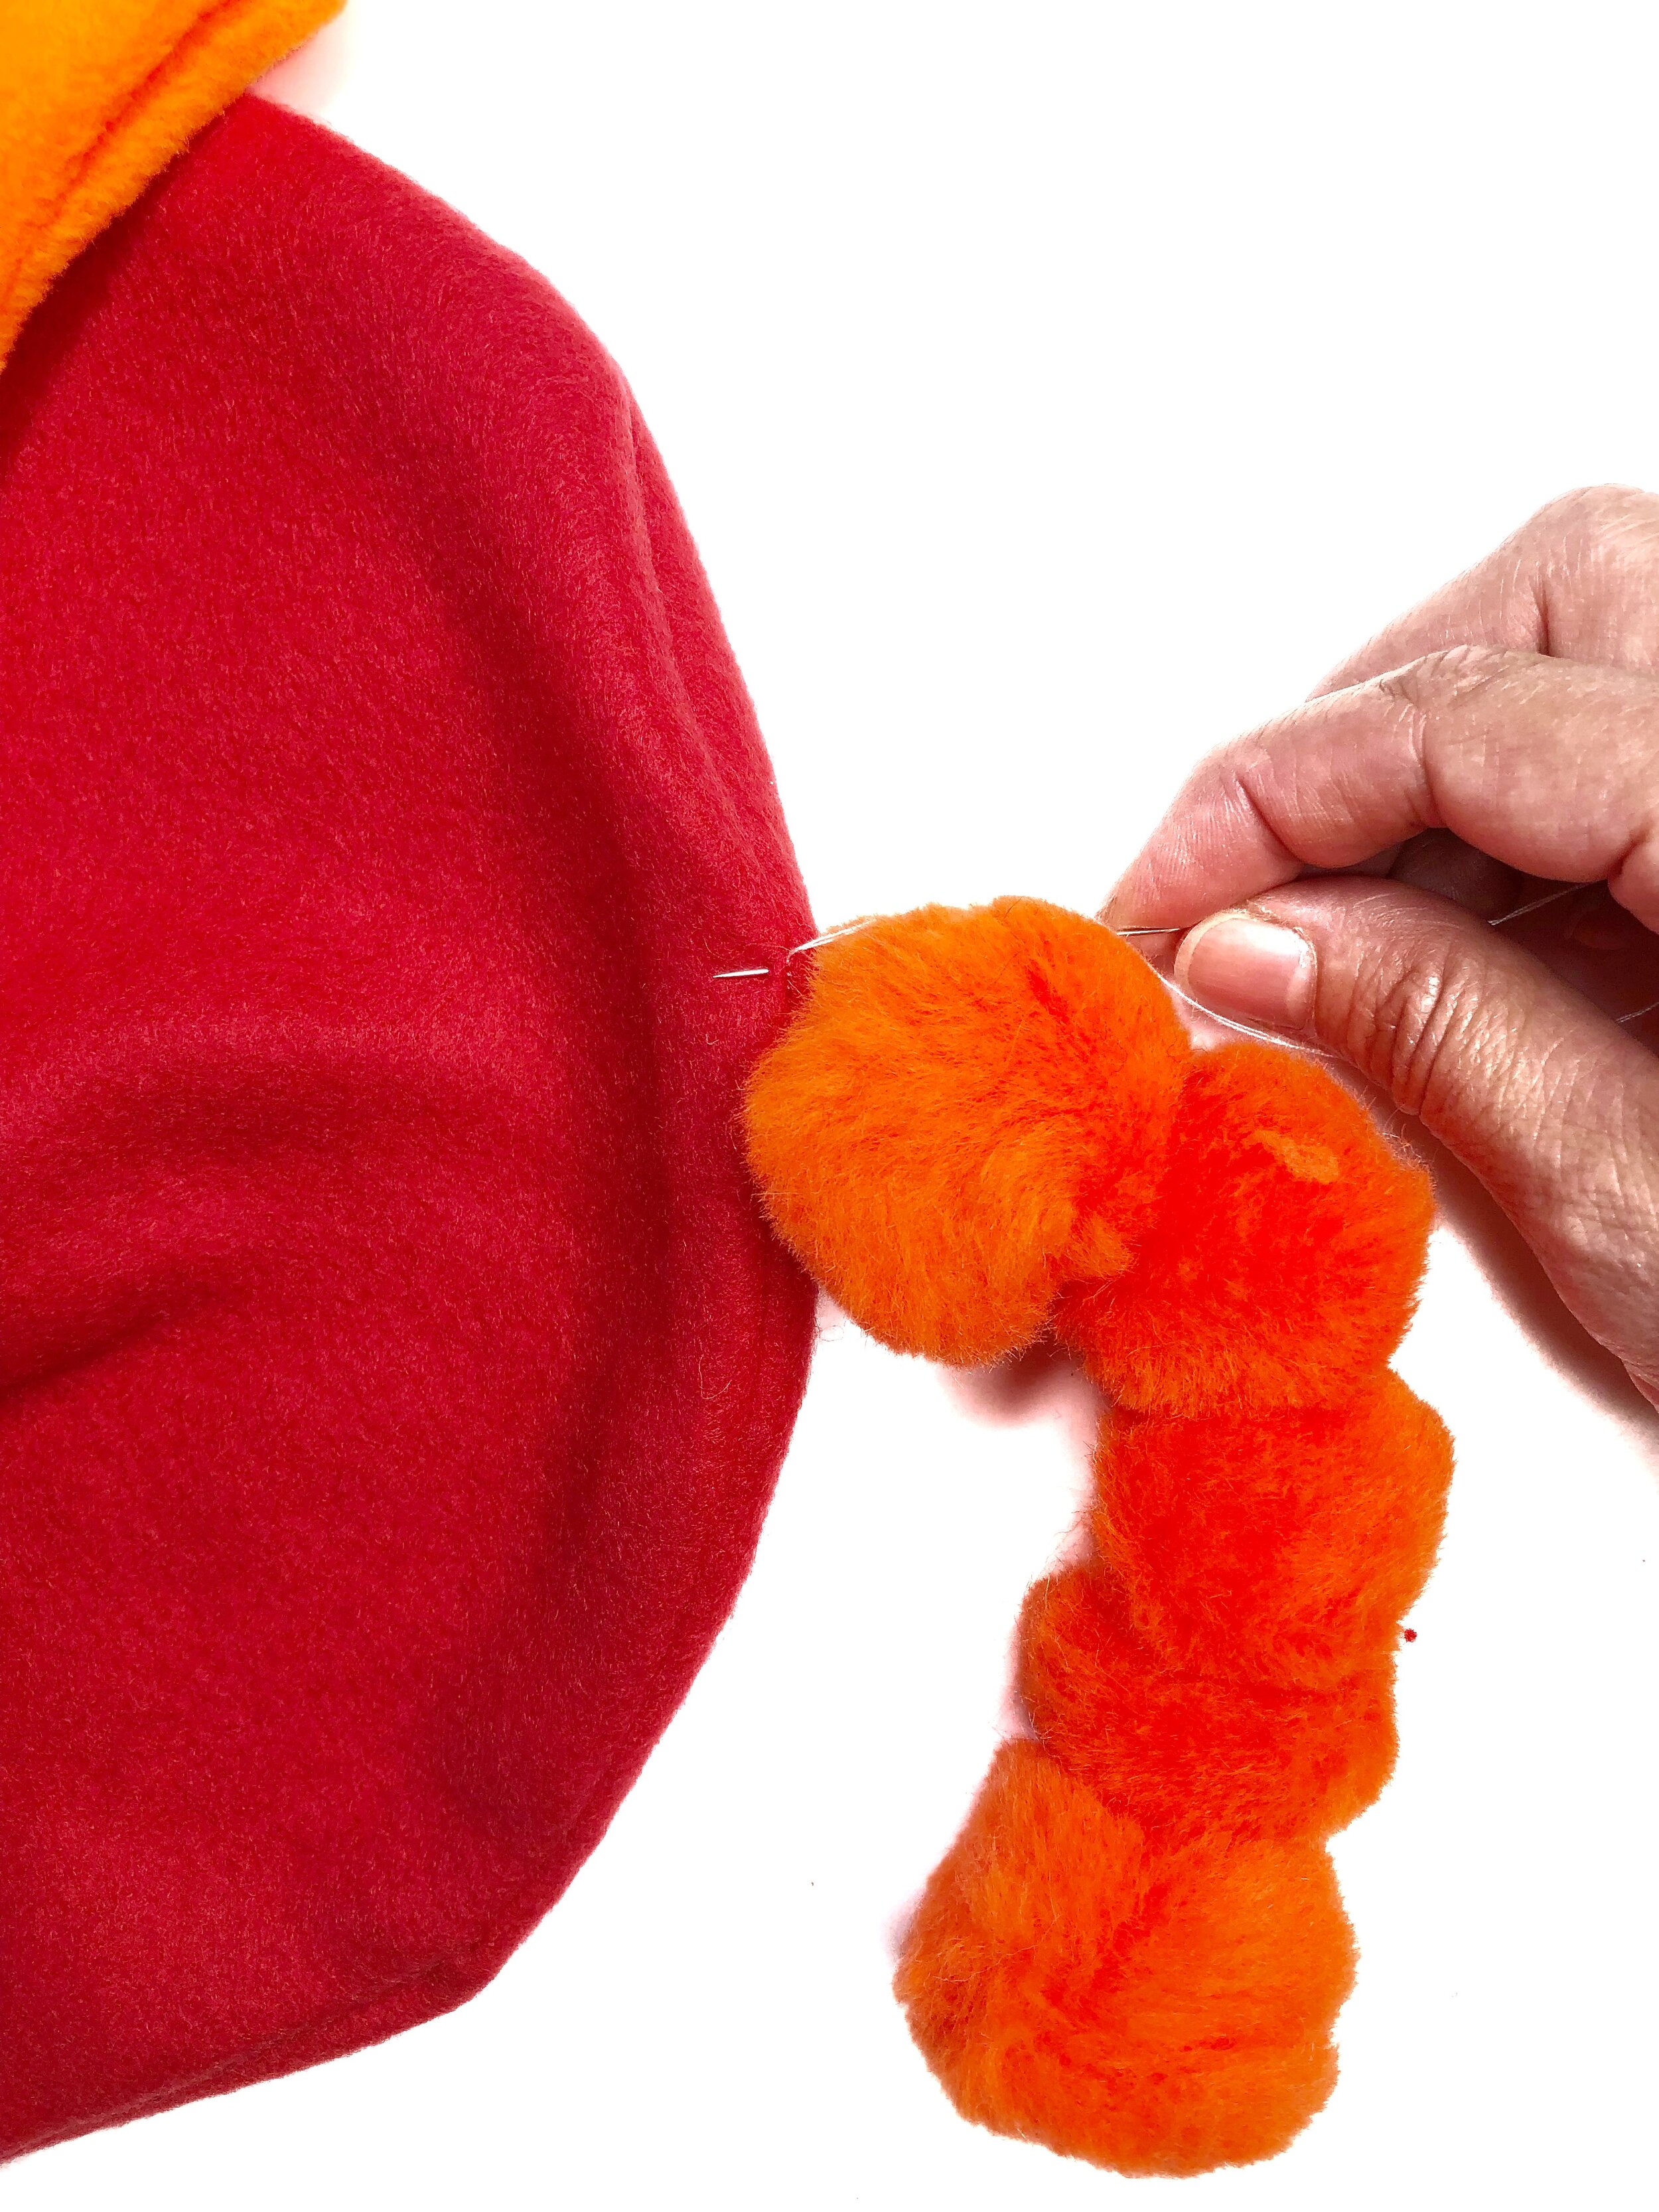
To make the tail, string together 5 large pompoms with a needle and thread and stitch to the back of the elephant.
Adoption Certificate
Click here to print your elephant adoption certificate!
Printable elephant adoption certificate

