DIY Pressing Cloth – Make Your Own Fabric Protector in Minutes!
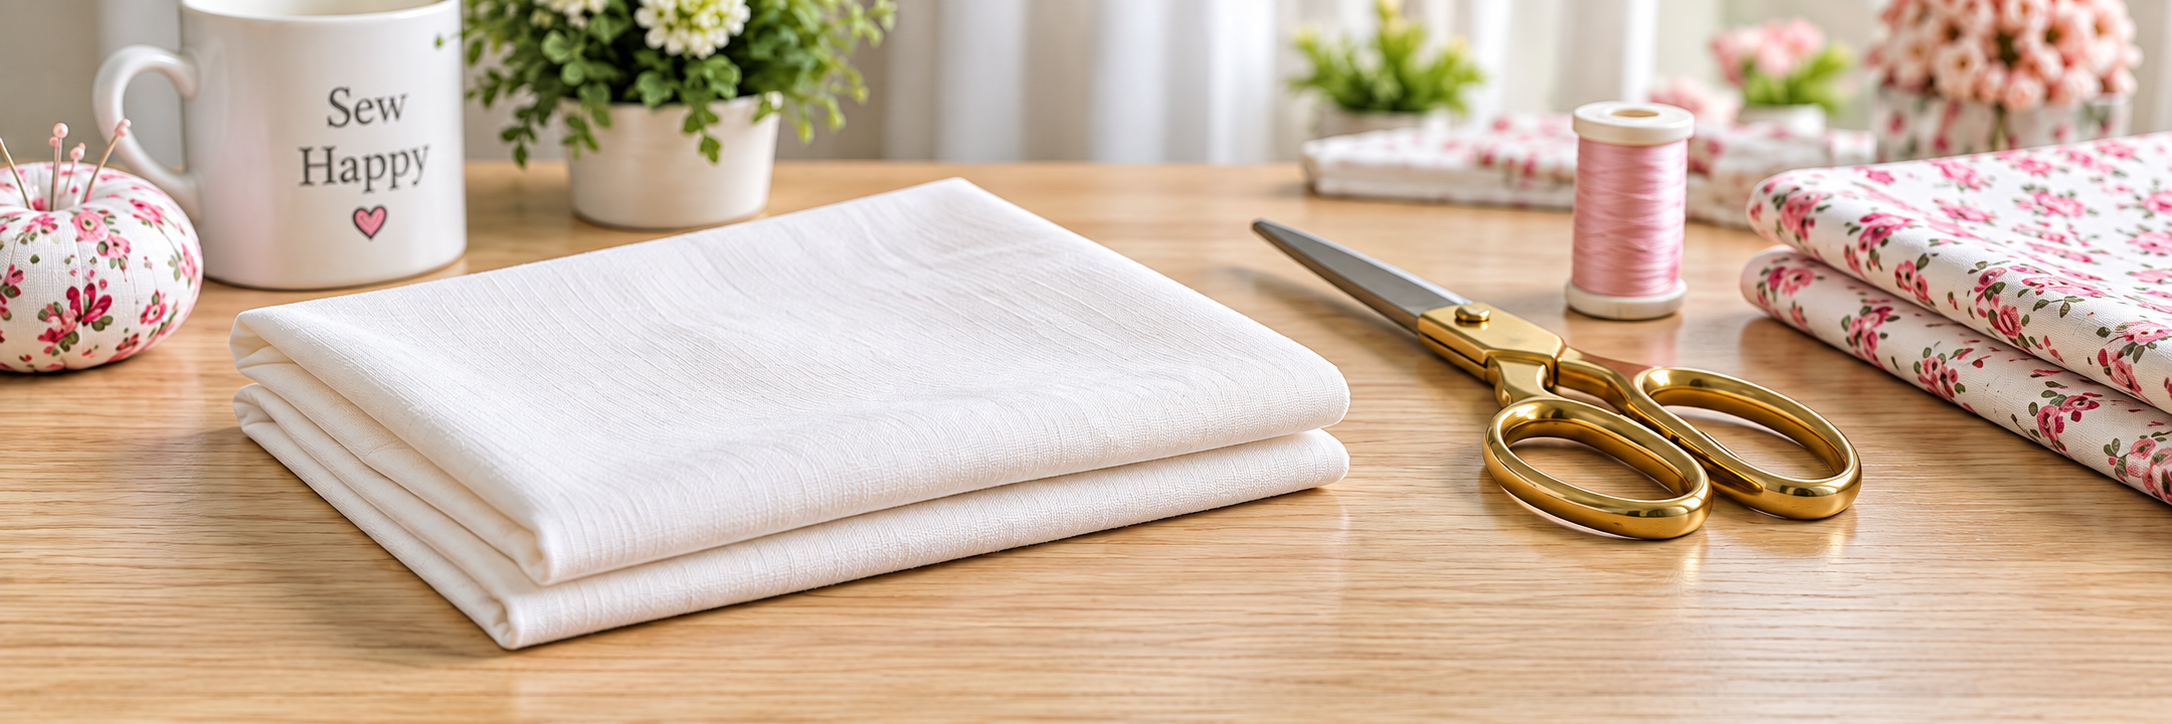
If you've ever scorched fabric or ended up with unwanted shiny spots while ironing, then you know the struggle. Enter: the pressing cloth, a simple yet essential tool that acts as a protective barrier between your iron and fabric. And the best part? You can easily make one yourself! Let’s walk through how to create a DIY pressing cloth that will keep your sewing projects wrinkle-free and damage-free.
Why Make Your Own Pressing Cloth?

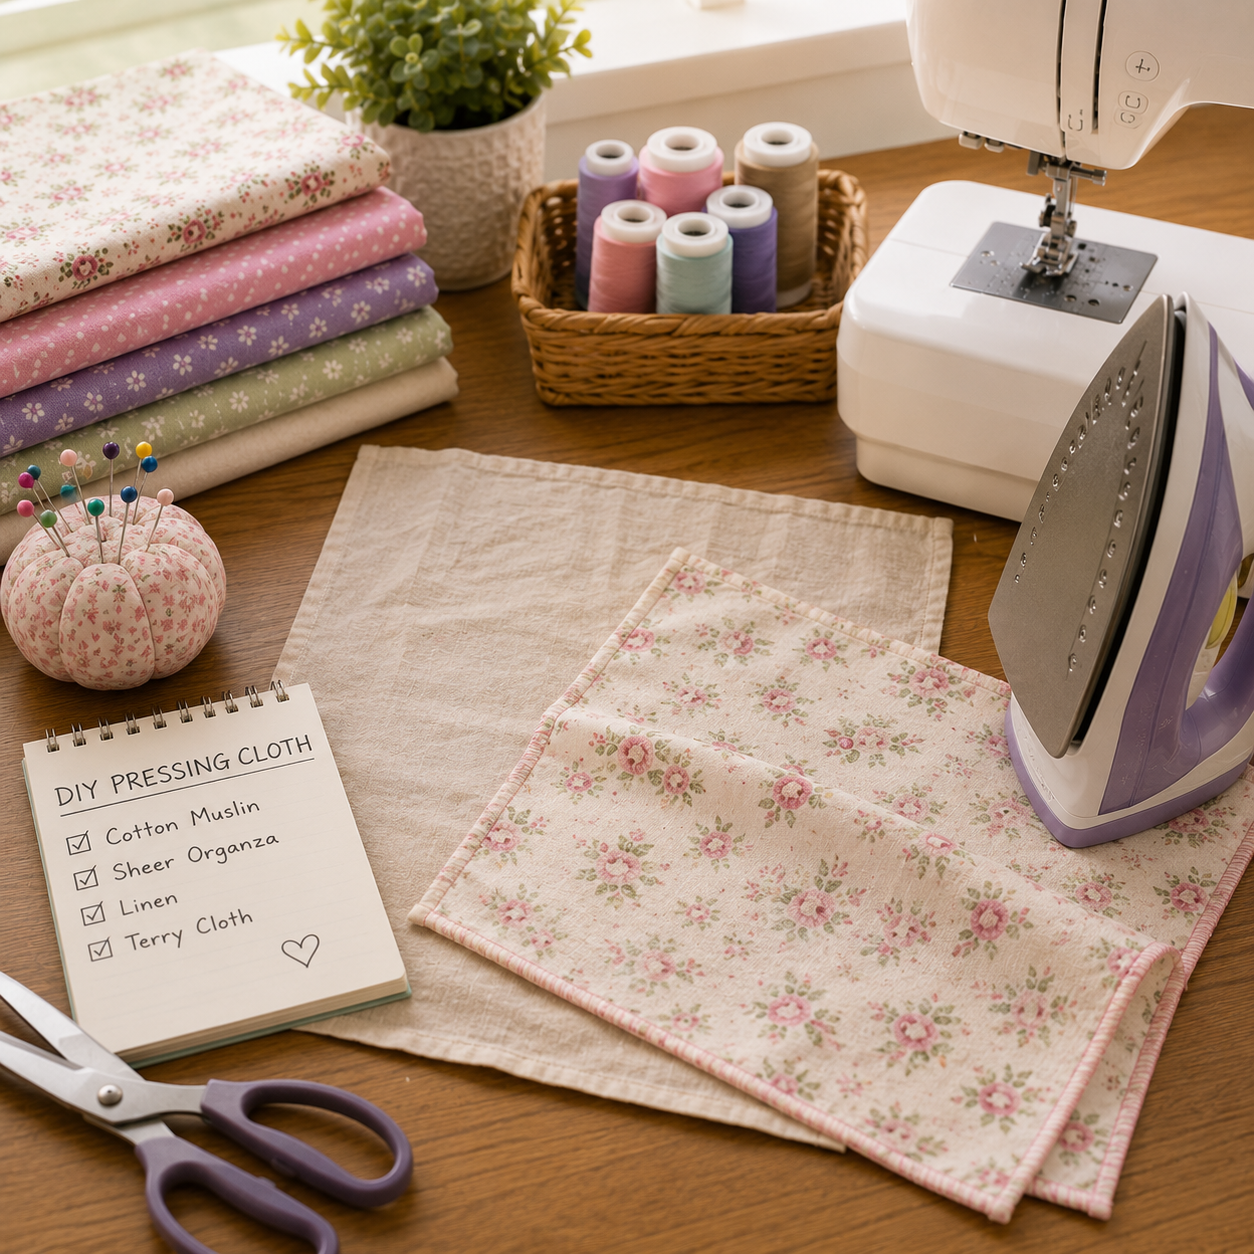
Supplies You’ll Need
To make your DIY pressing cloth, gather these materials:
Fabric: Choose a piece of cotton muslin, lightweight linen, sheer organza, or an old cotton bedsheet.
Fabric scissors
Measuring tape or ruler
Sewing machine or needle and thread
Iron (for pressing seams)
Optional: Bias tape for finishing the edges (if you want a polished look).
Step-by-Step Instructions

Step 1: Choose Your Fabric
Select a fabric that can withstand high temperatures. Cotton muslin is an all-purpose choice, but sheer organza is great if you want to see through the pressing cloth while you work. Shop cotton muslin fabric on Amazon.
Step 2: Measure and Cut
Decide on the size for your pressing cloth. Common sizes include 12" x 12" or 18" x 24", depending on your needs. Use a measuring tape or ruler to mark your desired dimensions, and then cut the fabric with fabric scissors.
Step 3: Hem the Edges
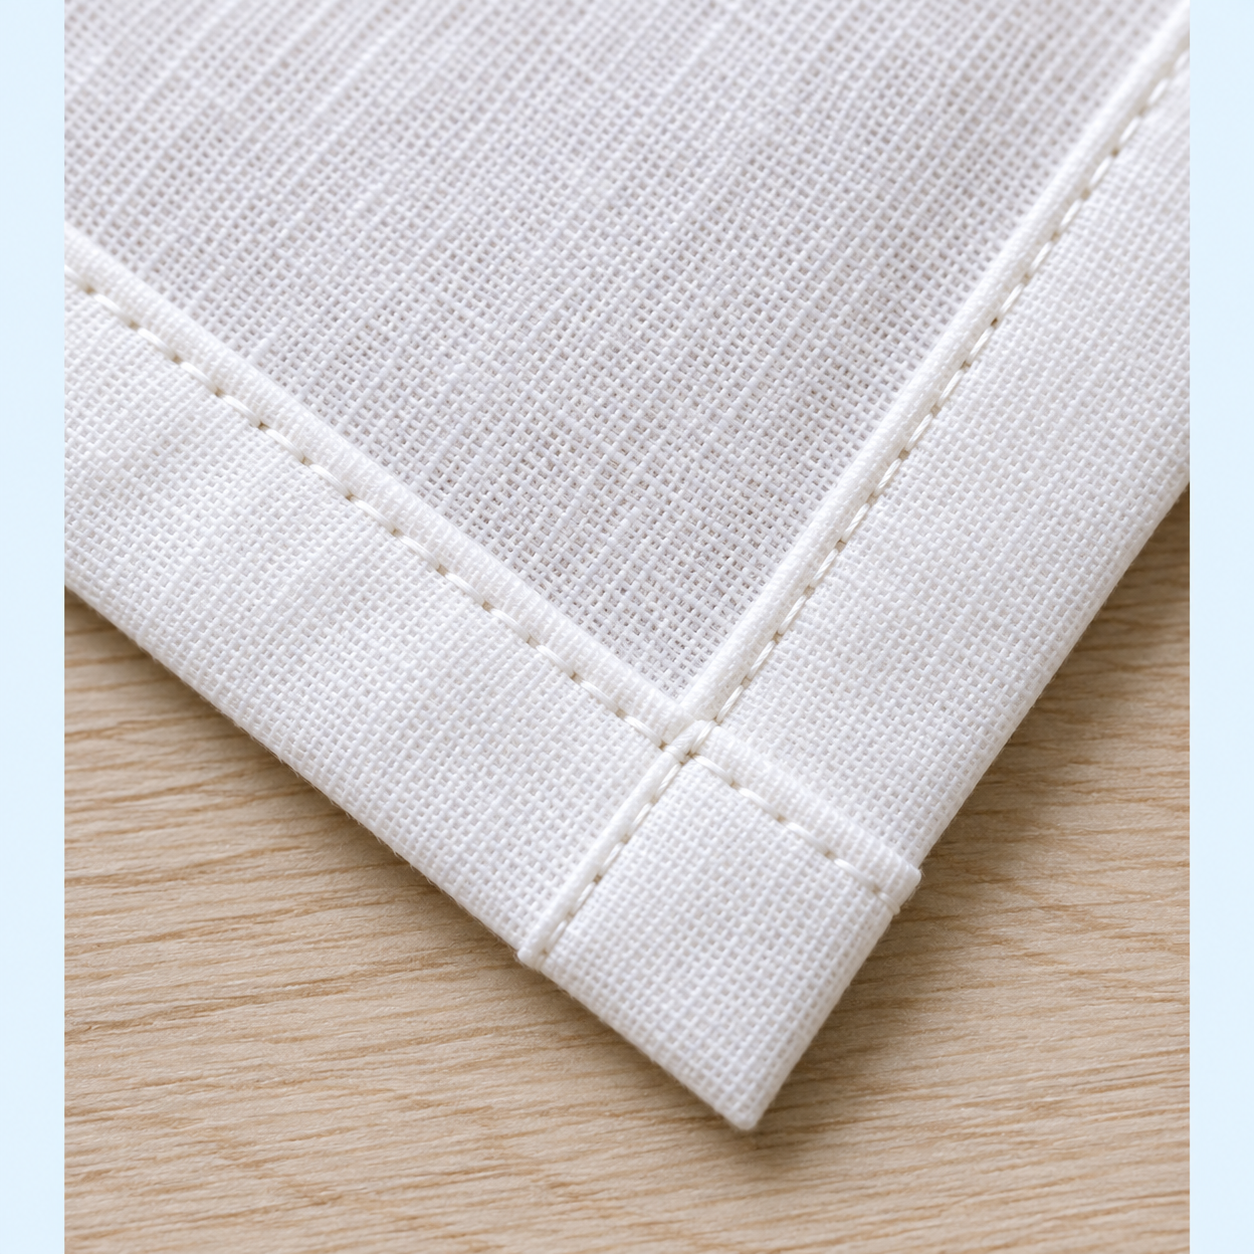
To prevent fraying, fold the raw edges over by about 1/4", press with the iron, then fold over again and press to create a clean finish. Sew along the folded edge with a straight stitch, or use bias tape to bind the edges for an even cleaner look.
Step 4: Press and Finish
Give your newly made pressing cloth one final press to smooth out any wrinkles, and you’re all set! Your DIY pressing cloth is ready to help keep your sewing projects safe and scorch-free.
Choosing the Right Fabric for Your Pressing Cloth

Not all fabrics make good pressing cloths, so here are a few popular options:
Cotton Muslin: Ideal for general use, cotton muslin is durable, heat-resistant, and can be used on various fabrics. Shop on Amazon
Sheer Organza: Perfect for beginners since it’s see-through, allowing you to watch what’s happening as you press. Shop on Amazon
Linen: Great for thicker or heavier fabrics. Shop on Amazon
Terry Cloth: Best for textured fabrics or garments where you want a little extra padding. Shop on Amazon
Why Hem the Edges?
Hemming the edges isn’t just about looks—it’s about functionality. Finished edges prevent fraying and keep loose threads from sticking to your fabric while pressing. Plus, it makes the cloth last longer!
Tips for Using Your DIY Pressing Cloth
Dampen the pressing cloth before using it for extra steam. This trick works wonders on stubborn wrinkles!
Test the heat setting on a scrap piece of fabric to make sure you don’t overheat delicate materials.
Layer your pressing cloths for extra protection on particularly sensitive fabrics like silk.
Fun Variations – Customize Your DIY Pressing Cloth!

Get creative with your pressing cloth by trying these fun customizations:
Add embroidery to the corners for a touch of personality.
Use patterned bias tape to make the edges pop.
Make multiple sizes to suit different projects, like a smaller one for sleeves and a larger one for garments.

Affiliate Disclosure: This post contains affiliate links. If you purchase something through one of these links, Sew Cute Patterns may earn a small commission at no additional cost to you. As an Amazon Associate, I earn from qualifying purchases.
Happy sewing!
Shop Patterns | sewing tutorials | sewing blog | Shop sewing supplies