Guide to Sewing Machine Bobbins
Let's dive into the underbelly of your sewing machine—quite literally! Your bobbin may be tiny, but it plays a big role in making sure your stitches stay on point.
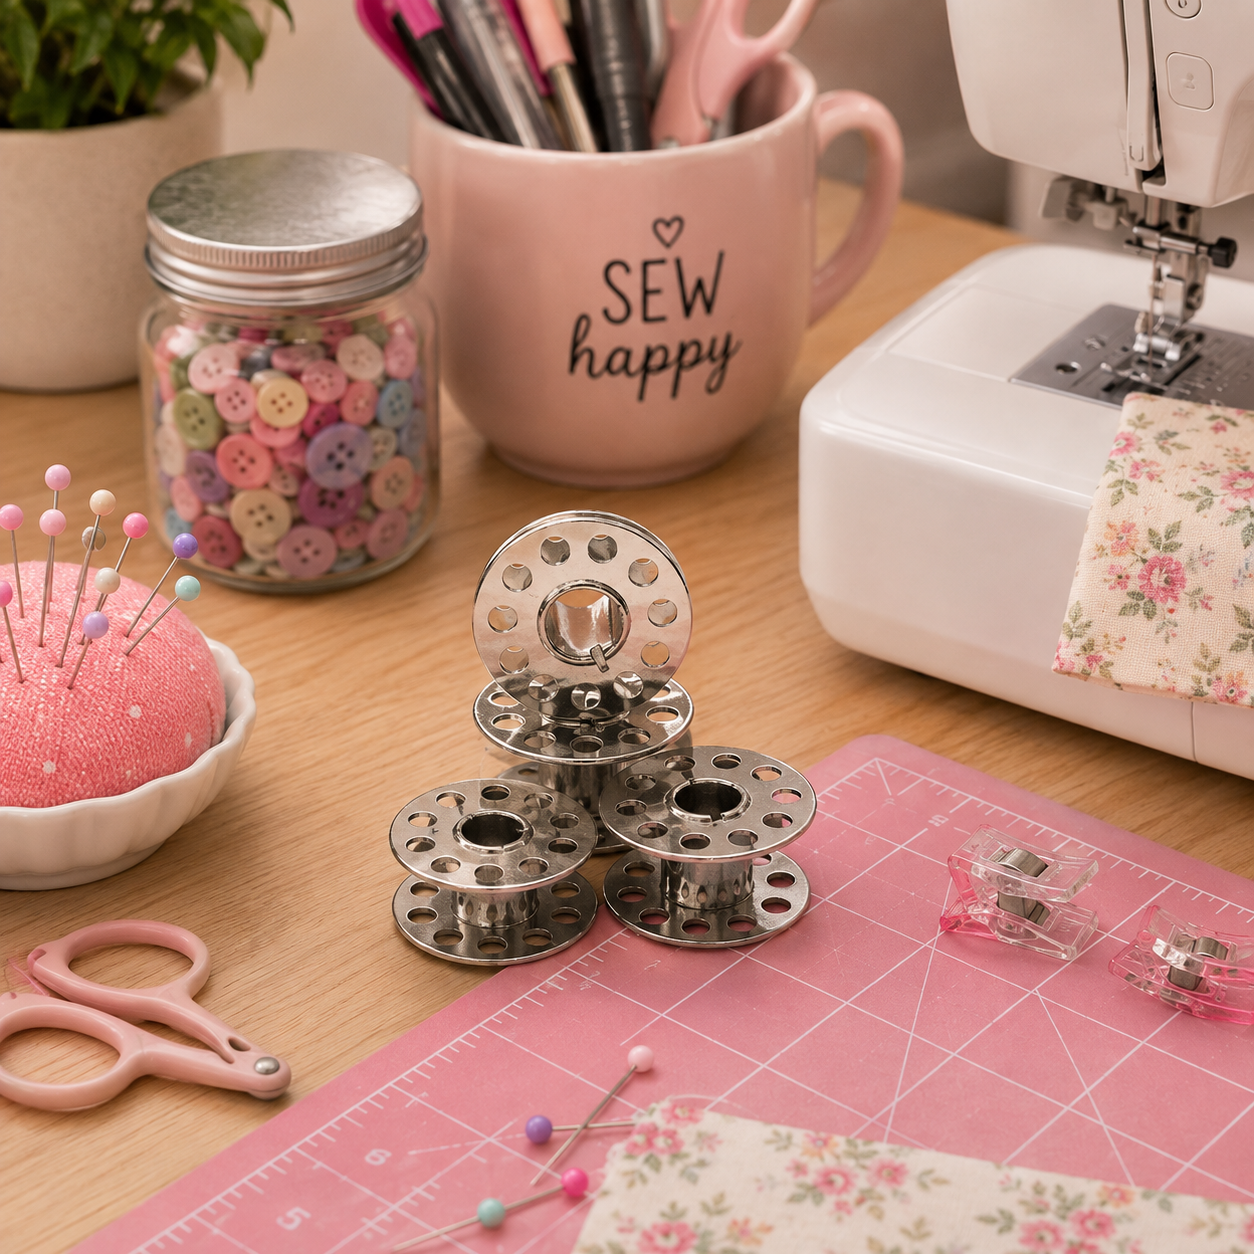
Bobbins 101: What Are They and Why Do They Matter?
The bobbin holds the bottom thread that combines with the top thread to create a stitch. Without it, sewing would be...well, knot happening!
Bobbins come in different types: (plastic vs. metal bobbins) and different sizes (Class 15, Class 66, L-style, etc.). It’s important to match them to your sewing machine.
Need new bobbins? Grab Class 15 Bobbins or Class 66 Bobbins to fit your machine perfectly.


The Great Debate: Plastic or Metal Bobbins?
Plastic Bobbins
Lightweight: Made from durable plastic, these bobbins are great for beginners and work well for most household sewing projects.
Pros: Less likely to rust, making them ideal for humid environments. Because they’re lightweight, they’re less likely to wear out the bobbin case.
Cons: More prone to damage if dropped, as they can crack or become misshapen over time.
Best for: Standard home sewing machines, especially when working with lighter fabrics.
Get your plastic bobbin pack here!
Metal Bobbins
Heavy-duty: Made from steel or aluminum, these bobbins are more robust and durable, which makes them great for heavy-duty sewing or industrial machines.
Pros: Long-lasting and less prone to deformation. Their weight can help maintain consistent tension, especially with thicker fabrics.
Cons: They can rust over time if exposed to moisture, and may wear down the bobbin case in some machines if not compatible.
Best for: Heavy-duty sewing machines, quilting, and working with thicker materials like denim or leather.
Snag a set of metal bobbins for your projects.
Bobbin Size Differences
Bobbins come in a variety of sizes, and choosing the correct one for your machine is essential for proper stitch formation and tension. Here are some of the most common bobbin sizes:
Class 15 Bobbins
Shape and Size: Flat on both sides, approximately 20.5 mm in diameter and 11.5 mm in thickness.
Material Options: Available in plastic or metal.
Compatibility: Widely used for many home sewing machines, including brands like Singer, Brother, Janome, and Baby Lock.
Tip: Double-check your machine’s manual to ensure it specifies Class 15 if you’re considering this size.
Class 66 Bobbins
Shape and Size: Slightly domed on one side, flat on the other, measuring around 20.3 mm in diameter and 10.7 mm in thickness.
Material Options: Mostly found in plastic, though metal versions exist.
Compatibility: Commonly used in older Singer machines and some vintage models. These bobbins have a slightly different shape than Class 15, so they’re not interchangeable.
Tip: If your machine manual specifies Class 66, don’t swap it with Class 15, as the subtle shape difference can affect stitch quality.
L-Style Bobbins
Shape and Size: Similar in diameter to Class 15, but slimmer in thickness, measuring about 20.3 mm in diameter and 8.9 mm thick.
Material Options: Available in both plastic and metal.
Compatibility: Often used in some long-arm quilting machines, embroidery machines, and older sewing machine models.
Tip: Check the machine's specifications or test a few stitches before starting a major project to ensure it fits well.
M-Style Bobbins
Shape and Size: Larger in both diameter and thickness (approximately 24.9 mm in diameter and 10.7 mm thick).
Material Options: Typically found in metal, but plastic versions are also available.
Compatibility: Often used in industrial sewing machines and some long-arm quilting machines due to the higher thread capacity.
Tip: M-style bobbins can hold a lot more thread, making them great for large projects like quilting where you don’t want to stop frequently to reload.
How to Match the Bobbin to Your Sewing Machine
Consult the Machine Manual
Why It’s Important: Your sewing machine manual is the ultimate guide for which bobbin type, size, and material your machine requires. The manufacturer designs machines to work with specific bobbin dimensions and materials for optimal performance. Using a bobbin that doesn’t match the manual’s specifications can lead to issues like thread jams, poor stitch quality, or even damage to the bobbin case.
Where to Find the Information: Look under the “Accessories” or “Maintenance” section of the manual. It should list the compatible bobbin types, such as Class 15, Class 66, L-style, etc.
Online Manuals: If you don’t have the physical manual, check the manufacturer’s website for a downloadable PDF version or search for it online.
Test for Proper Fit
How to Insert the Bobbin:
Place the bobbin into the bobbin case or drop-in compartment, depending on whether your machine is a front-loading or top-loading style.
Make sure the thread winds in the correct direction as specified by the manual (usually counterclockwise for drop-in bobbins and clockwise for front-load bobbins).
Check the Tension:
Gently pull the thread from the bobbin. It should unwind smoothly with a slight resistance. If the thread pulls too easily or feels too tight, it may indicate that the bobbin is not fitted correctly or the tension needs adjustment.
Some machines allow for manual tension adjustments on the bobbin case. If you find that your stitches are uneven or there’s puckering, adjusting the screw on the bobbin case slightly may help. Always do this incrementally and test on a scrap piece of fabric.
Spinning Test:
After inserting the bobbin, turn the handwheel to see if the bobbin spins freely without wobbling. It should rotate smoothly with consistent motion. A bobbin that’s too small may wobble or bounce, while one that’s too large may not spin at all.
Bobbins may be small, but they pack a punch when it comes to creating flawless stitches. With these tips, you’ll be ready to keep your sewing projects running smoothly without any bobbin blunders. Check out the affiliate links for all your bobbin needs, and happy sewing!
Affiliate Disclosure: This post contains affiliate links. If you purchase something through one of these links, Sew Cute Patterns may earn a small commission at no additional cost to you. As an Amazon Associate, I earn from qualifying purchases.
Shop Patterns | sewing tutorials | sewing blog | Shop sewing supplies