Crafting Magic: DIY Mini Witch Hat Halloween Decoration
Halloween is just around the corner, and it's the perfect time to get creative with your decorations. If you're looking for a unique and whimsical addition to your spooky decor, try this DIY mini witch hat. This charming craft project is not only easy to create but will also add a touch of enchantment to your Halloween festivities.
Materials You'll Need:
Black felt fabric
8”x8” double layered for the base
10” x 9” single layered for the hat cone
Scissors
Pins
Hot glue gun and glue sticks
A template for your mini witch hat (click here to download PDF pattern pages)
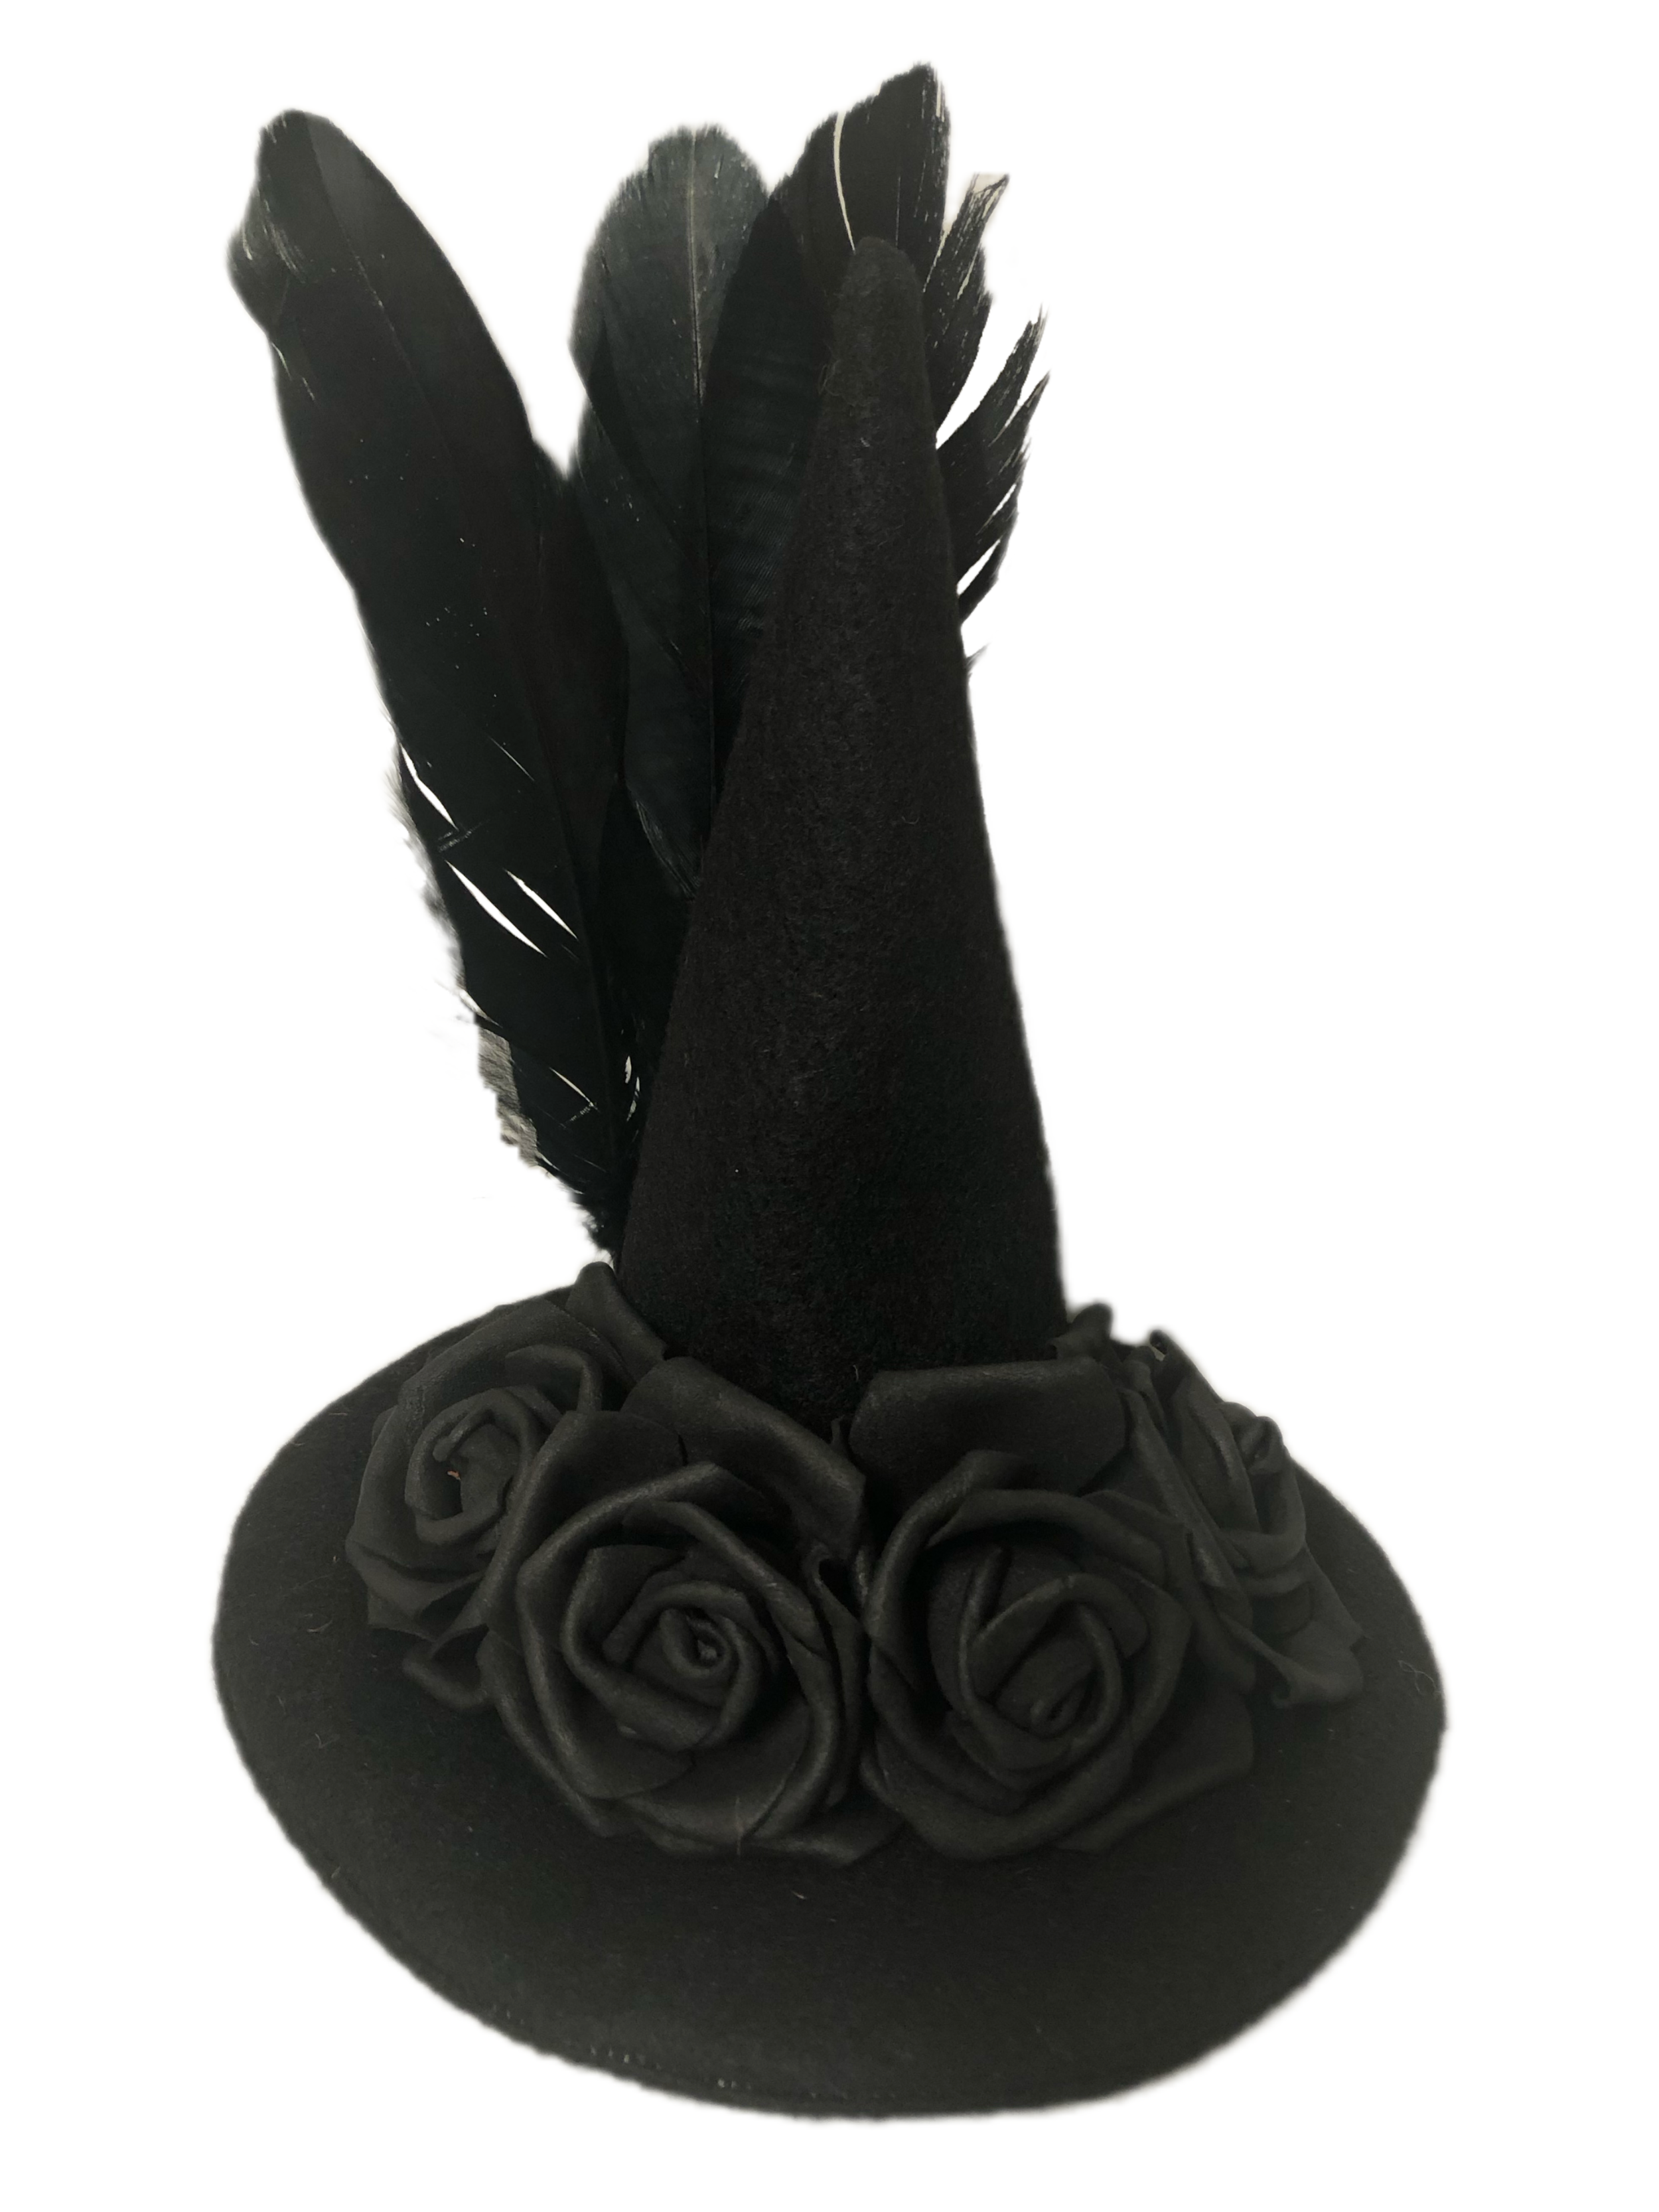
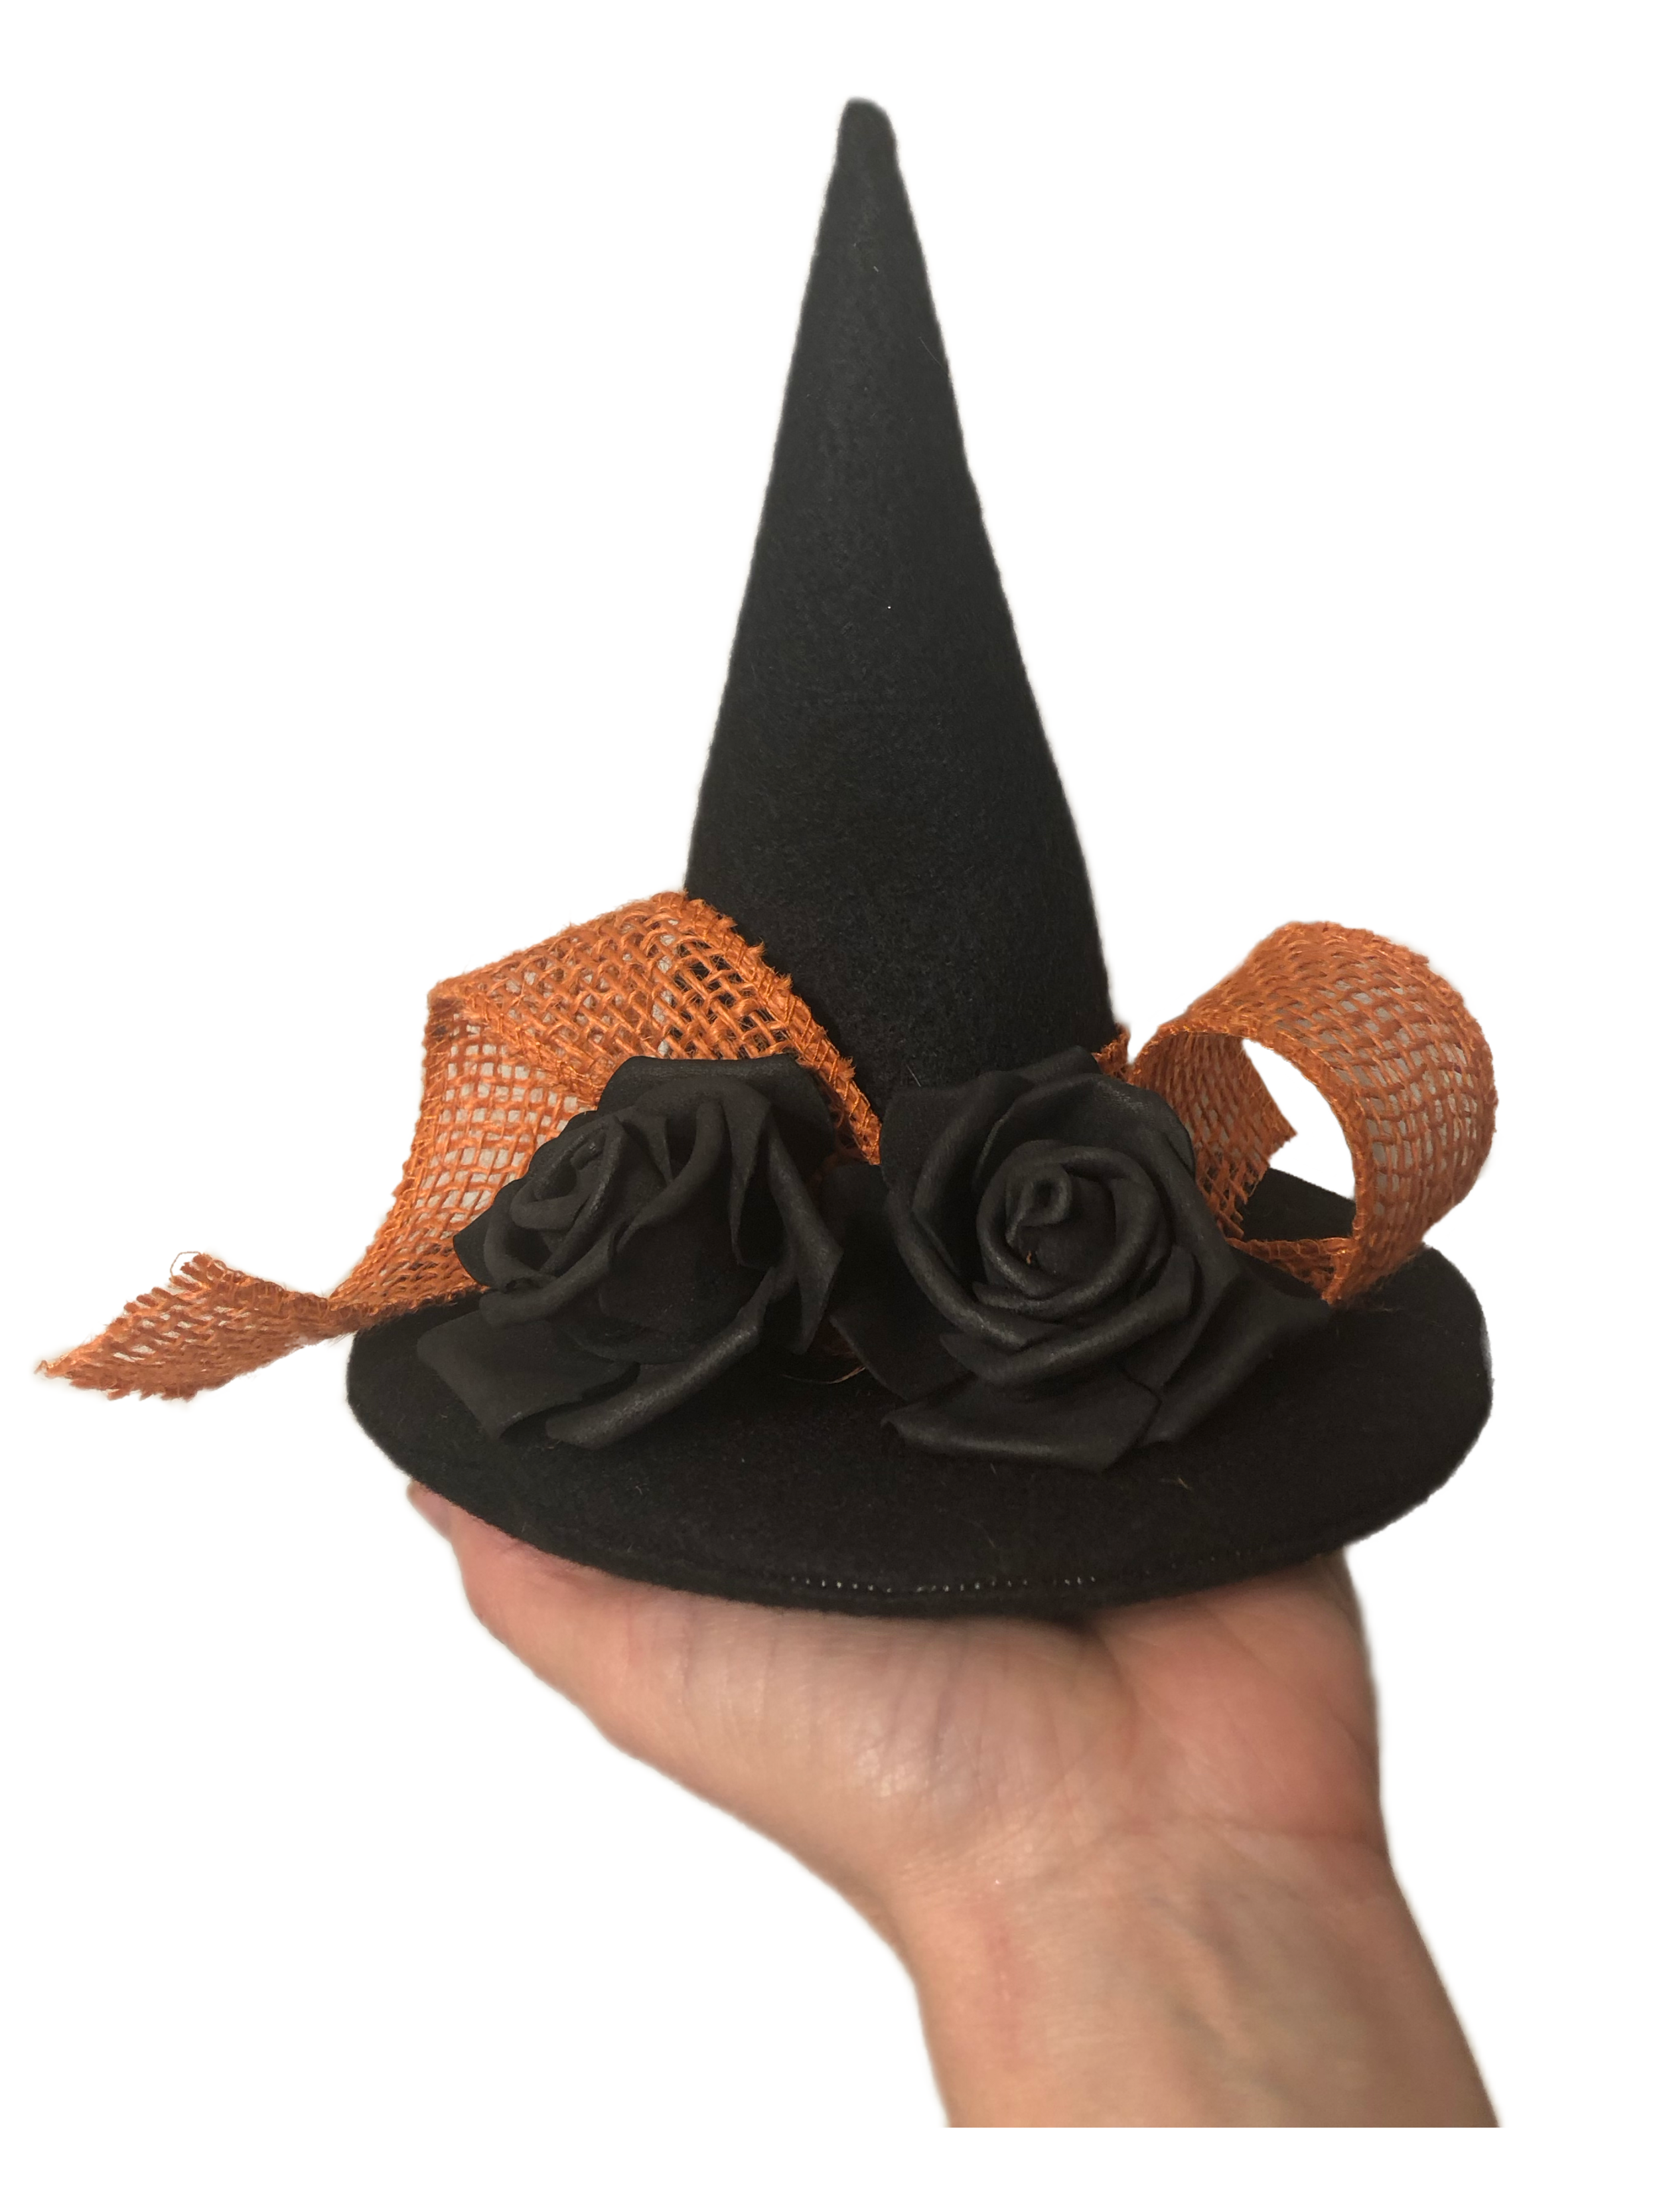
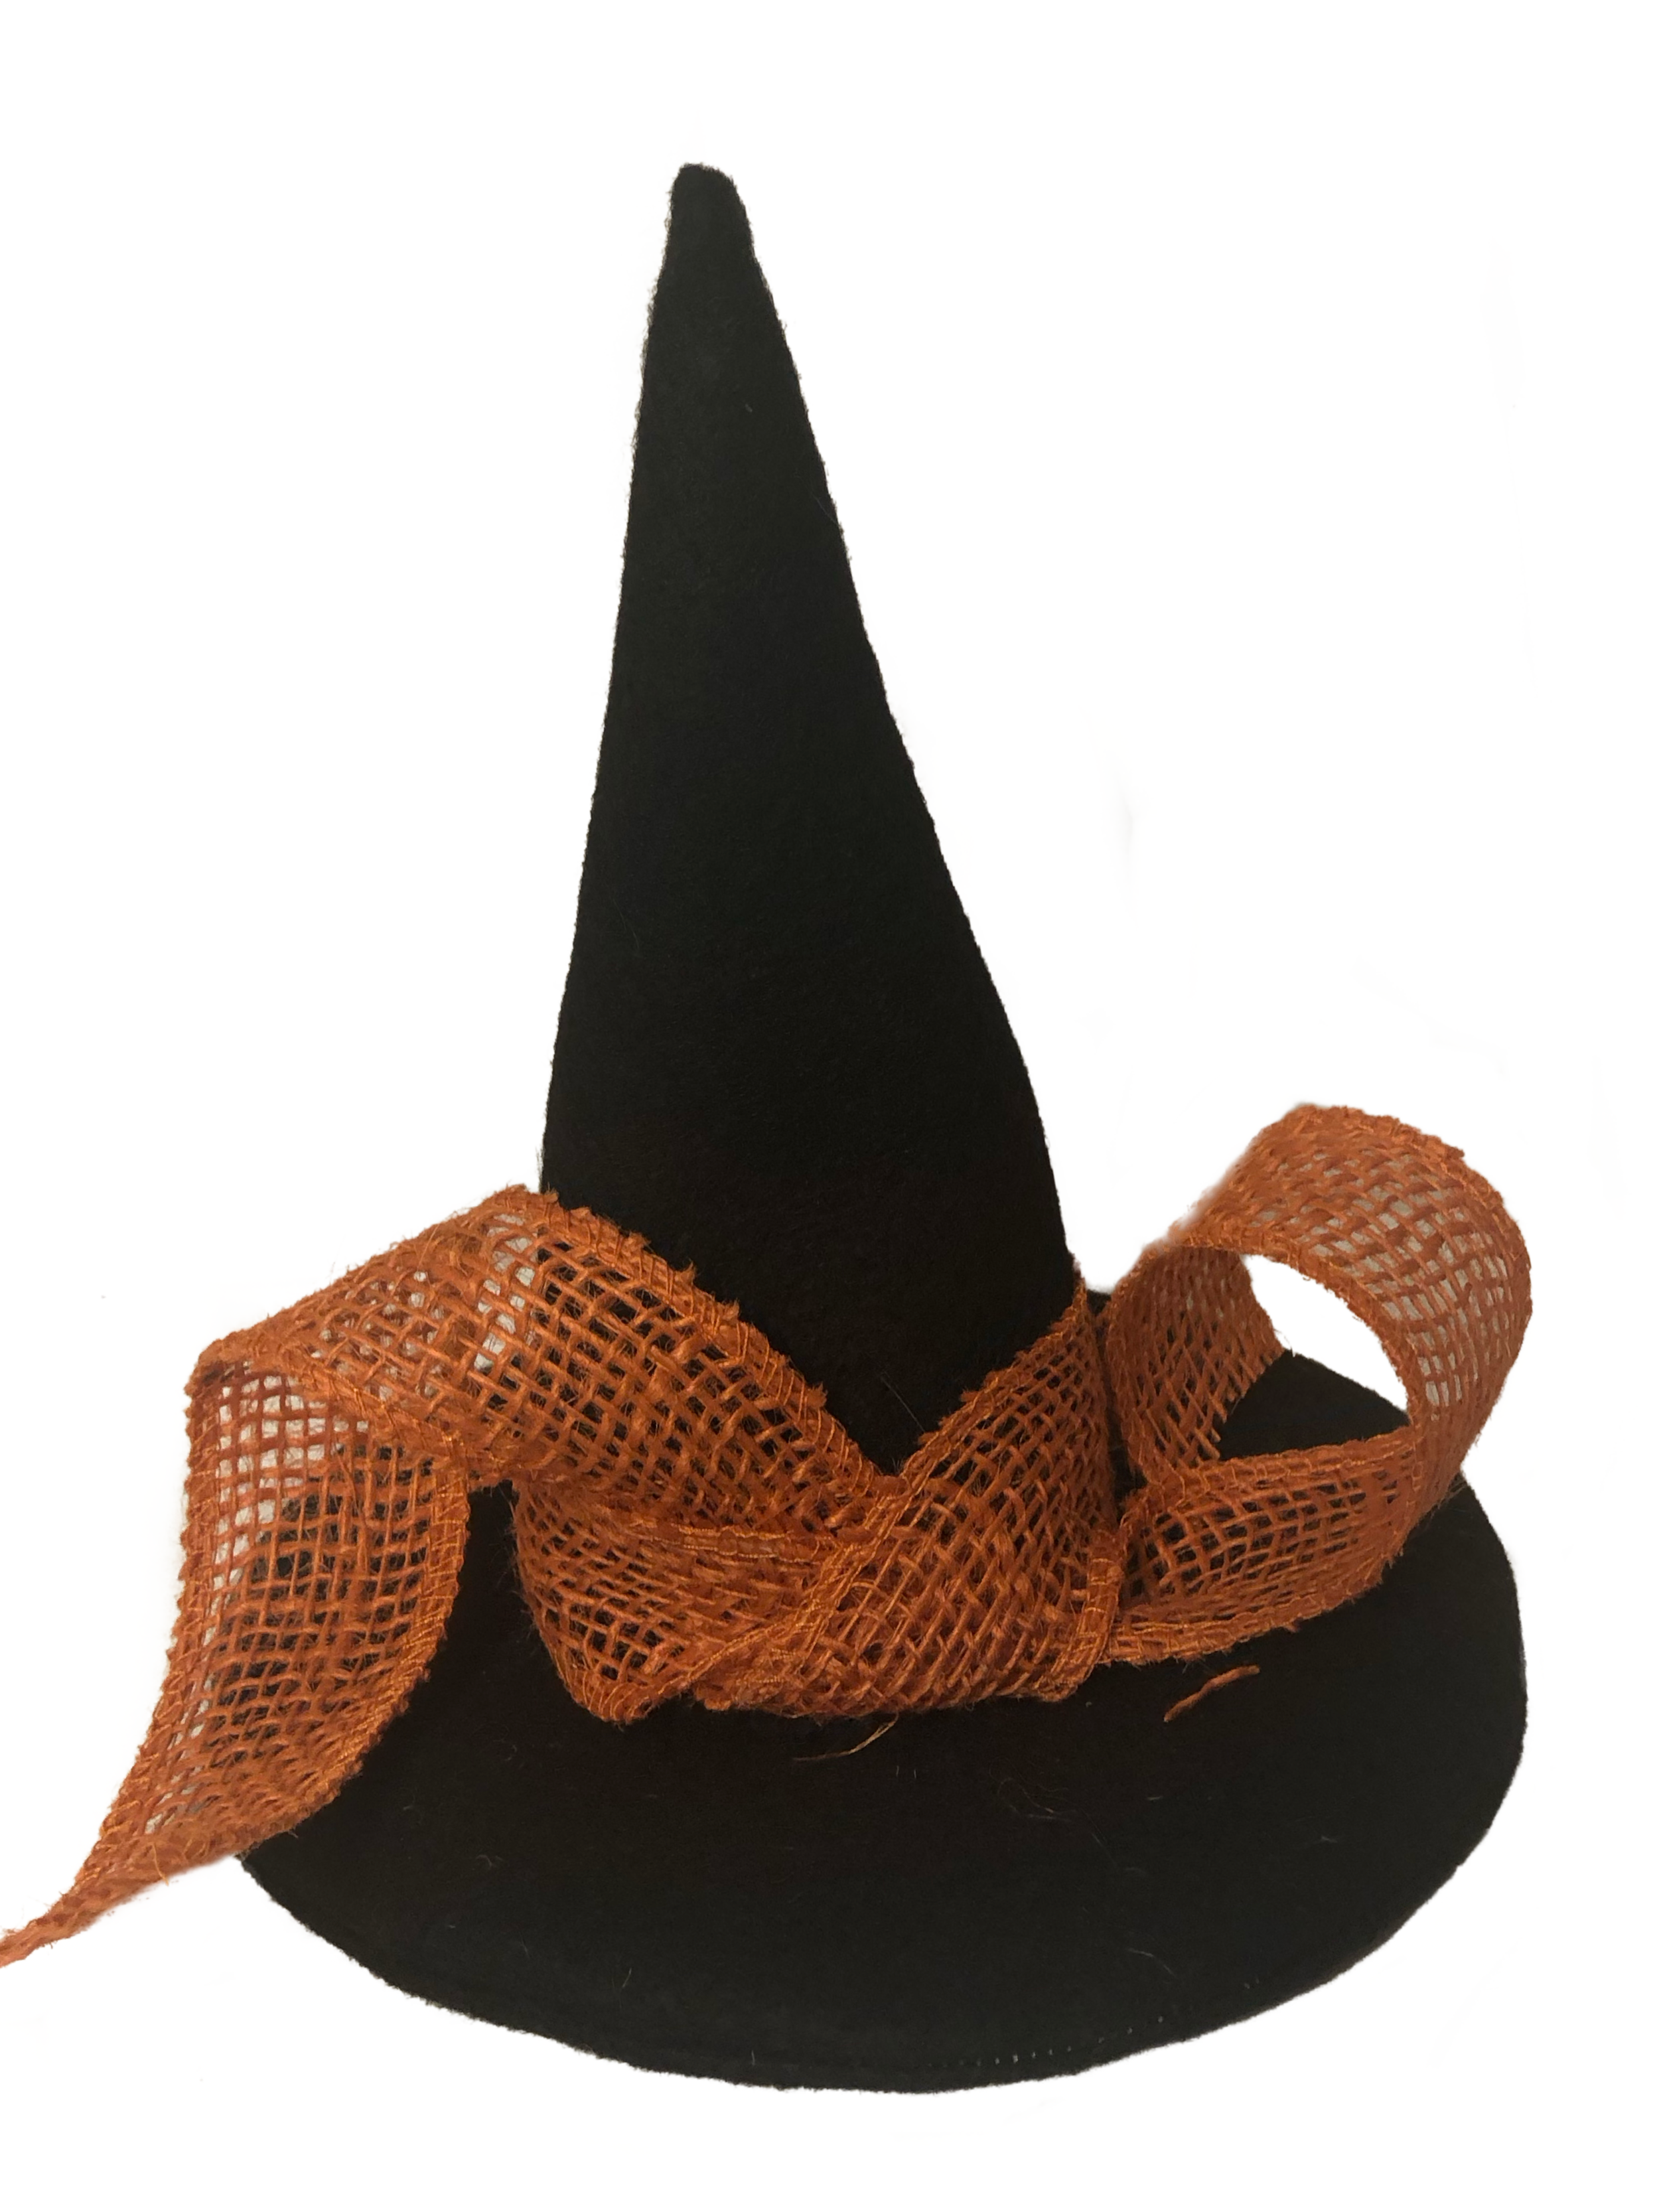
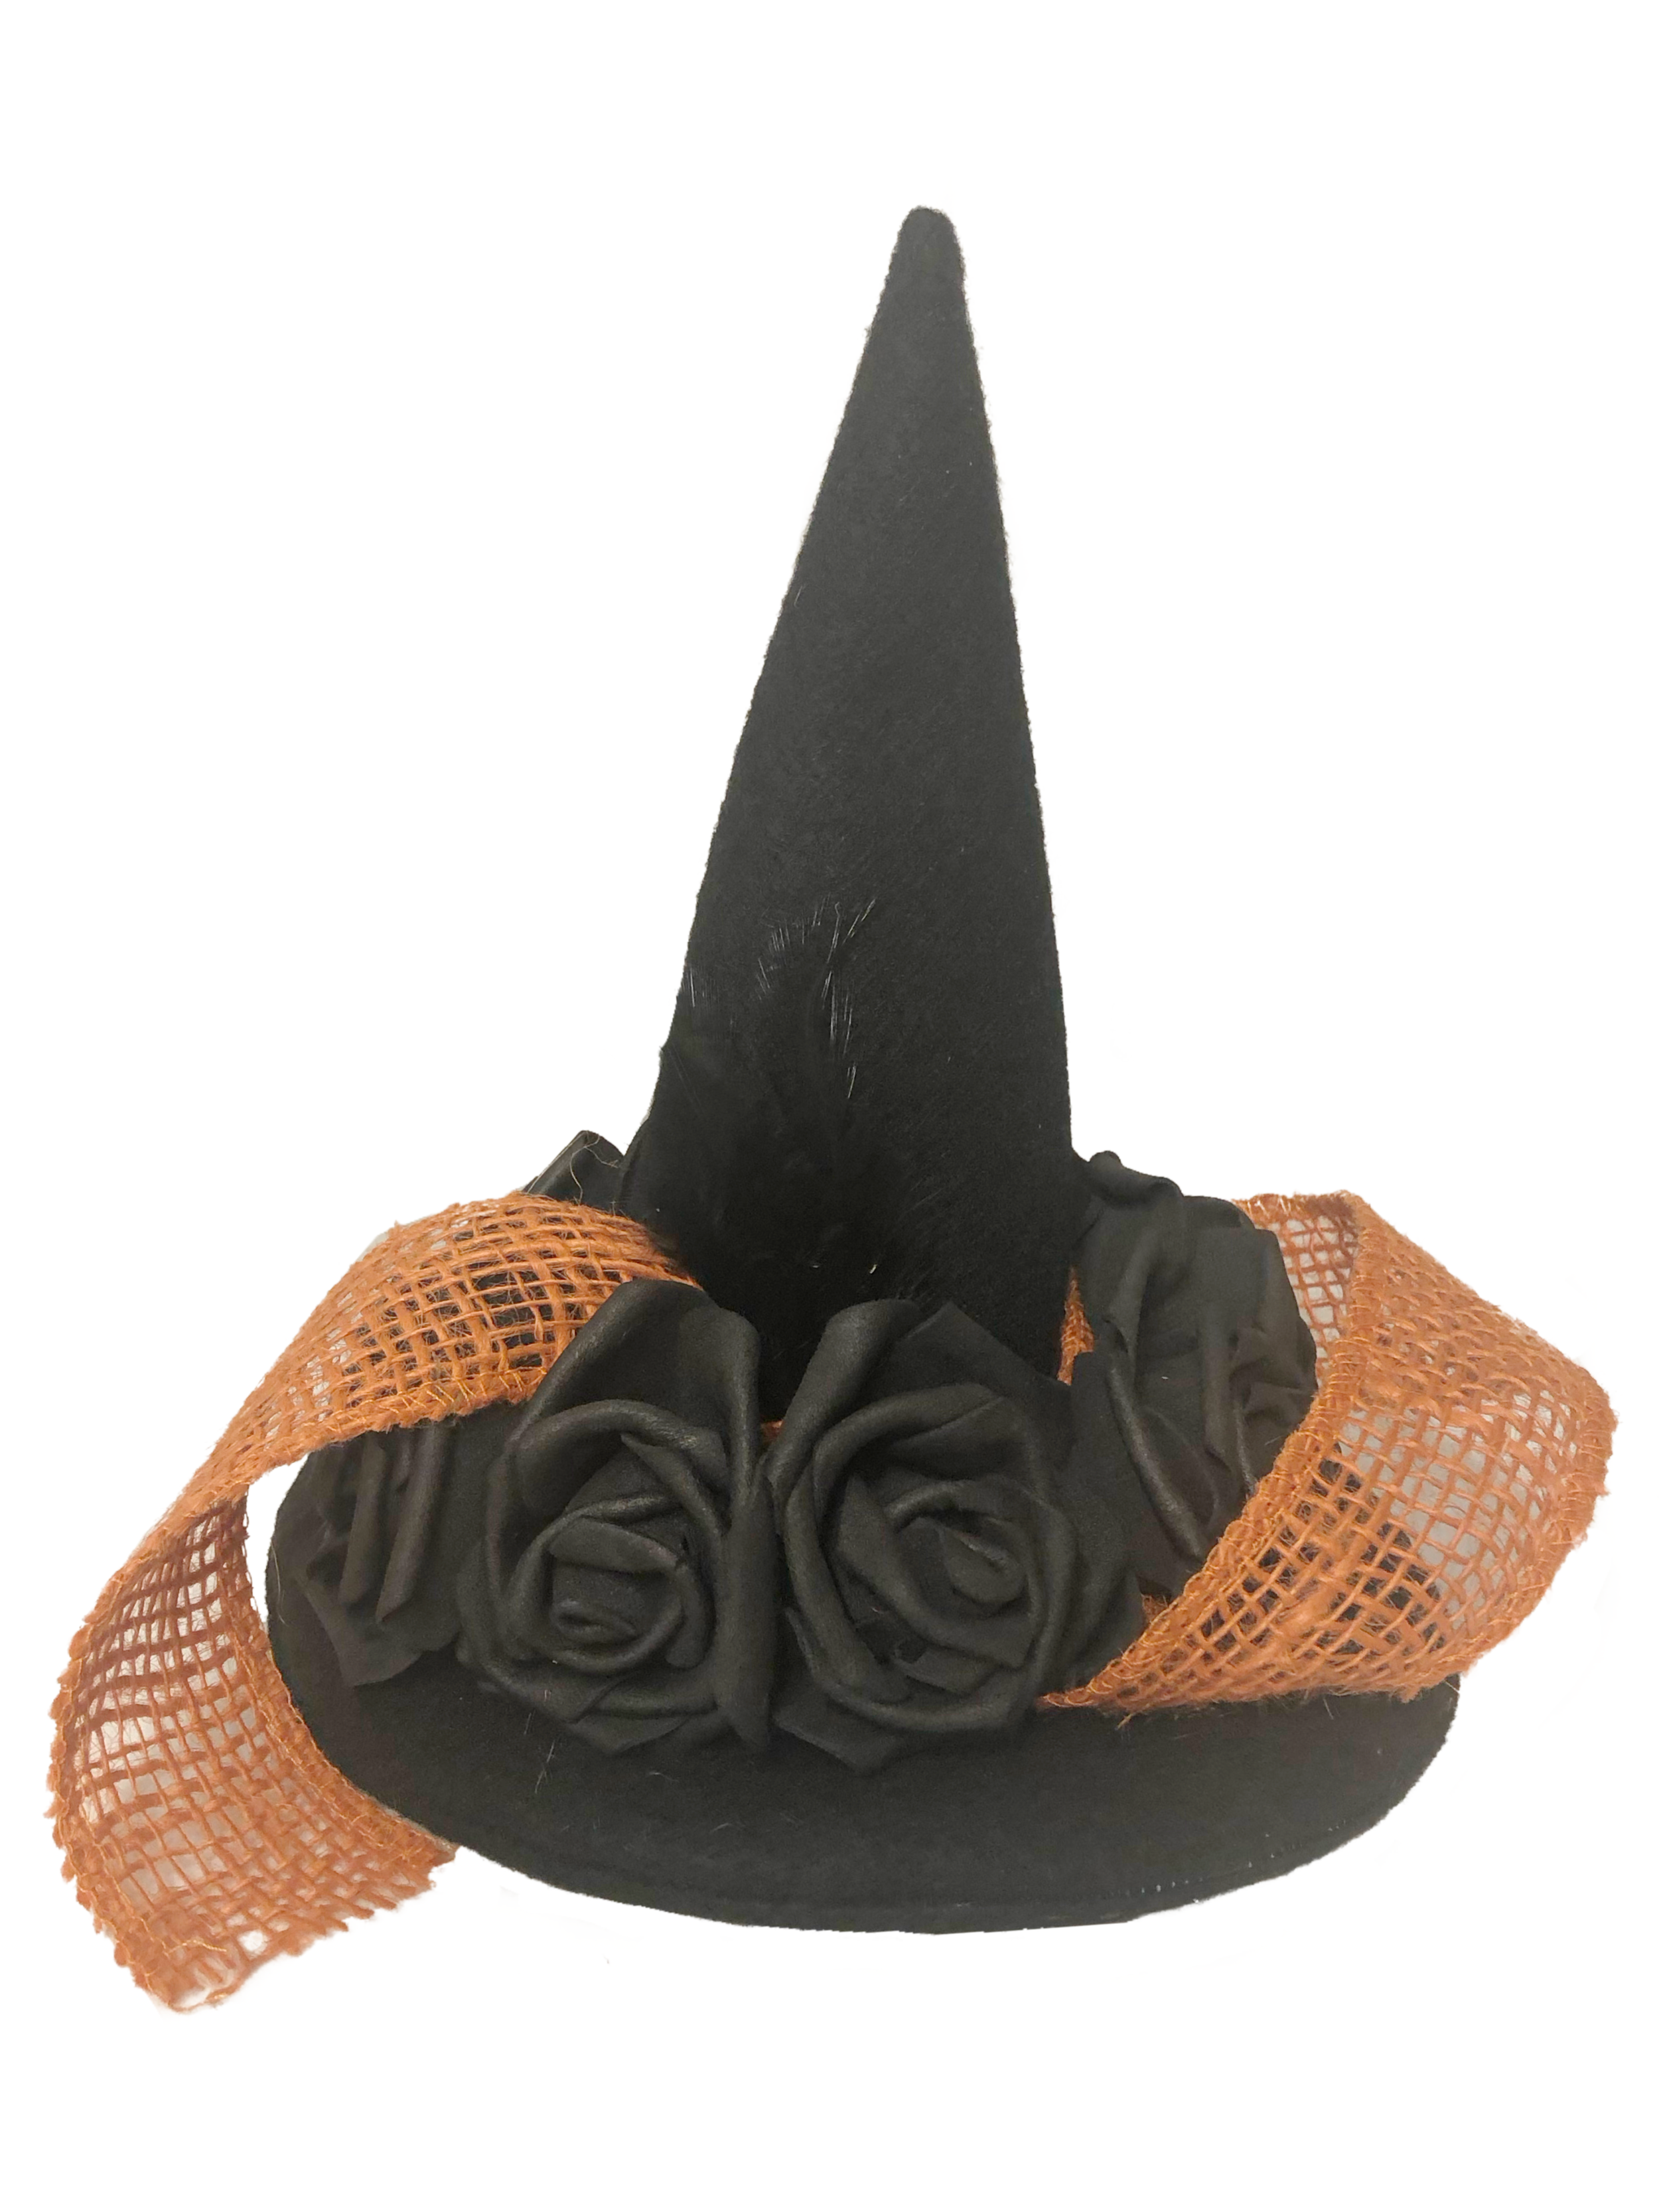
Decorative elements like ribbon in Halloween colors like black, purple or orange, fake spiders, fake black roses, black or purple feathers. burlap ribbon (optional)
Step 1: Prepare Your Materials
Gather all your materials in one place to make the crafting process smoother.
Step 2: Cut Out the Witch Hat Shape
Pin the hat top template to single layered black felt fabric. Carefully cut around the template, making sure to keep the edges clean and smooth.
Pin the hat rim template to double layered black felt fabric. Carefully cut around the template and the center, making sure to keep the edges clean and smooth.
Step 3: Create the Cone Shape
To give your mini witch hat that classic, conical shape, you'll need to form it into a cone. Take one edge of the cut felt and roll it into a cone shape. With the fabric wrong sides together, pin and stitch along the folded side, leaving the bottom of the hat open.
Reverse right side out.
Step 4: Add a Brim
Stack the two rim pieces on top of each other. With fabric wrong sides together, pin and stitch along the outside of the hat rim.
Reverse right side out.
Step 5: Stitch the top and rim together.
Insert the bottom 1/4” of the hat top in between the center of the rim pieces. Pin and stitch into place.
Step 6: Add Decorative Details (Optional)
Now comes the fun part – decorating your mini witch hat! You can let your imagination run wild here. Consider adding a ribbon around the base of the cone or attaching small Halloween-themed items like fake spiders or miniature pumpkins. Get creative and make it your own!
Step 7: Display with Pride
Once your mini witch hat is complete, find the perfect spot to display it. Whether it's on a mantelpiece, as a centerpiece for your dining table, or hanging from a Halloween wreath, your creation will add a touch of magic to your Halloween decor.
Creating your very own mini witch hat Halloween decoration is a delightful way to embrace the spirit of the season. This craft project is not only a fun activity but also allows you to personalize your decor with your own unique style. So, gather your materials, let your creativity flow, and craft a bewitching addition to your Halloween festivities!
Happy crafting, and have a spooktacular Halloween!


