🐳 Free Plush Whale Pincushion Sewing Pattern
 

🧵 Meet Your New Sewing Buddy

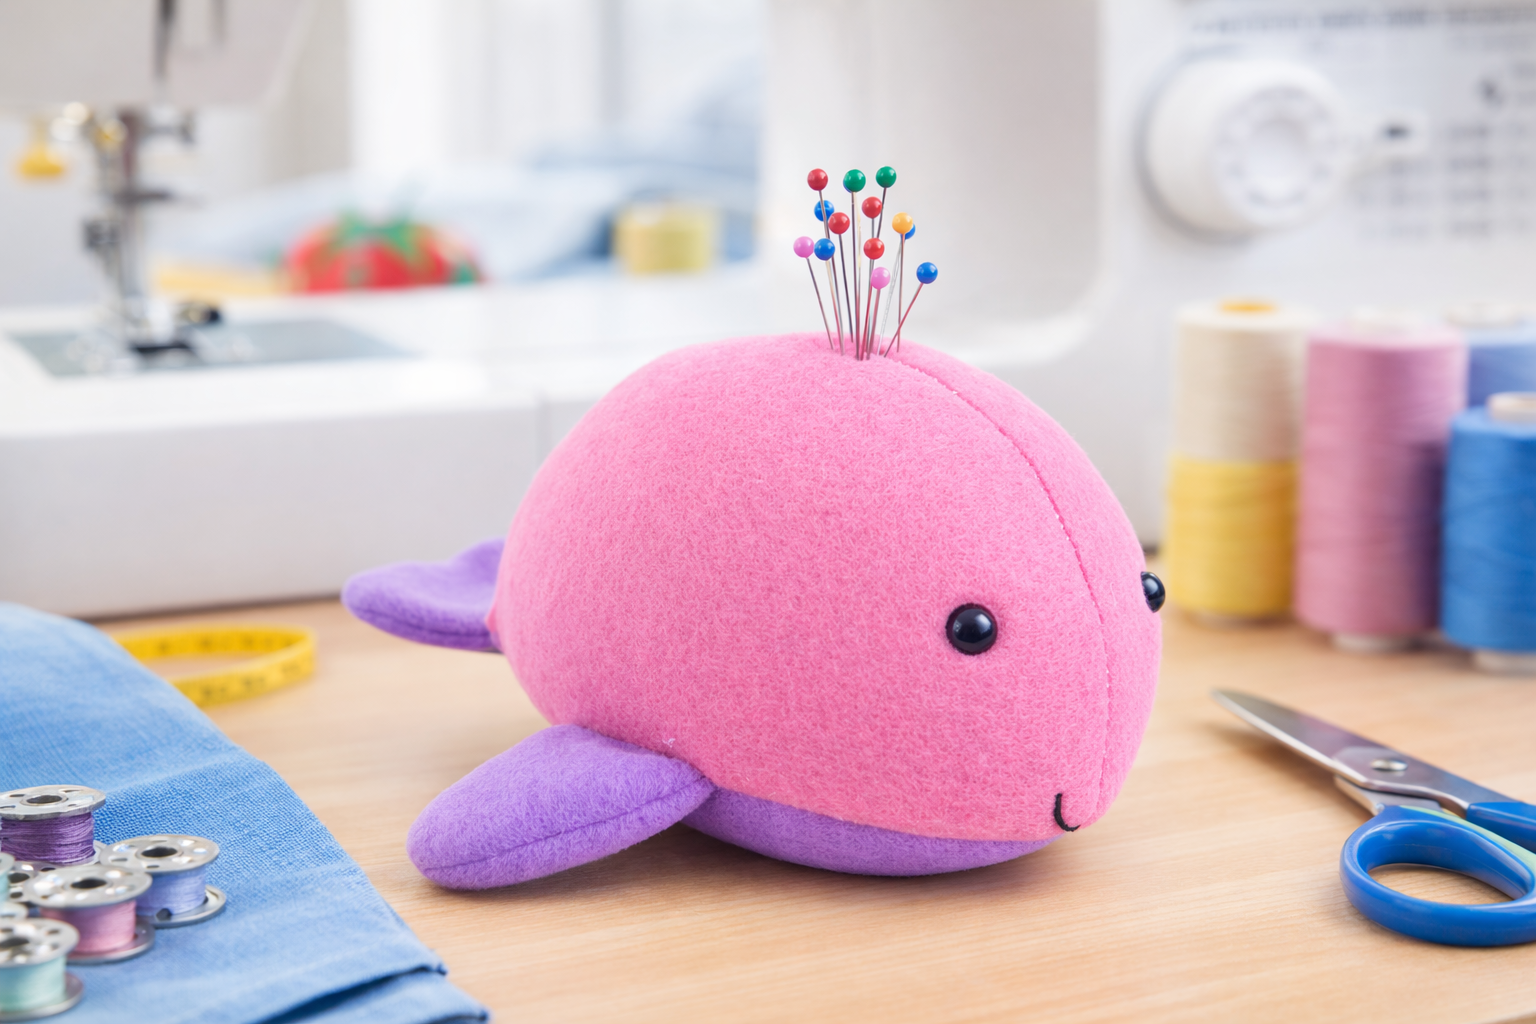
There’s something magical about turning tiny fabric scraps into something both adorable and useful. Enter: the plush whale pincushion. This little ocean friend keeps your pins safe, your workspace cheerful, and your scrap bin slightly less chaotic. It’s beginner-friendly, quick to sew, and makes a perfect handmade gift for sewing friends—or yourself (because you deserve cute tools too).


✂️ Why You’ll Love This Whale Pincushion

  • Beginner-friendly and quick to sew

  • Great for using fabric scraps

  • Soft but sturdy enough to hold pins securely

  • Adds personality to your sewing space

  • Makes a perfect handmade gift

🧰 Supplies You’ll Need

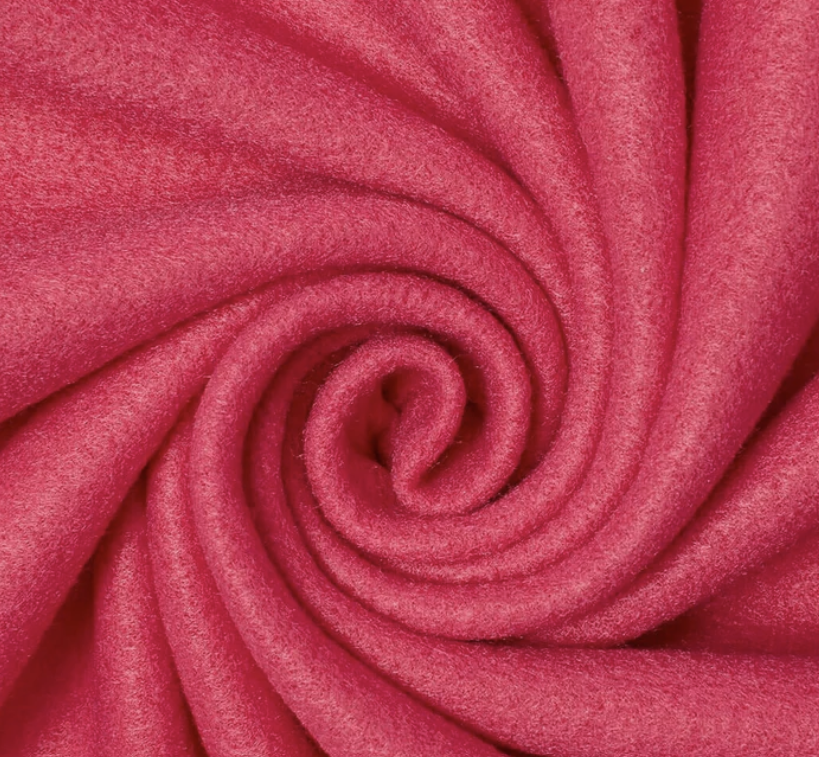
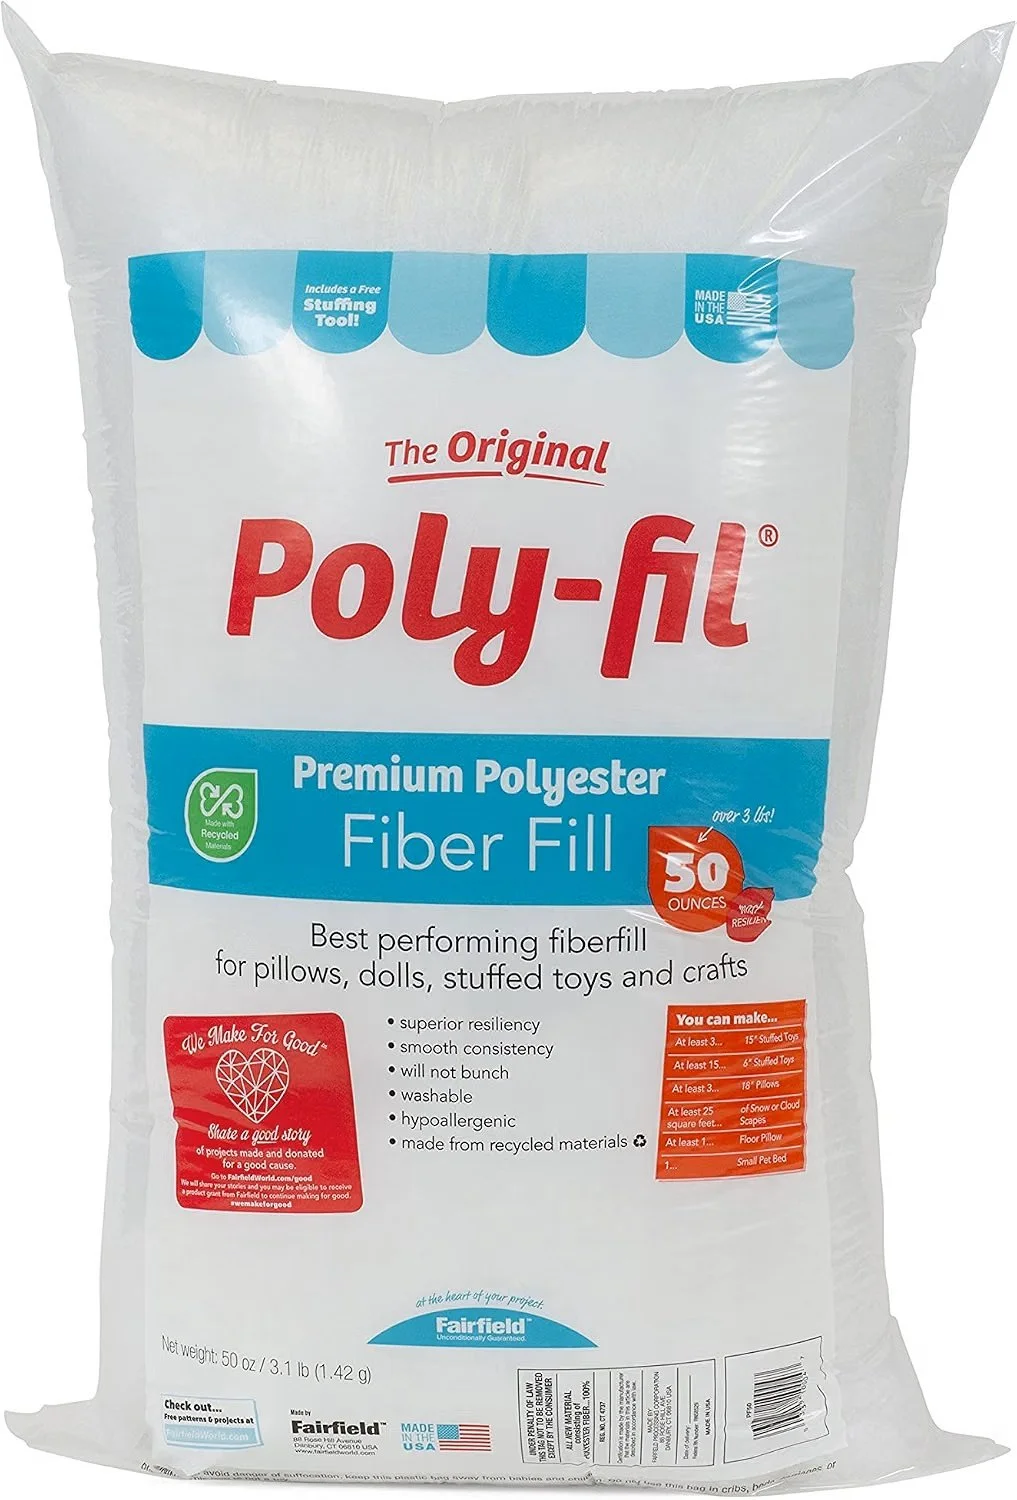
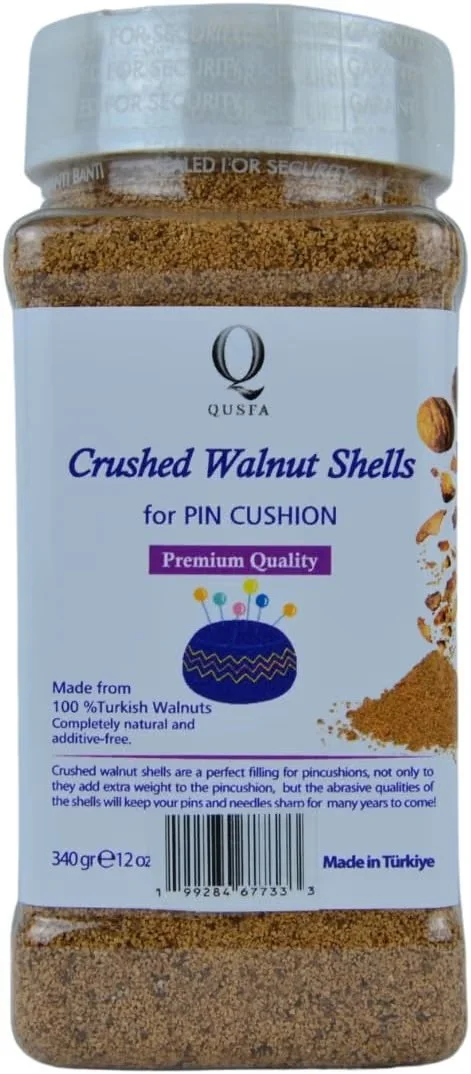
Fabric & Filling

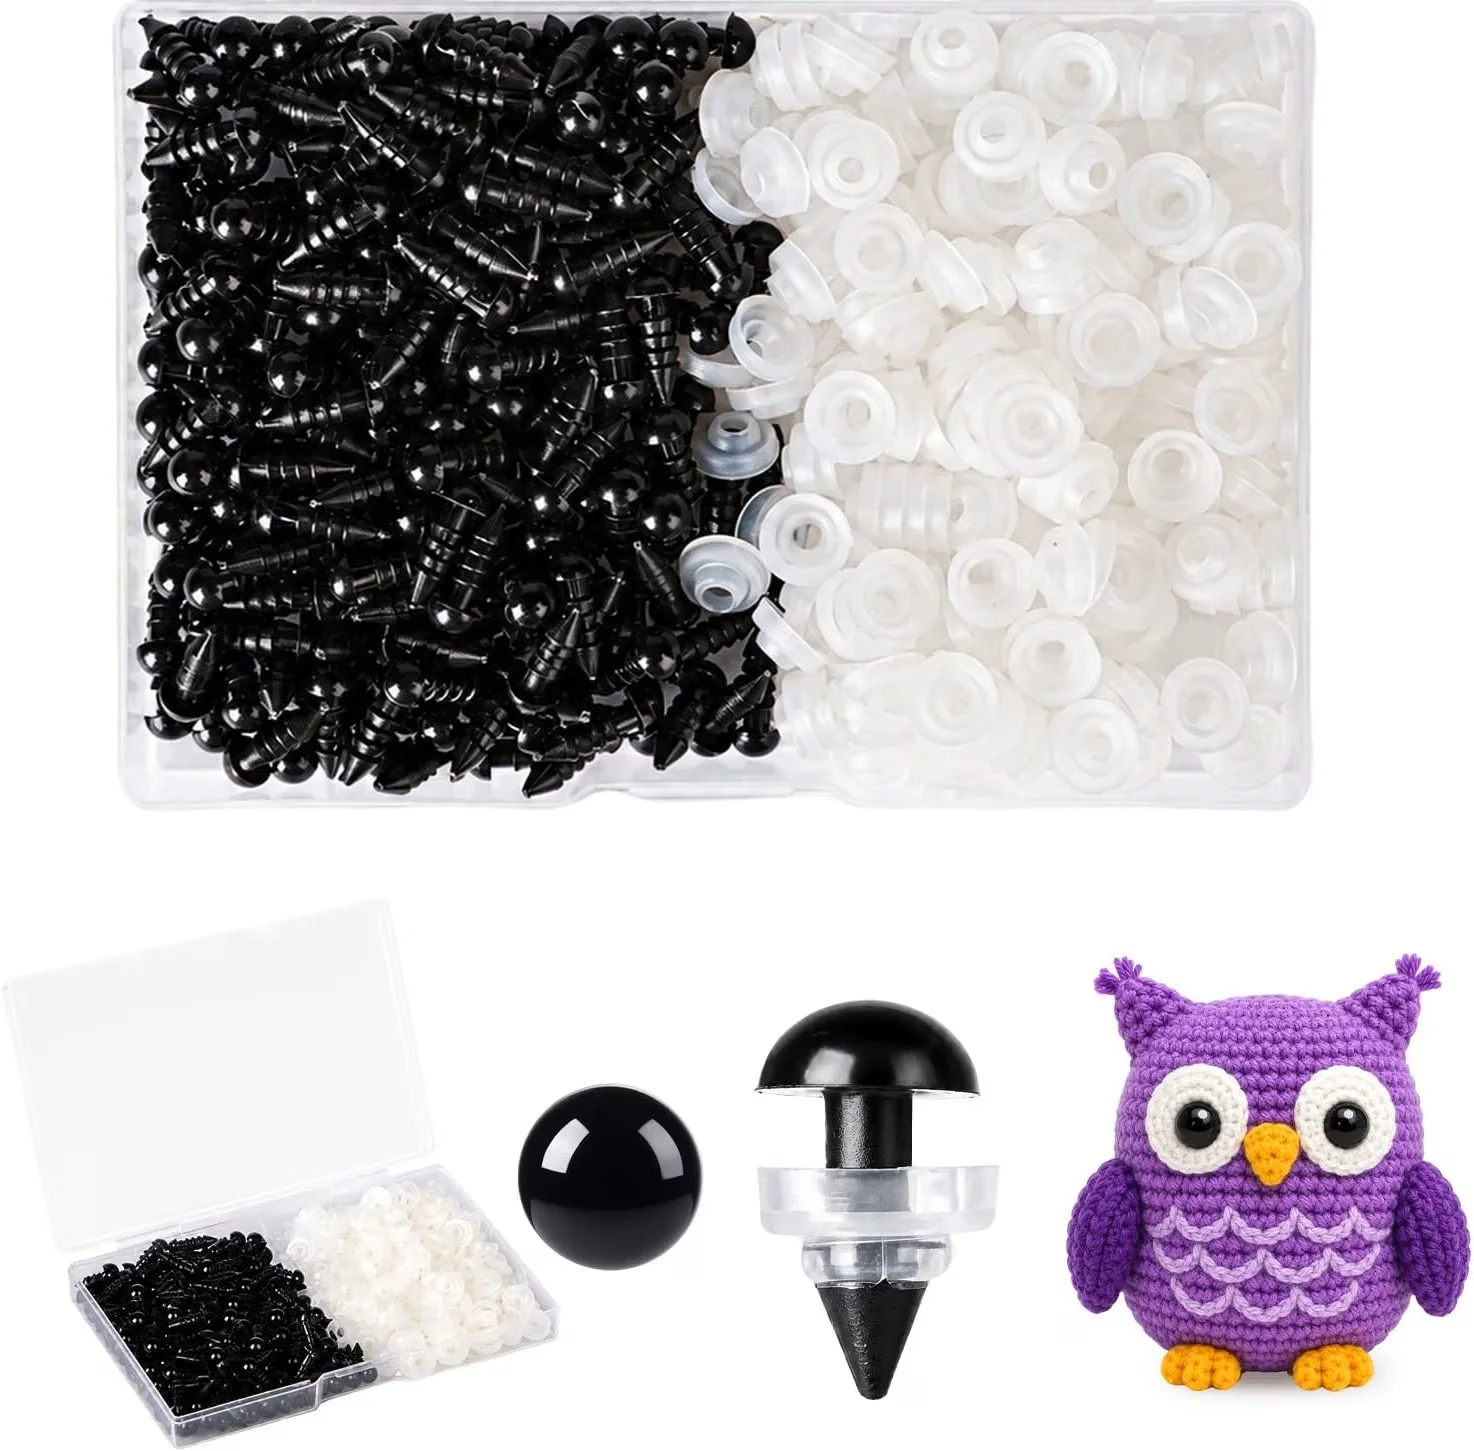
Face Details

Must-Have Tools

  • Fabric scissors

  • Sewing machine (or hand sewing needle)

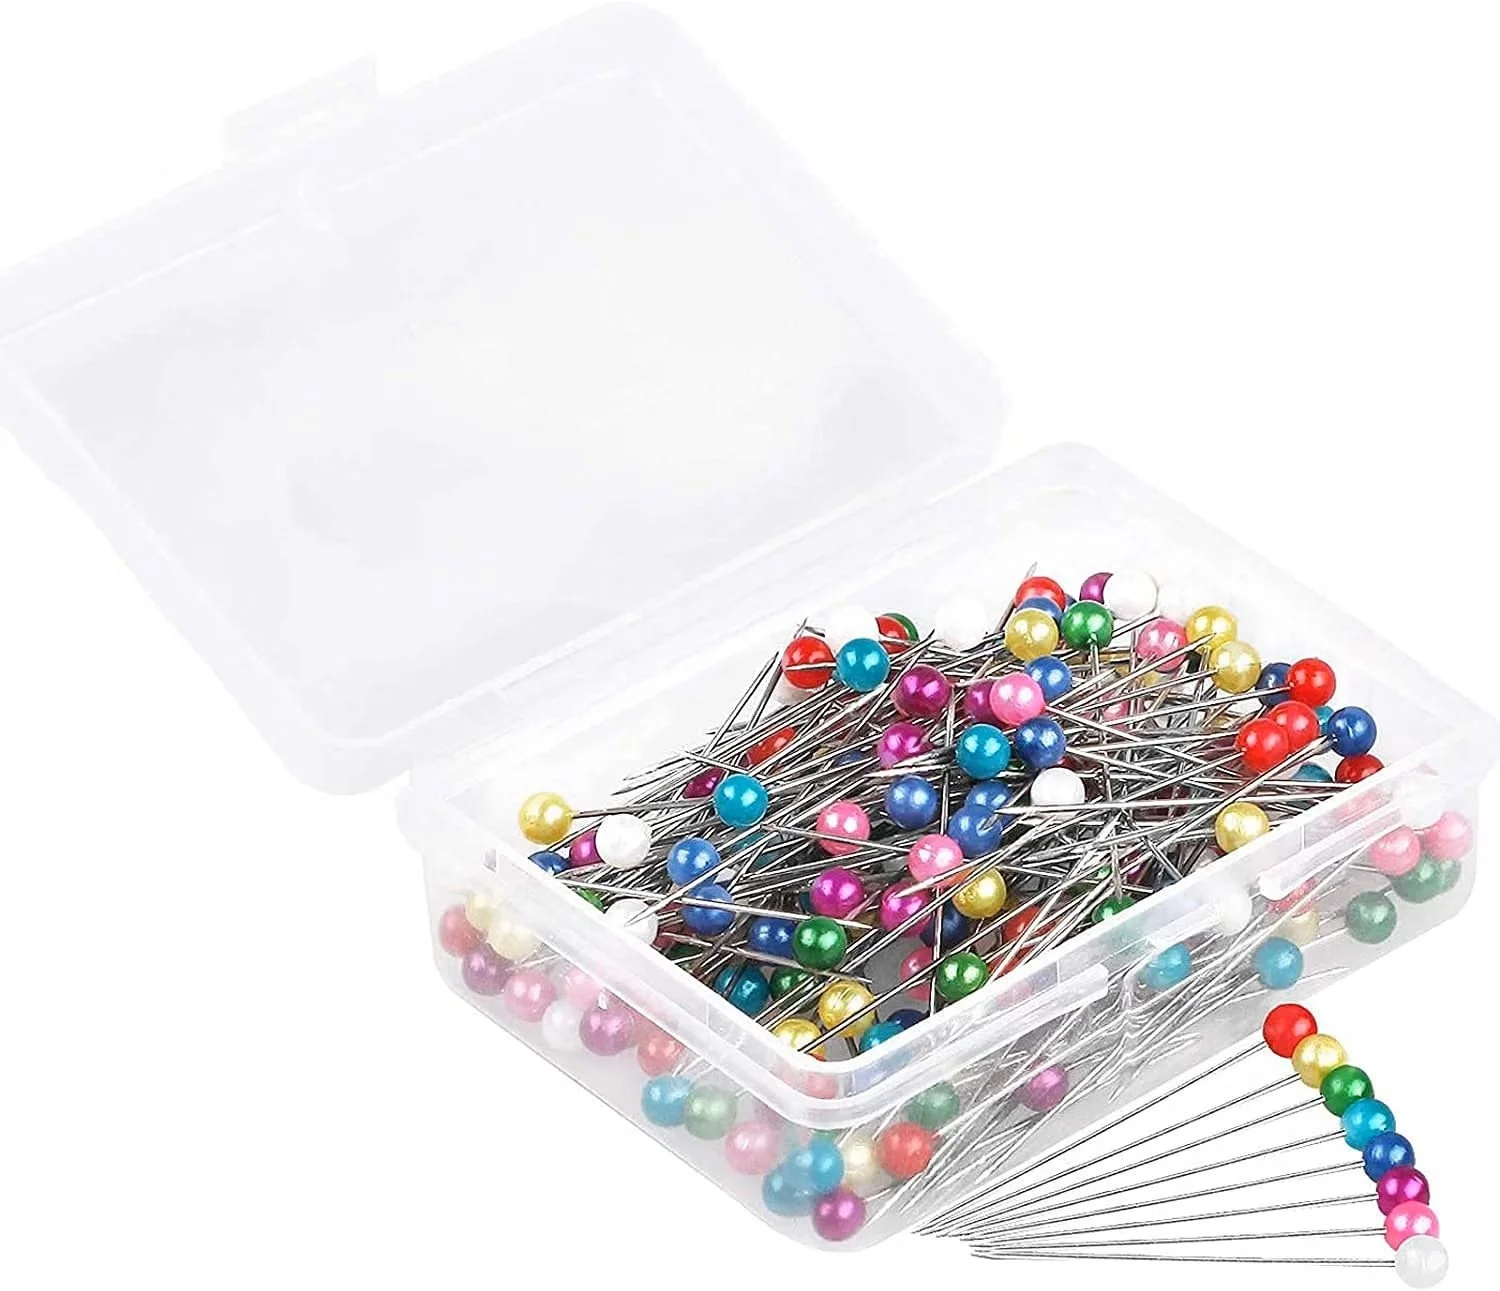
  • Pins or clips

  • Hand sewing needle for finishing

My Favorite Supplies (Affiliate Picks 💕)

(Using quality tools really does make a difference—especially when you're wrangling tiny curves like a whale tail 🐋)

🐳 Free Whale Pincushion Pattern

✏️ Pattern Pieces

👉 Download here

The pattern pieces include a 1/4” seam.

🧵 Step-by-Step Instructions

👉 Download step by step photos here

  • Cut your fabric pieces

    • Cut two opposite body pieces

    • Cut one bottom piece

    • Cut two opposite tail pieces

    • Cut two sets of opposite fin pieces

  • Create the face on both body fabric pieces

    • Lay the body fabric down with fabric right side up. Place the body paper pattern on top of the fabric. With the tip of a pencil, poke a hole through the fabric and make a mark at the location of the eye and along the mouth. This will be your guide to inserting the eyes and stitching the mouth. Flip the paper pattern to the other side and repeat with the other body fabric.

    • Using black embroidery floss or crochet thread and needle, backstitch the mouth. Your first stitch will be forward. Backstitch the rest.

    • Snip a tiny hole in the fabric where you made the mark. Insert the plastic eye through the hole on the right side of the fabric and snap into place.

  • Create the fins

    • With fabric right sides together, pin and stitch both fins, leaving the bottom of the fin open.

    • Reverse right side out

  • Create the tail

    • With fabric right sides together, pin and stitch the tail, leaving the bottom of the tail open.

    • Reverse right side out.

  • Stitch the body

    • With fabric right sides together, pin and stitch along the top of the body leaving a two inch opening near the back.

    • Pin the fin on the inside of the whale with the top of the fins inside the body. Be sure to place the pin away from the seam line where you will be stitching.

    • Pin the tail to the back of the whale with the top of the tail facing toward the top. Be sure to place the pin away from the saem line where you will be stitching.

    • With fabric right sides together pin and stitch the bottom fabric to the bottom of the body.

  • Reverse, stuff and close

    • Reverse right side out through the opening at the top.

    • Stuff with polyester stuffing and crushed walnuts.

    • Stitch the opening closed by hand with a ladder stitch.

💡 Tips for a Professional Finish

  • Use a chopstick or turning tool to shape the tail

  • Slightly overstuff for that plush, rounded look

  • Add a tiny embroidered eye for personality 👀

🎨 Make It Your Own

This whale loves a wardrobe change:

  • 🐋 Ocean blues (classic whale vibes)

  • 🌈 Bright prints for a playful craft room

  • 🎃 Halloween fabrics for a spooky “boo-whale”

  • 🎄 Holiday prints for giftable pincushions

🔗 Love Plush Sewing? Start Here!

If you enjoyed this project, you’ll definitely want to check out more:

❓ FAQs

Can I hand sew this?
Yes! It’s a great beginner hand-sewing project.

What’s the best stuffing for a pincushion?
Polyfill works great, but adding a bit of weight (like walnut shells) helps stabilize it.

Can I sell finished whales?
Yes—handmade items are typically fine to sell, but avoid reselling the pattern itself.

🧵 Bonus Tip

Make a matching set with different sizes or fabrics and bundle them as a “Sewing Desk Starter Kit”—super cute and sellable.


⚠️ Affiliate Disclosure

This post contains affiliate links. That means I may earn a small commission (at no extra cost to you) if you make a purchase—thank you for supporting my sewing adventures! 💕

 
Next
Next

Ask Gary: Questionable Sewing Advice from Your Emotional Support Spider