How to Make Plushies Look Professional
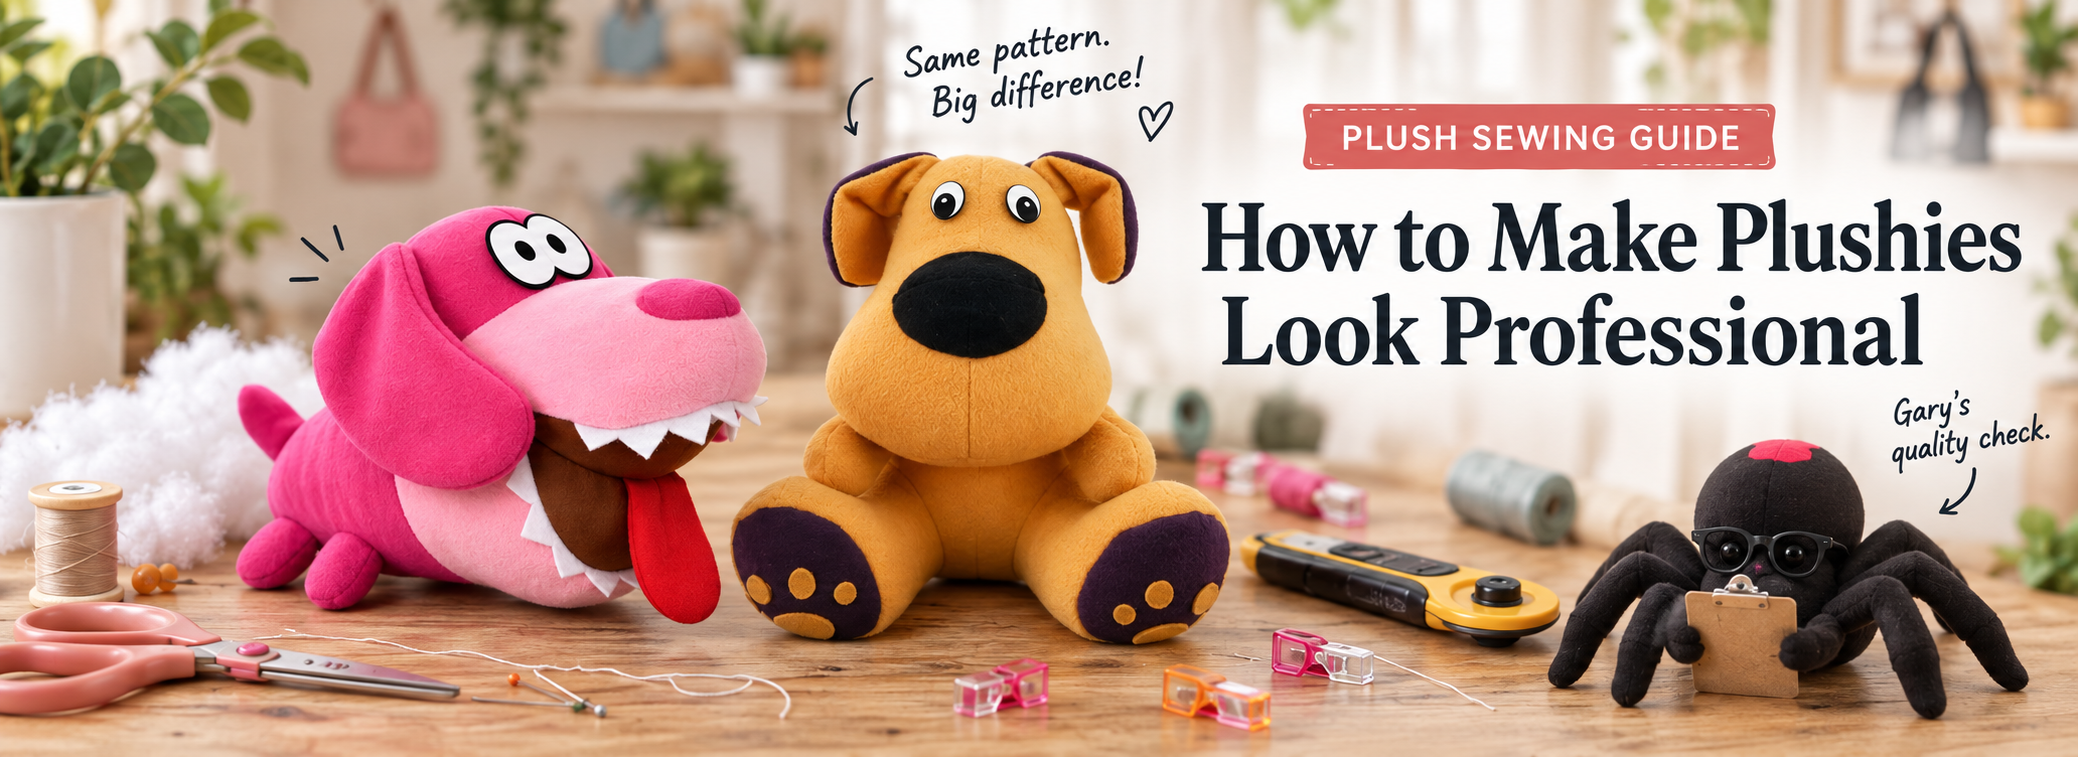
Ever sewn a plushie that came out fine… but not quite “boutique shop fabulous”? Let’s fix that—with a few pro tricks and the exact tools that make them easier.

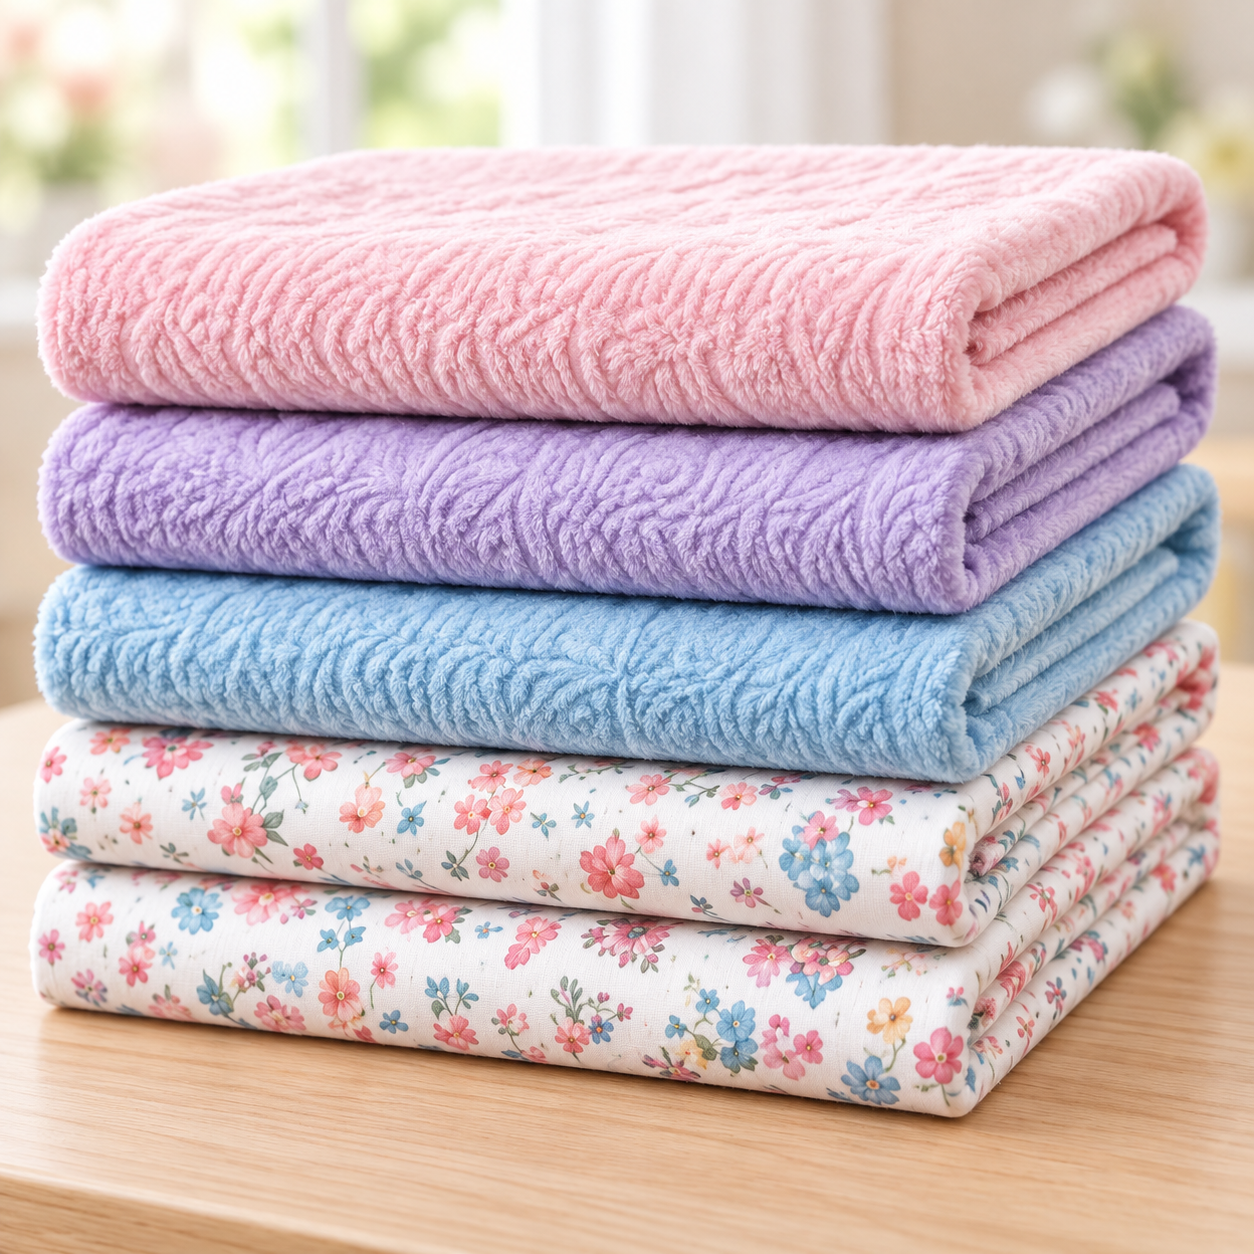
1. Choose the Right Fabric (Foundation First)
Not every fabric behaves the same way. Your fabric choice affects the shape, softness, stretch, and overall finish of the completed toy.
Good plush-making fabrics
Minky: Extremely soft with a premium feel, but it can stretch and shift.
Fleece: Soft, forgiving, and especially friendly for beginners.
Flannel: Soft but more structured, making it useful for crisp shapes.
Felt: Easy to cut and doesn’t fray, although it has less flexibility.
Quilting cotton: Excellent for detailed shapes and decorative plush projects.
Choose a fabric that suits both the pattern and your current sewing experience. A very stretchy fabric can distort a shape that was designed for woven cotton.
💡 Pair this with quality thread so seams don’t weaken or pucker.
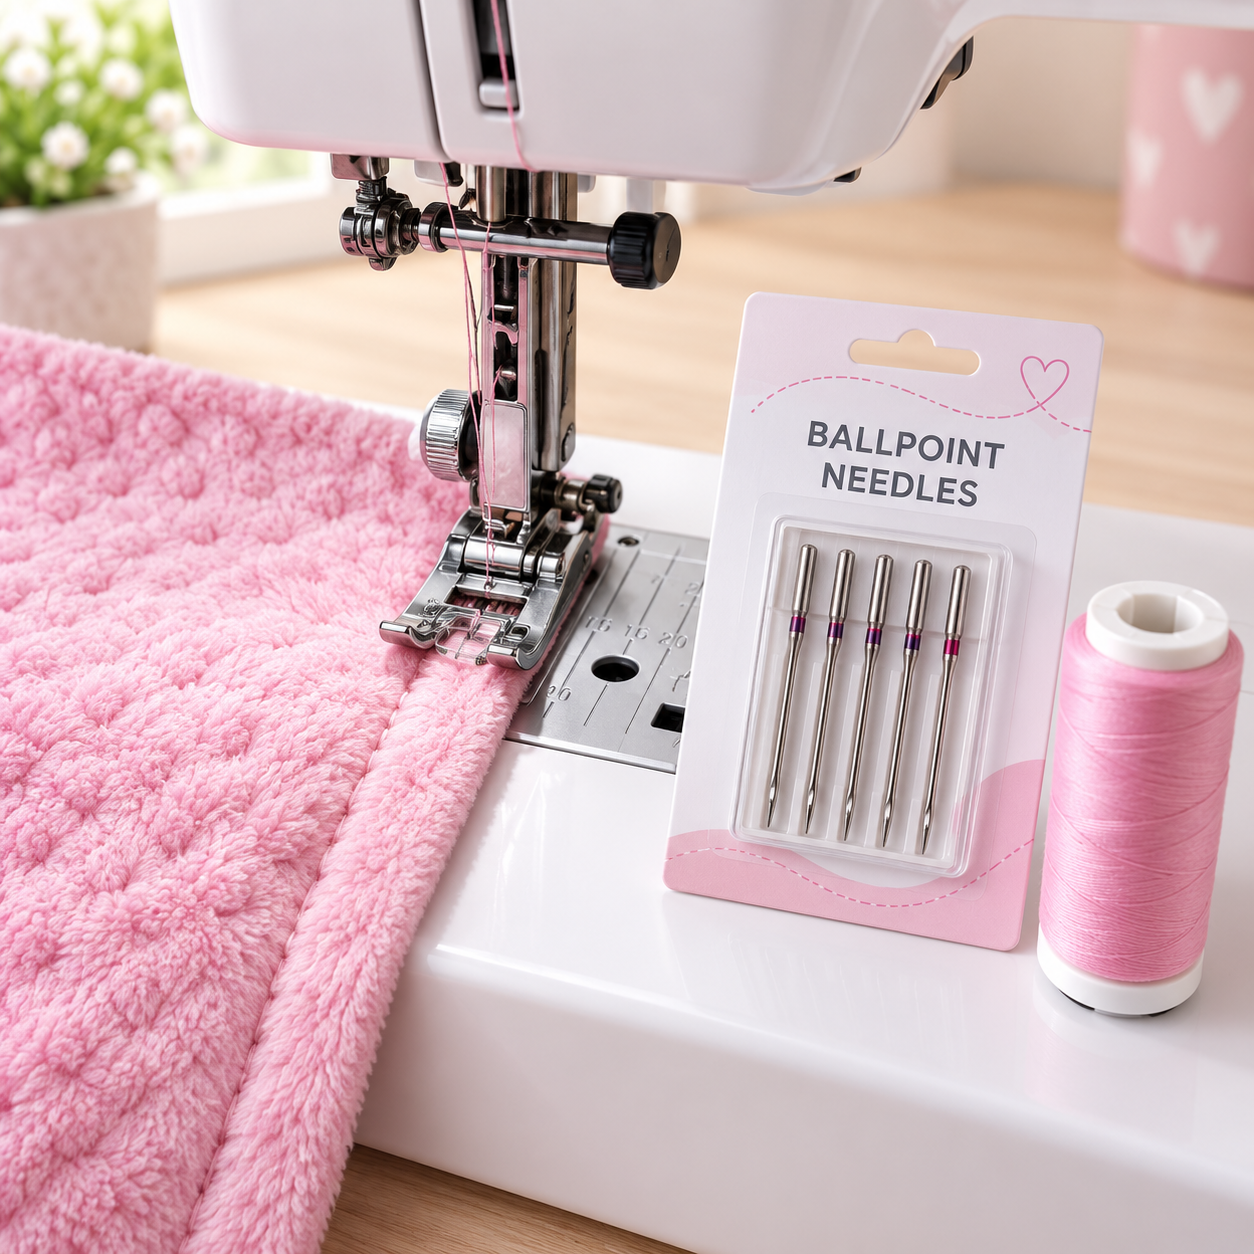
2. Use the Right Needle + Thread Combo
Your stitching quality = EVERYTHING.
Here’s a beginner-friendly combo that works beautifully:
Ballpoint needles for plush/stretch fabrics
Strong polyester thread for clean, durable seams
Recommended:
Schmetz Ball Point Machine Needles - Prevents skipped stitches on stretchy fabrics
Coats & Clark All Purpose Polyester Thread · Strong thread that gives clean, professional seams.
💡 Polyester thread is widely used because it’s durable and works across many fabrics.
3. Cut with Precision
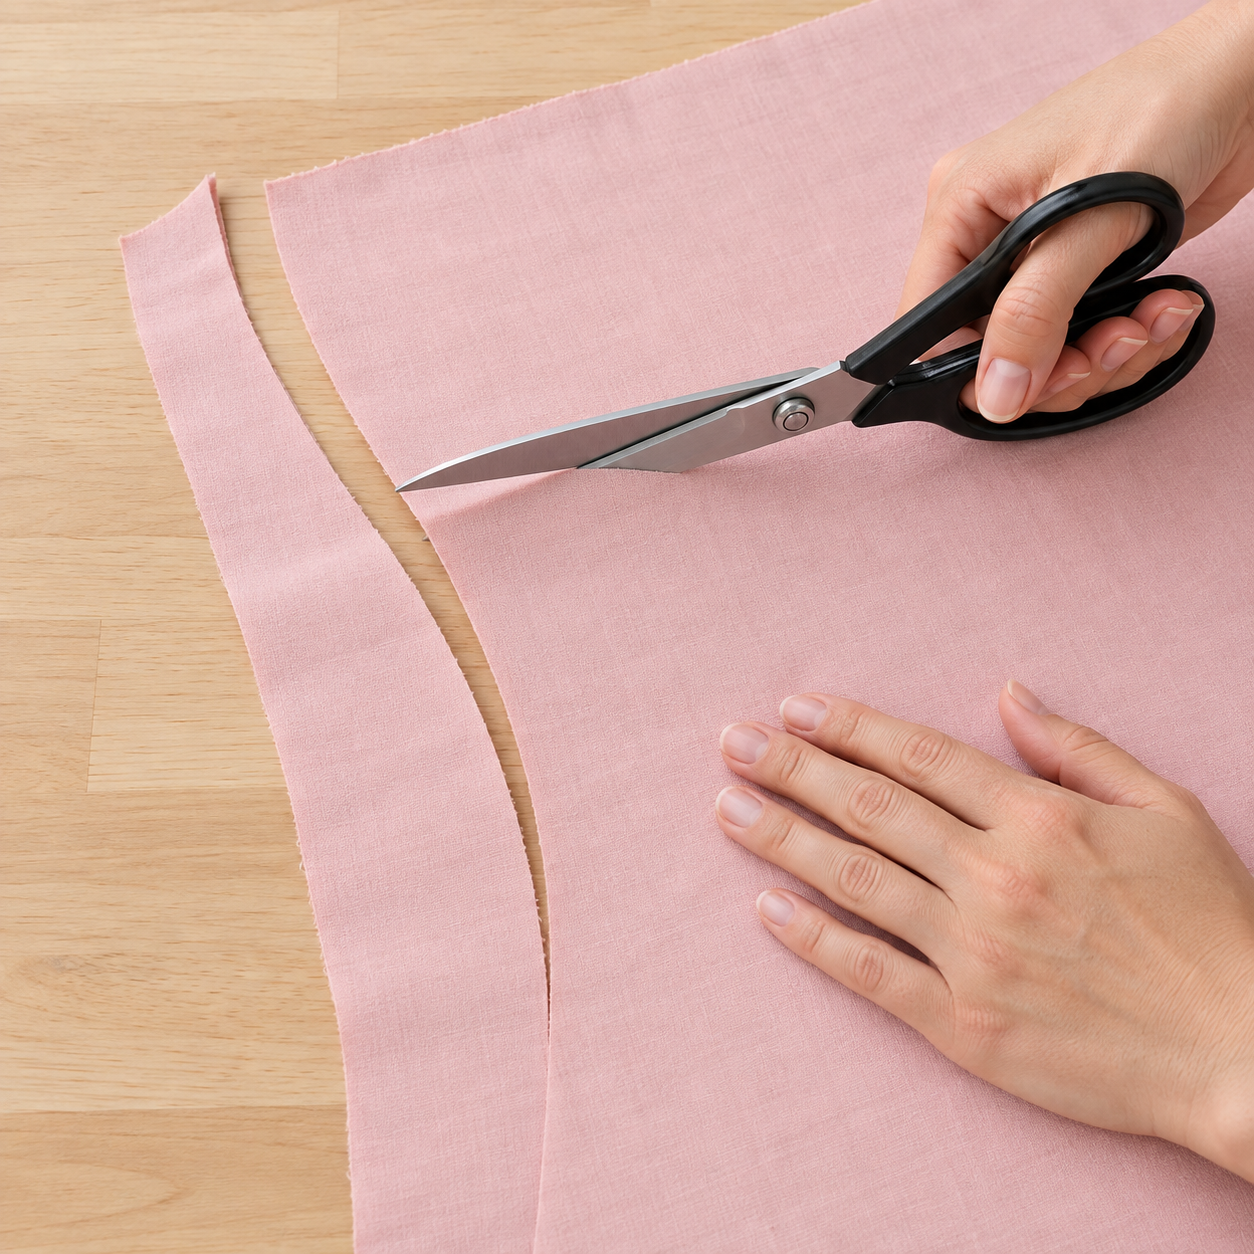
Clean cuts = clean shapes = professional results.
Recommended:
Fiskars 45mm Rotary Cutter · Glides through fabric for precise, smooth cuts—especially curves and layers.
Heavy Duty Fabric Shears · Reliable sharp scissors for detailed cutting and small pattern pieces.
💡 Rotary cutters are loved because they cut smoothly and accurately—even through multiple layers.
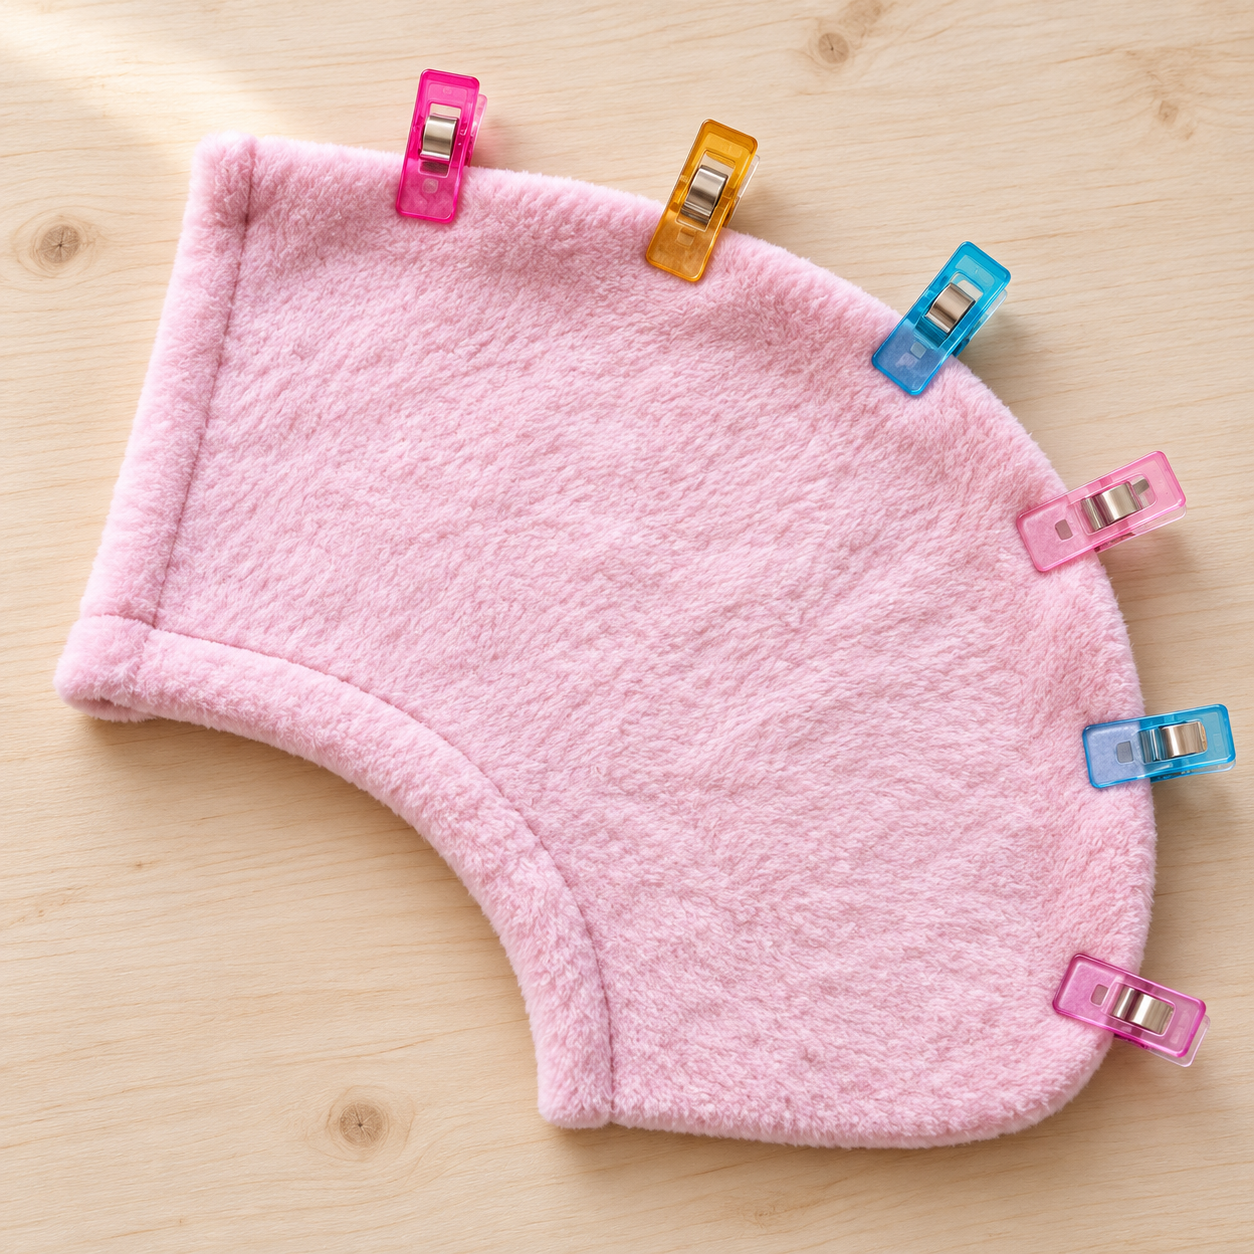
4. Pin or Clip Like a Pro
No fancy tool required here—but this is where accuracy locks in. This step prevents twisting and warped shapes later. More pinning takes longer but will definitely improve the look of the seams.
👉 Pair with:
Good cutting tools
Careful alignment before sewing
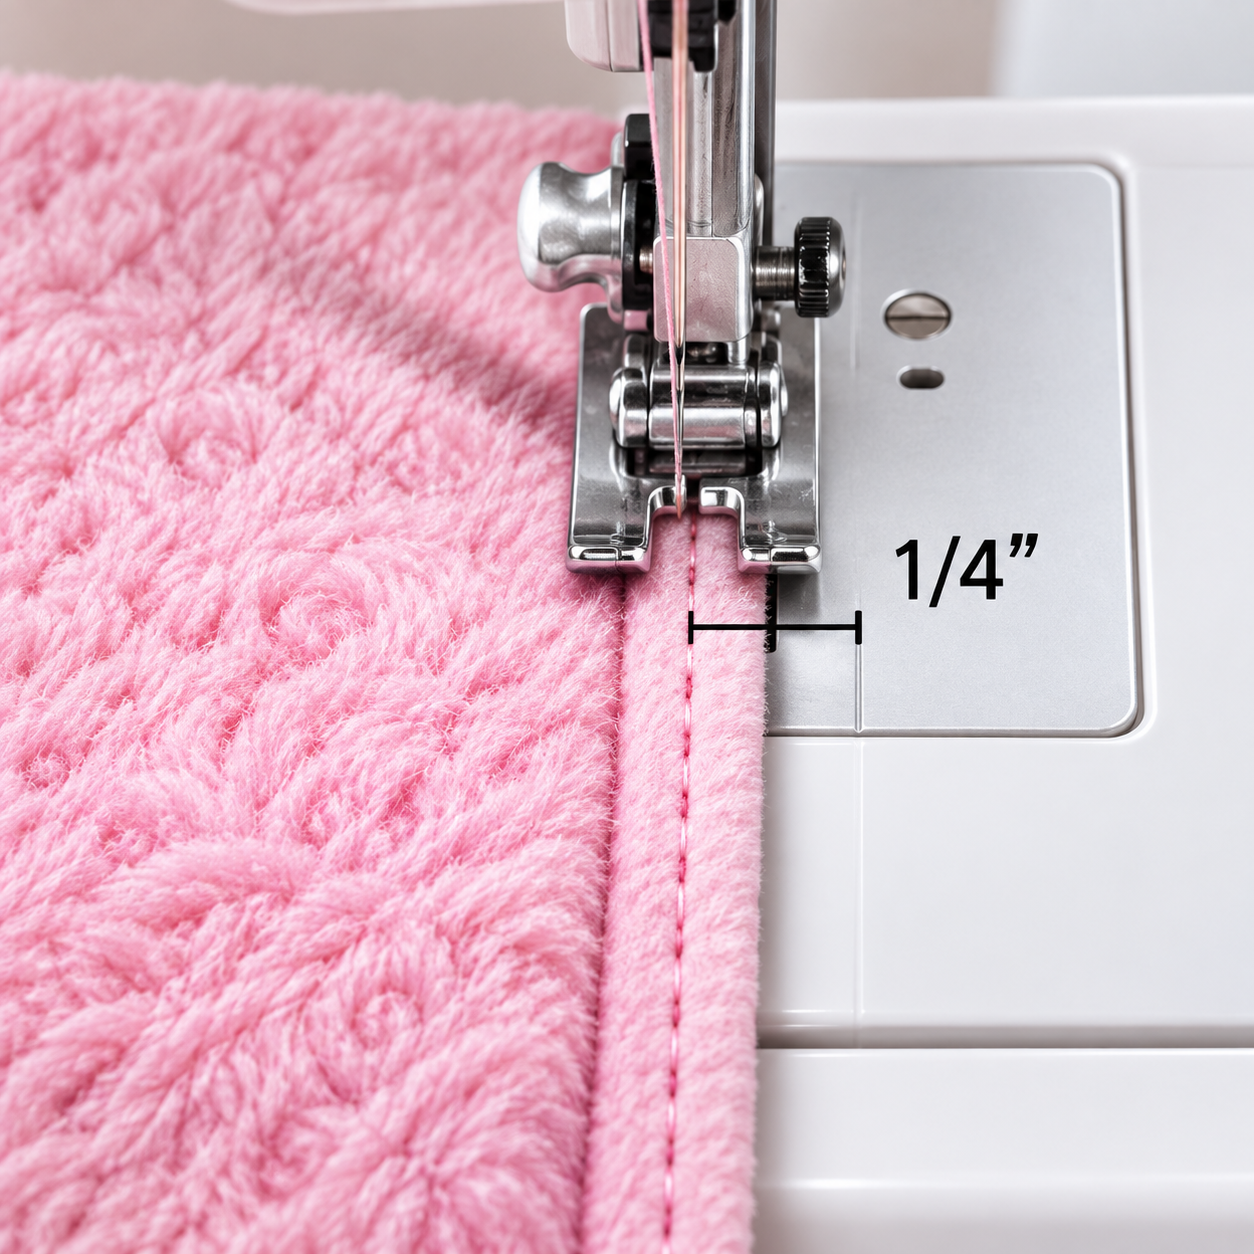
5. Master Your Seam Allowance
Consistency is what separates “handmade” from “handcrafted.”
👉 Your tools doing the heavy lifting here:
Even stitching (needle + thread combo above)
Clean cut edges (rotary cutter = MVP)
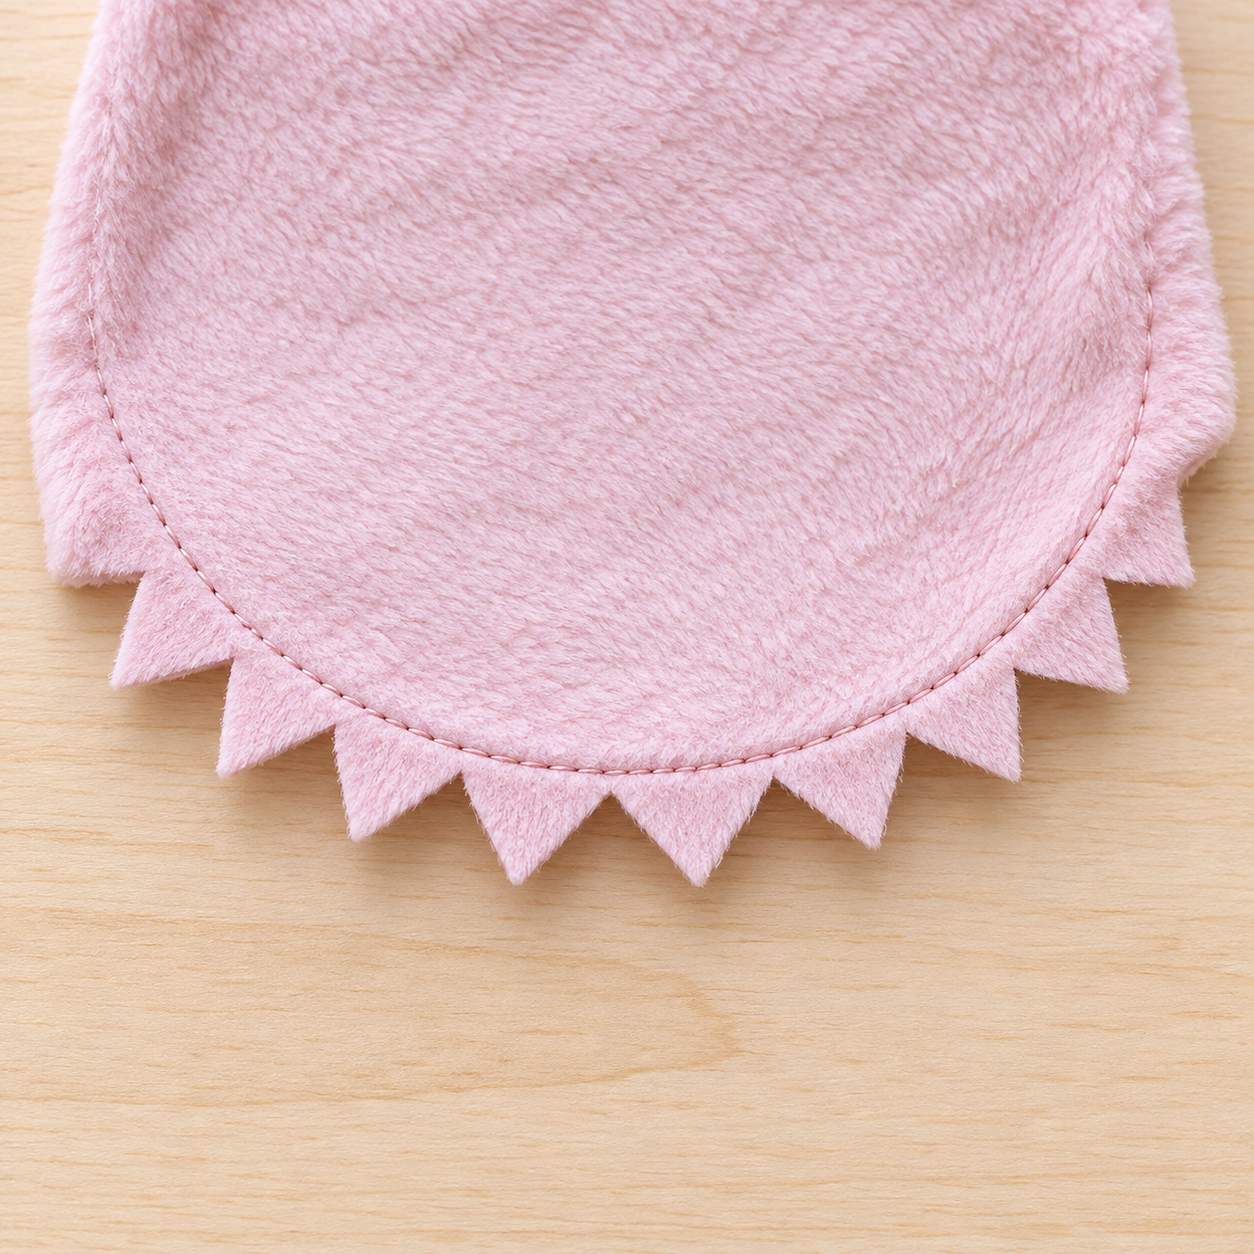
6. Clip Curves & Trim Bulk
This step = instant glow-up.
No special tool needed—but sharp scissors help a LOT:
👉 Use:
Detail scissors like Fiskars Micro-Tip Precision Scissors · Perfect for trimming curves and tiny seam allowances without bulk.
7. Stuff Firmly (But Smartly)
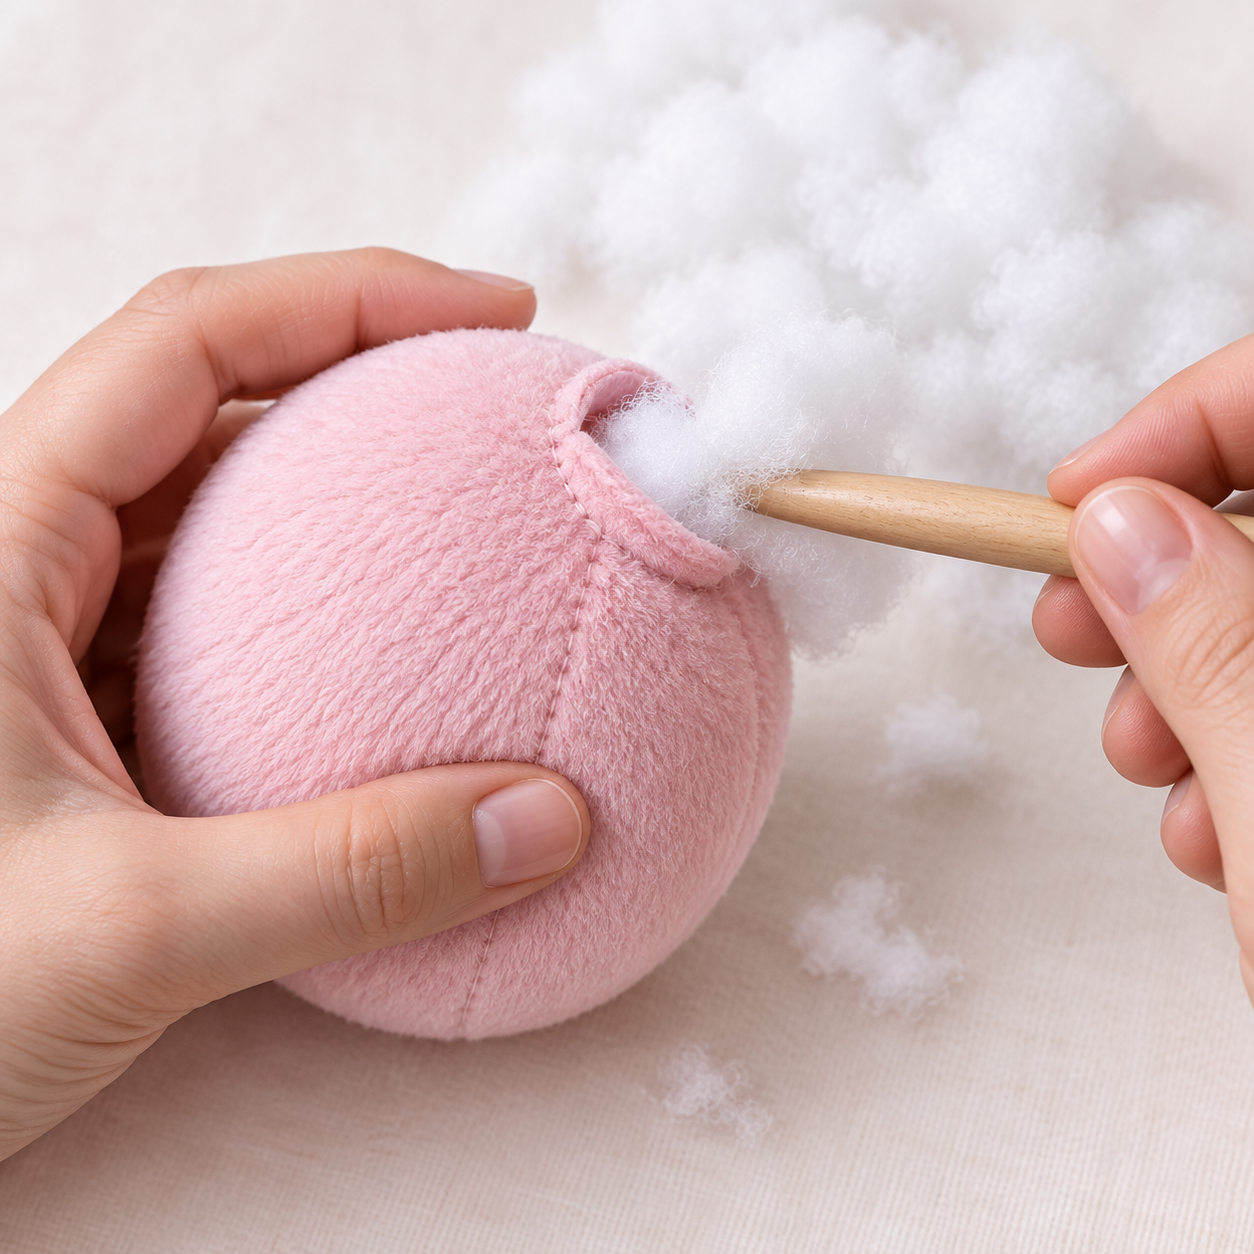
Lumpy stuffing = the fastest way to ruin a beautiful plush. Stuff in small amounts.
Recommended:
Clover Stuffing Tool · Helps pack stuffing evenly into tight corners for smooth, professional shaping.
💡 This tool is a secret weapon for legs, arms, corners, tiny spaces.
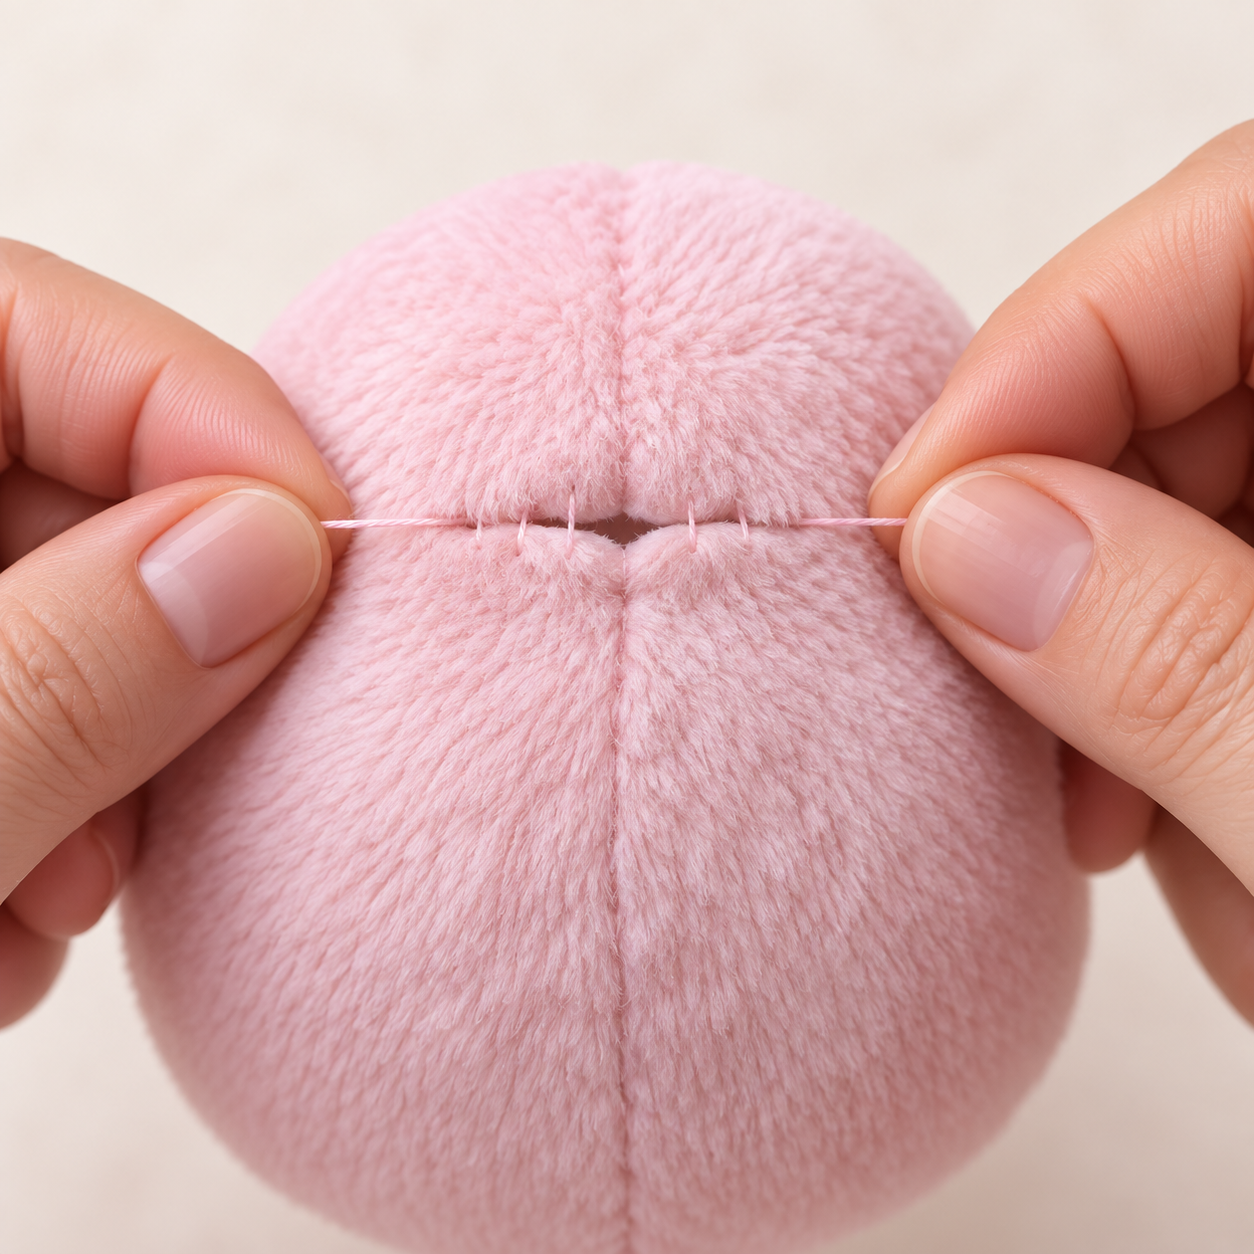
8. Close Seams Invisibly
No product needed—just technique:
👉 Use a ladder stitch:
Small stitches
Even spacing
Gentle tension
This is your “no one can tell how it’s made” moment.
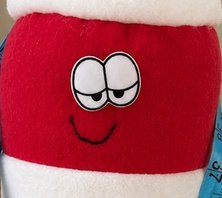
9. Perfect the Face
This is where personality lives.
👉 Helpful extras:
Washable fabric markers for placement
Embroidery thread for clean facial features
Even a tiny shift in eye placement changes the whole vibe.
10. Final Touches = Instant Professional Finish
Remove any fuzz, loose stuffing and lint. This step is wildly underrated.
Recommended:
Lint Roller · Quickly removes lint, fuzz, and threads for a clean, polished final look.
❓ FAQ: Making Plushies Look Professional
Q: What’s the fastest upgrade I can make?
A: Better stuffing + lint roller = instant glow-up.
Q: Why do my seams look messy?
A: Usually thread quality or wrong needle type.
Q: Do I really need a rotary cutter?
A: Not required—but once you try it, you won’t go back
Affiliate Disclosure: This post contains affiliate links. If you purchase something through one of these links, Sew Cute Patterns may earn a small commission at no additional cost to you. As an Amazon Associate, I earn from qualifying purchases.
Shop Patterns | sewing tutorials | sewing blog | Shop sewing supplies