Involving Little Hands in Plush Toy Making
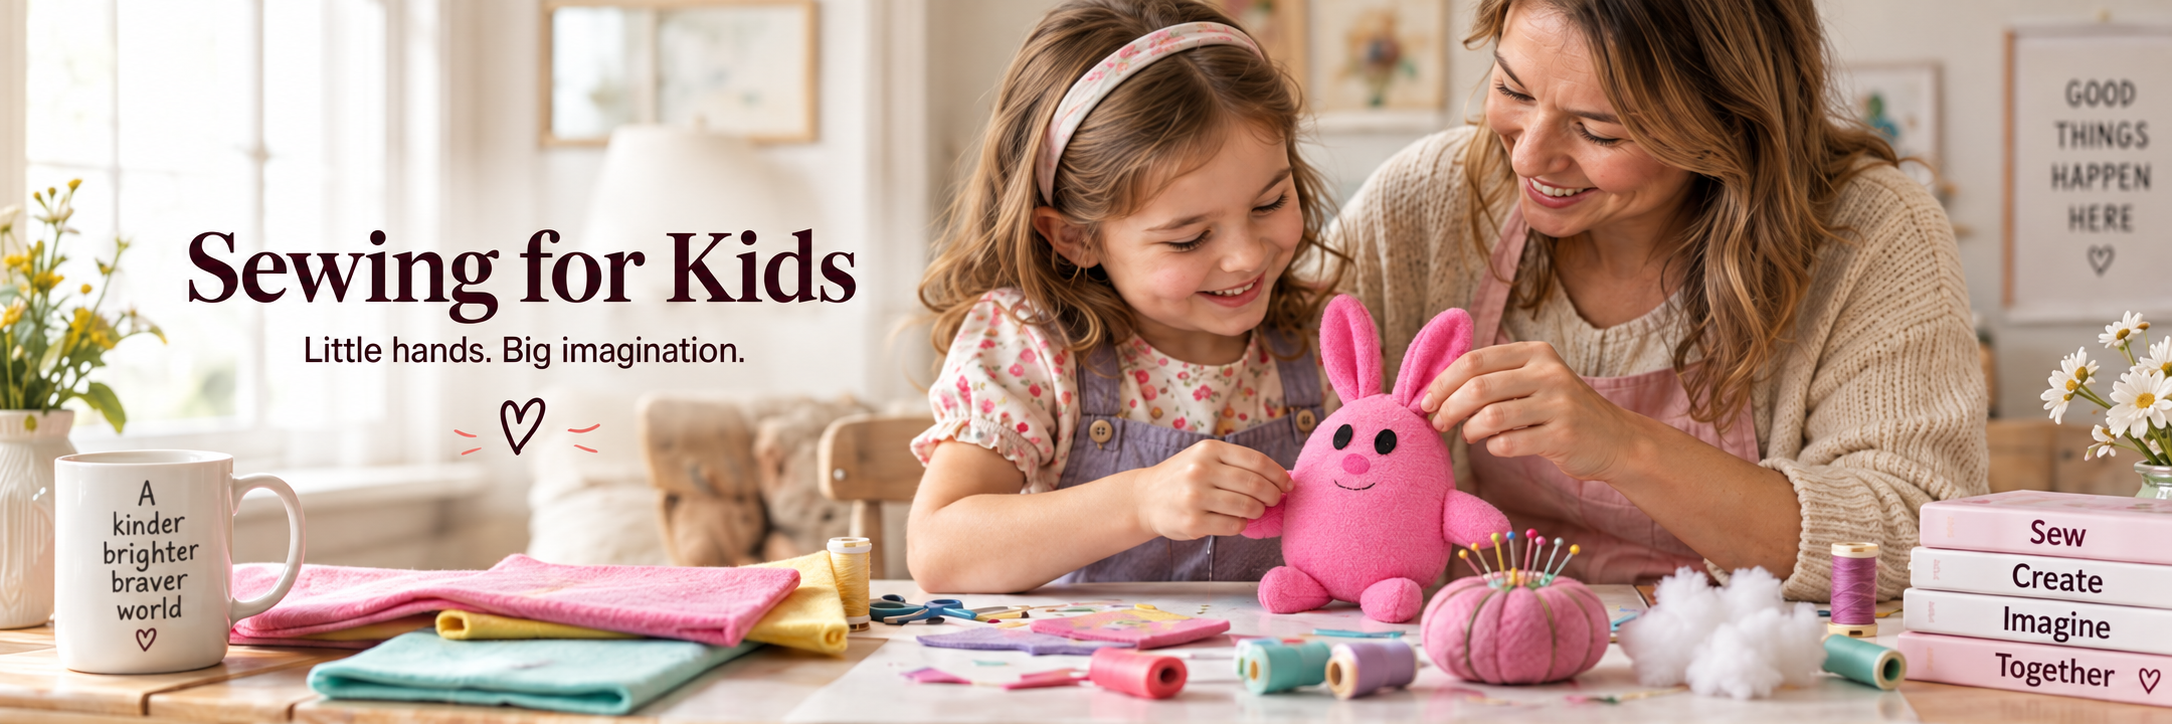
Sewing with kids is about so much more than a finished toy. It’s a chance to slow down, create together, and help little ones discover what they can do with their own hands. Whether you’re stitching on a rainy afternoon or starting a new family tradition, plush toy making is a joyful, screen-free way to build creativity, confidence and connection - one stitch at a time.
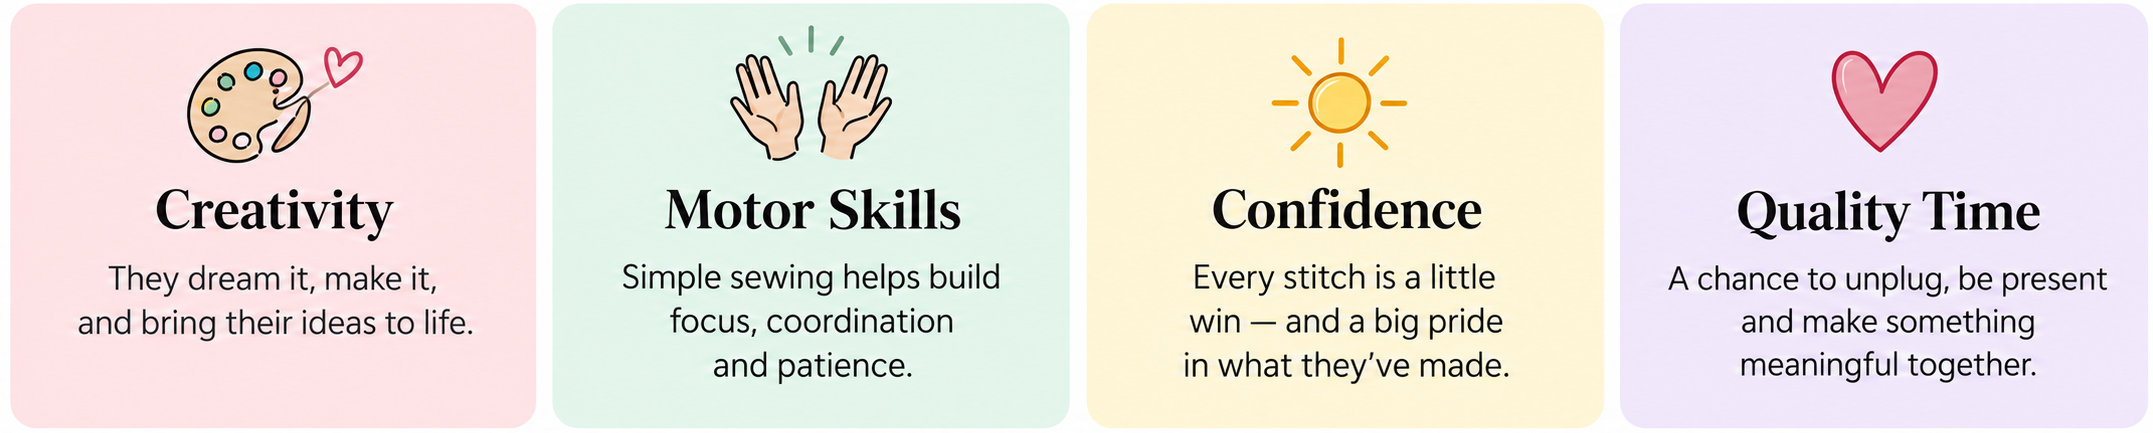
Sewing isn’t just a skill; it’s a journey of creativity, coordination, and confidence. Here’s why it’s a great activity for children:
Getting Started: Tips for Sewing with Kids
Choose Beginner-Friendly Patterns: Start with simple shapes like hearts, stars, or animals.
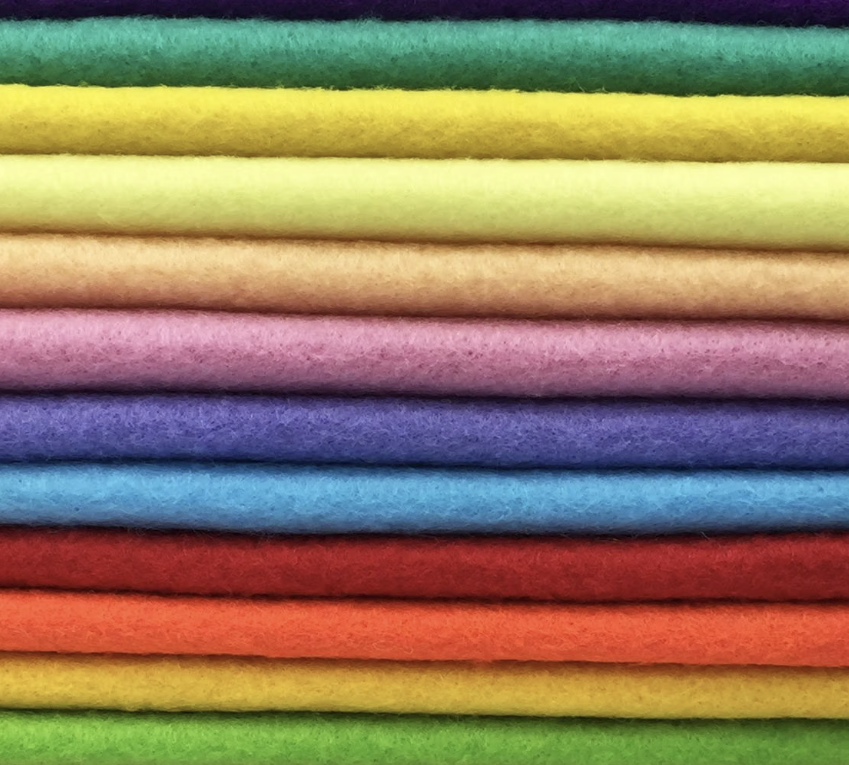
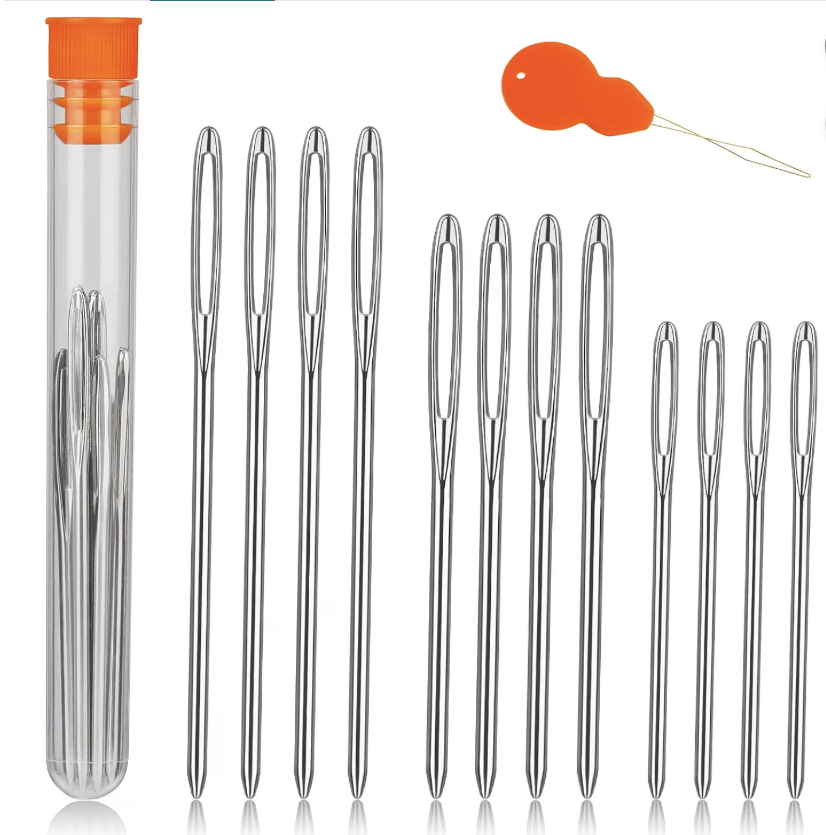
Gather Kid-Safe Supplies: Use plastic needles for young kids or blunt-tip needles for older ones. Felt and fleece are great fabric choices because they’re easy to sew and don’t fray.
Prep the Materials: Cut out fabric pieces beforehand or use pre-cut kits. For younger kids, pre-punch holes for stitching.
Show Them the Basics: Teach simple stitches like running stitch or whipstitch. Practice on scrap fabric first!
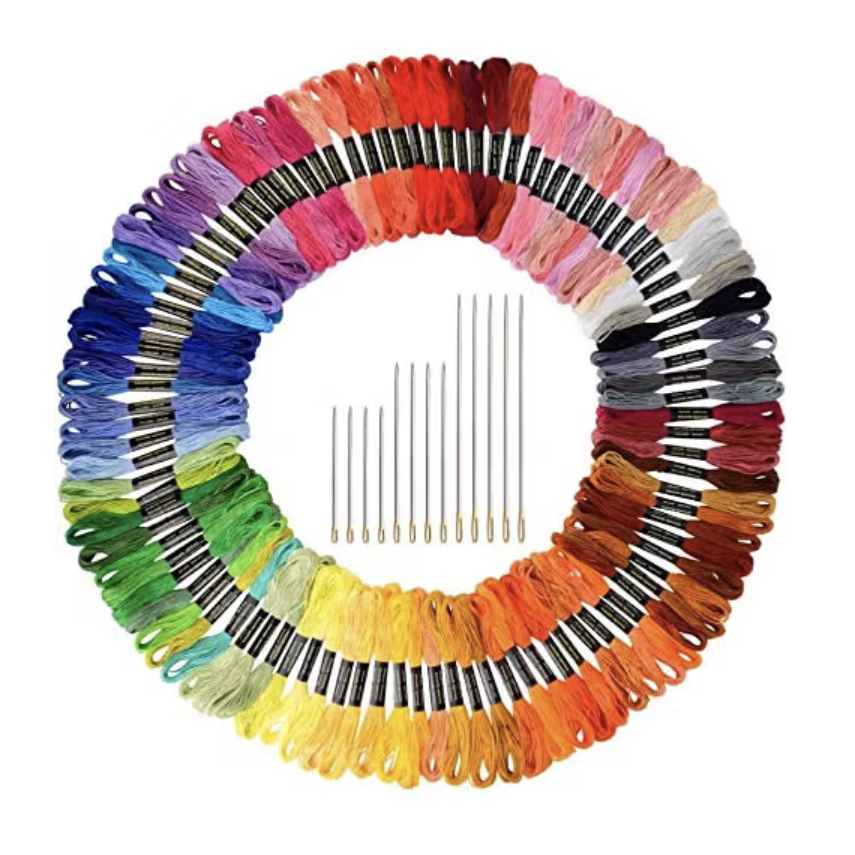
Let Them Decorate: Provide buttons, fabric markers, ribbons, and embroidery floss for customizing their plushies.
Gather Your Supplies
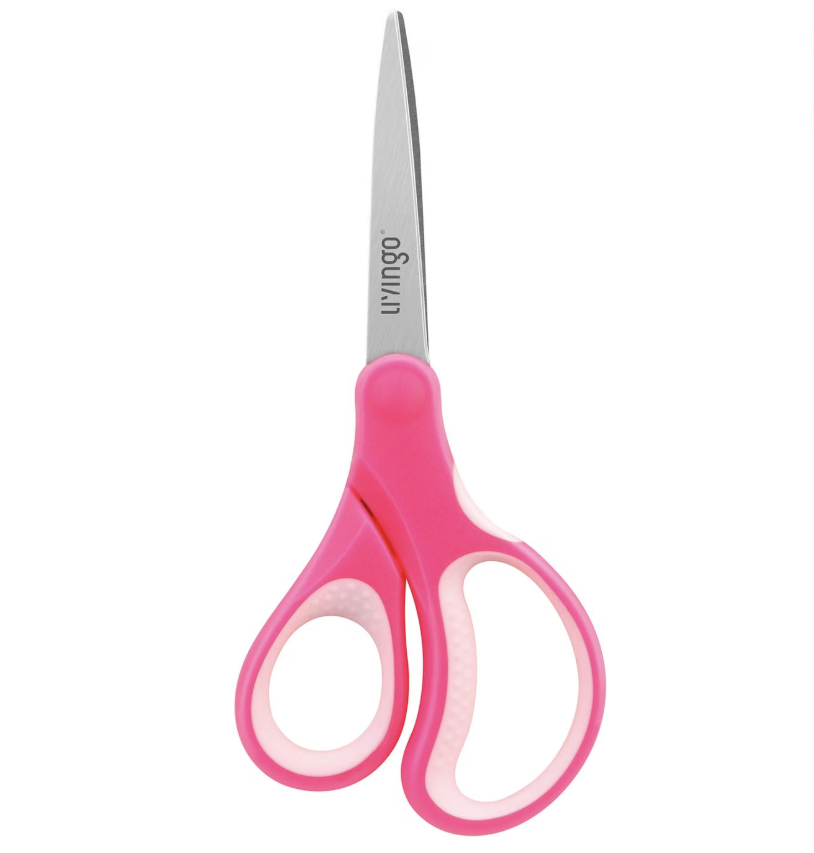
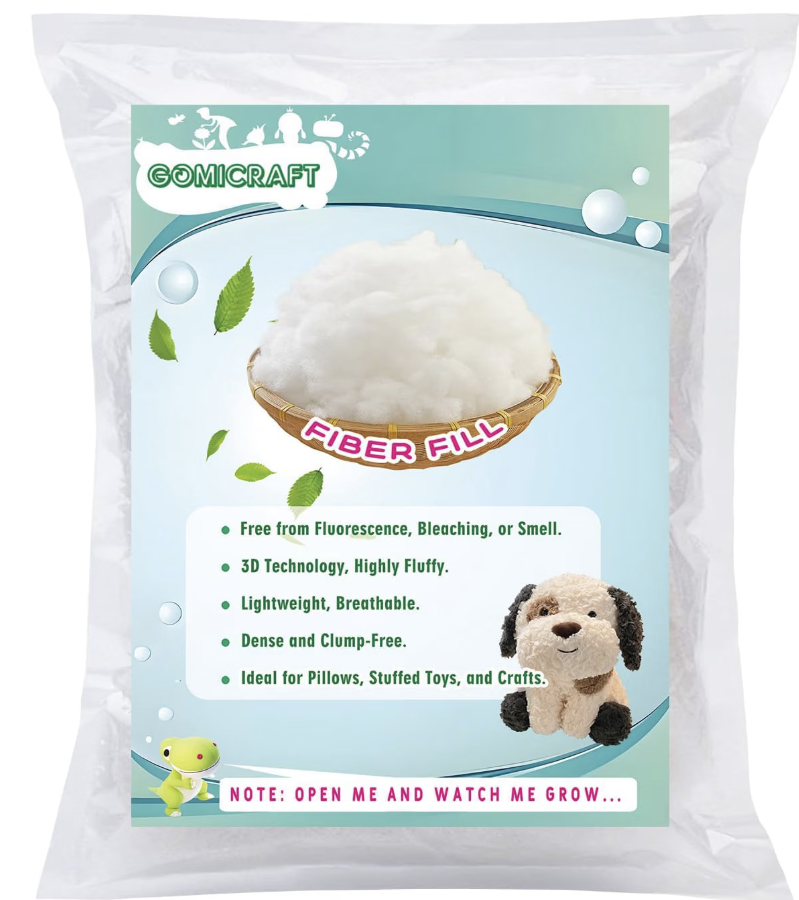
Keep it simple! Here are some kid-friendly essentials to get started.
Plush Toy Ideas for Kids
Here are some adorable and kid-friendly plush toy ideas to try:
Stuffed Animals: Simple shapes like bunnies, cats, or birds are always a hit.
Food Plushies: Felt burgers, donuts, or pizzas are quirky and fun to make.
Holiday Themes: Snowmen, pumpkins, or hearts for seasonal crafting.
Upcycled Toys: Use old T-shirts or scraps to make eco-friendly plushies.
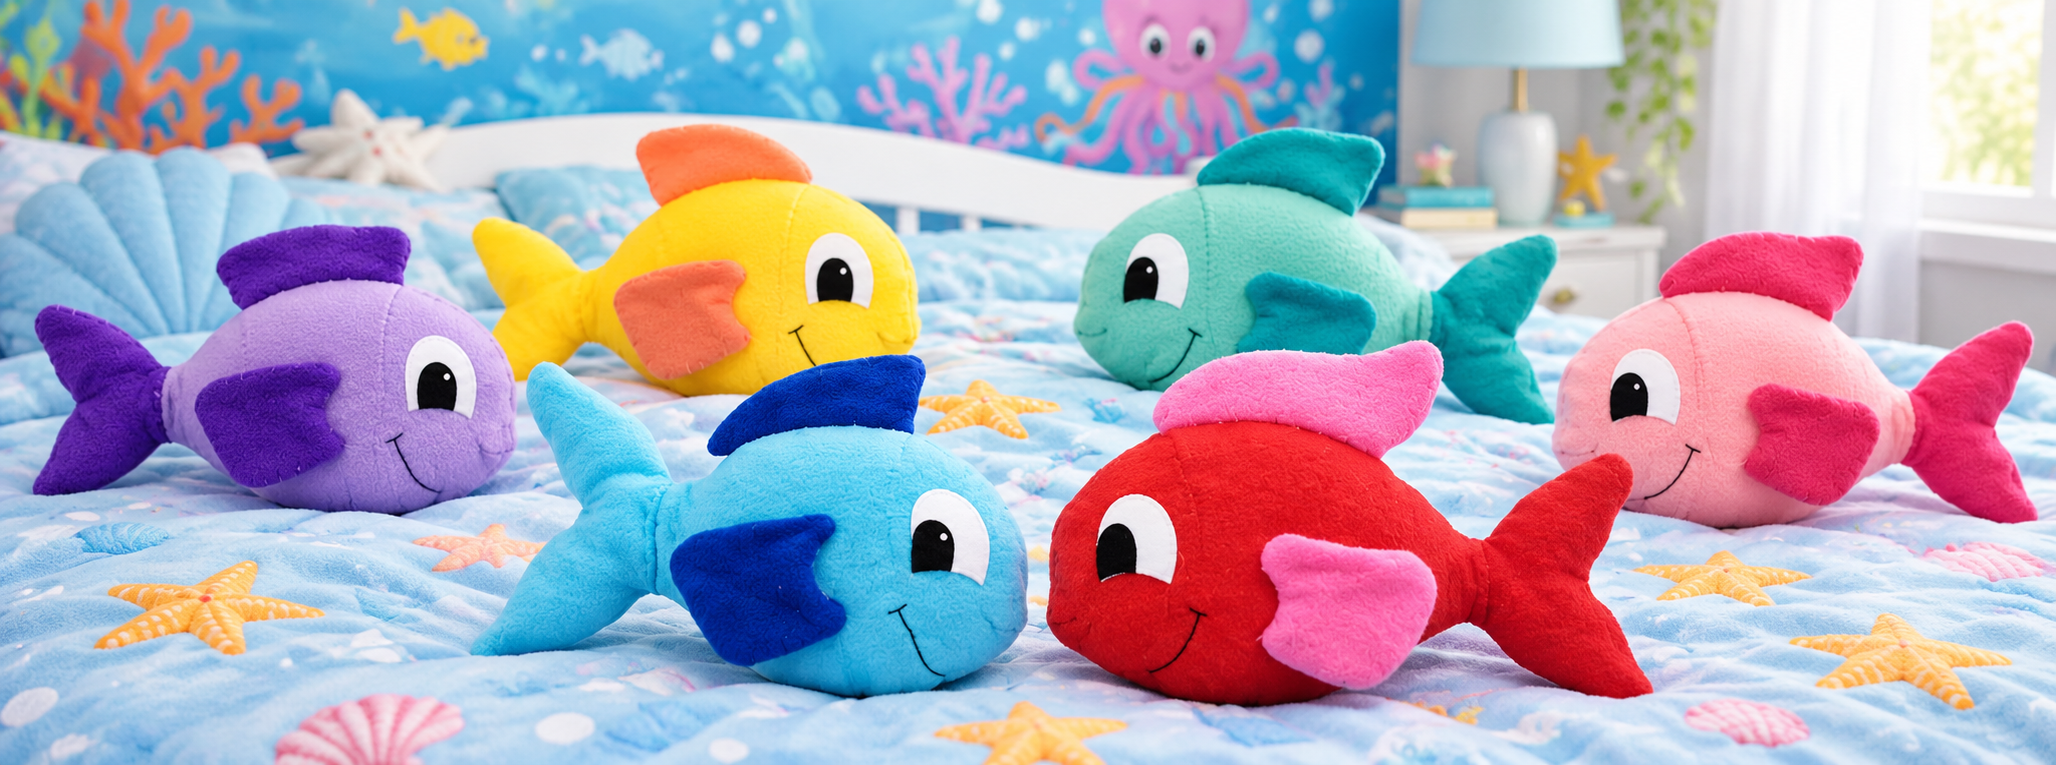
Try the free fish pattern! Use felt fabric and sew it by hand using a whipstitch!
New to whipstitch? Check out this tutorial.
Involving Kids in Every Step
Make the process magical by involving kids from start to finish:
Design It: Let them draw their dream plush toy. Use their sketch as a pattern.
Cut It Out: Help them cut fabric with kid-safe scissors.
Stuff It: Kids love the tactile fun of filling their plushie with stuffing.
Stitch It Shut: Teach them how to sew openings closed with a simple stitch (bonus points if they can backstitch a smiley face!).

Tips for a Seamless Experience
Start Small: Keep the first project quick and easy to maintain their attention.
Add a Story: Encourage them to create a story for their plush toy. Where does it live? What’s its name?
Stay Patient: Celebrate progress, not perfection.
Use Free Tutorials: Check out Sewing Bee University for beginner tutorials.
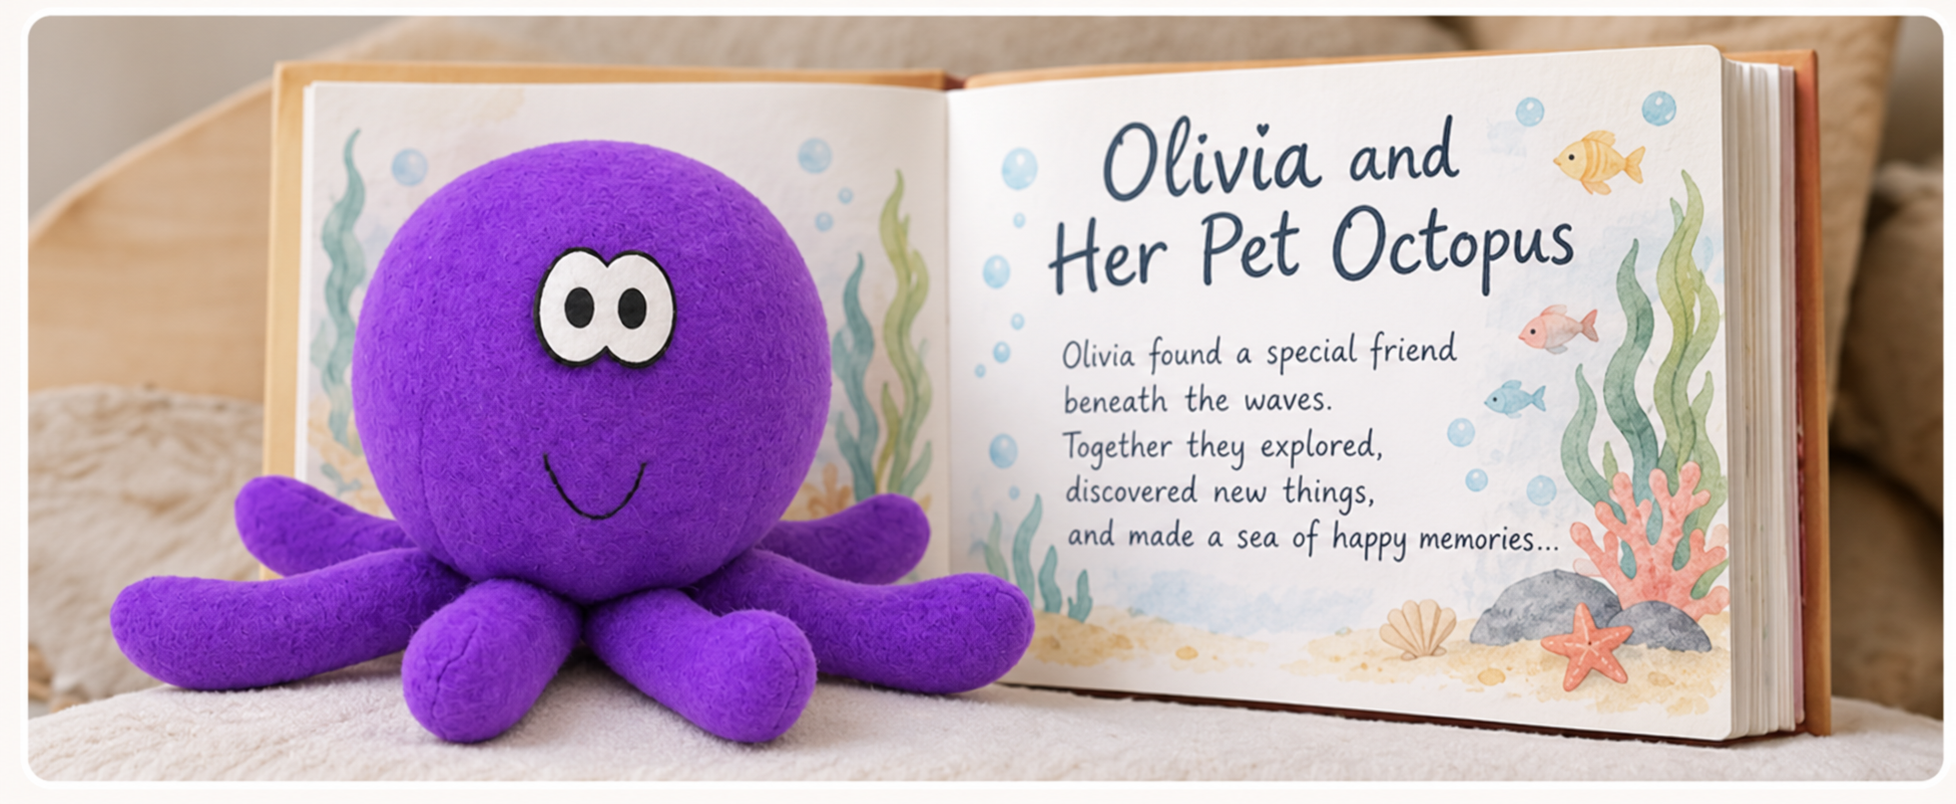
Storytime: Where Sewing and Imagination Meet
Every handmade toy has a story.
Encourage your child to dream up an adventure for their new friend—it’s a beautiful way to build creativity, language skills and a deeper connection to what they’ve made.
What will your toy’s story be? A brave explorer? A kind helper? A dreamer? The possibilities are as endless as their imagination.
Shop Patterns for All Ages
Ready to sew with your little ones? Explore our collection of PDF patterns designed for beginners and families. From simple shapes to interactive patterns with stories and adoption certificates, there’s something for everyone.
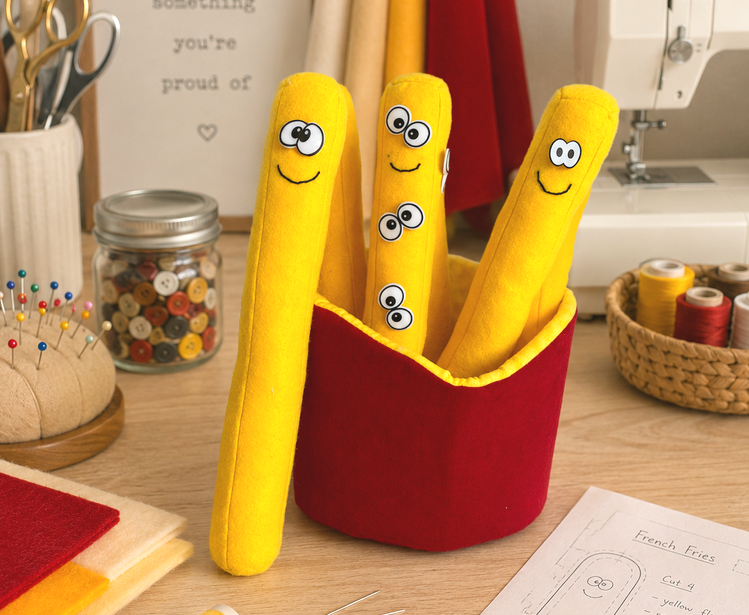
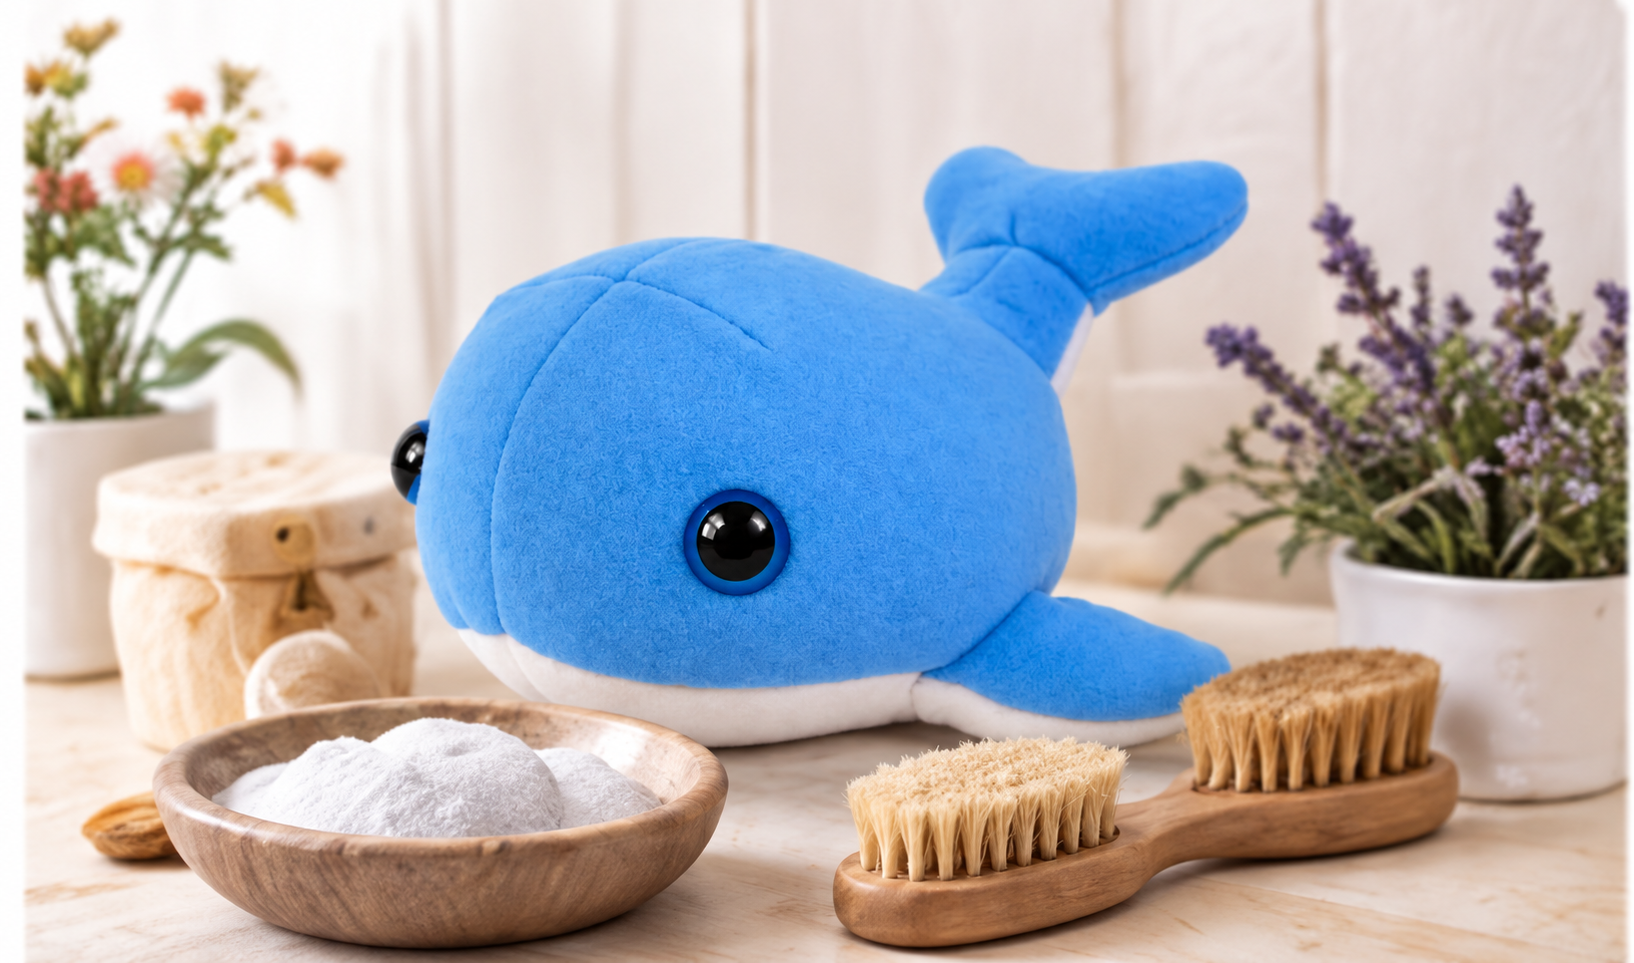
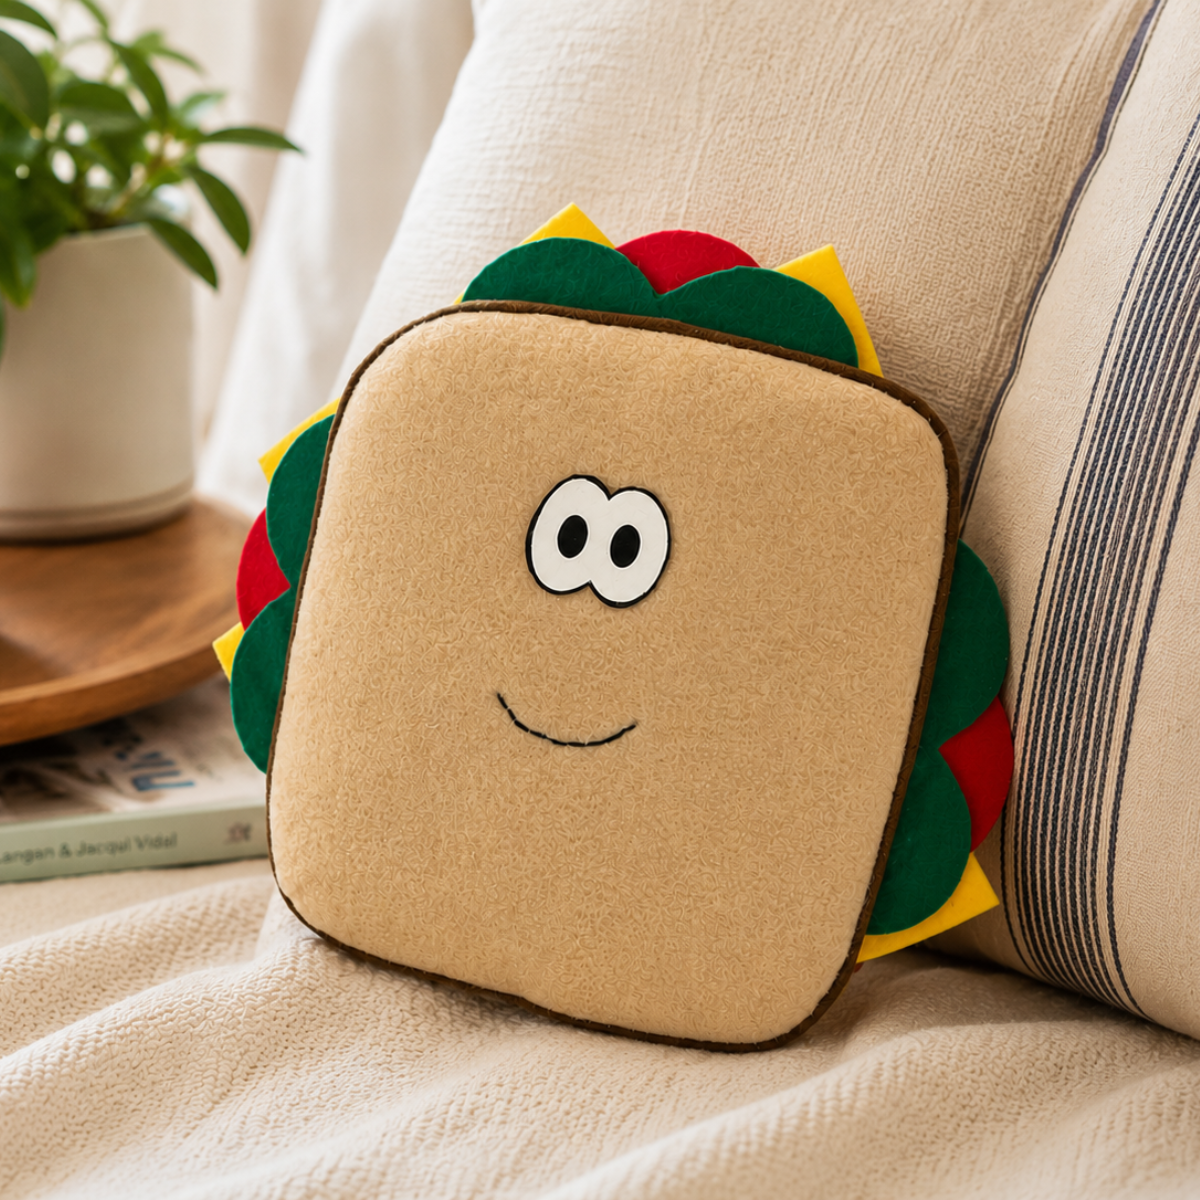
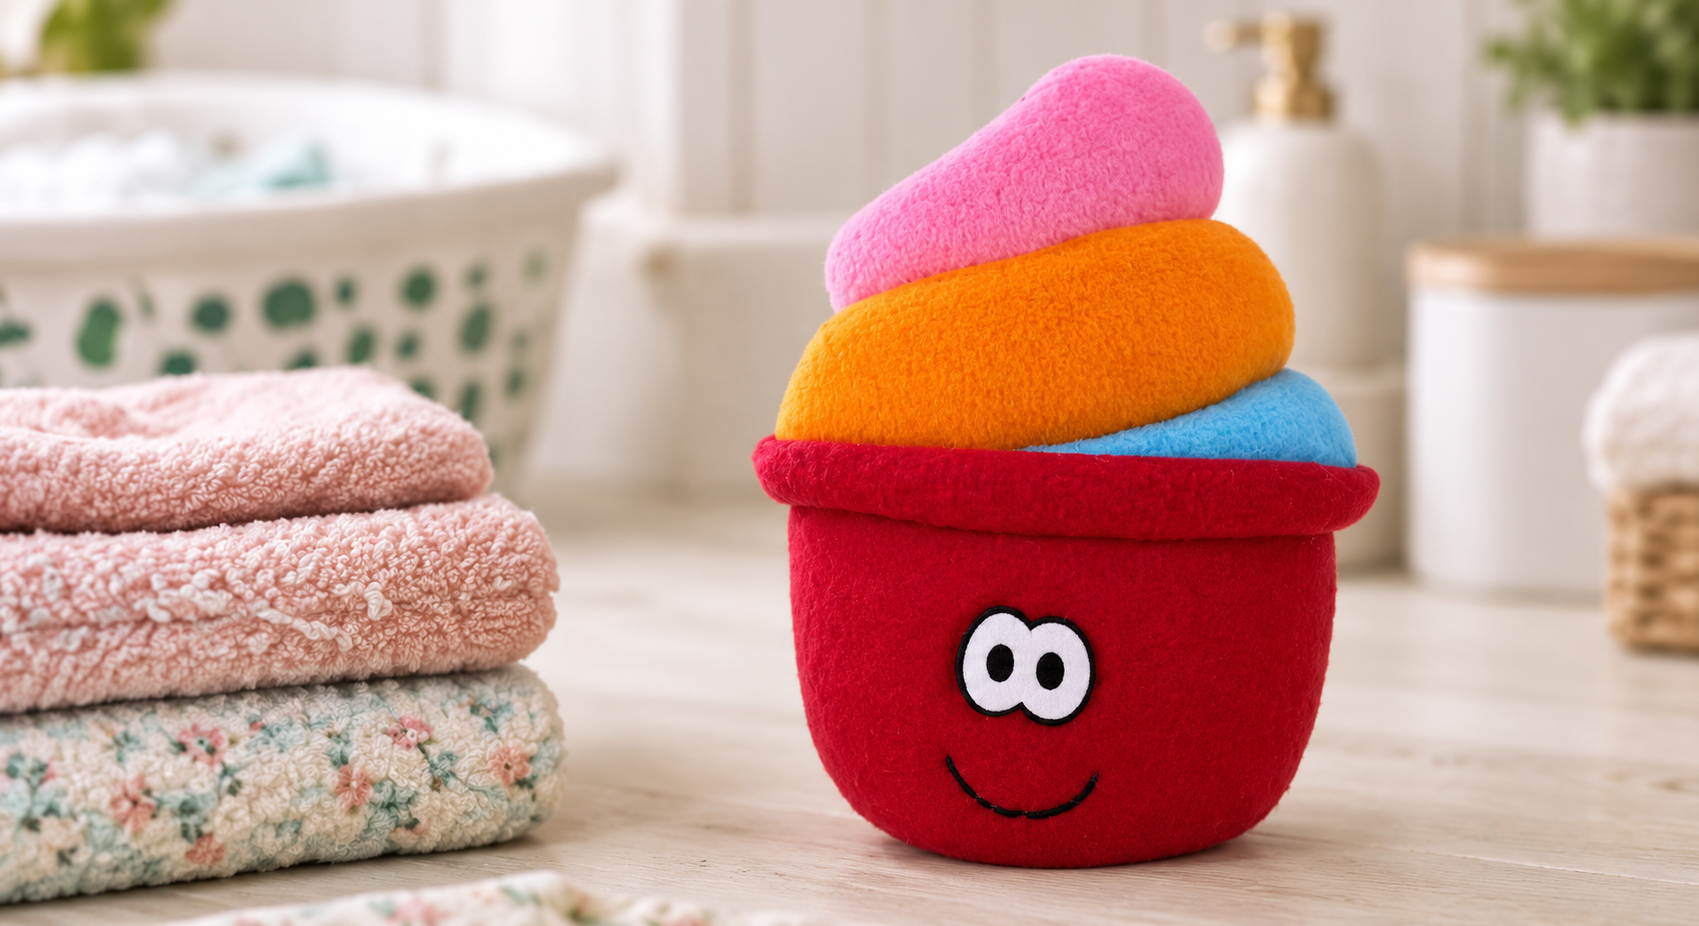
Shop Sewing Kits for Kids!
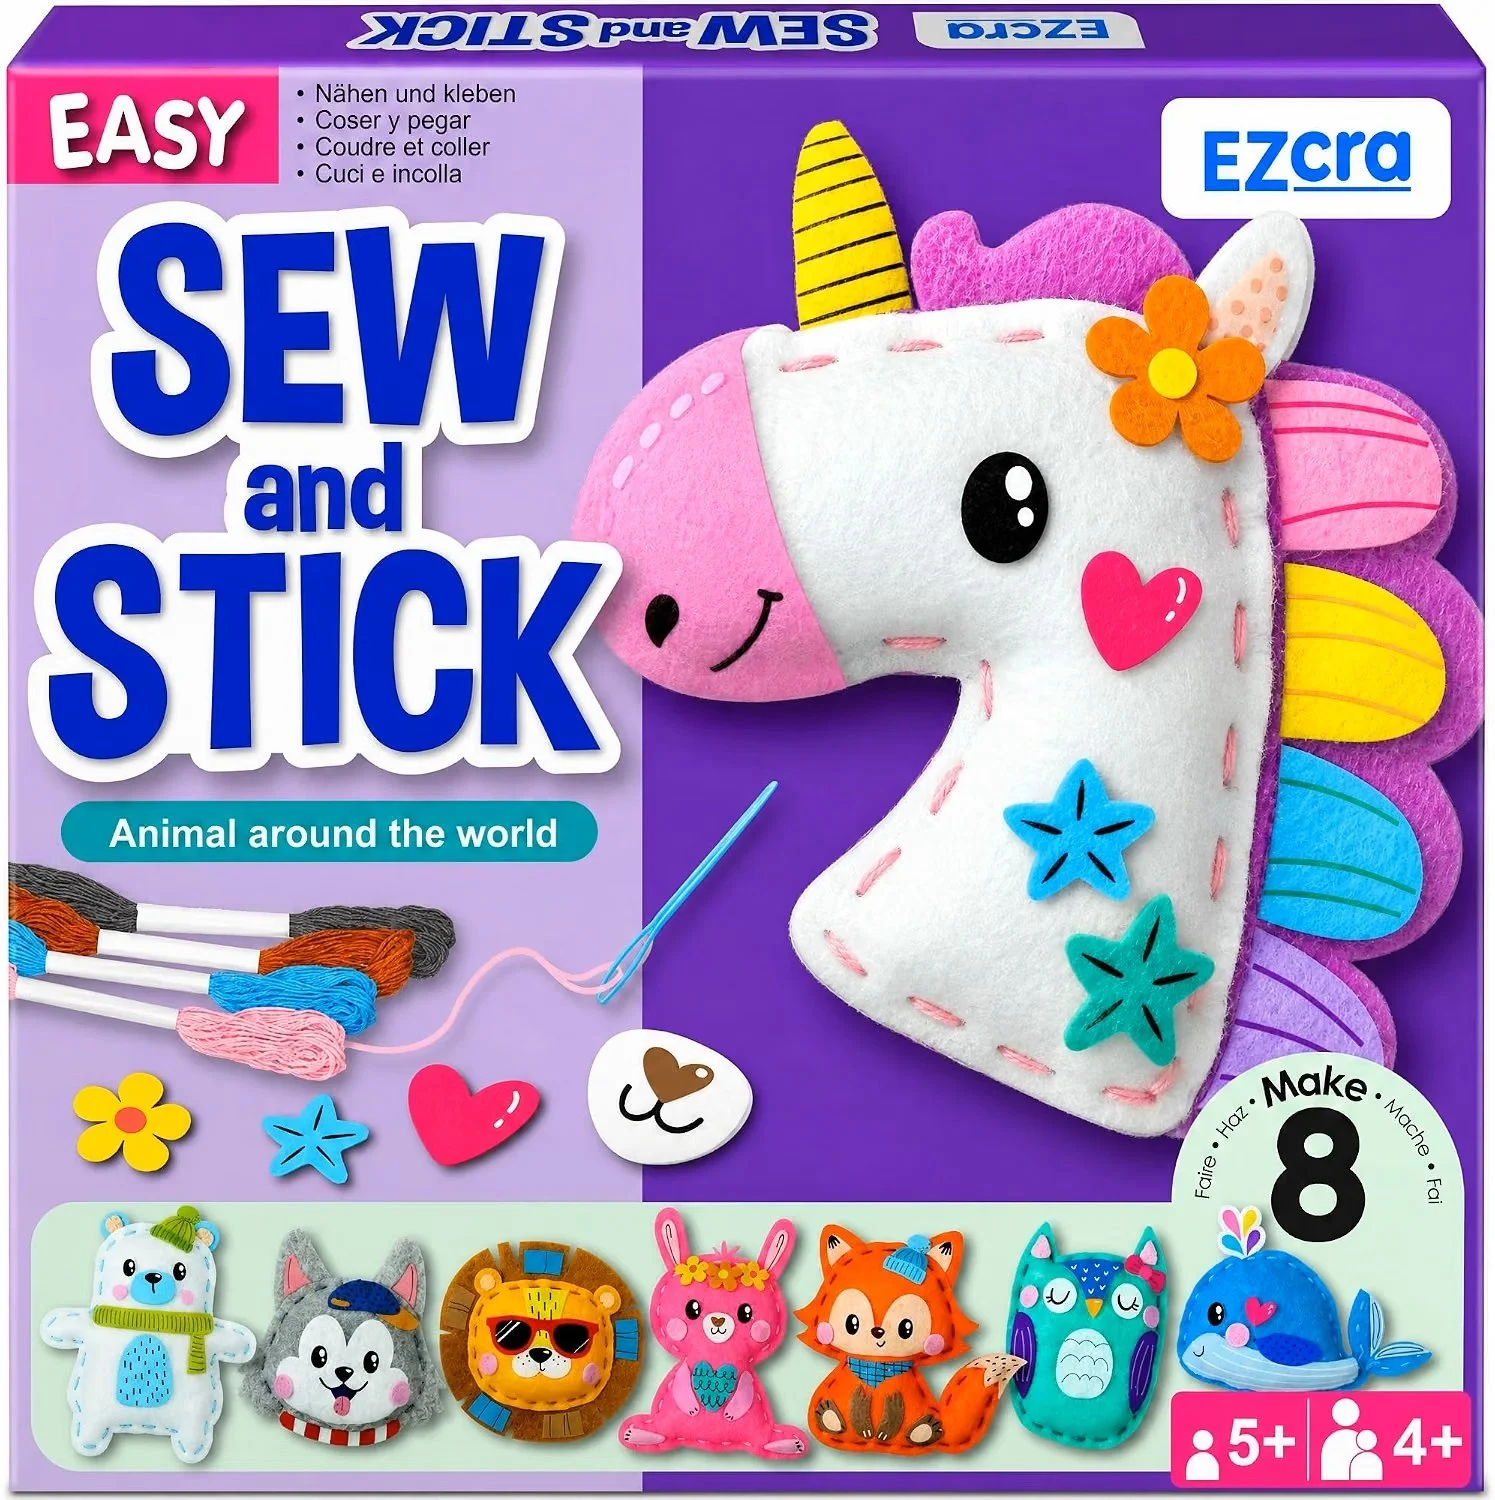
Shop adorable sewing kits on Amazon!
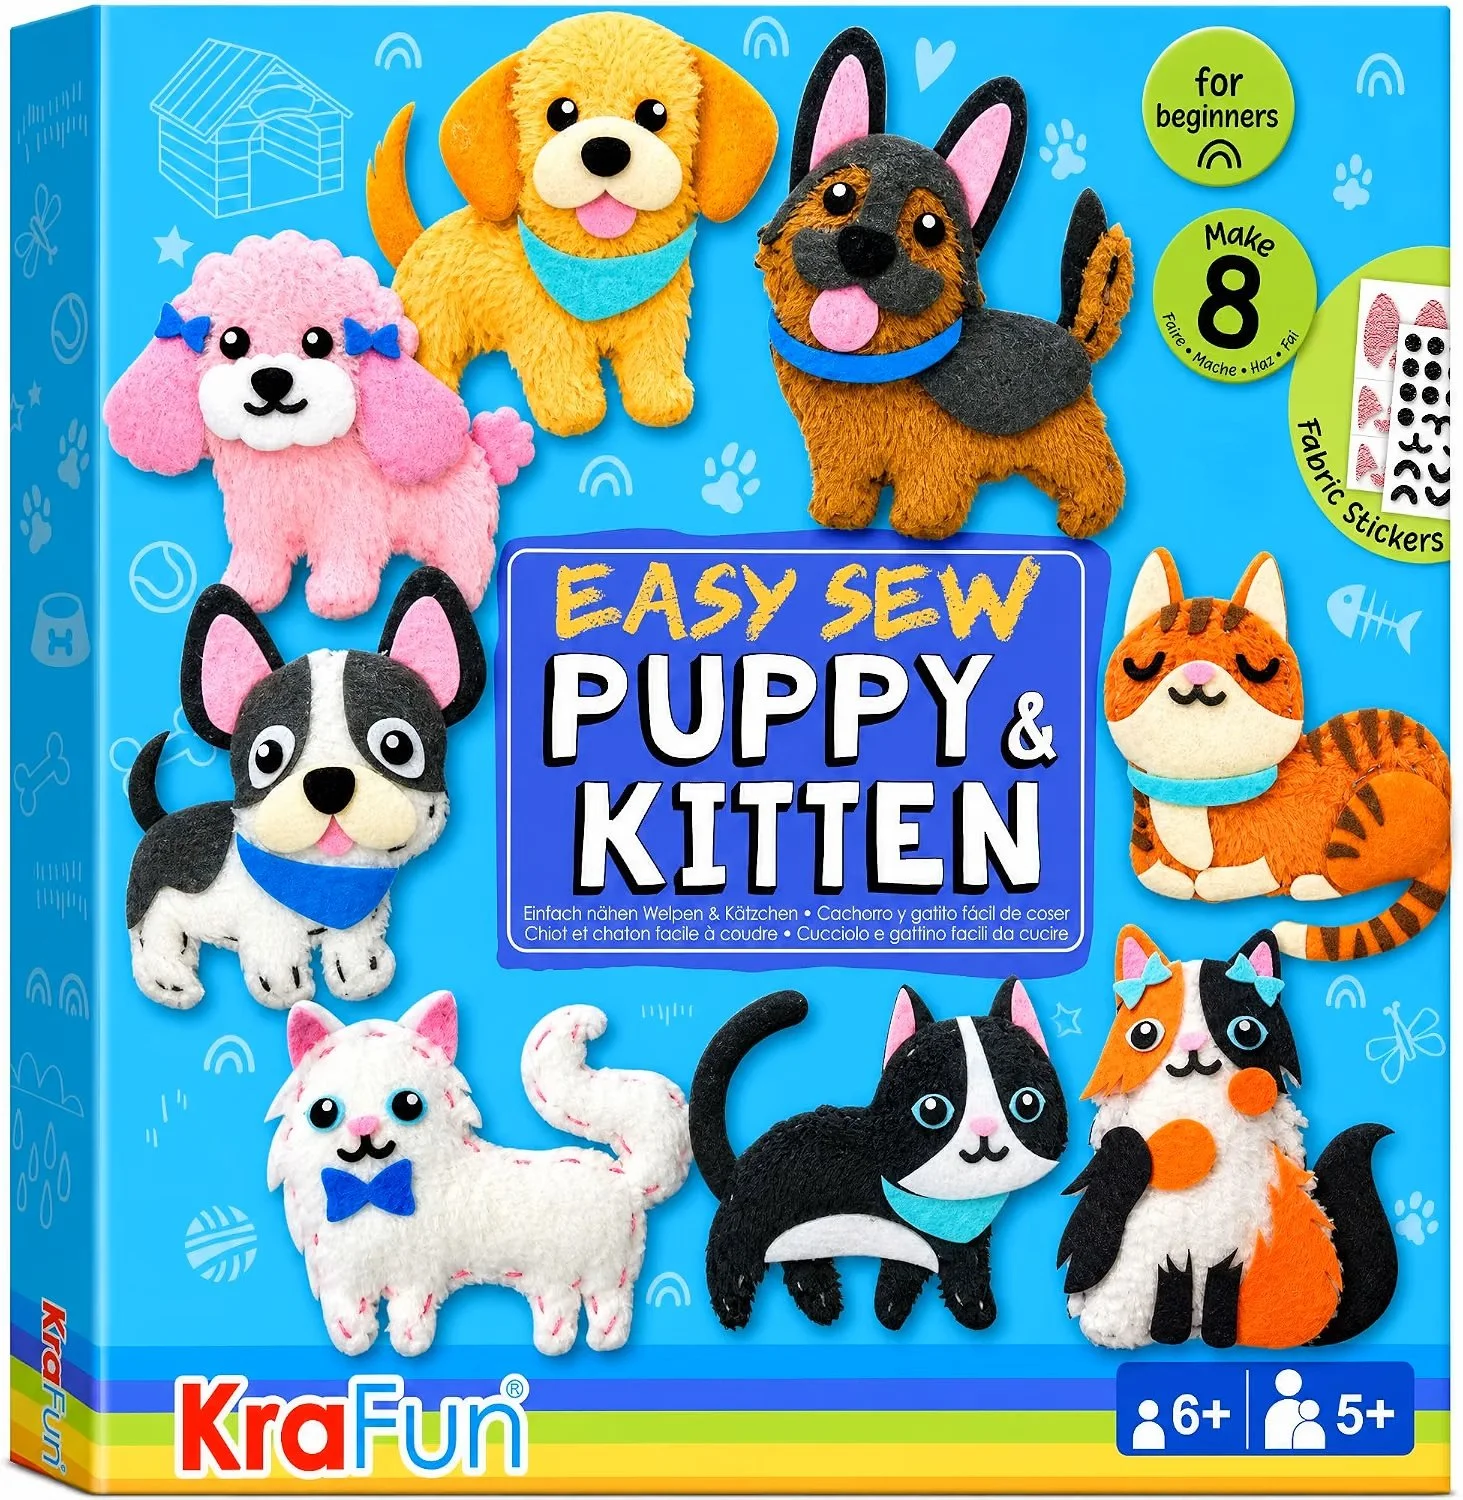
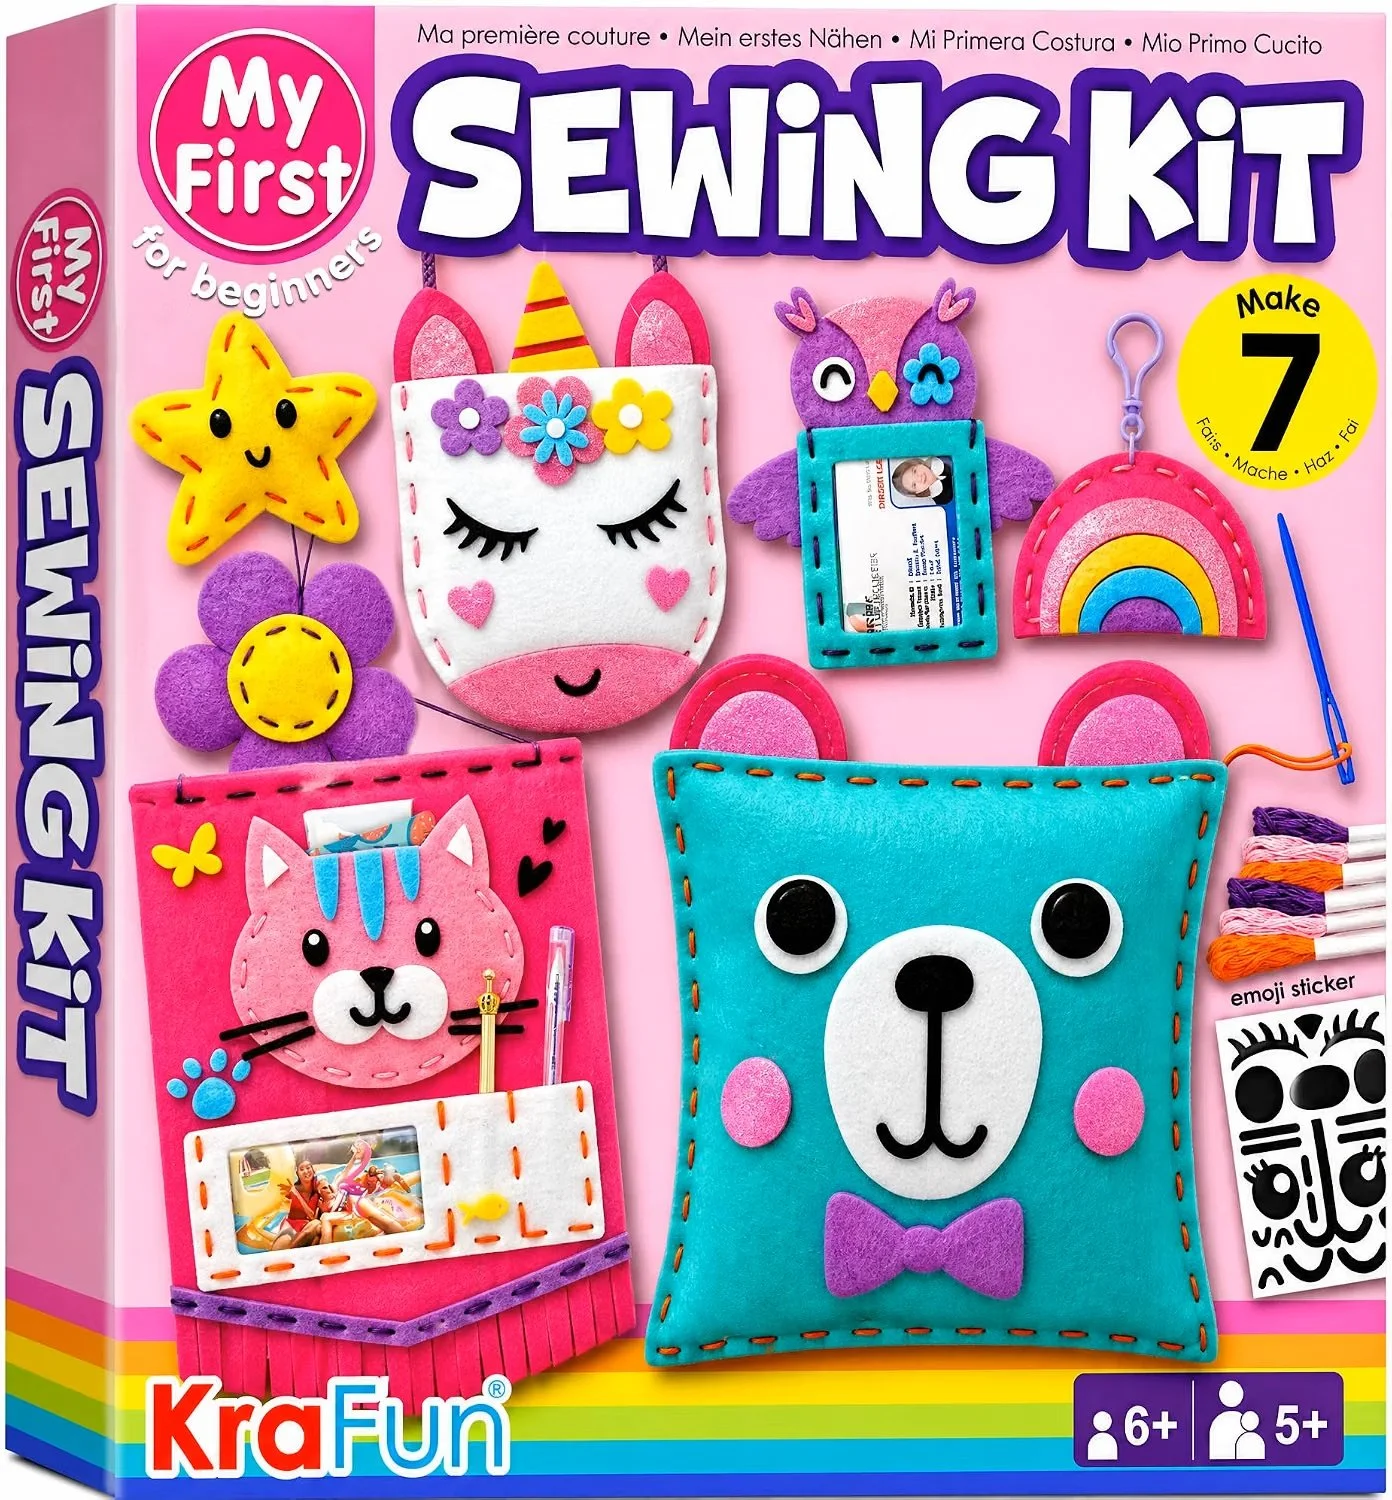
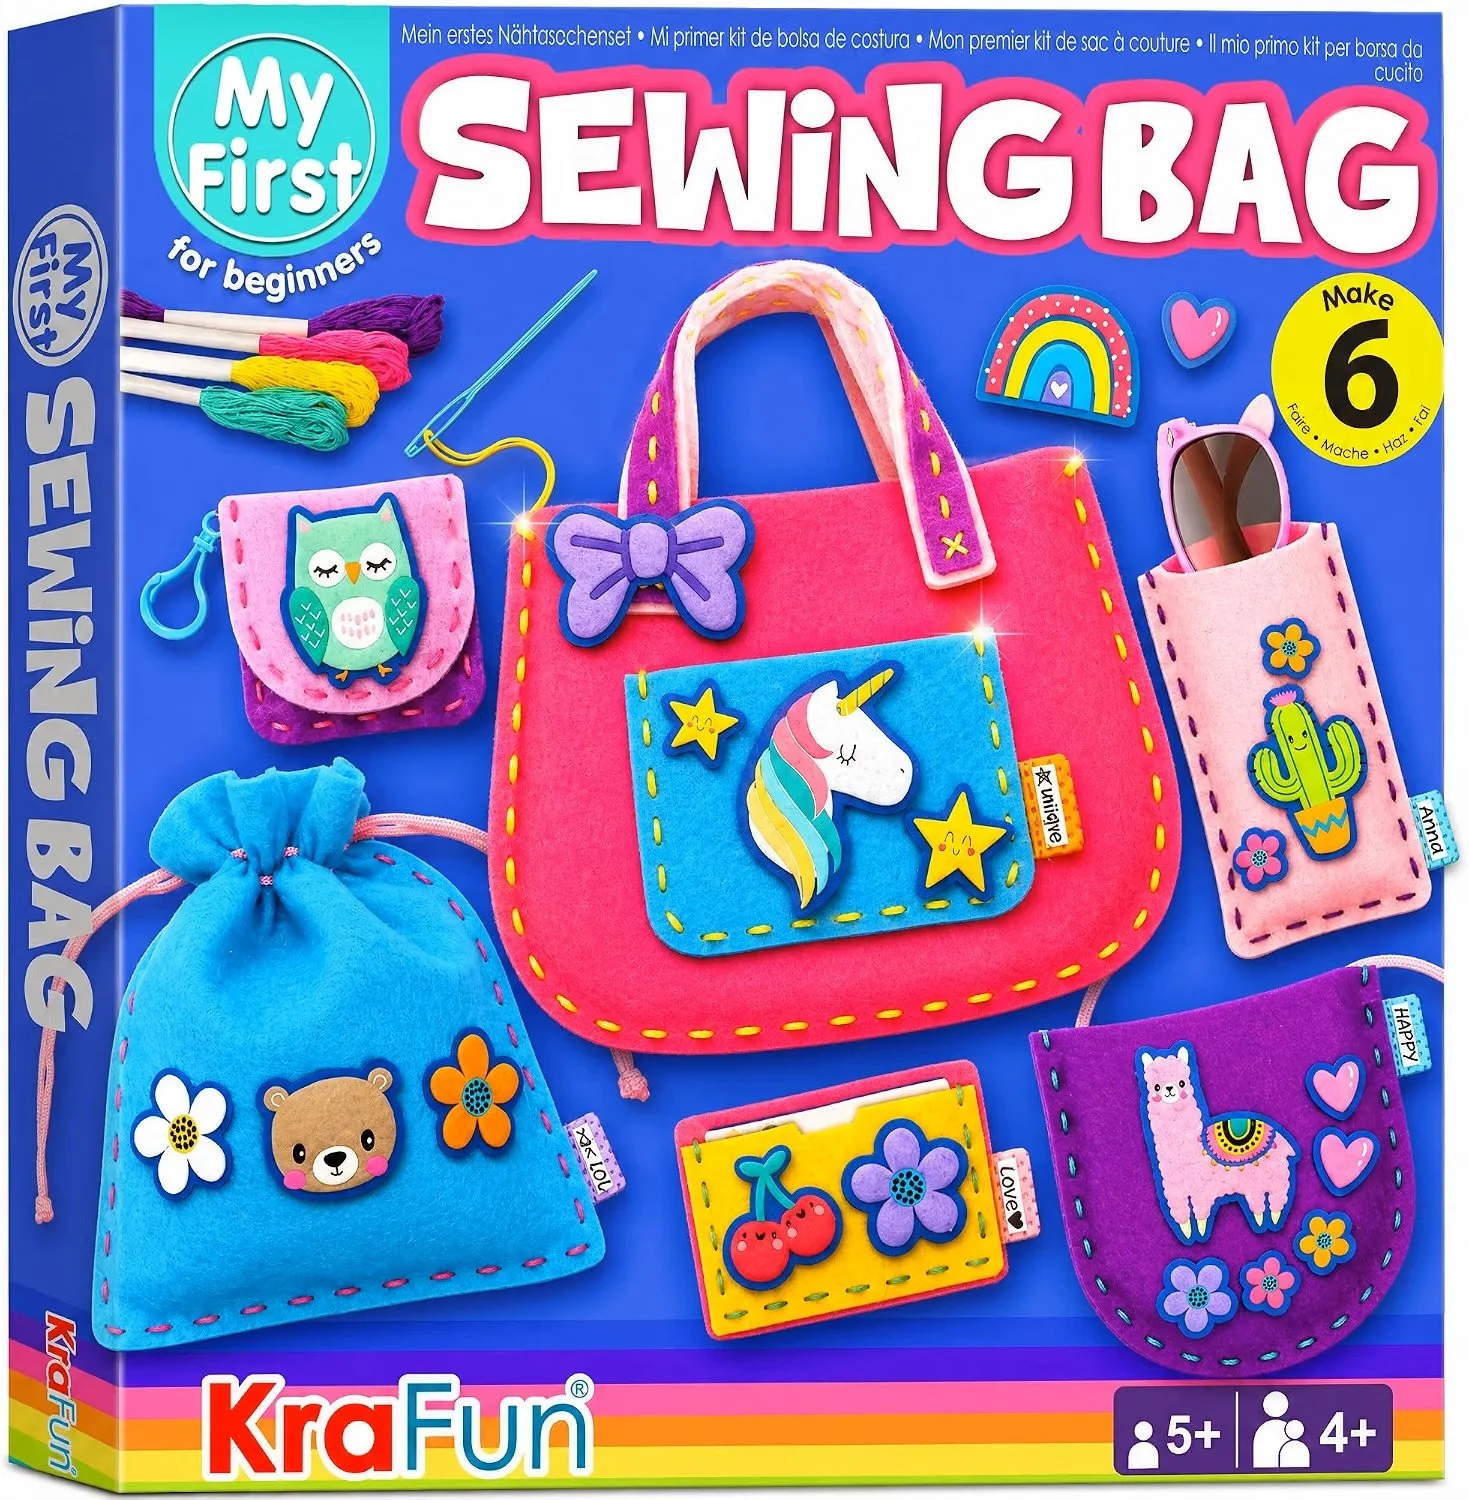
Have Fun and Happy Sewing! Whether you’re creating a snuggly bunny, a silly burger, or a heartfelt handmade gift, sewing with kids is all about the journey.
Affiliate Disclosure: This post contains affiliate links. If you purchase something through one of these links, Sew Cute Patterns may earn a small commission at no additional cost to you. As an Amazon Associate, I earn from qualifying purchases.
Shop Patterns | sewing tutorials | sewing blog | Shop sewing supplies