How to Pin Fabric for Sewing
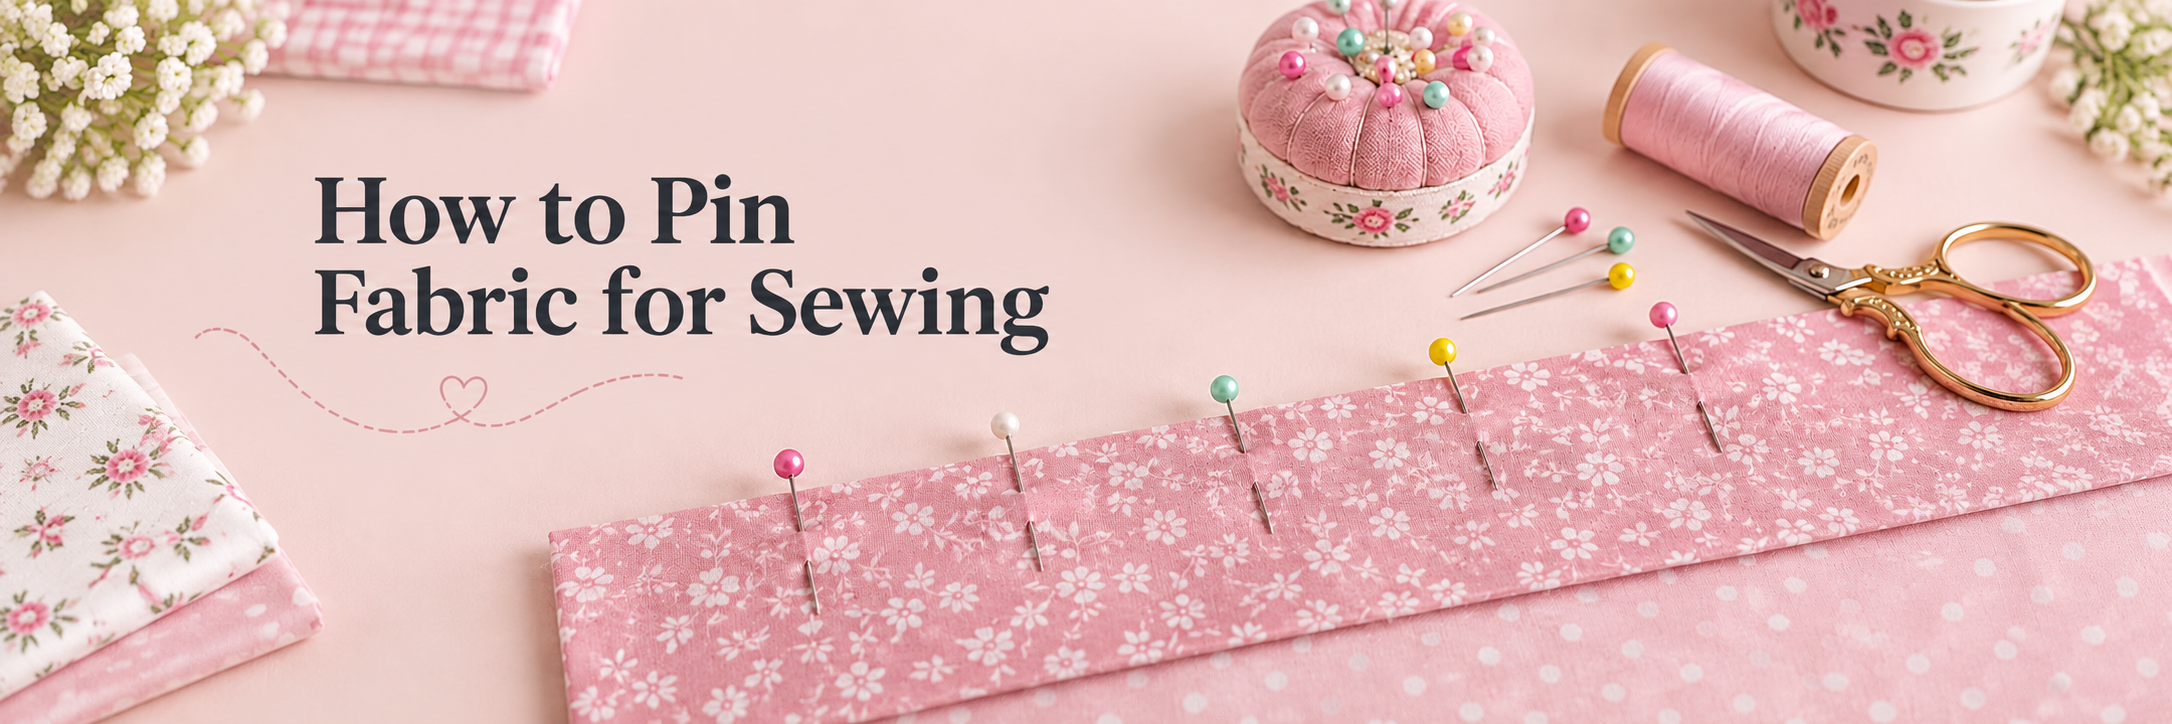
Whether you're a sewing newbie or a seasoned stitcher, knowing how to pin fabric correctly is a game-changer. Pins help keep your fabric in place, ensuring your seams are straight and your projects turn out sew fabulous.
Let’s dive into the nitty-gritty of pinning like a pro!
Supplies You'll Need
Pins: Go for glass-head pins for versatility or flower-head pins for quilting projects.
Pin cushion or magnetic pin dish:
Optional: Wonder clips for delicate fabrics or thick layers.


Check out SewingPartsOnline.com and Amazon for affordable, high-quality pins and pin accessories!
How to Pin Fabric for Sewing: Step-by-Step1️⃣ Choose the Right Pins
Different fabrics require different pins:
Lightweight fabrics (like silk): Use fine pins to avoid leaving holes. Shop here.
Thick fabrics (like denim): Opt for sturdy pins to penetrate layers. Shop here.
Quilting: Longer pins with flat heads are perfect for aligning seams. Shop here.
2️⃣ Position Your Pins Properly
The way you place your pins can make or break your project.
Parallel to the Seam: This method is best for precision. Insert the pins about 1/8 inch from the seam line.
Perpendicular to the Seam: Common for general sewing. Pins should cross the seam at a 90-degree angle, heads sticking out for easy removal.
Tip: Always pin within the seam allowance to avoid visible holes.
3️⃣ Spacing Matters
Pins should be spaced about 2-3 inches apart for straight seams. For curves, use more pins to maintain accuracy.
4️⃣ Pinning Trickier Fabrics
Slippery Fabrics (e.g., satin): Pin horizontally along the seam line to prevent shifting.
Stretch Fabrics: Pin with the stretch to avoid puckering. Wonder clips can also be a lifesaver here!
5️⃣ Safety First!
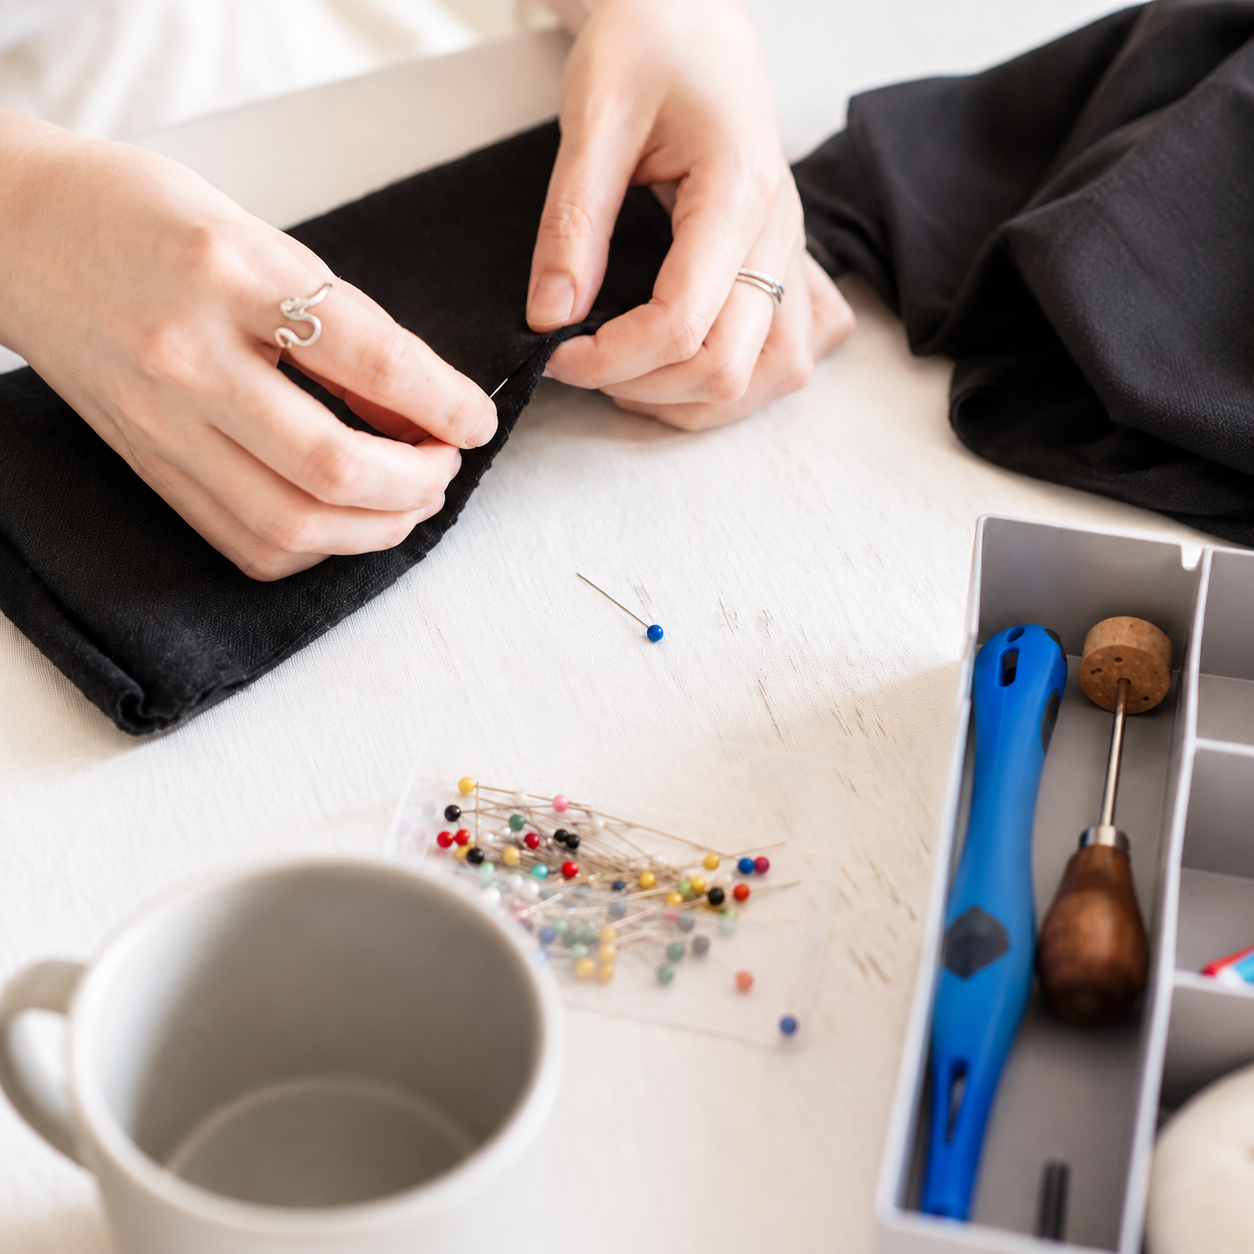
Never sew over pins! Remove them as you sew to avoid damaging your machine or breaking needles.
Tips for Pinning Perfection
Practice Makes Perfect: Test on fabric scraps to find your groove.
Keep Pins Sharp: Toss any bent or dull pins.
Go Magnetic: A magnetic pin dish makes cleanup quick and easy.
Sewing Classes to Master the Basics
Want to perfect your sewing skills? Check out these sewing classes: Creativebug's Sewing Classes

Happy sewing!
Affiliate Disclosure: This post contains affiliate links. If you purchase something through one of these links, Sew Cute Patterns may earn a small commission at no additional cost to you. As an Amazon Associate, I earn from qualifying purchases.
Shop Patterns
Shop Sew Cute Patterns | Visit Our Etsy Store
Shop Patterns | sewing tutorials | sewing blog | Shop sewing supplies