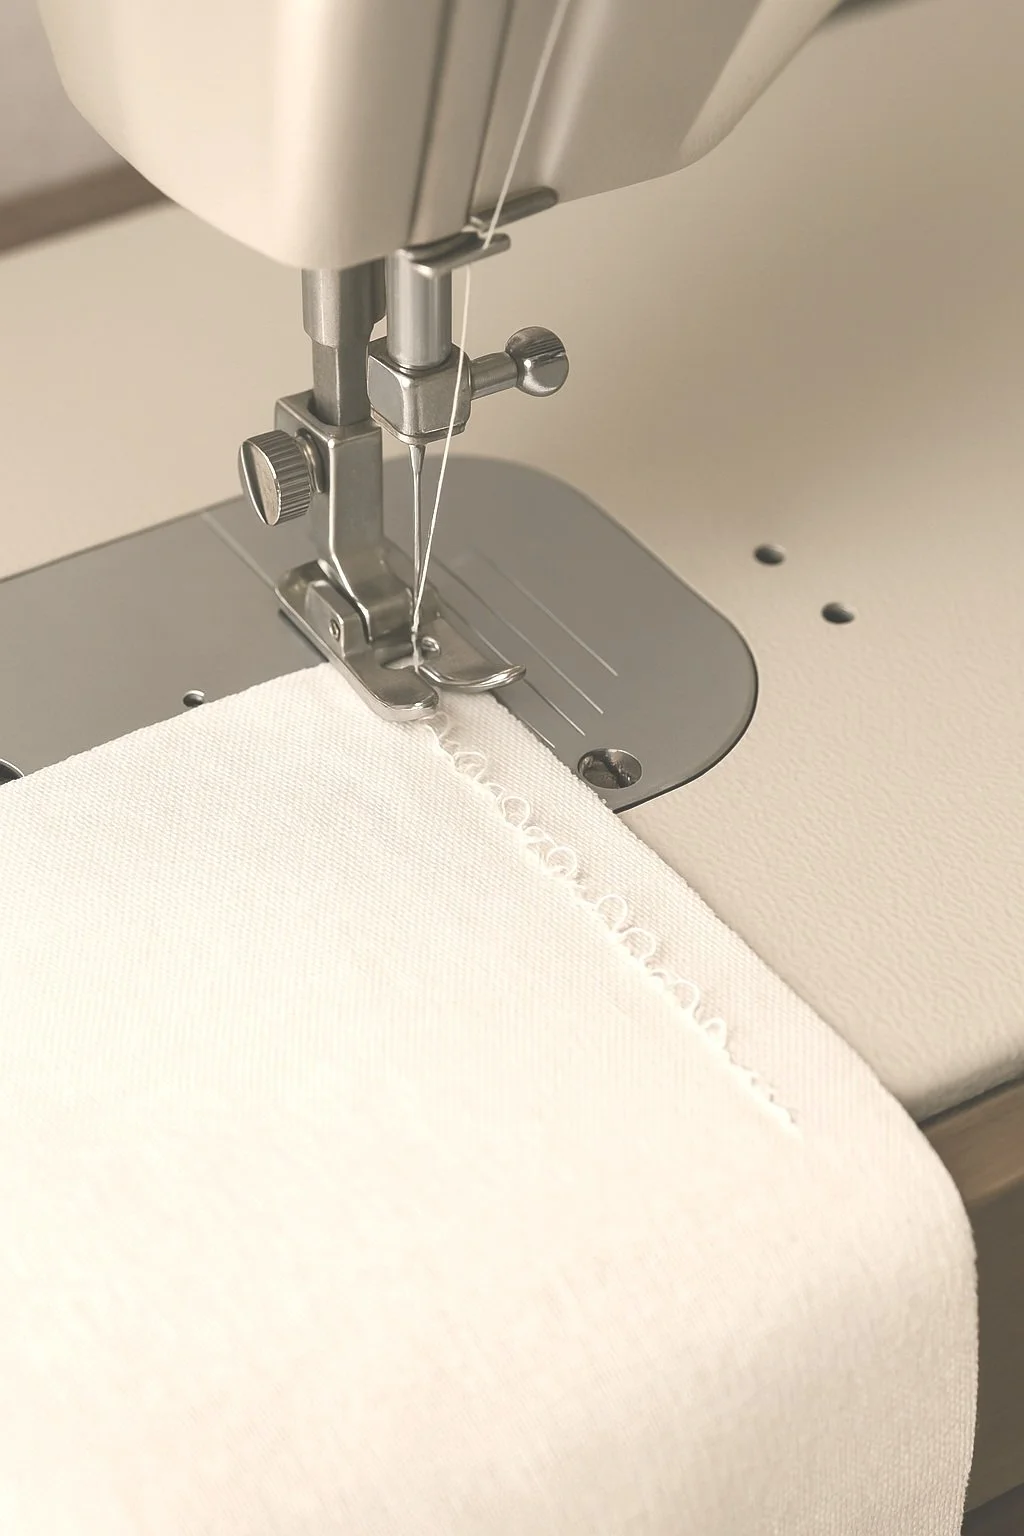
Tension Troubles: How to Fix Sewing Machine Tension (Without Losing Yours)
Is your sewing machine being a bit... tense lately? You’re not alone. Whether your bobbin’s misbehaving or your top thread is having a meltdown, tension issues are one of the most common stitch snags — especially for beginners. But don’t worry — we’re about to loosen things up and help you get smooth, balanced stitches in no time. 🧵
🎯 What Is Sewing Machine Tension, Anyway?
Tension is the tug-of-war between your top thread and bobbin thread. When they’re in balance, your stitches are even and lie flat. When they’re not… well, things get a little loopy. Or puckered. Or thread-snappy.
🧵 Common Signs of Tension Problems
Loopy stitches on the underside
Thread nests or tangles
Tight or puckered fabric
Uneven top and bottom stitches
Thread breakage (aka: machine drama)
🔍 What Causes Tension Issues?
Before you adjust any dials, check for the real culprits:
1. Incorrect Threading
Even one missed guide can throw your tension way off. Rethread your machine top to bottom — yes, even the bobbin!
🧵 Helpful tool:
→ Threading Guide Magnifier Attachment (great for small or hidden tension discs)
2. Bobbin Woes
Is your bobbin in correctly? Is it wound evenly? Are you using the right size/type?
🧵 Helpful tool:
→ Pre-Wound Bobbin Set – Compatible with Most Machines
3. Thread Quality
Cheap, fuzzy, or old thread can break or snag and mess up tension. Use quality thread suited for your project.
🧵 Thread upgrade:
→ Gutermann All-Purpose Thread Set
4. Needle Drama
Bent or dull needles can tug on fabric and cause uneven stitching.
🧷 Must-have:
→ Universal Sewing Machine Needle Pack
5. Wrong Presser Foot Pressure
Too much pressure can cause puckering; too little can cause slipping.
🧵 Bonus fix: Check your machine manual to adjust the presser foot pressure if needed.
🎛️ How to Adjust Tension (Top Thread)
Start with a test fabric scrap – ideally the same type you're using in your project.
Stitch a few lines using straight stitch.
Examine both sides – loops on the bottom = top tension too loose, loops on top = top tension too tight.
Turn your tension dial slightly (usually marked 0–9):
Lower number = looser
Higher number = tighter
👀 Tip: Only adjust in small increments (like half a number at a time).
🔧 When to Adjust Bobbin Tension
Most of the time, leave your bobbin tension alone! But if you're:
Using specialty threads
Free-motion quilting
Seeing consistent loops even after top tension fixes…
…you may need to gently adjust the bobbin screw (use caution!).
🧷 Safe helper:
→ Digital Bobbin Case Tension Gauge
🛠️ Bonus Troubleshooting Checklist
✔ Rethread the top thread
✔ Reinsert bobbin correctly
✔ Clean out lint (especially around the bobbin case!)
✔ Use a new needle
✔ Use high-quality thread
✔ Test on scrap first
🧵 Tension Q&A
Q: Why are my stitches fine on one fabric, but not another?
A: Different fabrics (like knits vs. wovens) require different tension levels. Always test first!
Q: My thread keeps breaking — is that a tension issue?
A: Possibly. But also check for burrs in your needle, old thread, or tension set too high.
Q: Can I just leave the tension dial on “4” forever?
A: Maybe for light cottons — but heavier fabrics, specialty threads, and stretch fabrics often need adjustments.
🛒 Shop Your Tension-Taming Toolkit:
💬 Final Thread of Advice
Tension troubles are frustrating, but they’re totally fixable — and often, they’re the machine’s way of saying “let’s take a breather and rethread.” With a little practice (and a few deep breaths), you’ll be stitching stress-free again in no time.
