How to Bind Your Storybook
The Sew Cute storybook patterns include a fun digital bedtime story with the sewing pattern. Binding your storybook is a fun and rewarding part of the process that transforms your digital downloads into a beautiful, tangible book that your children will cherish. Here are some creative and practical options to bind your storybook:
1. DIY Binding Methods
Stapling:
Materials Needed: Stapler, printed storybook pages
Instructions: Align the printed pages and use a stapler along the spine edge. This method is quick and easy, perfect for smaller books.
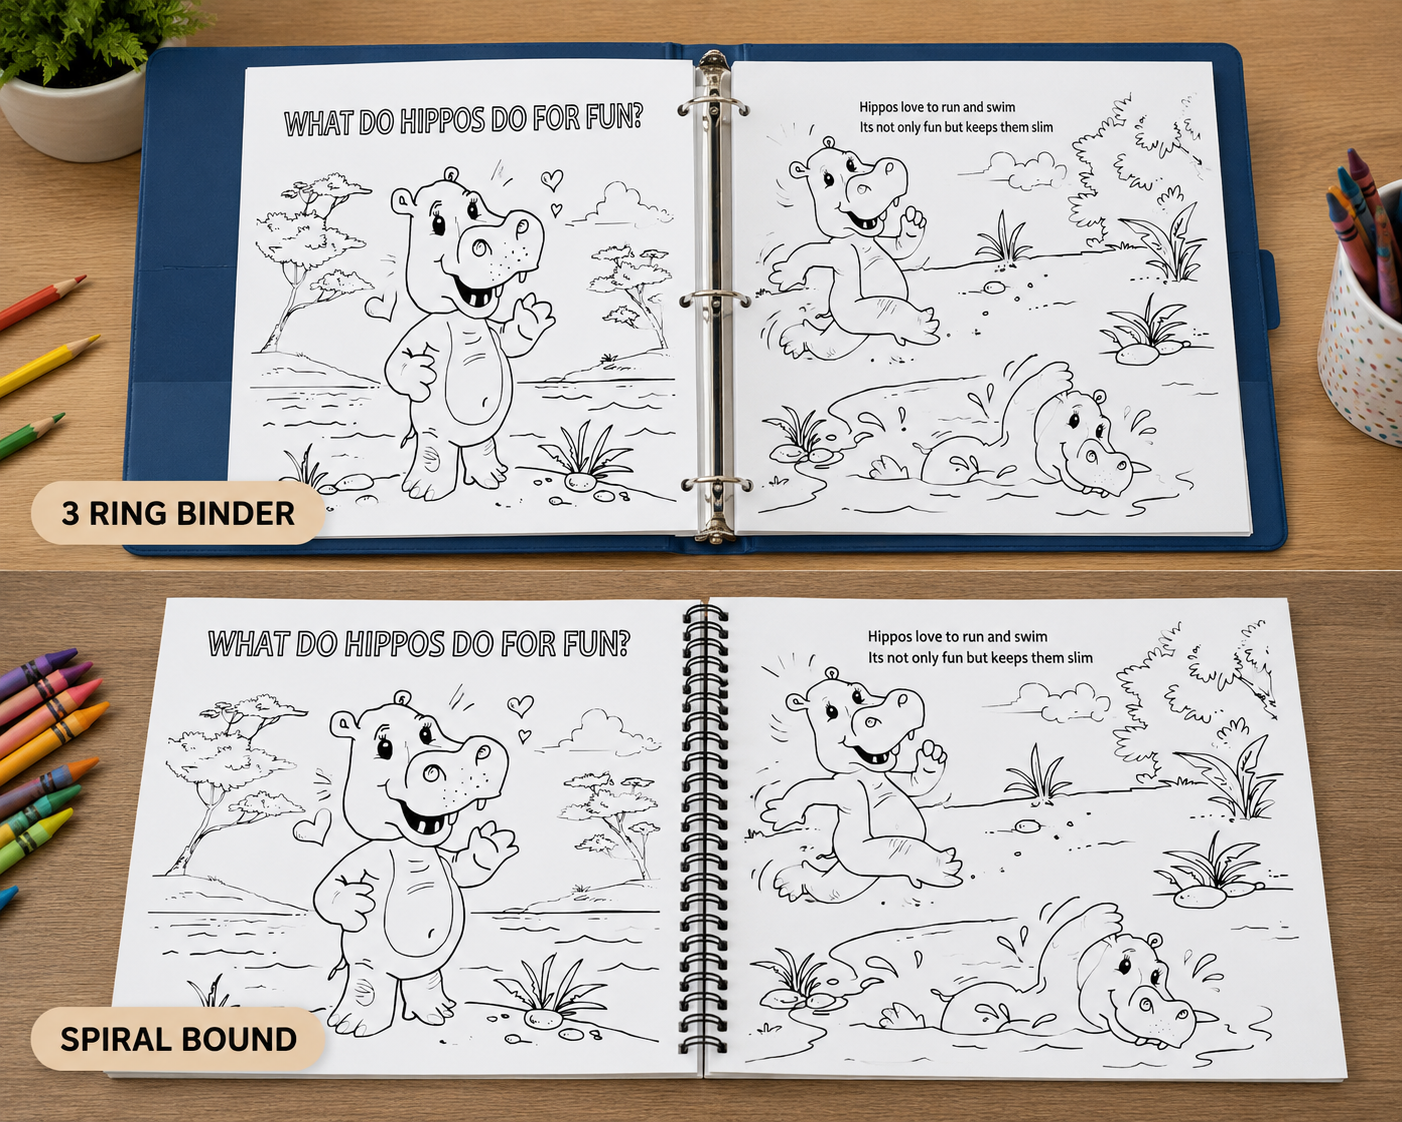
Three-Ring Binder:
Materials Needed: Three-ring binder, hole punch, printed storybook pages
Instructions: Use a hole punch to create holes along the spine edge of each page. Insert the pages into a three-ring binder. This method allows for easy page turning and the ability to add more pages later.
Spiral Cover Folder with Sheet Protectors - Individual pockets to divide letter-size documents projects. Perfect for storing the colored storybook pages!
Spiral Binding:
Materials Needed: Spiral binding machine (or local office supply store services), spiral coil, printed storybook pages
Instructions: Use a spiral binding machine to punch holes and insert a spiral coil. Alternatively, many office supply stores offer spiral binding services. This method provides a professional look and durability.
2. Blurb Book Creation
For a more polished and professional finish, consider using Blurb, a company that allows you to create custom books from your photos or digital files.
Instructions:
Step 1: Visit Create your first photo book with Blurb and enjoy 20% off!" target="_blank">Blurb's website and create an account.
Step 2: Choose a book format that fits your storybook pages.
Step 3: Upload your digital storybook files to Blurb’s platform.
Step 4: Customize your book with Blurb’s easy-to-use tools, adding a personalized cover and layout.
Step 5: Place your order, and Blurb will print and ship your professionally bound storybook.
Blurb offers a range of options, from softcover to hardcover books, ensuring your storybook looks stunning and lasts for years.
3. Binding Kits
There are various binding kits available that make the process simple and fun, often including pre-punched paper and spines. These kits can be found online or at craft stores.
Example Kits:
ProClick Binding Kit: Includes pre-punched paper, ProClick spines, and a ProClick binding tool. This method is easy to use and allows the book to lay flat when open.
Bookbinding Kits: Available on platforms like Etsy or Amazon, these kits often include all necessary materials, such as pre-punched paper, covers, binding threads, and instructions for sewing the pages together.
Instructions:
Step 1: Purchase a binding kit that suits your needs.
Step 2: Follow the included instructions to assemble your storybook. Kits typically provide step-by-step guidance, making the process accessible even for beginners.
By choosing one of these binding options, you can create a beautiful and durable storybook that complements the creative effort your children put into coloring and reading the story. Whether you opt for a simple DIY method, a professional service like Blurb, or a comprehensive binding kit, the result will be a cherished keepsake that adds a special touch to the bedtime story experience.
4. Binding Clips
Binding clips: Includes clips to thread covers and pages onto the Cinch binding wire.
Instructions:
Step 1: Punch holes with customizable hole spacing on any size project.
Step 2: Thread the covers and pages onto the Cinch binding wire.