Create Adorable Ballet Slipper or Paw Christmas Stockings
Get ready to add some festive flair to your fireplace with these charming ballet slipper and paw stockings! No sewing machine is required—just grab your supplies, download the patterns, and follow the instructions to create your own holiday decorations.
Download the Patterns
Click here to download ballet slipper stocking pattern pages.
Click here to download the paw slipper pattern pages.
Ballet Slipper Stocking
Supplies Needed
Ballet slipper pattern pieces
Pins
Scissors
White felt fabric for the stocking: 4 pieces (18” x 12”) Shop felt fabric by the yard on Amazon
Pink felt fabric for the bottom of the stocking: 2 pieces (12” x 5”) Shop felt fabric by the yard on Amazon
Large-eye sewing needle Shop needles on Amazon
Pink embroidery floss Shop embroidery floss on Amazon
White embroidery floss Shop embroidery floss on Amazon
7/8” thick pink ribbon (approximately 3 yards) Shop ribbon on Amazon
Hot glue gun and glue sticks
Instructions
Prepare the Pattern Pieces: Cut out the pattern pieces from the downloaded pages. The stocking and bottom patterns will print on multiple pages, so be sure to tape them together, using the letters as a guide and aligning them along the dashed lines.
Cut the Felt: Pin the stocking pattern to one layer of white felt and cut around it. Repeat this process three more times to create a total of four white stockings. For the pink bottoms, pin the corresponding pattern to a layer of pink felt and cut around it, repeating to create two pink bottoms.
Assemble the Stockings: Stack the four white stocking pieces together. Position the pink bottoms at the base of the front and back of the white stockings. Pin them in place at various points along the edges.
Whipstitch the Bottoms: Using pink embroidery floss, whipstitch along the edge of the pink bottoms, sewing through the pink felt and 1-2 layers of the white felt.
Finish the Edges: With white embroidery floss, whipstitch along the outer edge of the white felt on both sides. When stitching the top of the stocking, only sew together two layers on both sides to keep the top open.
Add the Ribbon: Cut strips of ribbon and lay them across the stocking as desired. Use hot glue to secure the edges, and trim any excess ribbon hanging over the edge of the stocking.
Paw Stocking
Supplies Needed
Paw stocking pattern pieces
Pins
Scissors
Felt fabric: 4 pieces (18” x 4”)
Scraps of felt fabric for the paw pad and toes
Large-eye sewing needle
Matching embroidery floss
Hot glue gun and glue sticks
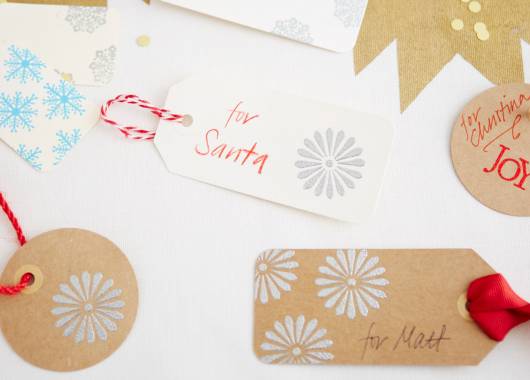
- Stamped and Embossed Christmas Gift Tags

- Price: $9.95
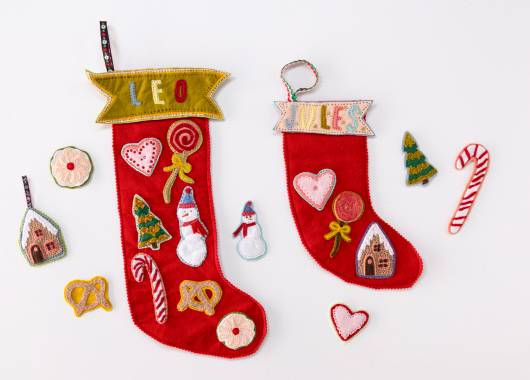
- 12 Days of Christmas: Sew an Heirloom Stocking

- Price: $29.95
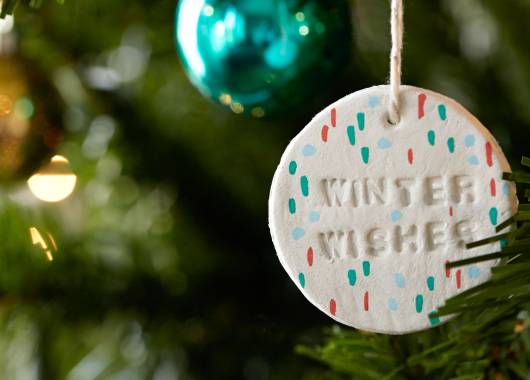
- Make Paper Clay Christmas Ornaments

- Price: $19.95
Instructions
Cut the Felt: Pin the paw stocking pattern to a single layer of felt fabric and cut one out. Repeat this process three more times to create four layers in total.
Stack the Layers: Stack all four layers together and pin them in place.
Whipstitch the Stocking: Using embroidery floss and a needle, whipstitch along the side and bottom of the stocking through all four layers. For the top of the stocking, only whipstitch two layers on both sides to ensure it remains open.
Add Paw Pads and Toes: Pin the paw pad and toe patterns to your felt scraps, cutting one of each shape. Hot glue these pieces to the bottom of the stocking to complete your design.
Now you have two adorable stockings ready to hang by the fireplace! Happy crafting!
Whipstitch


