Free Plush Bone Sewing Pattern & Tutorial
DIY Delight: How to Sew a Plush Bone - Free Sewing Pattern Included!
Are you ready to add a fun, handmade toy to your pet's collection or create a whimsical gift for a dog-loving friend? Look no further! This free plush bone sewing pattern is perfect for sewing enthusiasts of all levels. In this blog post, we'll walk you through the steps to create a cuddly, durable plush bone that will bring joy to any furry friend—real or stuffed!
Materials Needed:
Fabric: Choose a soft, durable fabric like fleece, cotton, or felt. You'll need about a quarter yard.
Stuffing: Polyester fiberfill or any stuffing material of your choice.
Sewing Supplies: Sewing machine (optional), needle, thread, scissors, pins, and a fabric marker.
Pattern: Download and print the free plush bone sewing pattern here.
Size:
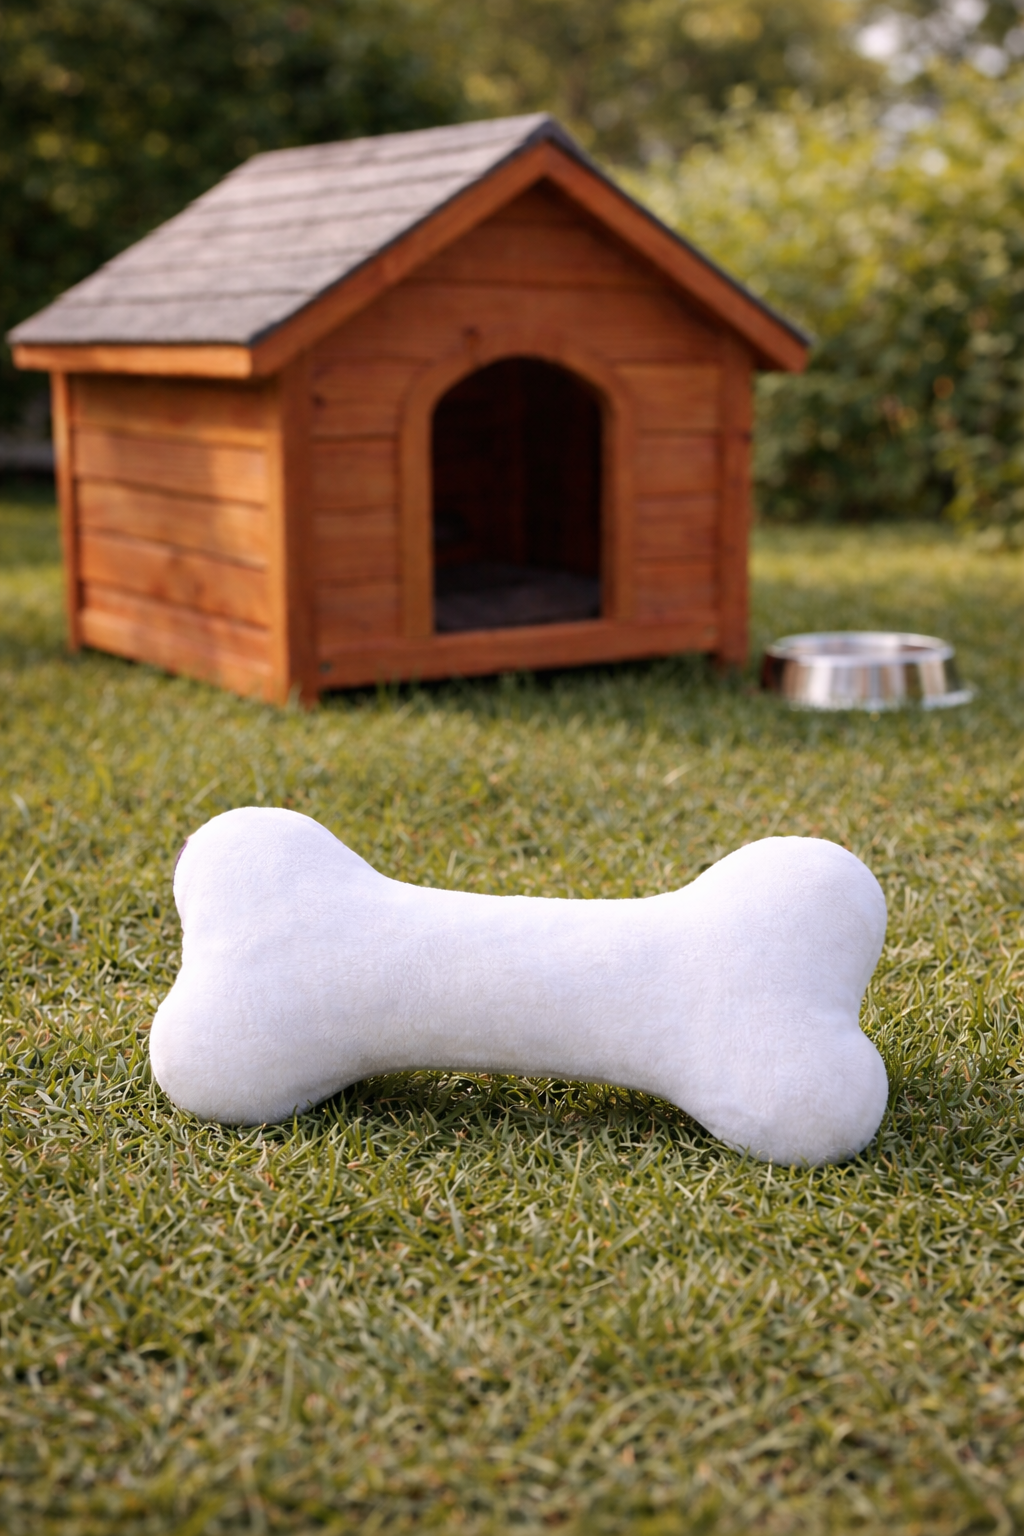
When finished, the plush bone will be 16” long, 4” wide in the center and 8” wide at the ends.
If you’d like a smaller bone, print the pattern pages at less than 100% scale. If you’d like a large bone, send to a print shop and print at greater than 100% scale.
Make a Soap Box Book on Creativebug
Step-by-Step Instructions:
1. Prepare Your Pattern
First, download and print the free plush bone sewing pattern. Make sure to print it at 100% scale to ensure the bone is the correct size. Cut out the pattern pieces and tape together along the dashed lines. Match up the letters and use them as a guide to taping the pieces together.

2. Cut the Fabric
Pin the pattern to the fabric and cut out two pieces.
3. Pin and Sew
Place the two fabric pieces right sides together and pin them in place. Using a sewing machine or a needle and thread, sew around the edges with a ¼-inch seam allowance. Leave a small gap (about 2-3 inches along one side) for turning the bone right side out and for stuffing.
4. Turn Right Side Out
Carefully turn the sewn fabric pieces right side out through the gap. Use a pencil or a chopstick to gently push out the corners and curves of the bone shape.
5. Stuff the Bone
Begin stuffing the bone with your chosen filling. Make sure to stuff it firmly but not too tightly, ensuring the bone retains its shape and is soft and squishy. Pay extra attention to the ends of the bone to make them plump.
6. Close the Gap
Once the bone is fully stuffed, use a ladder stitch (also known as an invisible stitch) to close the gap. If you're unsure how to do this stitch, click here for our tutorial: https://sewcutepatterns.com/blog/ladder-stitch-stitching-an-opening-closed
7. Finishing Touches
Smooth out the bone and make sure the stuffing is evenly distributed. You can add extra embellishments like embroidered details, or even a squeaker inside for added fun!

Tips and Tricks:
Fabric Choices: Opt for durable, machine-washable fabrics if the bone will be used by pets.
Customization: Personalize the bone with your pet’s name or fun patterns.
Safety First: If making the bone for a pet, avoid small embellishments that could be chewed off and swallowed.
Make a Paper Maché Vase on Creativebug
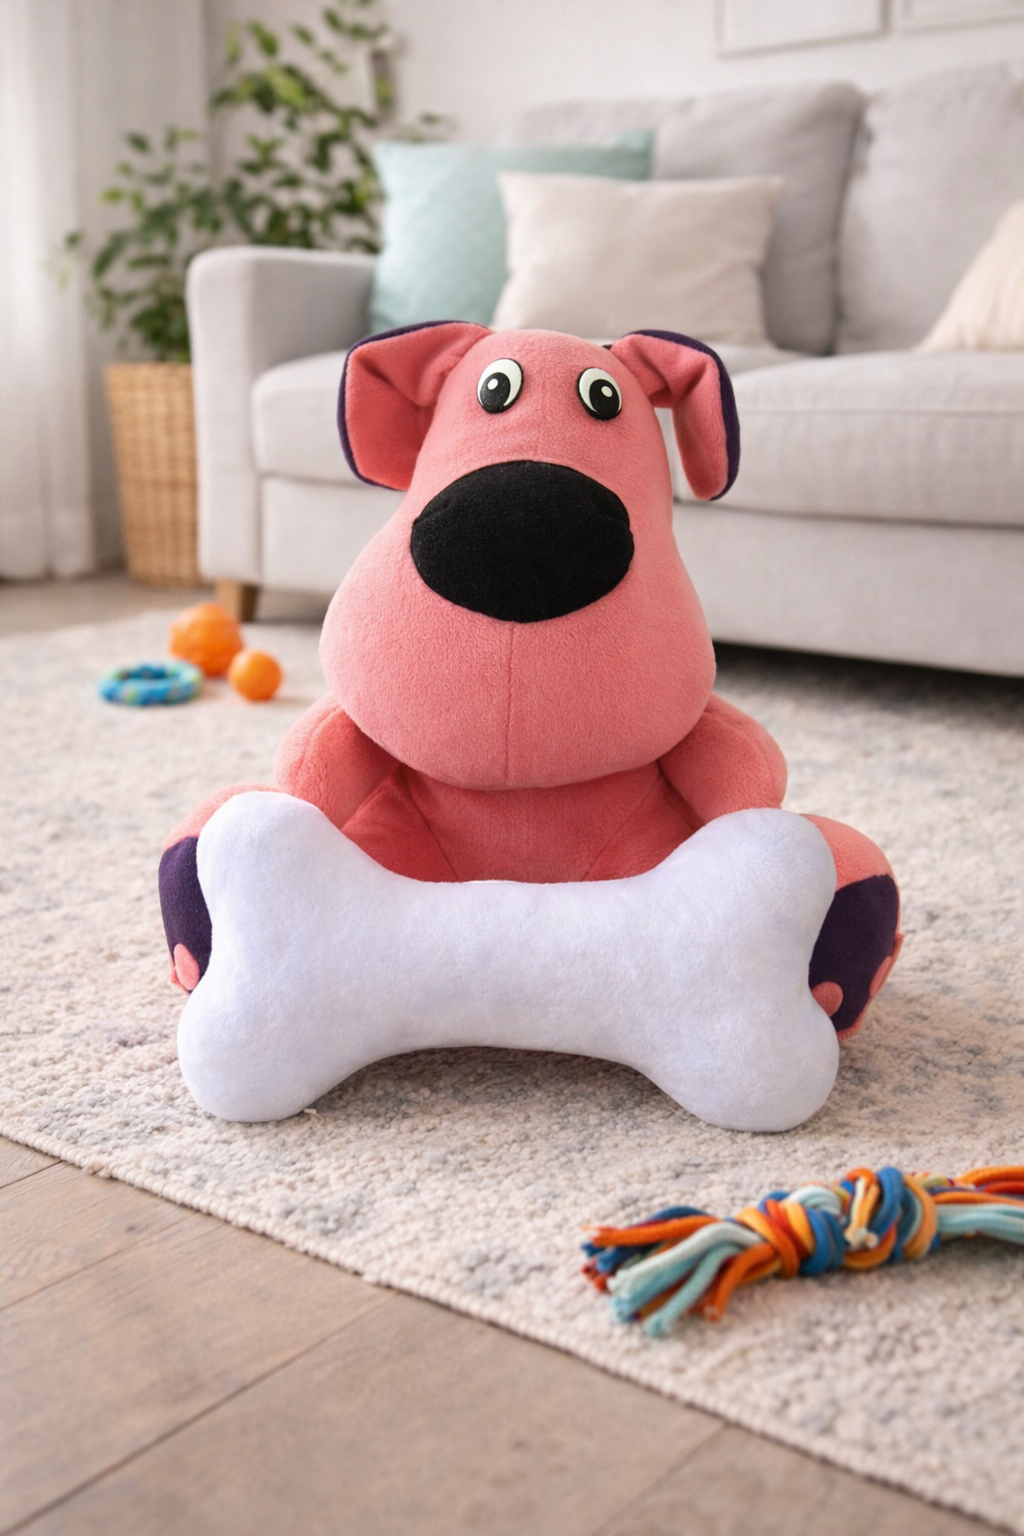
Make It for Real or Stuffed Dogs
This plush bone isn't just for real dogs—it makes a fantastic accessory for stuffed animal dogs too! Kids and adults alike will love how this toy adds a touch of realism and fun to their plush companions. Whether it’s for a playful puppy or a beloved stuffed animal, this project is versatile and enjoyable.
Why Make Your Own Plush Bone?
Creating your own plush bone is not only a fun and rewarding project but also a great way to use up fabric scraps. Handmade toys are often more durable and can be customized to suit your pet's preferences and your aesthetic. Plus, it's a wonderful gift idea for any dog lover in your life!
Shop Supplies
Shop fabric at Amazon

We hope you enjoy making this adorable plush bone! Whether it's for your real pet, a friend's pet, or a cherished stuffed animal, this DIY project is sure to bring smiles. Happy sewing!
Download the pattern and get started today! Download Pattern