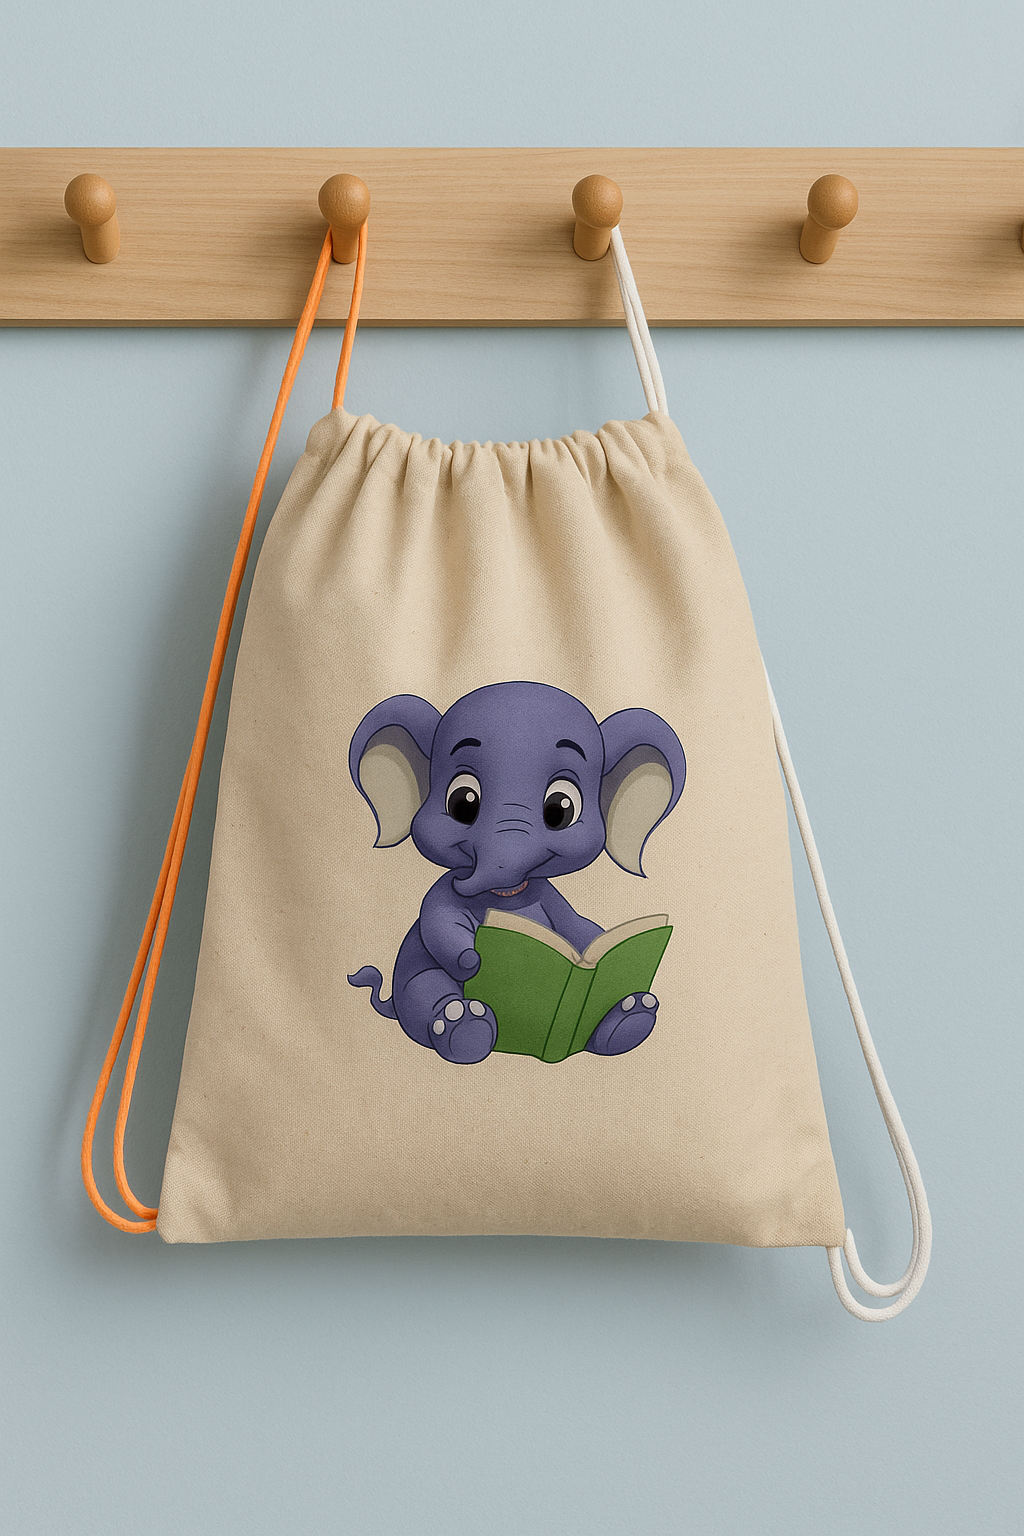
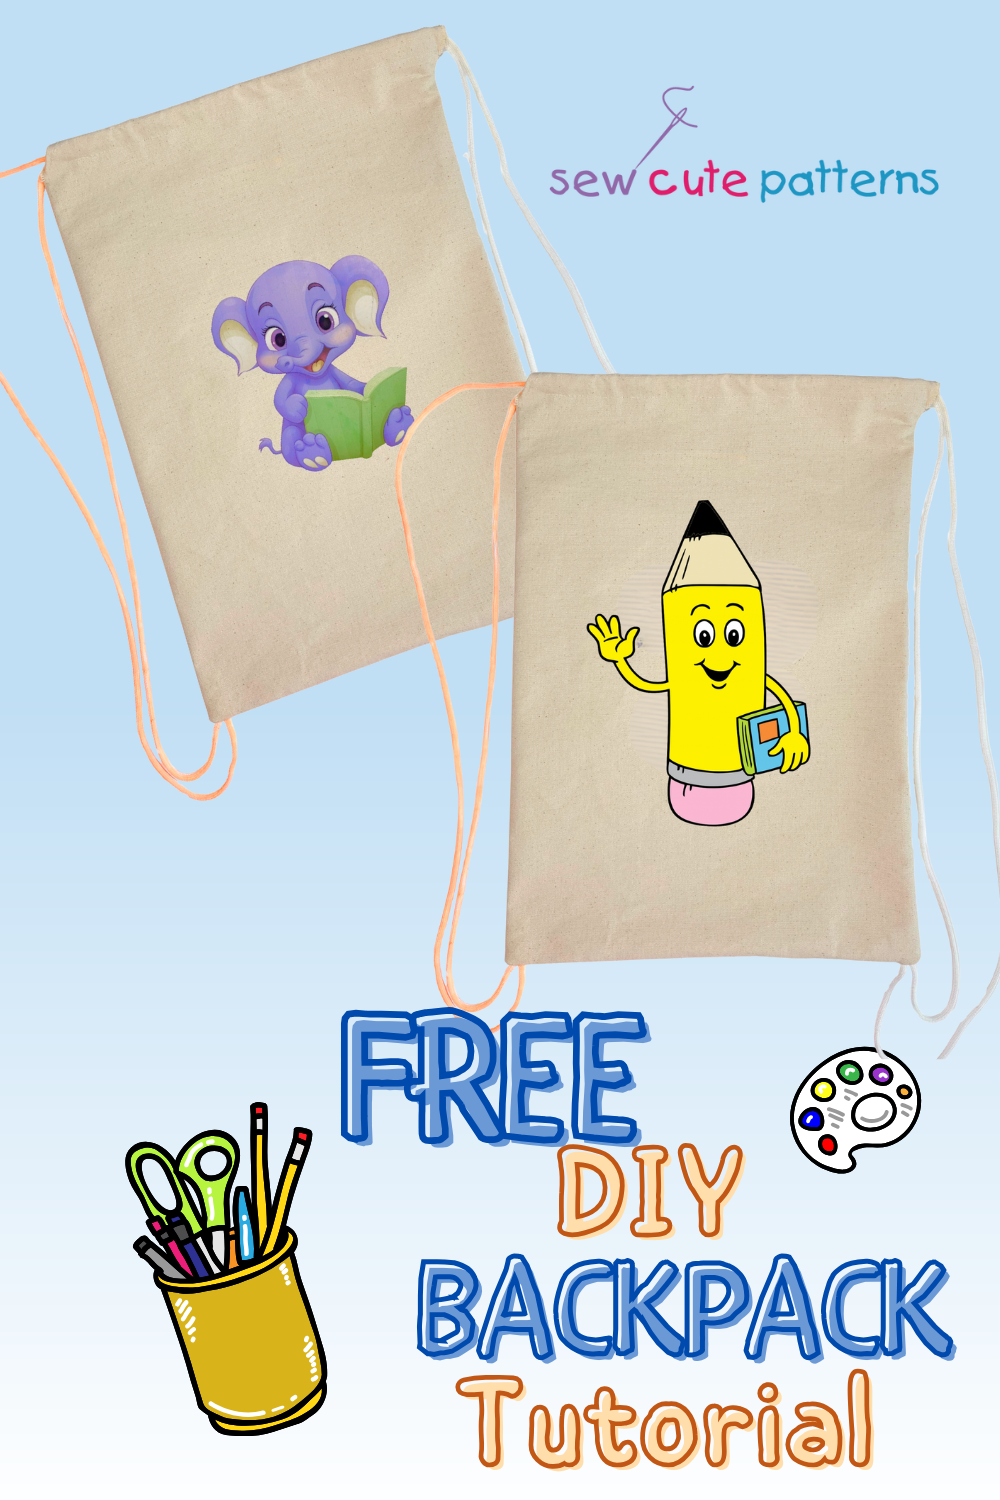
Carry It in Style: Free Drawstring Canvas Backpack Tutorial
Ready to tote-ally upgrade your sewing game? 🧵 Whether you're packing library books, gym gear, or magical plush supplies, this free canvas backpack tutorial is here to help you stitch up something practical AND adorable!
We’ve got:
A drawstring backpack tutorial
Free printable iron-ons
✂️ Supplies You’ll Need
Here’s what you’ll want to gather before jumping into this quick and cute project:
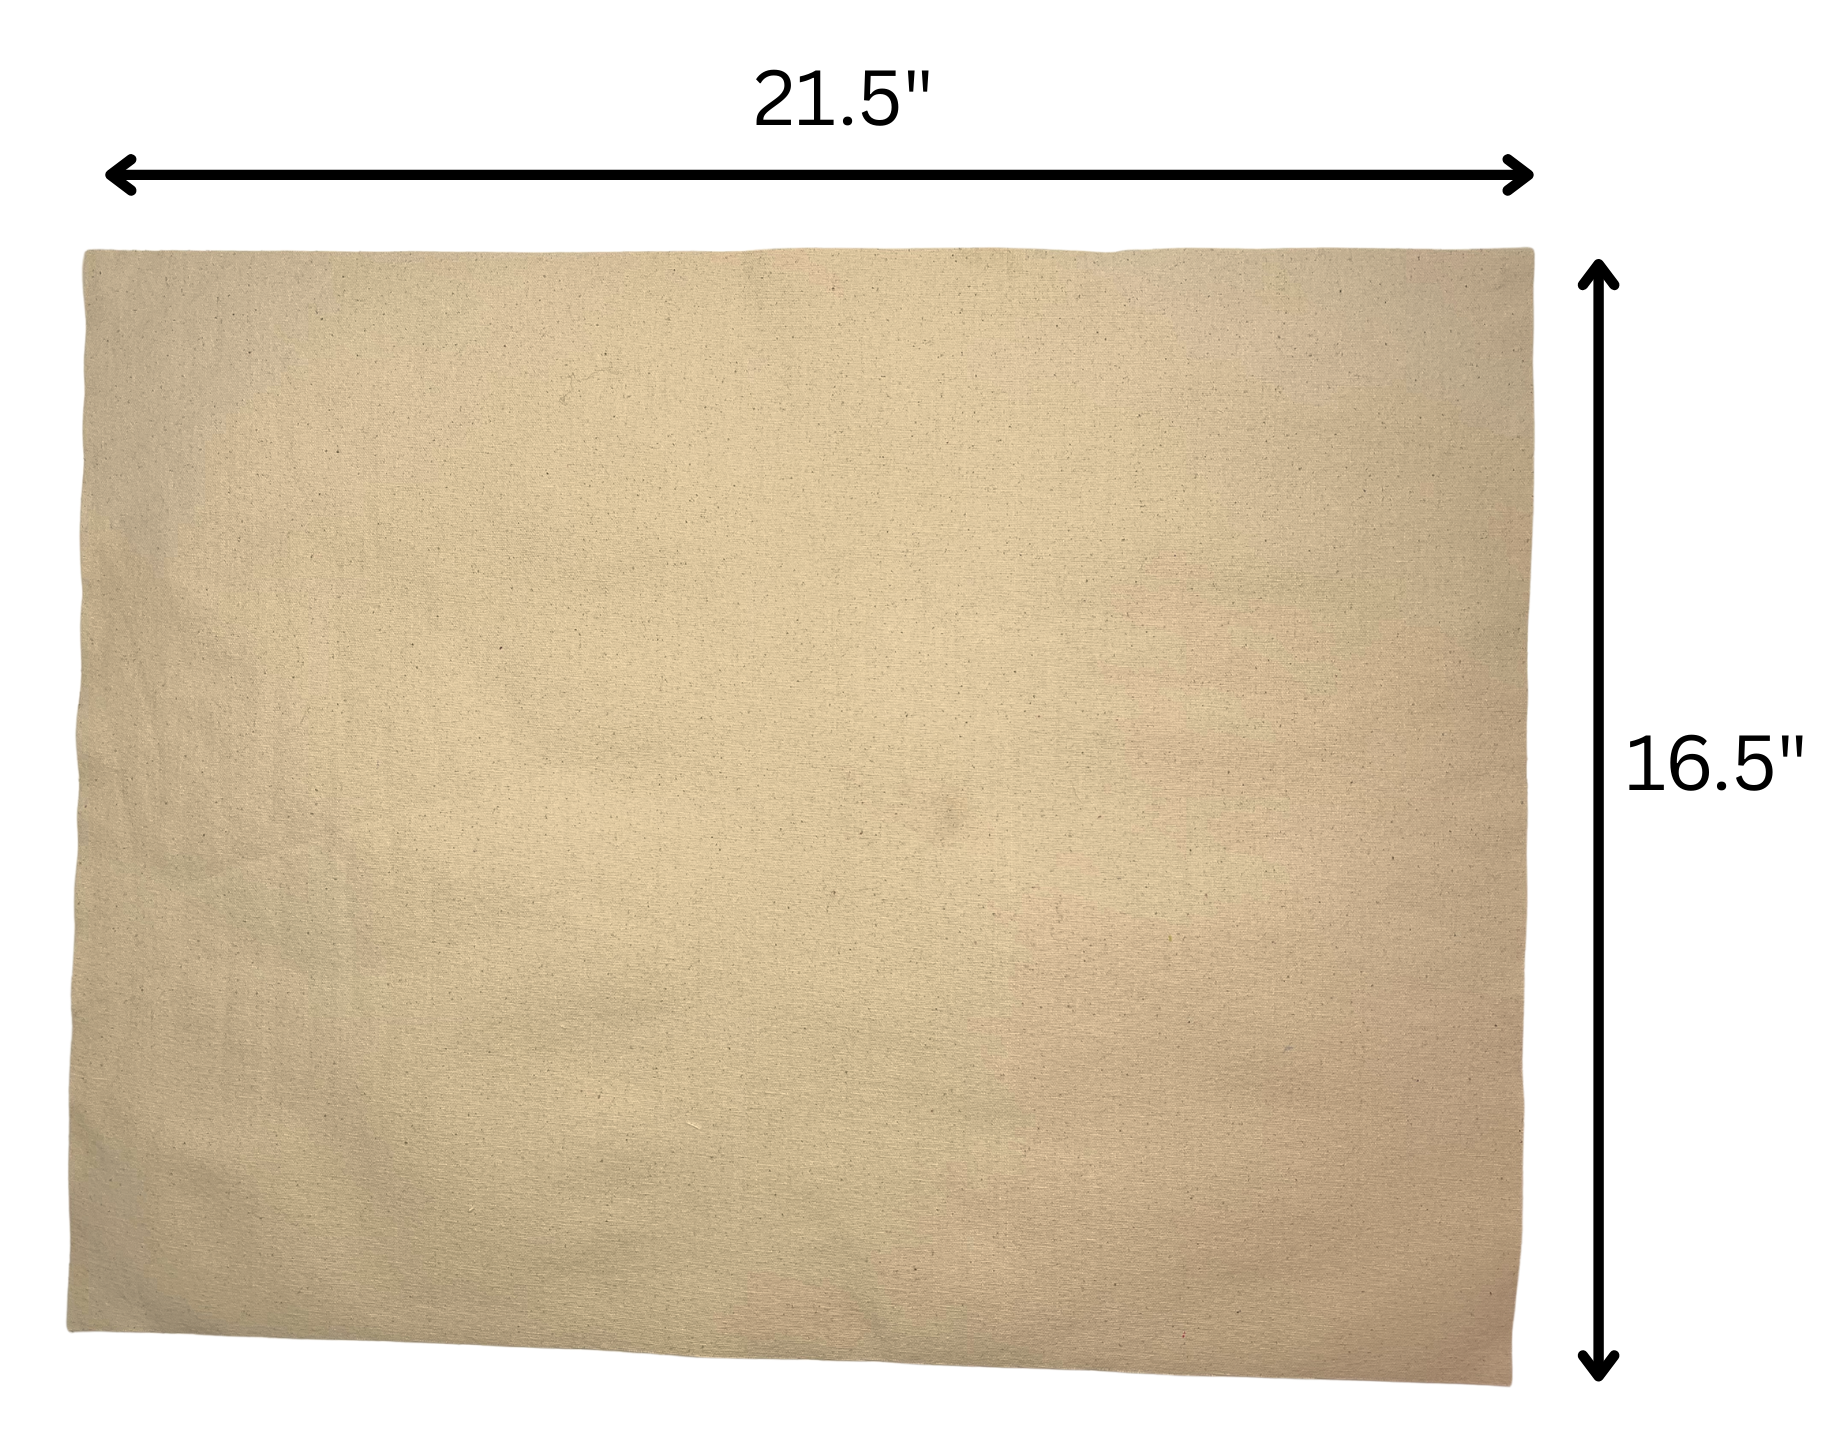
Canvas fabric – Cut to 21.5" wide x 16.5" long
🛒 Buy canvas fabric here (affiliate link)Two cords or drawstrings, each approx. 59" long
🛒 Cotton drawstring cord pack (affiliate link)Iron-on transfer paper (for inkjet printers)
🛒 Printable iron-on transfer paper (affiliate link)Fabric markers (optional, but extra fun!)
🛒 Fabric markers for coloring (affiliate link)Basic sewing tools: sewing machine, pins or clips, scissors, thread
Sewing scissors (to cut the fabric and cords)
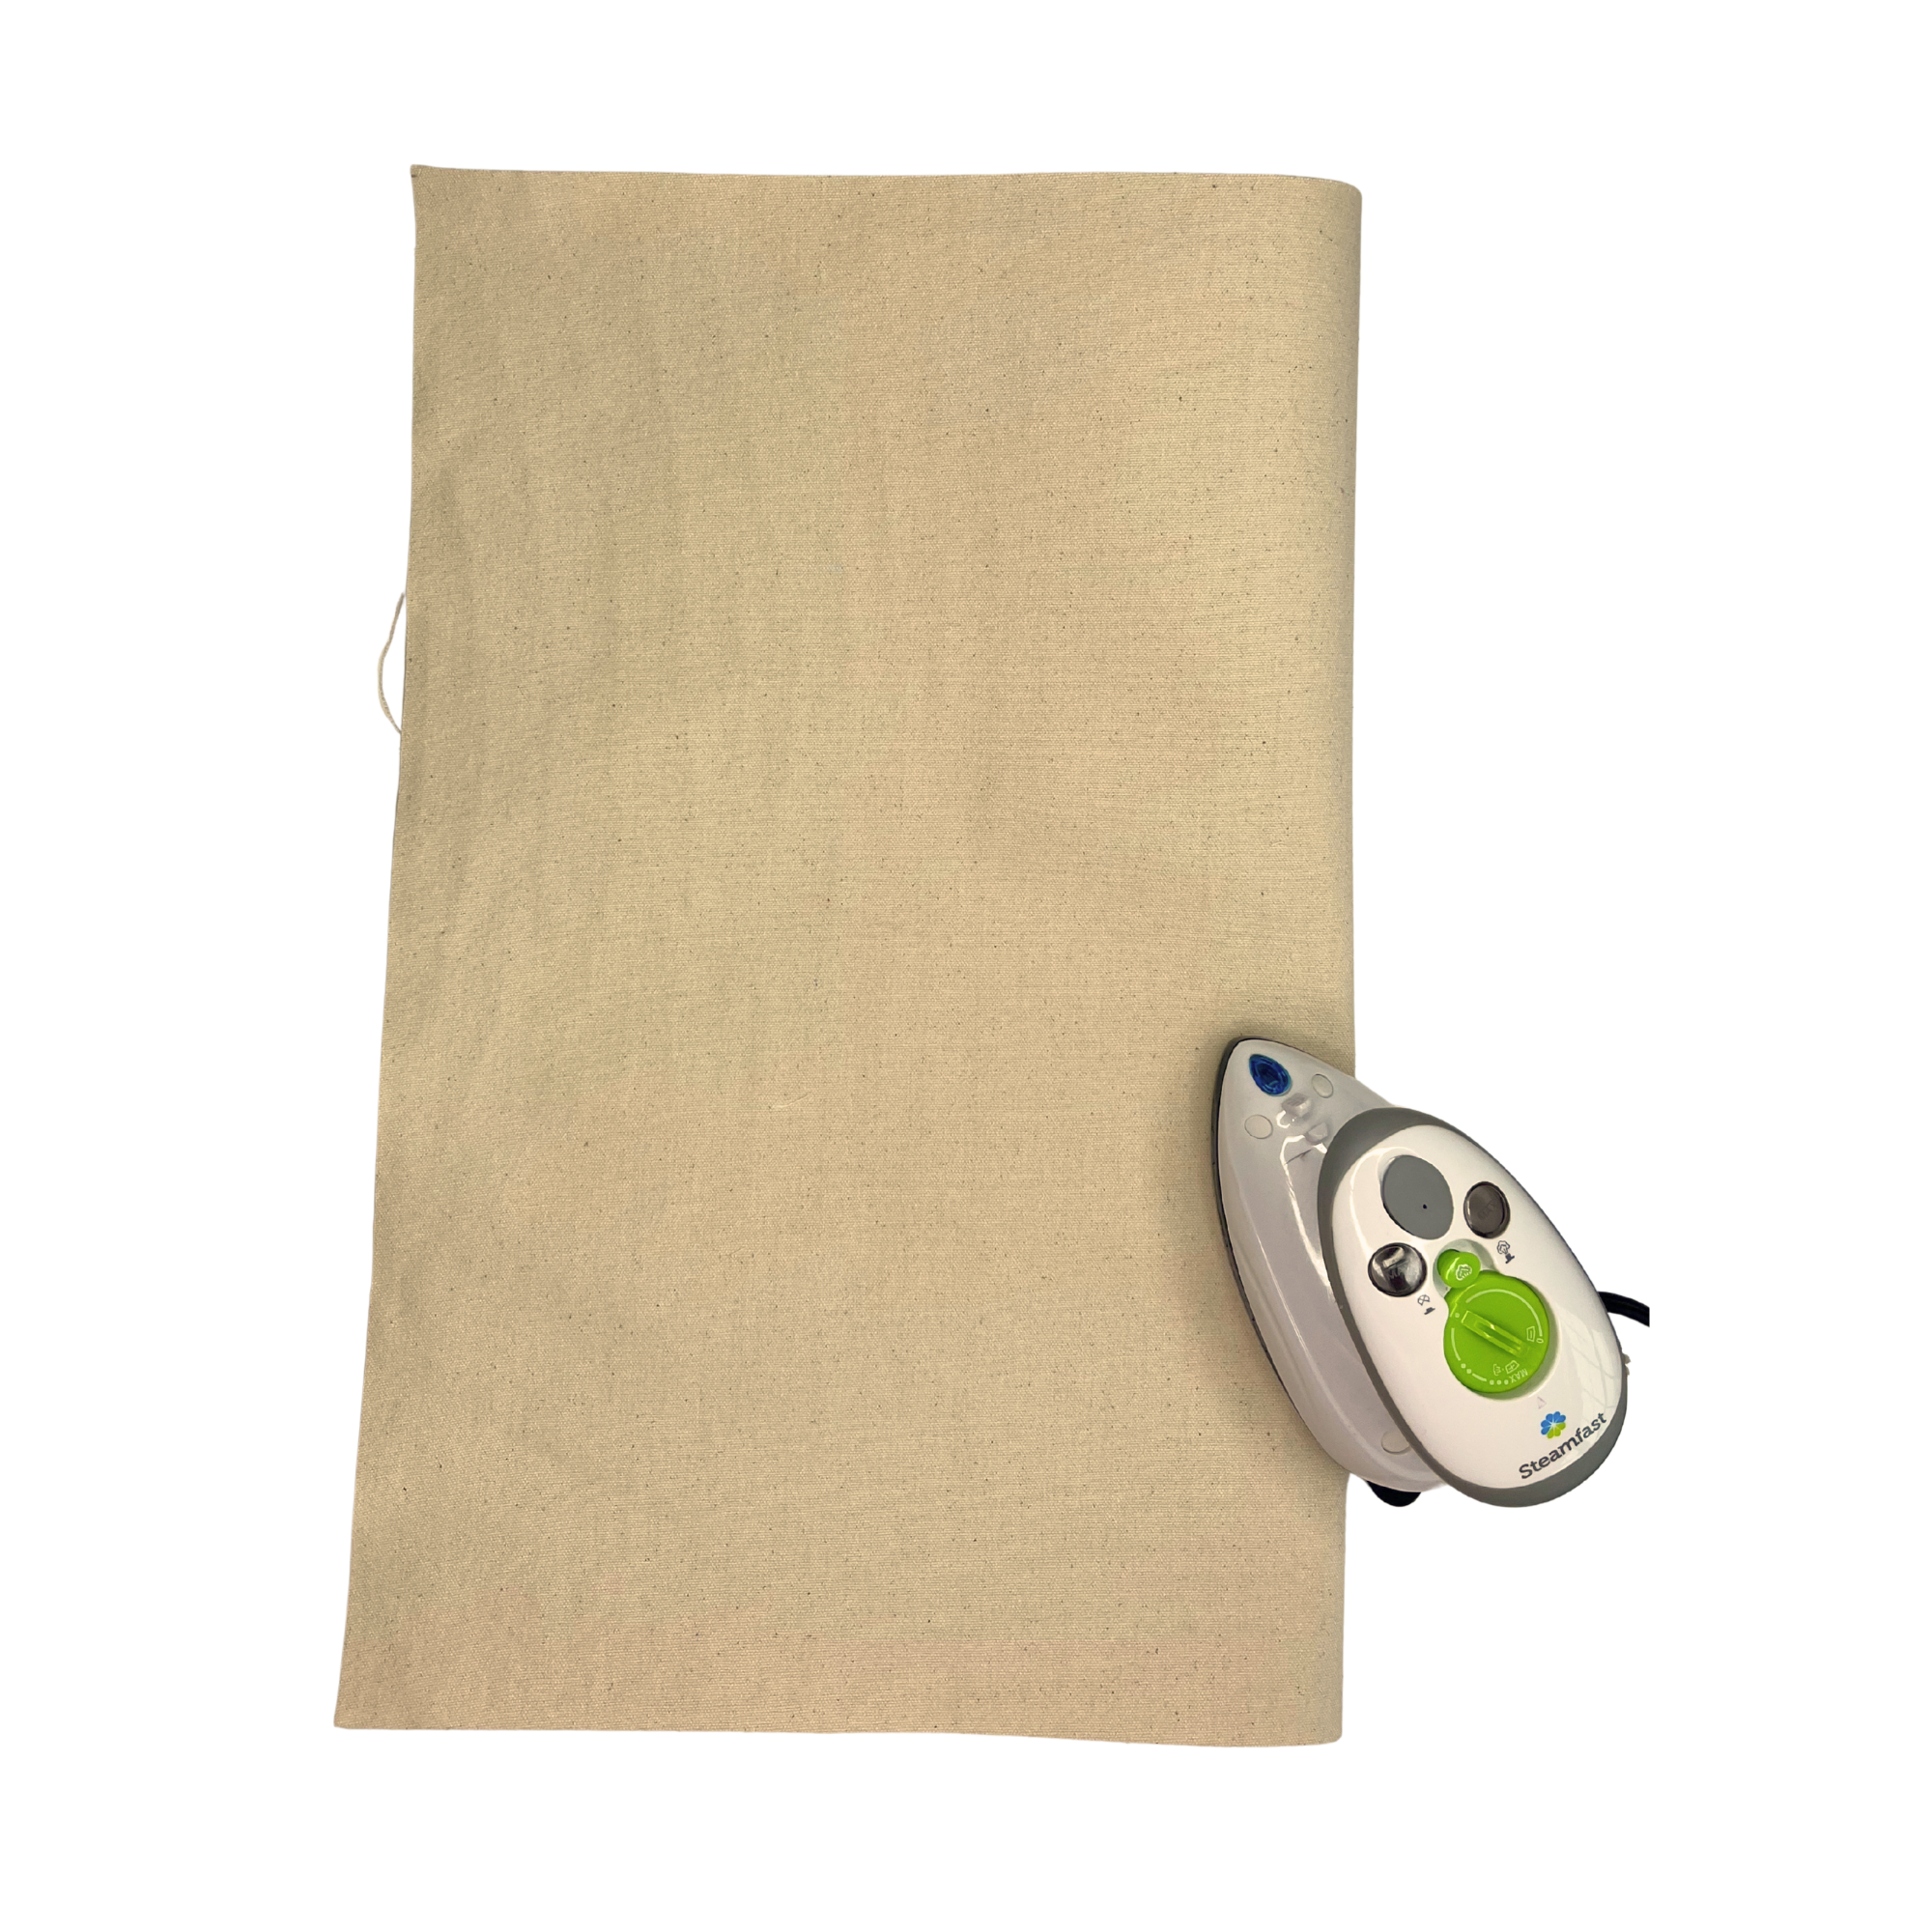
Iron to attach printable iron-ons
🎨 Free Printable Iron-Ons
Add a little literacy love to your backpack with these exclusive printable designs:


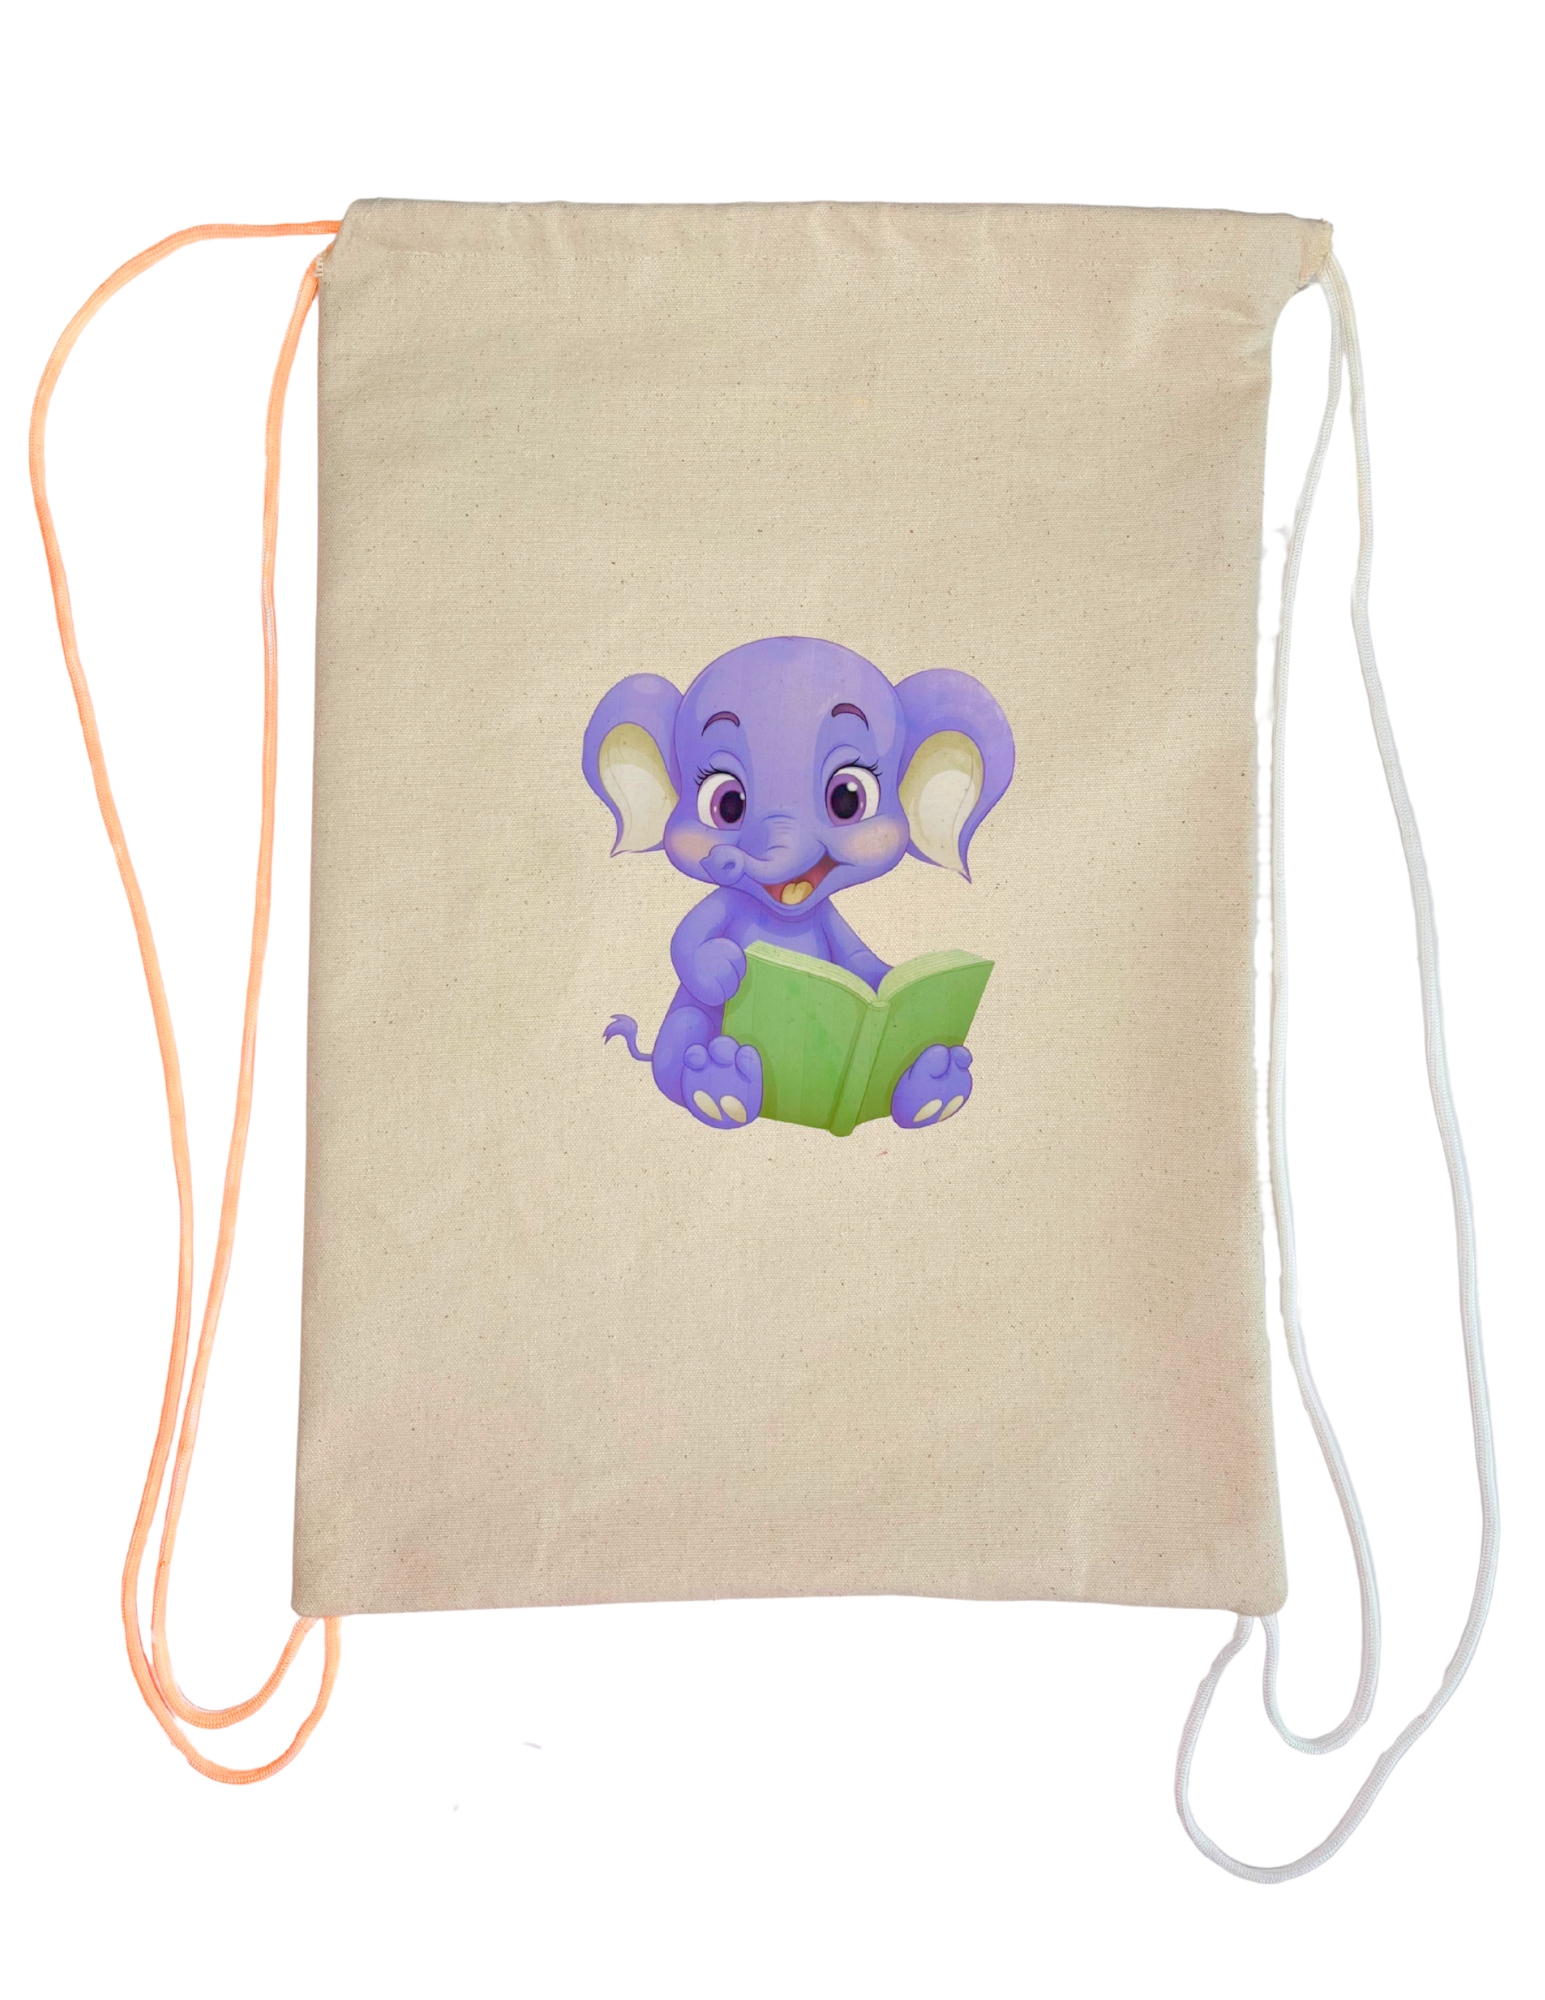
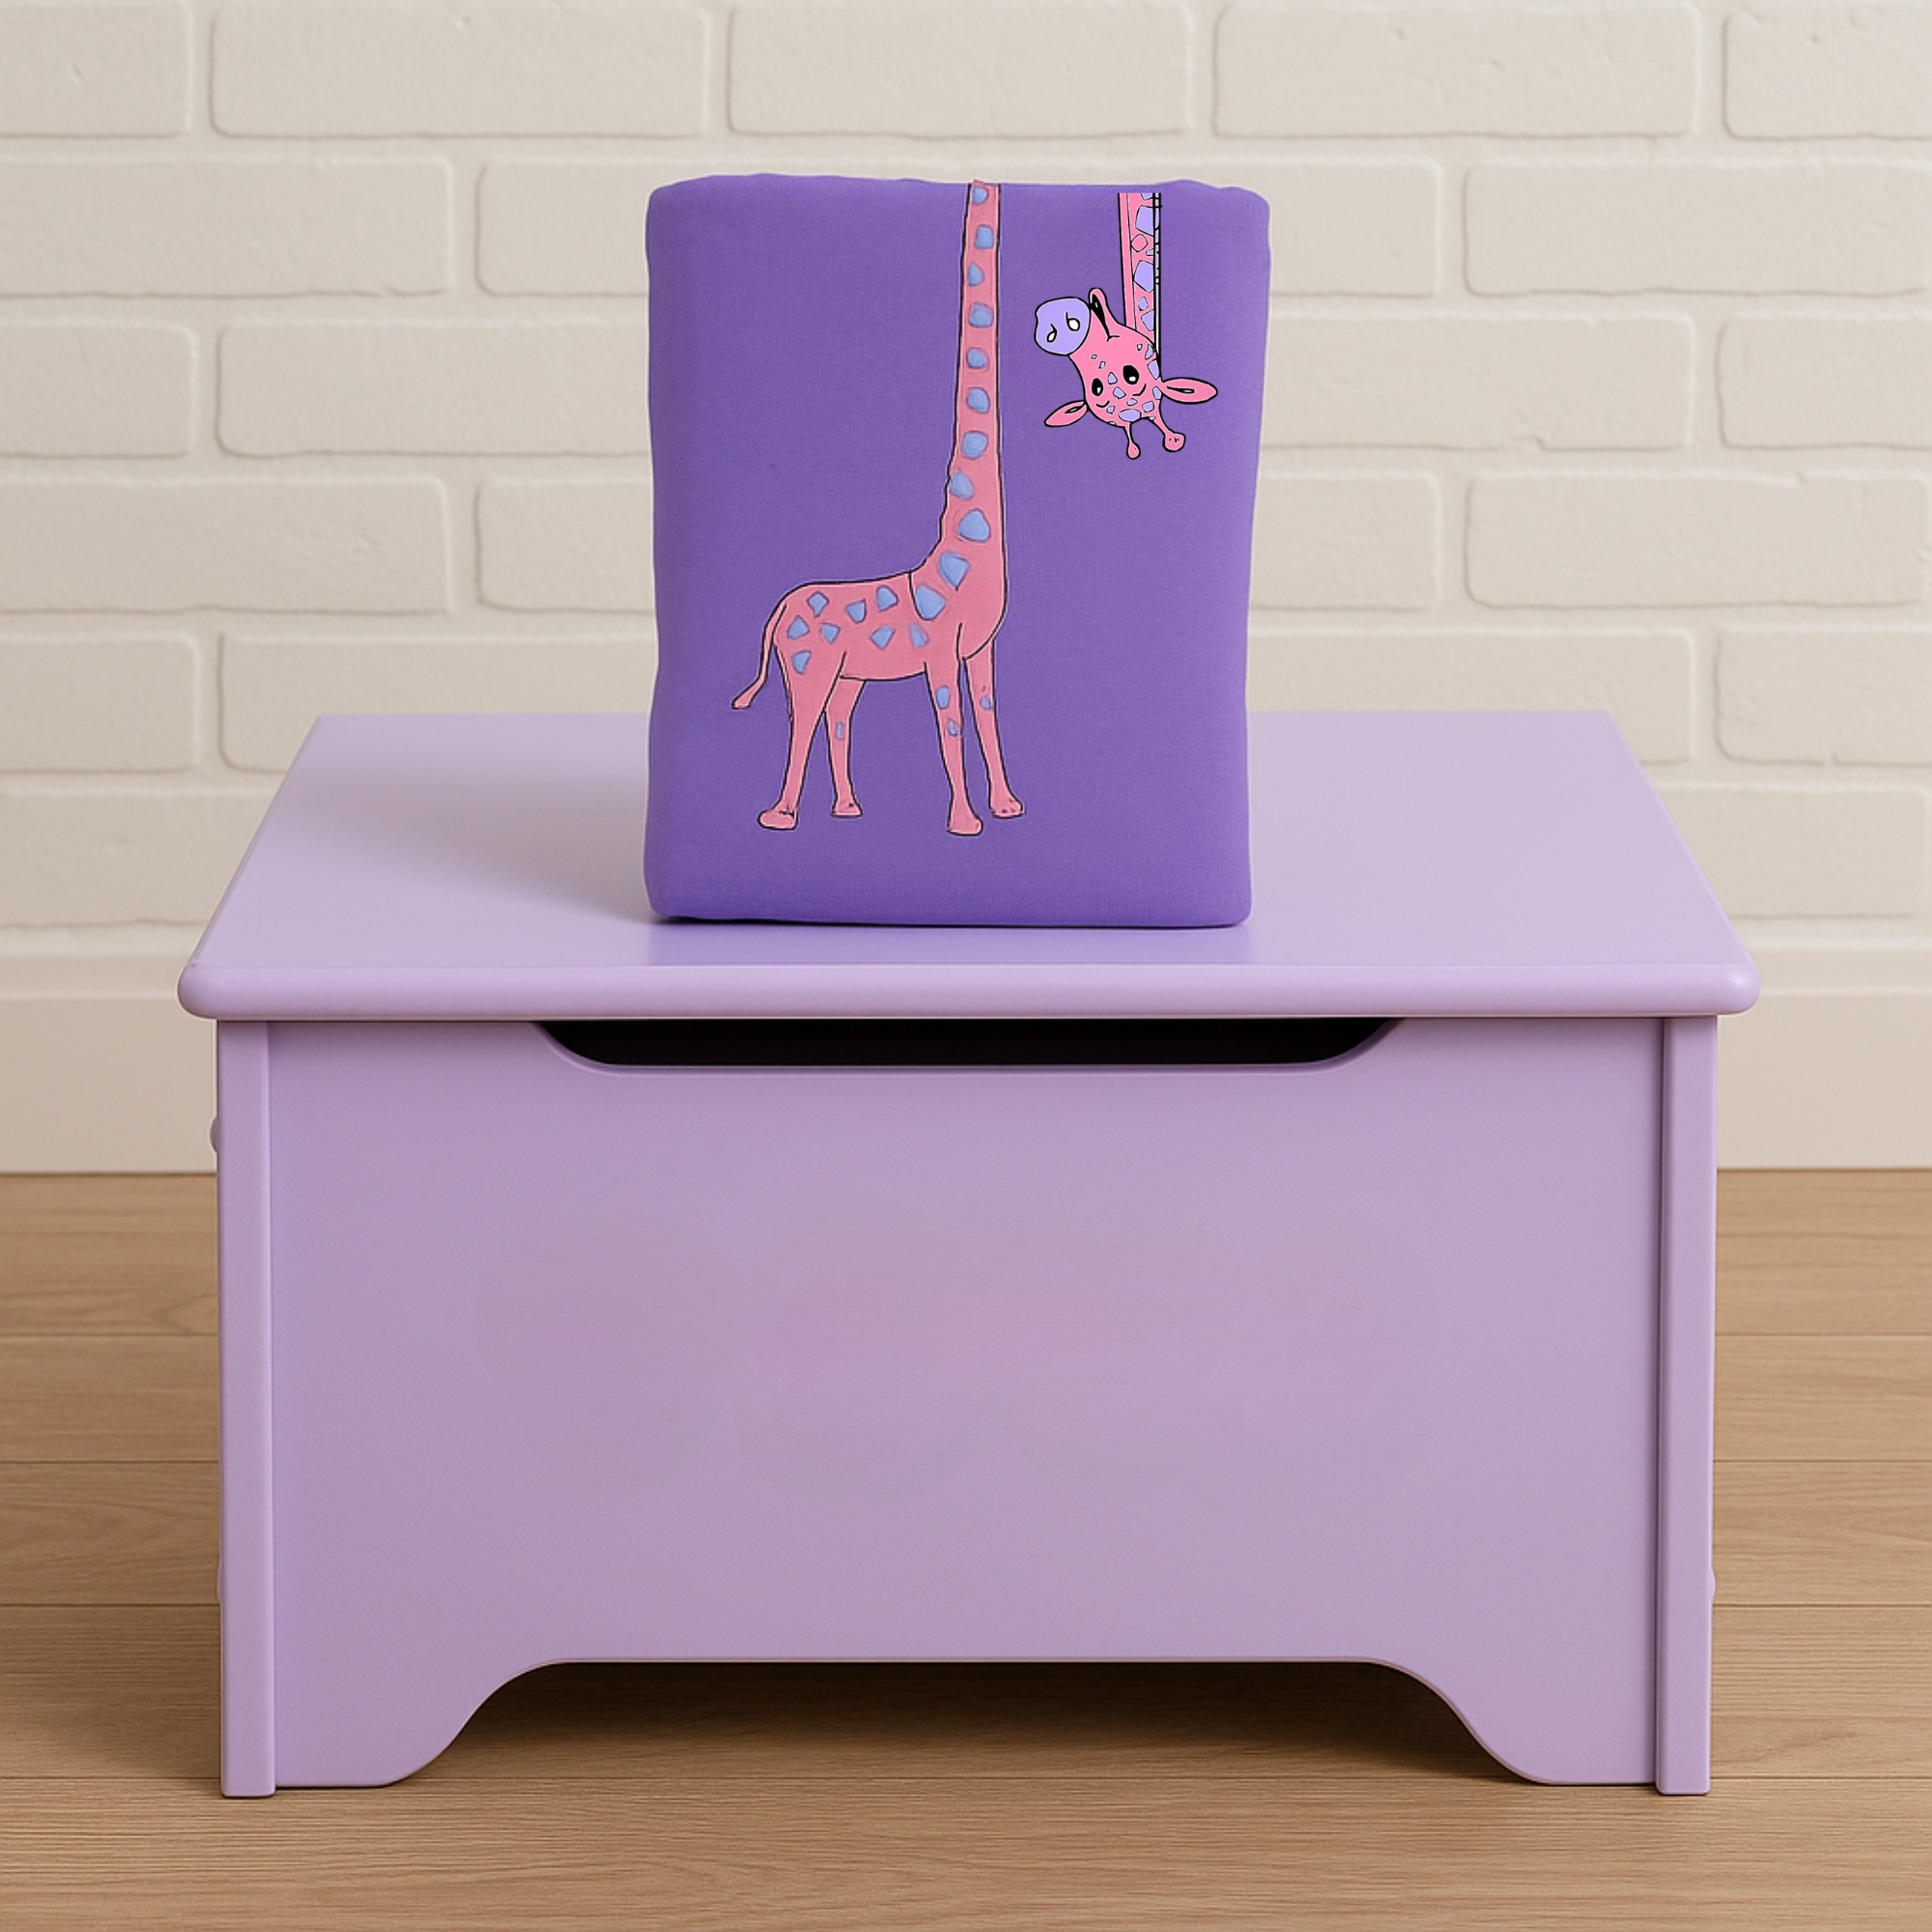
These are sized to fit perfectly on the front of your backpack and can be printed on iron-on paper and transferred directly to the canvas. Let kids (or you!) color the backpack around the picture with fabric markers for a personalized touch! 🖍️
🧵 How to Sew the Backpack
Cut a piece of canvas fabric 21.5“ wide x 16.5“ tall.
With fabric wrong sides together, fold in half lengthwise and iron flat along the fold. (The wrong sides of the fabric will be on the inside of the backpack.) Most canvas fabric look essentially the same on both sides. If that is the case, simply decide which side you’d like to be on the outside (right side) and which side you’d like on the inside (wrong side).
Unfold the fabric and lay it down with fabric wrong side up.
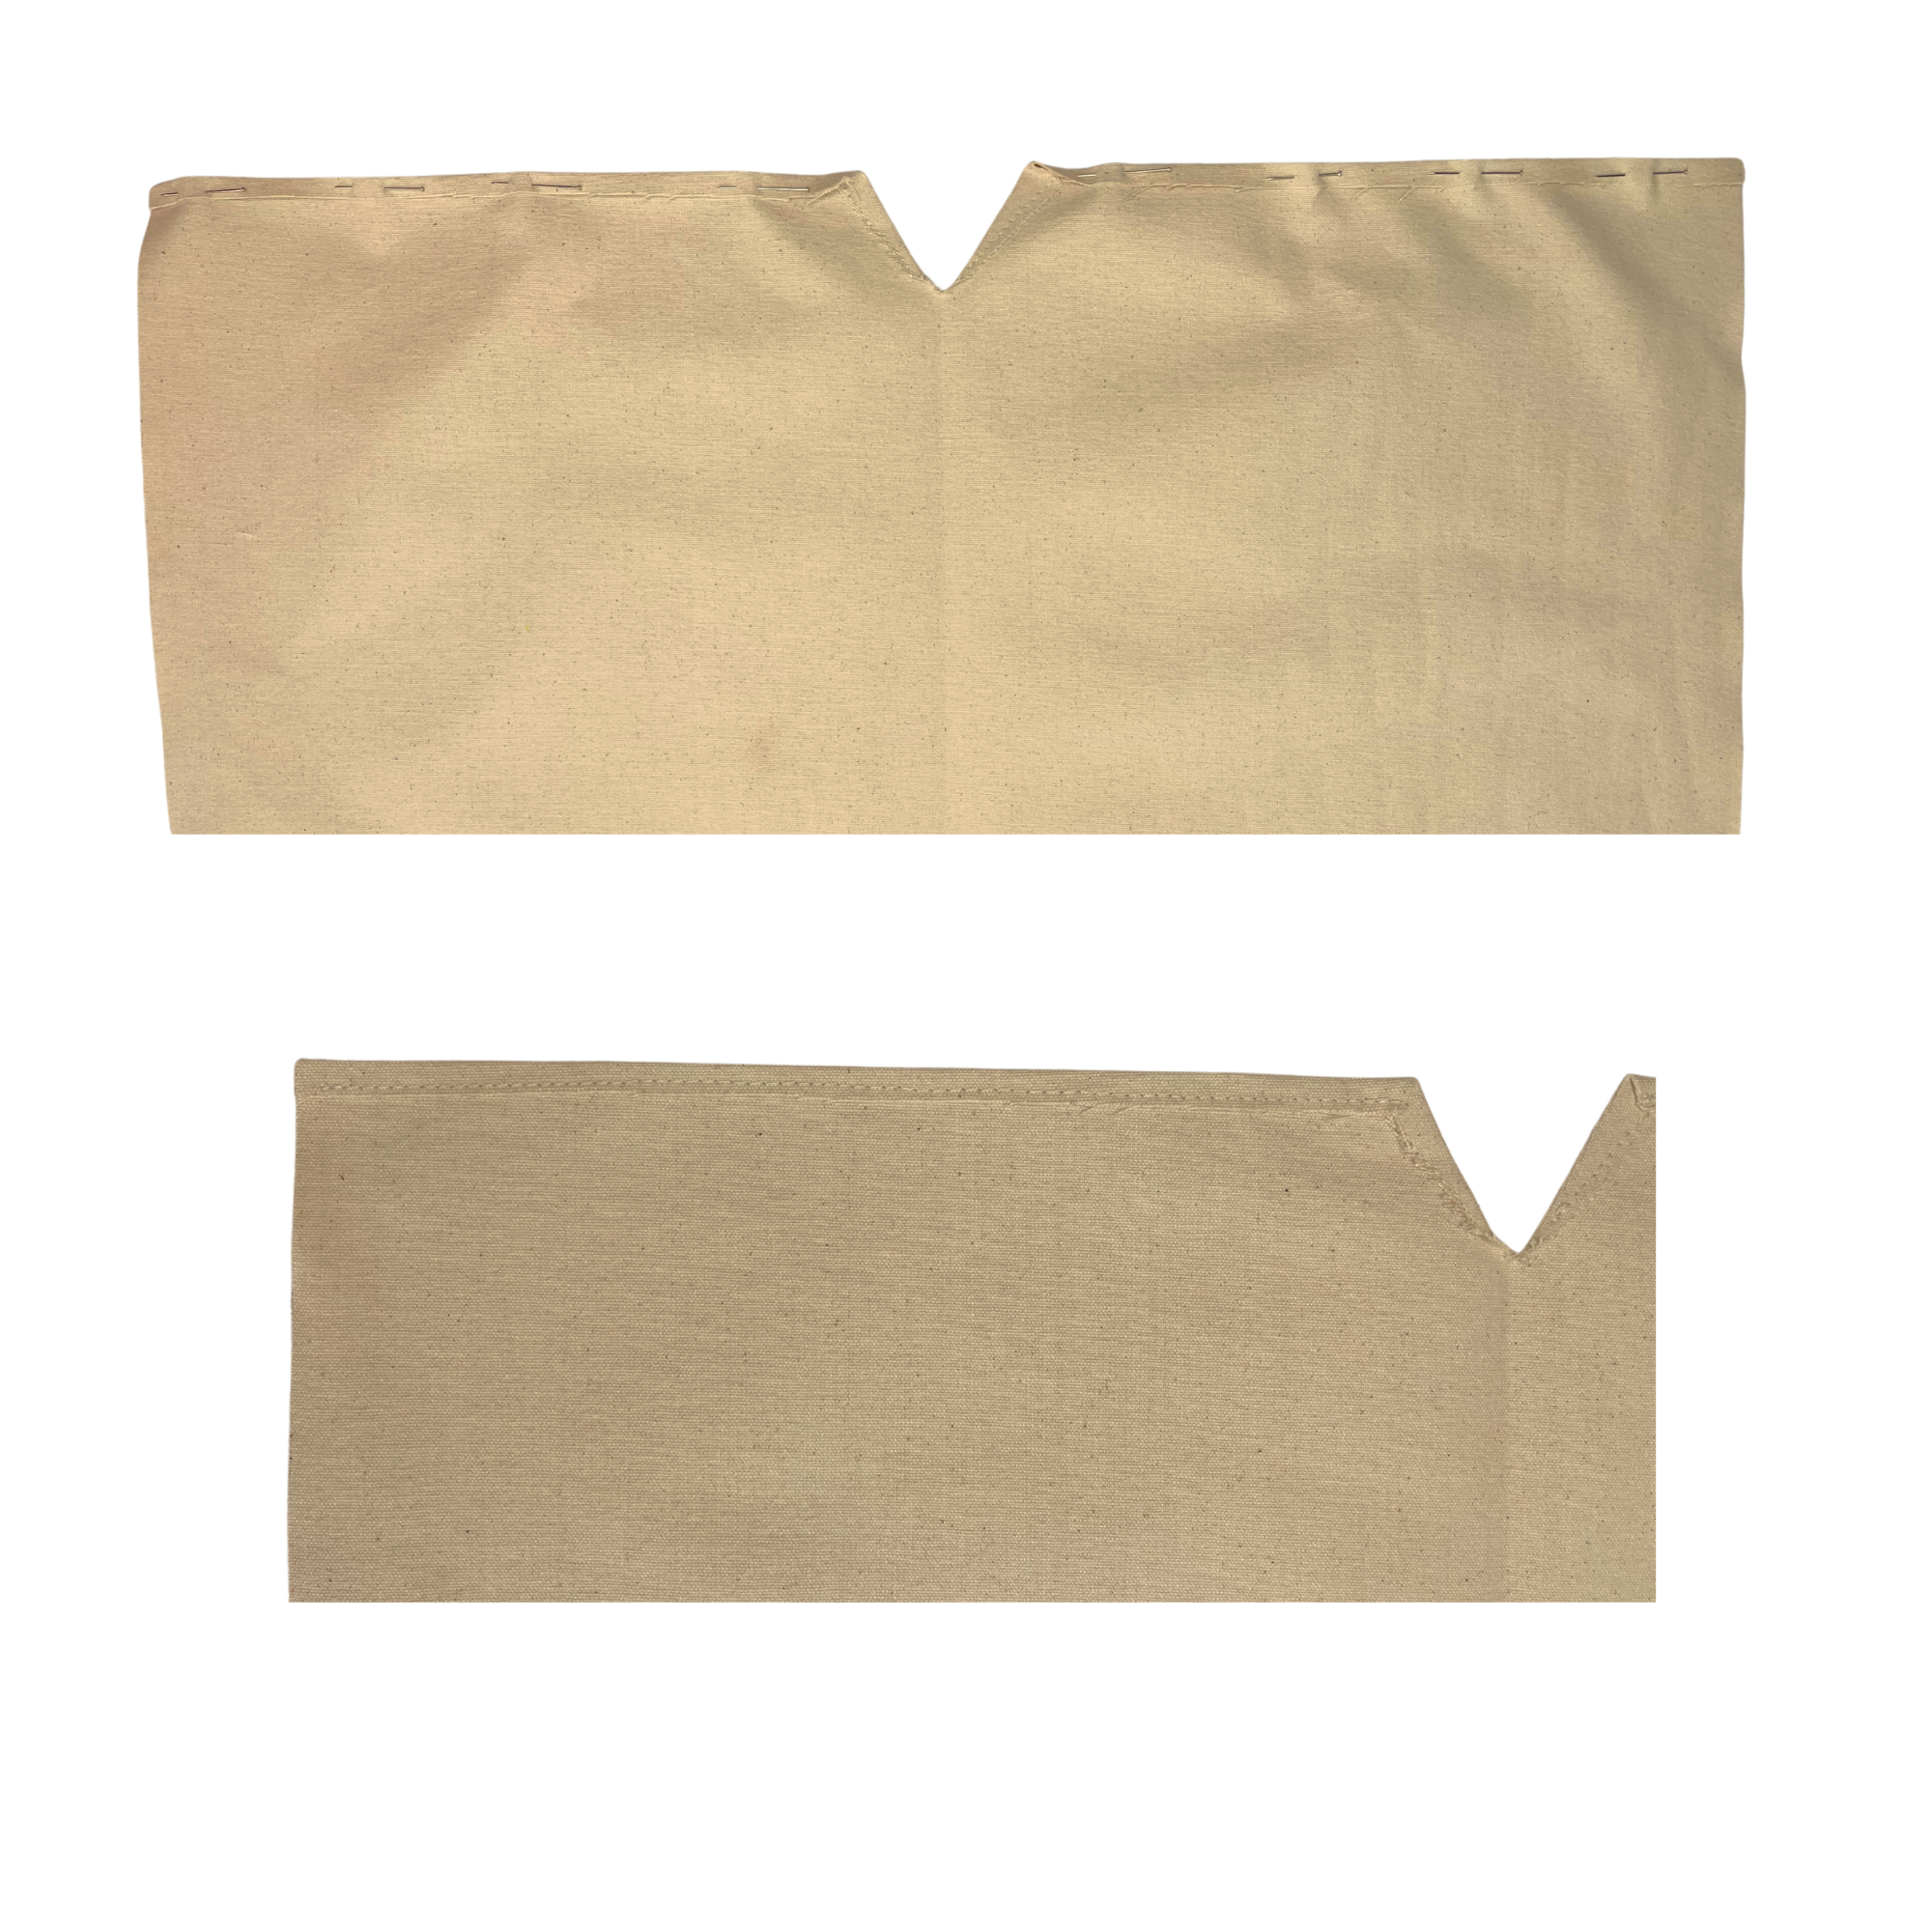
Along the top of the fabric in the center, make a mark 1/2” away from the fold on both sides of the fold.
Create a 2” triangle, starting at the 1/2” marks at the top and ending along the fold line on both sides.
Cut out the triangle. Fold the fabric along both sides of the triangle with fabric wrong sides together. Pin and stitch along both sides.


With fabric wrong sides together, pin and stitch a 1/4” seam across the top, on both sides of the fold.
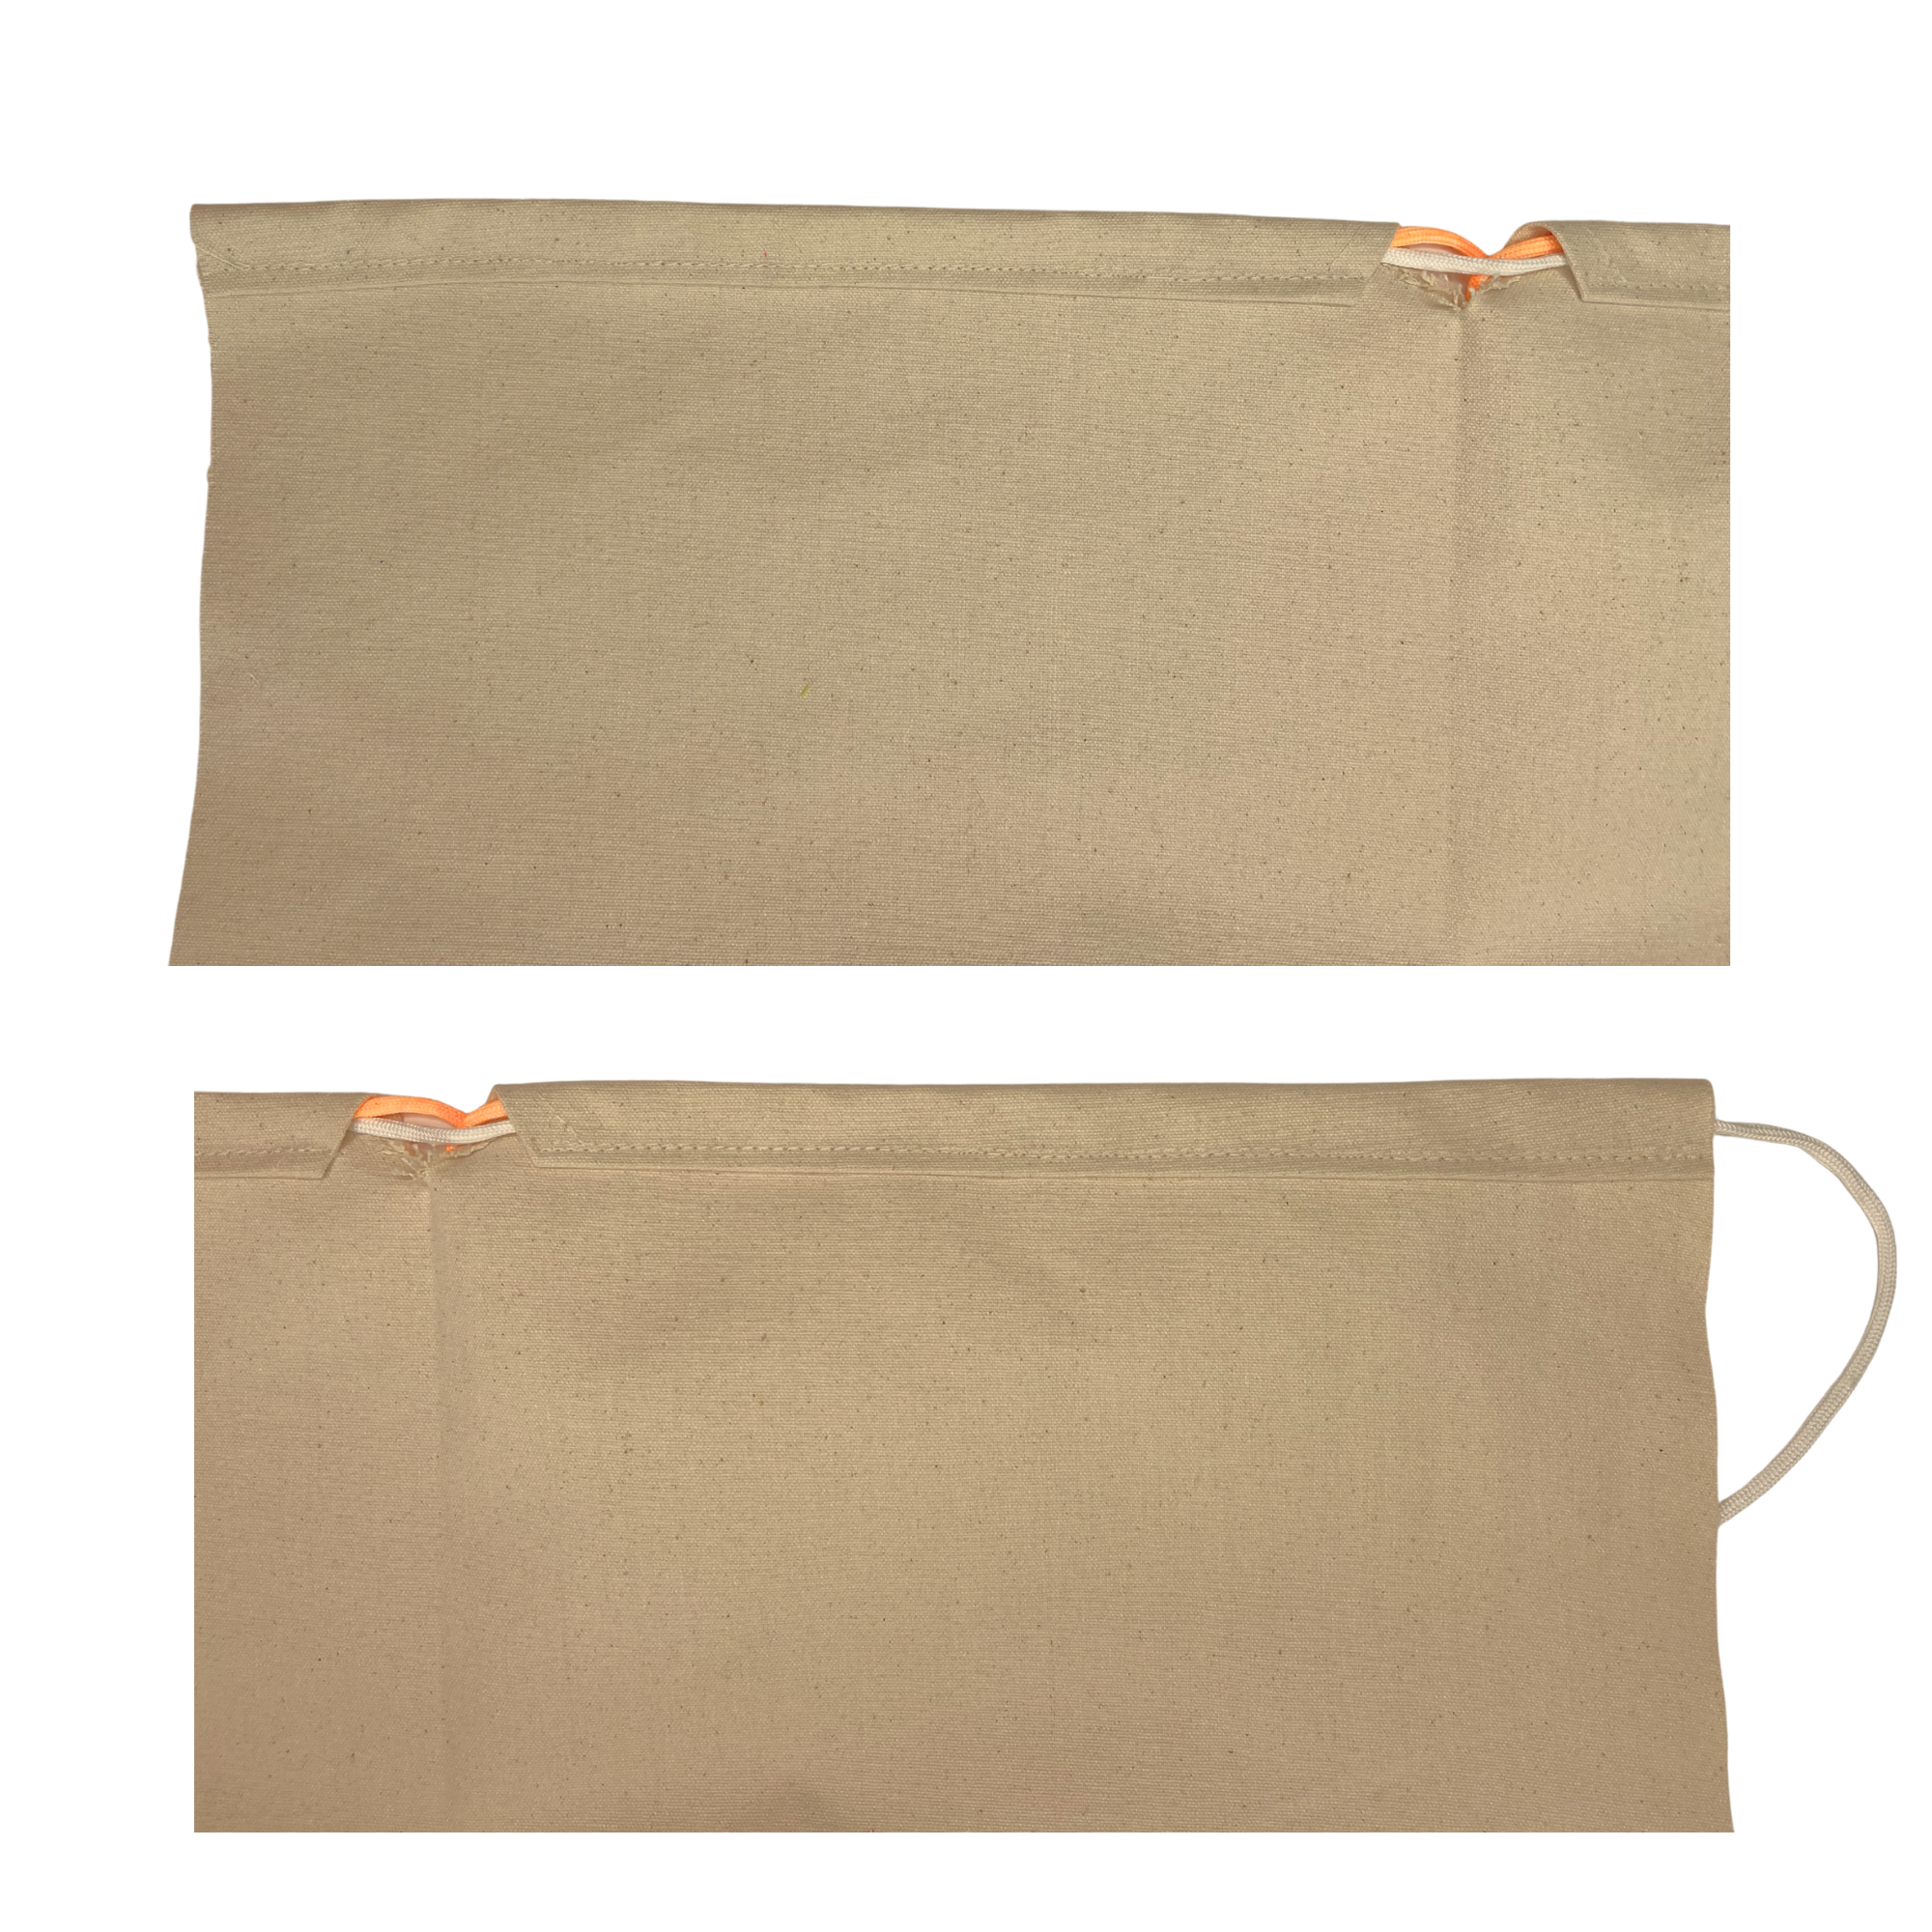
Add the first drawstring.
Lay the fabric right side up.
Pin one end of the first drawstring to the bottom of the fabric to the right of the fold.
Lay the drawstring up along the fold to the top, then to left of the fold along the top on the wrong side of the fabric.
Fold a 1” seam along top of the backpack over the string. Pin it in place.
Continue laying the string along the top on the right side of the fabric.
Continue laying the string along the top on the wrong side of the fabric, to the left of the fold.
Fold a 1” seam along the top of the backpack covering the string and pin in place.
Lay the rest of the drawstring down to the right of the fold and pin the end of the string where you started.


Add the second drawstring.
Pin one end of the second drawstring to the bottom of the fabric along the left side.
Lay the string along the edge to the top on the wrong side, under the fold.
Lay the string across the entire top on the wrong side of the fabric. You’ll need to remove the pins, lay the string under the fold and repin.
Then lay it across the top on the right side of the fabric and finish with the other end of the string next to where you started.
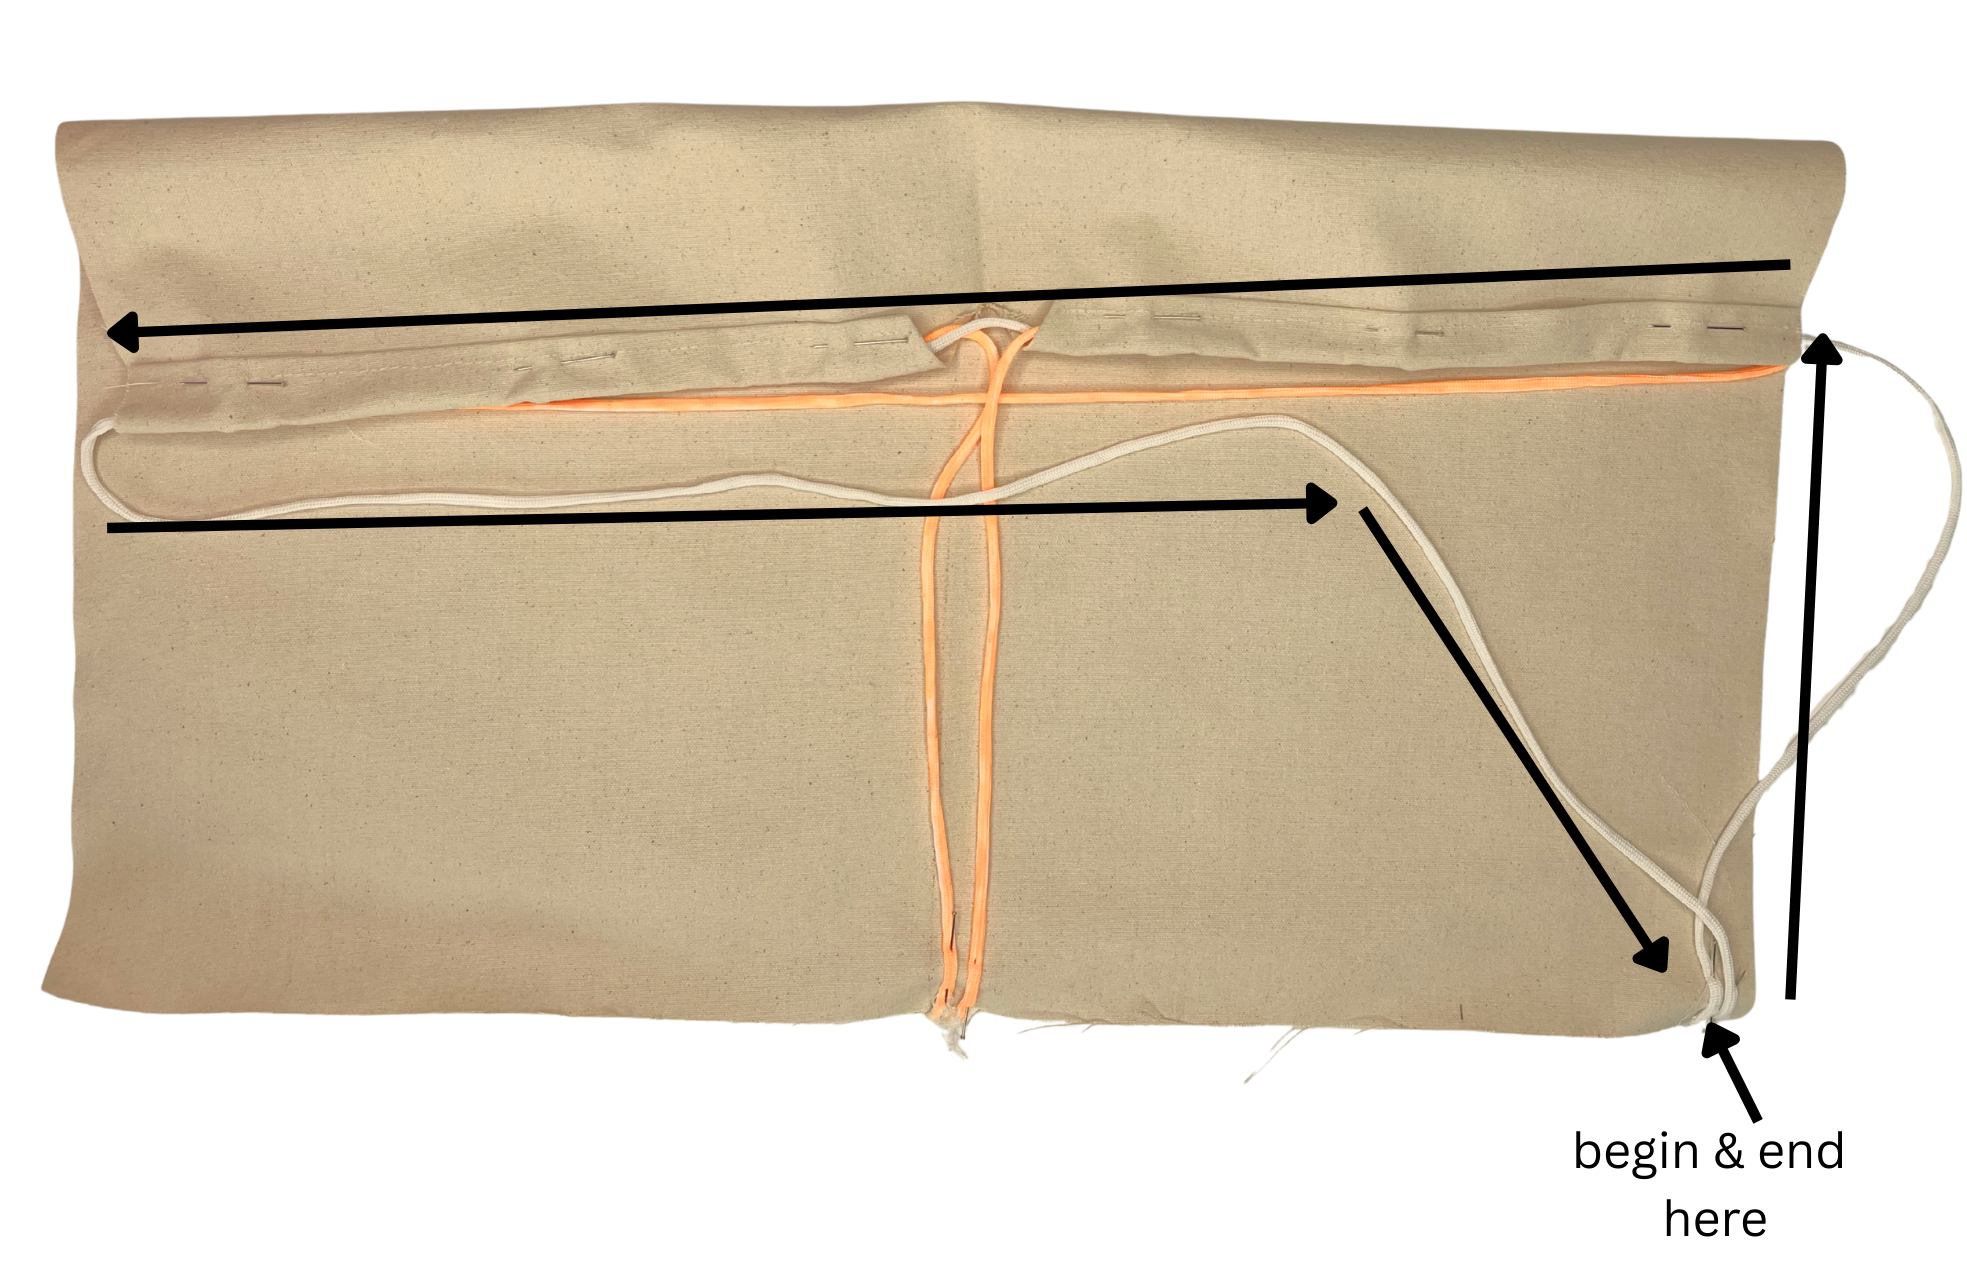
With fabric wrong sides together, stitch the 1” seam across the top on both sides of the fold with the drawstrings in between.. Make sure you don’t accidently stitch the string.
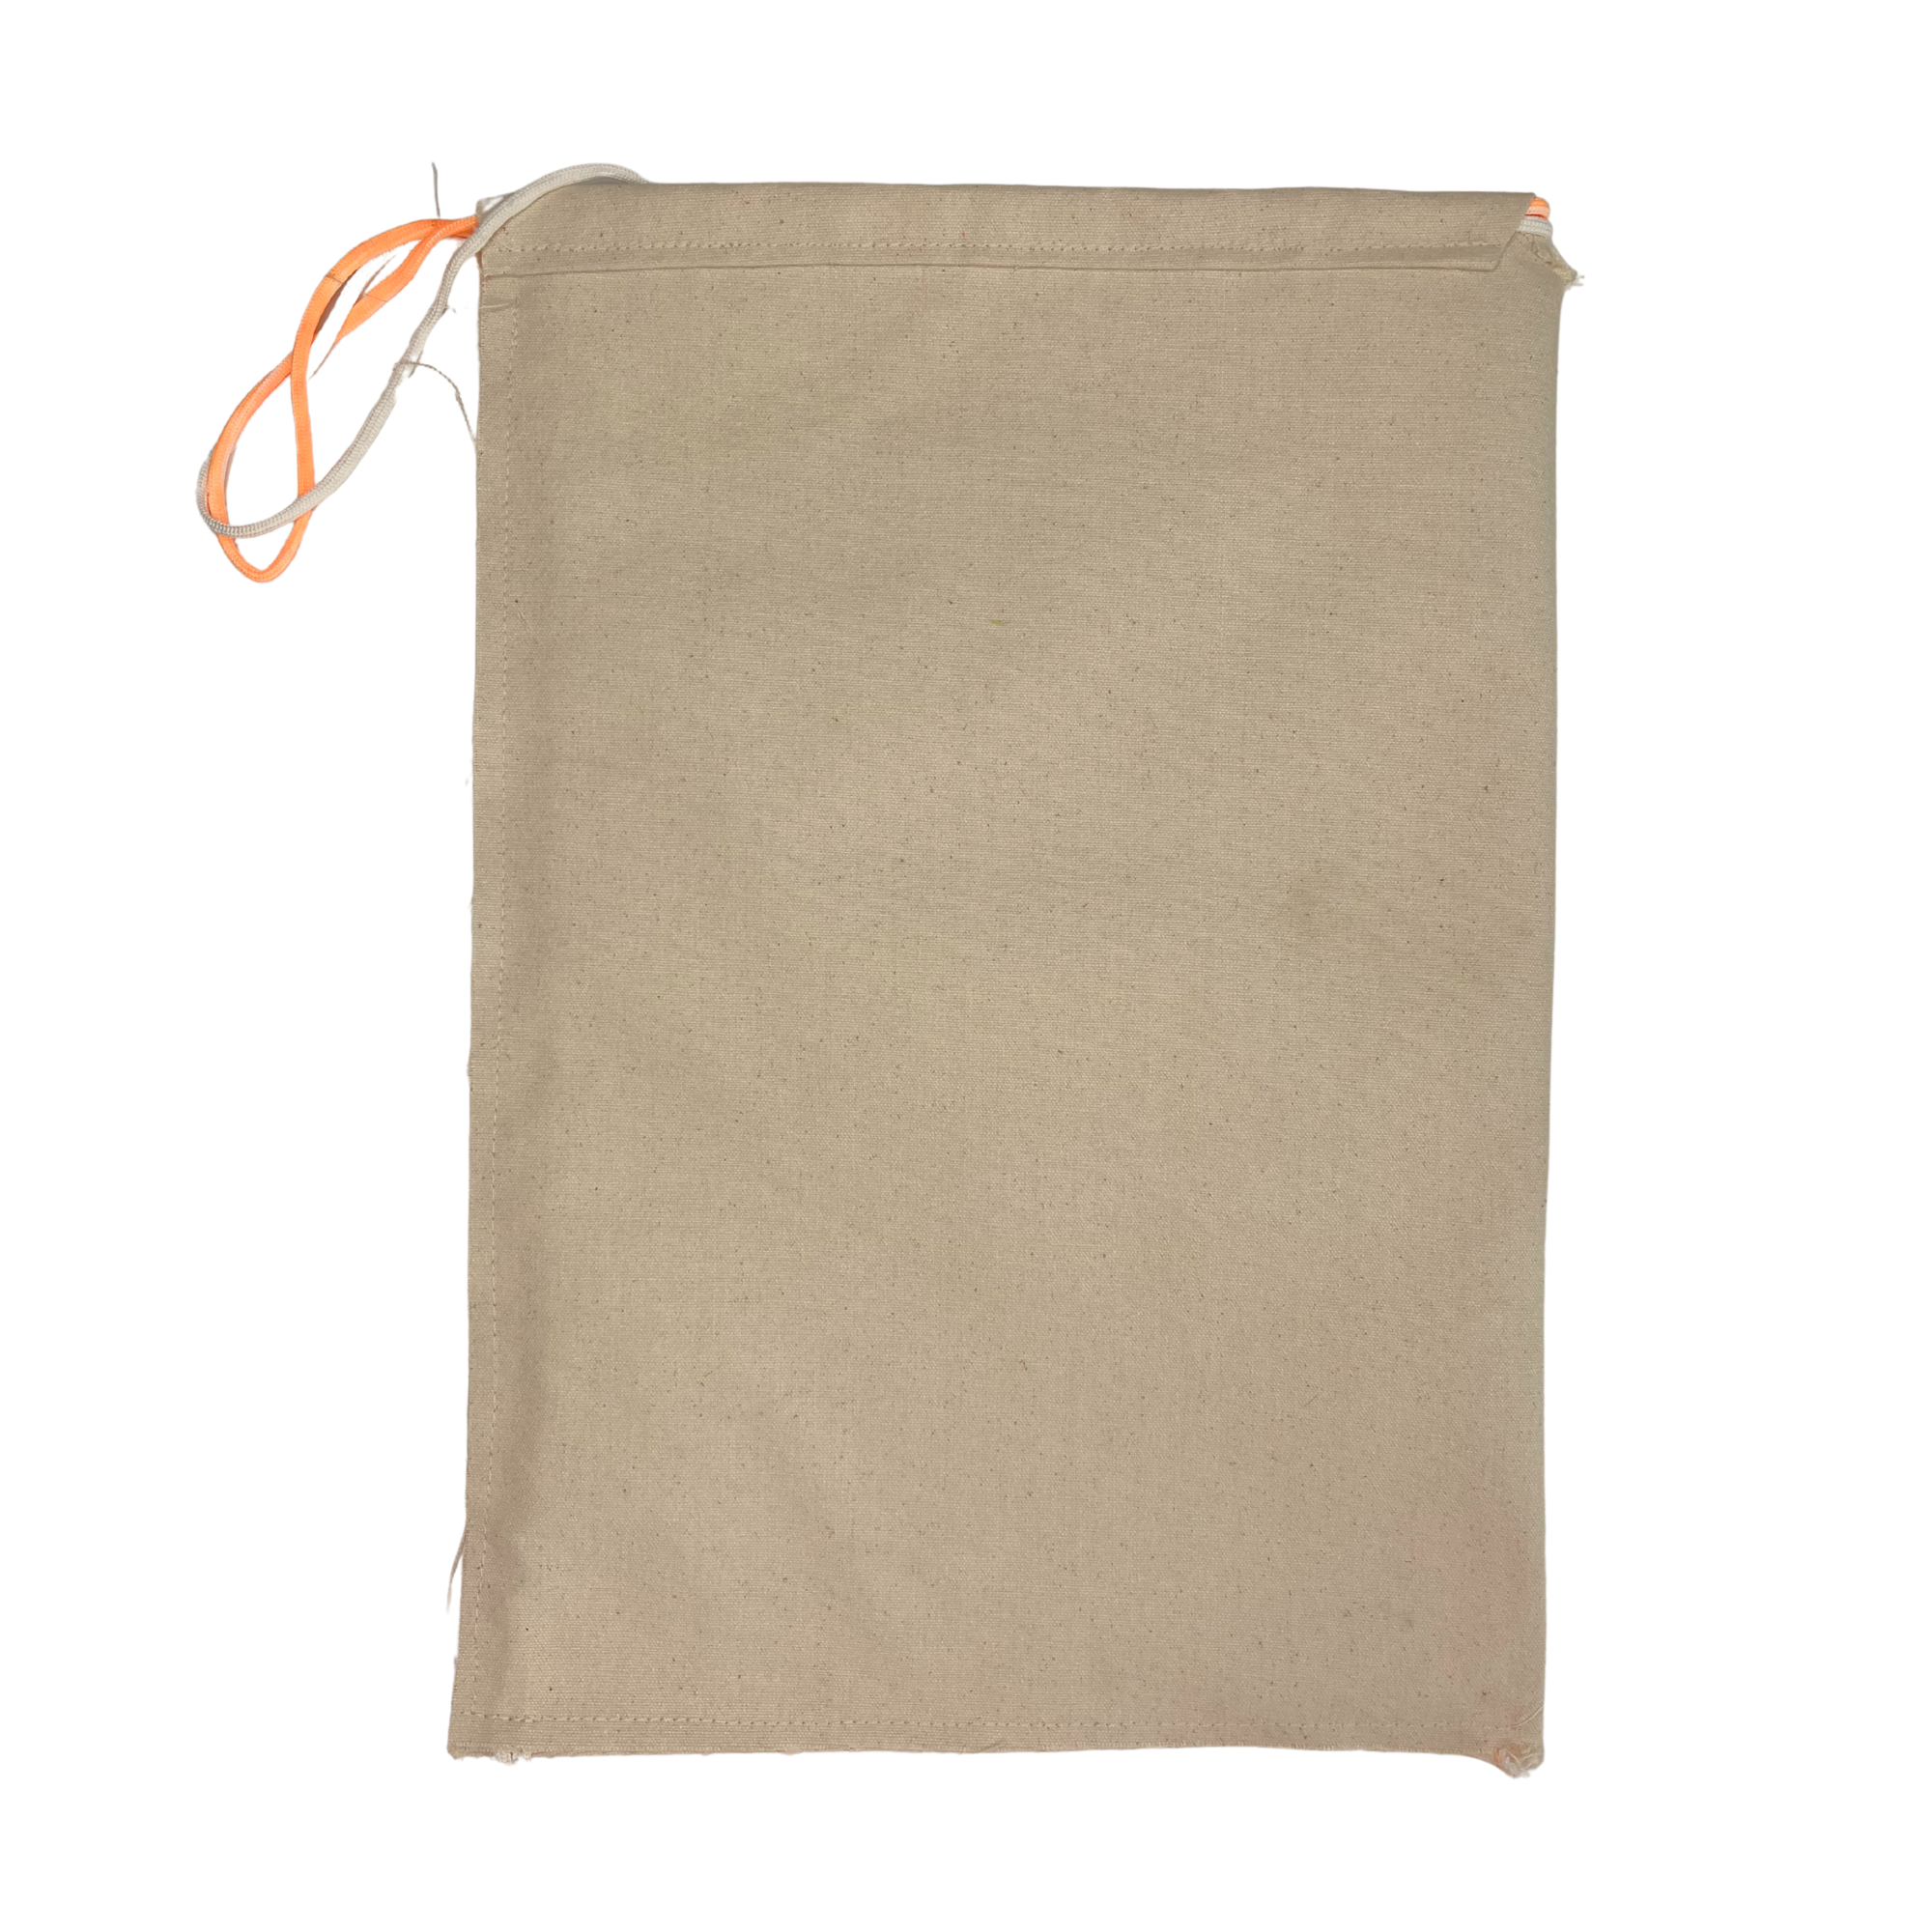
With fabric right sides together, pin and stitch the backpack along the sides and bottom.
Reverse the backpack right side out.
Follow your transfer paper instructions to add the images to your backpack. Print, cut, remove backing, iron-on.


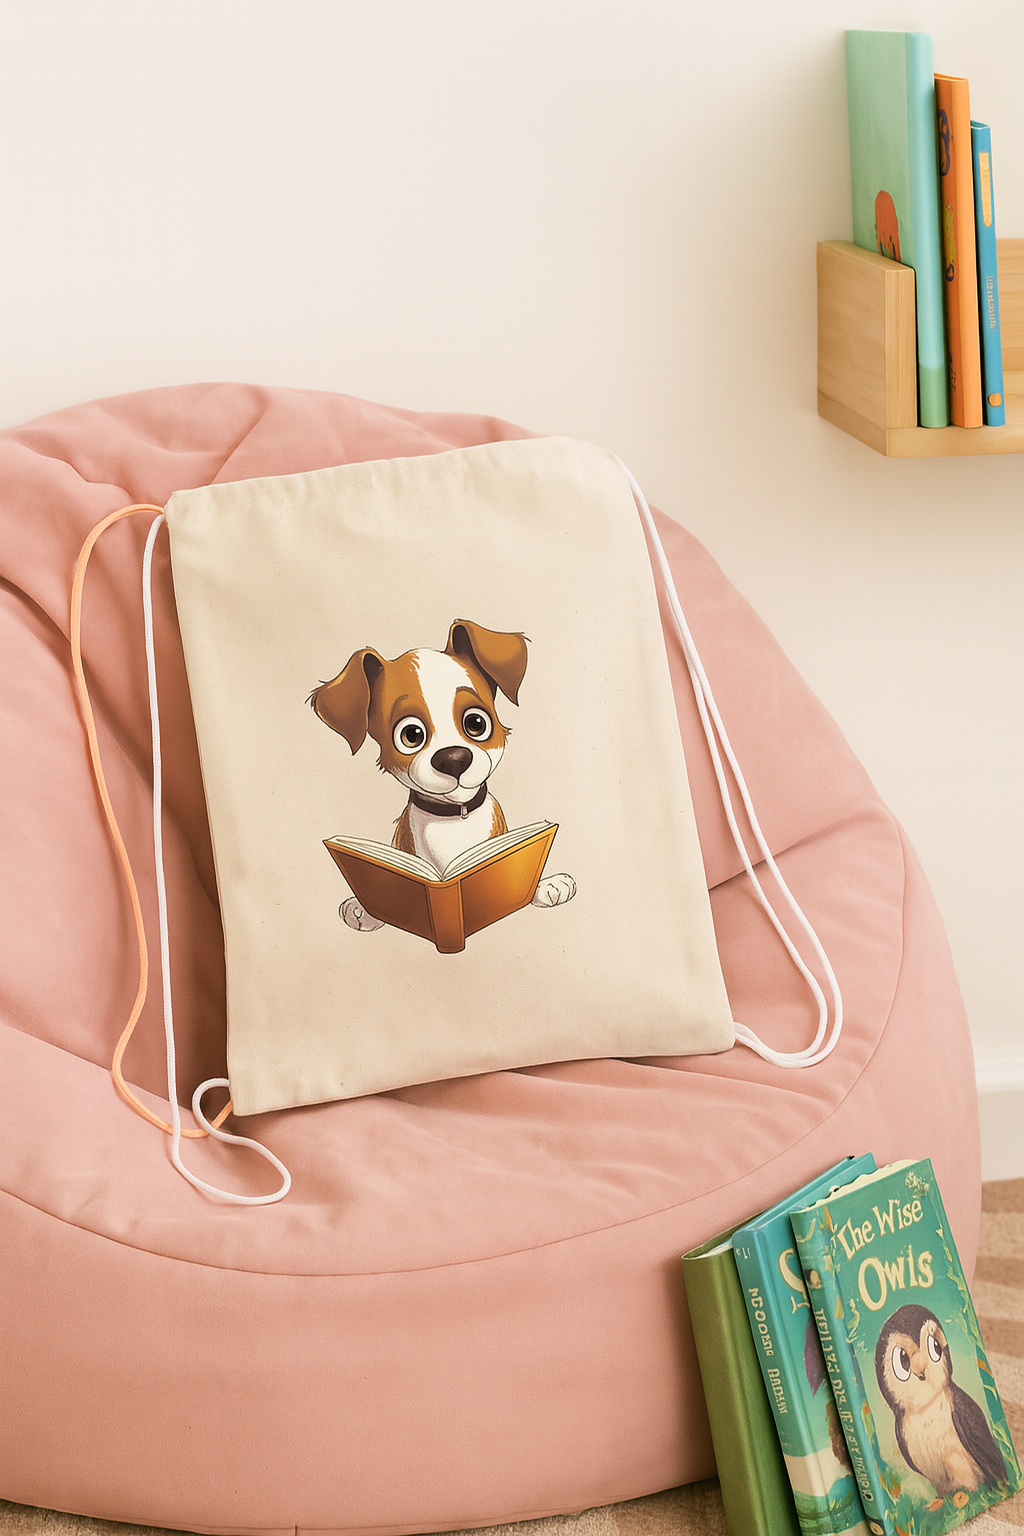
🧡 Why We Love This Project
It’s quick and beginner-friendly
The canvas gives it structure without needing interfacing
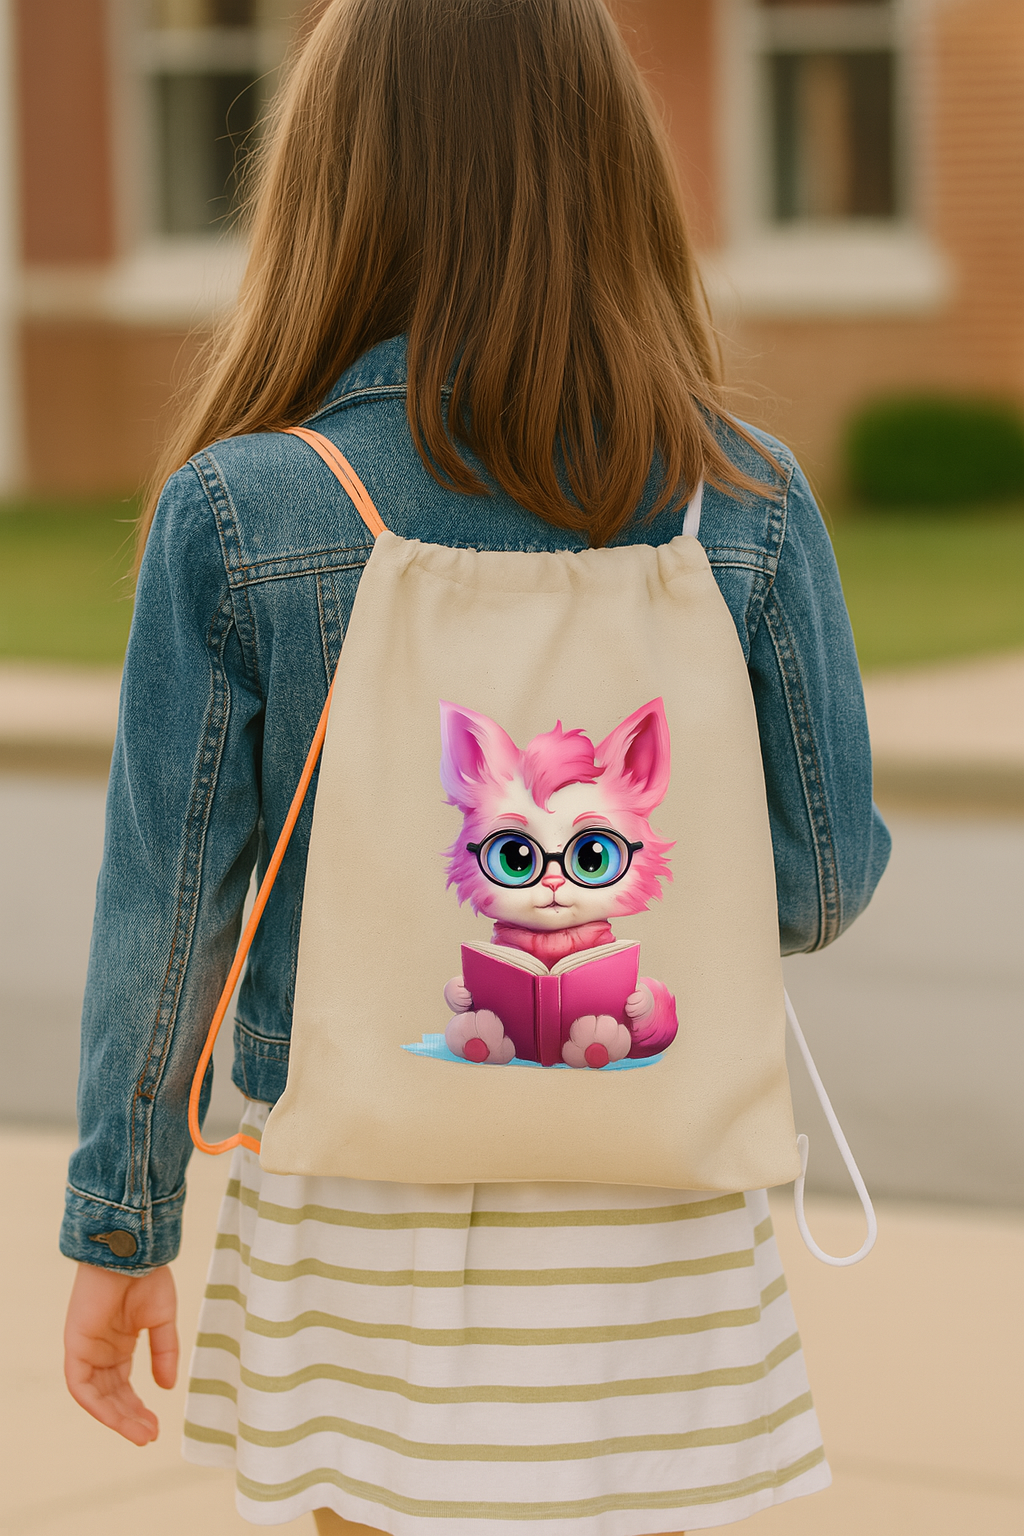
Kids can color their own backpacks!
It’s perfect for library visits, back-to-school, or birthday party craft fun
🐾 Try It With…
Pre-colored versions for quick gifts
Glow-in-the-dark fabric markers for nighttime fun
A stuffed animal reading buddy tucked inside for a themed surprise!
📎 Pin & Print
📌 Don’t forget to save this post for later!
🎒 Shop More Patterns for Bookworms
Love the idea of handmade gear for little readers? Check out these other fun sewing patterns! Use coupon code BACKTOSCHOOL for 30% off!


✨ Affiliate Disclosure
This post contains affiliate links, which means I may earn a small commission at no extra cost to you if you make a purchase. Thank you for supporting Sew Cute Patterns and helping me keep the free tutorials coming!