Stuffed Animal Eyes Guide
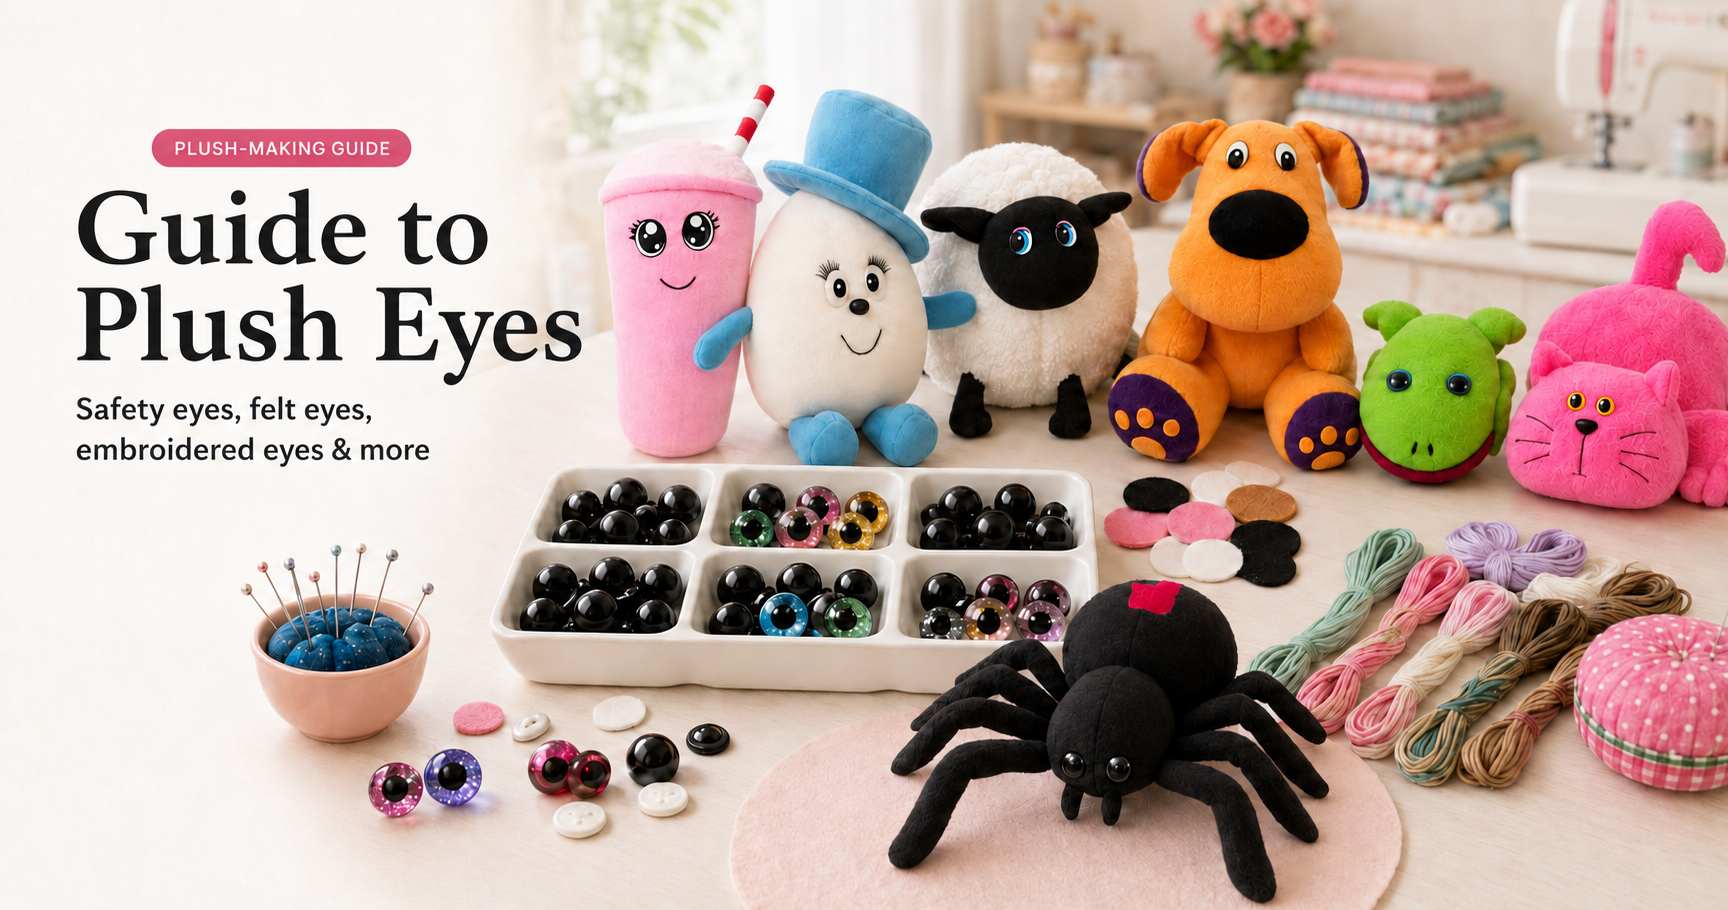
Ever notice how a stuffed animal’s eyes can completely change its personality? From sweet sleepy bears to mischievous monsters, the right pair of eyes can make or break your plush’s look! Whether you’re sewing your first cuddly creature or designing a full plush pattern lineup, this guide will walk you through every type of stuffed animal eye — plus where to find them!
Choose Your Favorite Style
Plastic Safety Eyes | Glass Eyes | Felt Eyes | Embroidered Eyes | Button Eyes | Digital Eyes | Fabric Paint Eyes | Pompoms
1. Safety Eyes (Plastic Eyes with Washers)
Best for: Plush toys for kids or durable long-term gifts.
Why we love them: They’re easy to attach and come in a rainbow of colors and finishes — glossy, glitter, metallic, even glow-in-the-dark!
How to use:
Insert the post through the fabric before stuffing.
Add the washer to the back for a secure hold.
Done! No sewing or gluing required.
2. Embroidered Eyes
Create your own embroidered eyes with floss or thread. Best for: Baby-safe toys or plush books (no choking hazards).
Why we love them: Soft, adorable, and completely customizable — you can add eyelashes, sleepy eyes, or even hearts for pupils.
Tips:
Use embroidery floss or crochet thread for bold lines.
A backstitch or satin stitch works best.
Mark your eye placement with a water-soluble pen first!
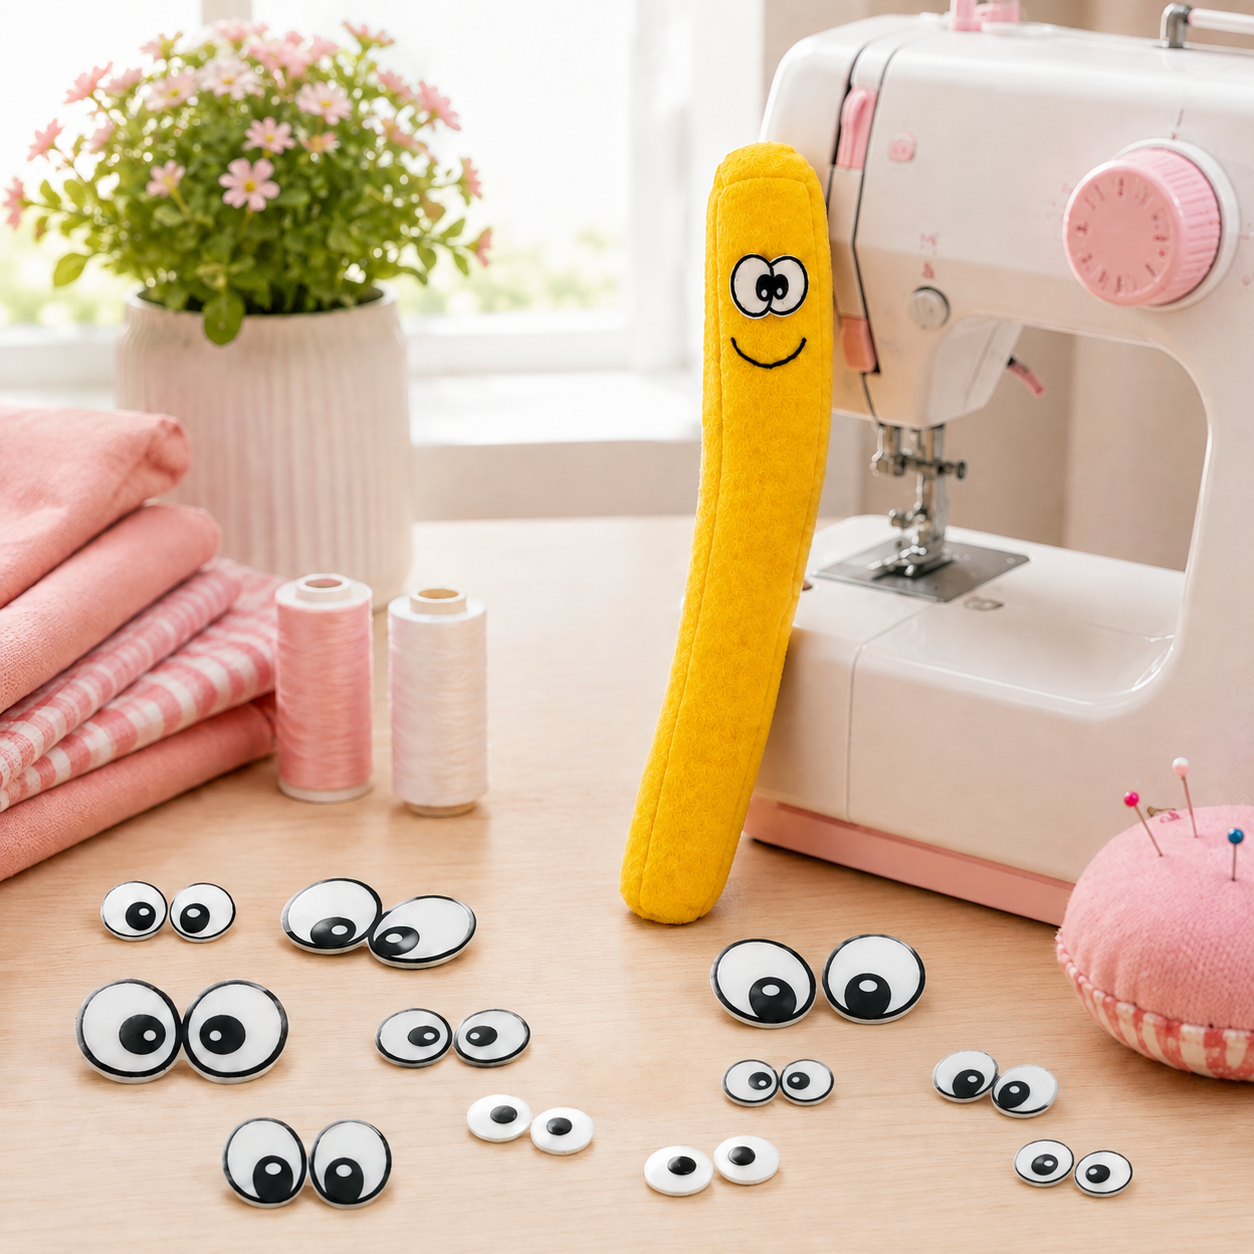
Or try iron-on embroidered eyes. Simply iron them in place.
3. Felt or Fabric Eyes
Best for: Character plushies, storybook animals, or stylized designs.
Why we love them: You can get creative — cut heart shapes, stars, ovals, or anime-style eyes from felt or fleece.
Tips:
Use fusible web or fabric glue to attach before sewing.
Add details with fabric markers or embroidery.
Layer different colors for depth.
4. Button Eyes
Best for: Vintage or whimsical plushies (Coraline style!).
Why we love them: They give your plush a handmade charm and old-fashioned personality.
Tips:
Sew on tightly using heavy-duty thread.
Use flat buttons or novelty shapes like stars or flowers.
For extra safety, avoid buttons on toys for small children.
5. Fabric Paint Eyes
Best for: Quick projects or unique designs.
Why we love them: You can paint directly onto fleece, felt, or even faux fur. Great for adding highlights, sparkles, or cartoon-style eyes.
Tips:
Outline the eye with a fabric pen first.
Use 3D puff paint for raised details.
Let dry 24 hours before sewing or handling.
Try these:
Amazon: Fabric pen for clothes
Amazon: 3D Puffy Paint
6. Digital Felt Eyes (Printable & Iron-On)
Best for: Plush books or digital crafters who love printables.
Why we love them: Perfectly symmetrical, quick to use, and available in dozens of colors and styles.
7. Pompoms
Glue two pompoms to the plush head for eyes and two tiny black pompoms to the larger pompom for pupils.
Try these:
Amazon: Pompoms
Stuffed Animal Eye Placement Tips
Mark before you sew!
Use pins or chalk to test different positions.
Closer eyes = cuter.
Wider spacing = more realistic.
Tilt slightly inward for that adorable “aww” expression.
For plush toys, iron or embroider eyes before assembly.
Shop Eyes
Amazon Finds


Etsy Eye Shops
Frequently Asked Questions
Q: Can I replace safety eyes after sewing my plush shut?
A: Not easily! Always attach them before stuffing. If you forgot, use felt or embroidered eyes instead.
Q: What’s the safest option for baby toys?
A: Embroidered or felt eyes — no small parts.
Q: Can I mix types?
A: Absolutely! Try felt whites with embroidered pupils or safety eyes outlined in fabric paint for extra dimension.
Affiliate Disclosure: This post contains affiliate links. If you purchase something through one of these links, Sew Cute Patterns may earn a small commission at no additional cost to you. As an Amazon Associate, I earn from qualifying purchases.
Shop Patterns | SHOP SEWING SUPPLIES | Sewing Tutorials | Free Patterns | Halloween Pattern Hub