DIY Pattern Weights
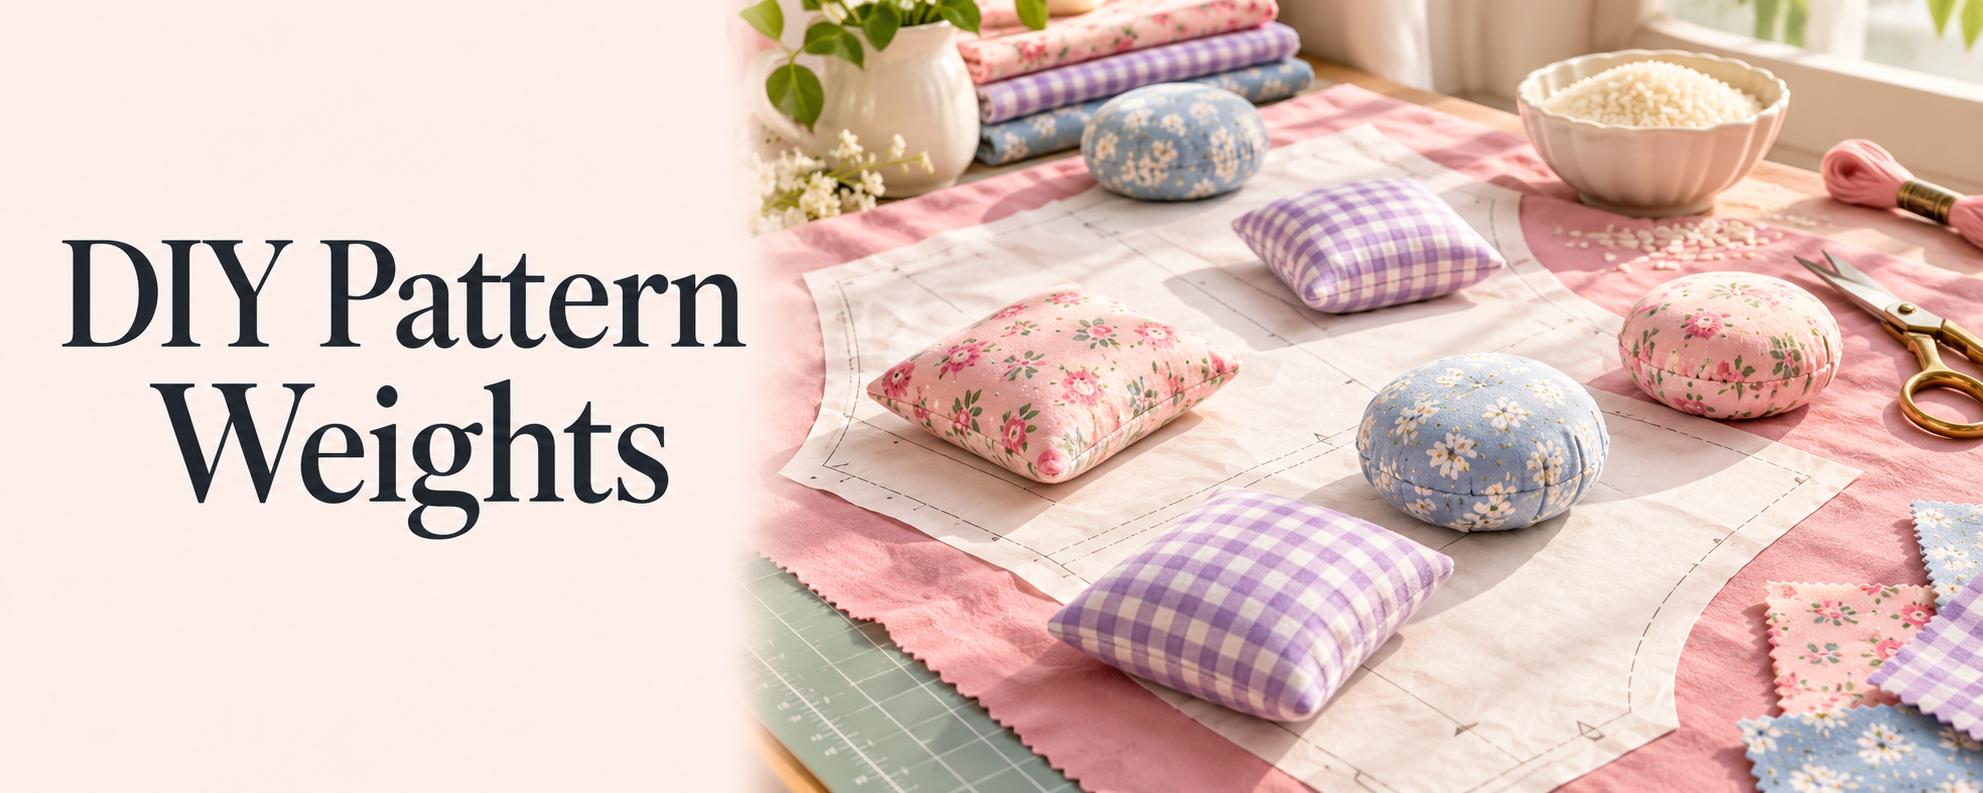
Are your pattern pieces blowing away like leaves in a spooky autumn breeze? It’s time to tame those wayward fabrics with DIY pattern weights!
Whether you're sewing up a storm or cutting out fabric for your latest project, pattern weights are your sewing room heroes. They keep everything in place without leaving pin marks behind. Plus, they're a breeze to make, and you can customize them to match your sewing style.
Let’s dive into how you can make your own set of stylish and functional pattern weights!
Why Use Pattern Weights?
Pattern weights are an awesome alternative to pins, especially for tricky fabrics like silk, leather, or stretch knits. They:
Help keep fabric and pattern pieces flat and smooth.
Prevent shifting while you cut.
Save time (no pinning and unpinning required!).
Make your sewing space look fabulous with a personal touch!
Materials You’ll Need
Here’s your go-to list for making some lovely pattern weights:
Fabric Scraps: Perfect for using up bits and pieces from your stash.
Filling Material: Rice, dried beans, or lentils work great. If you want a bit more weight, try using steel pellets or aquarium gravel.
Thread: To match or contrast with your fabric.
Needle or Sewing Machine: Your choice, depending on how you want to sew them up.
Scissors: For cutting fabric.
Optional: Embroidery floss and a needle for adding decorative stitches.
How to Make Your Own Pattern Weights
Cut Your Fabric: Cut fabric squares or circles. I recommend 4" x 4" squares for a standard size, but you can adjust based on your preference.
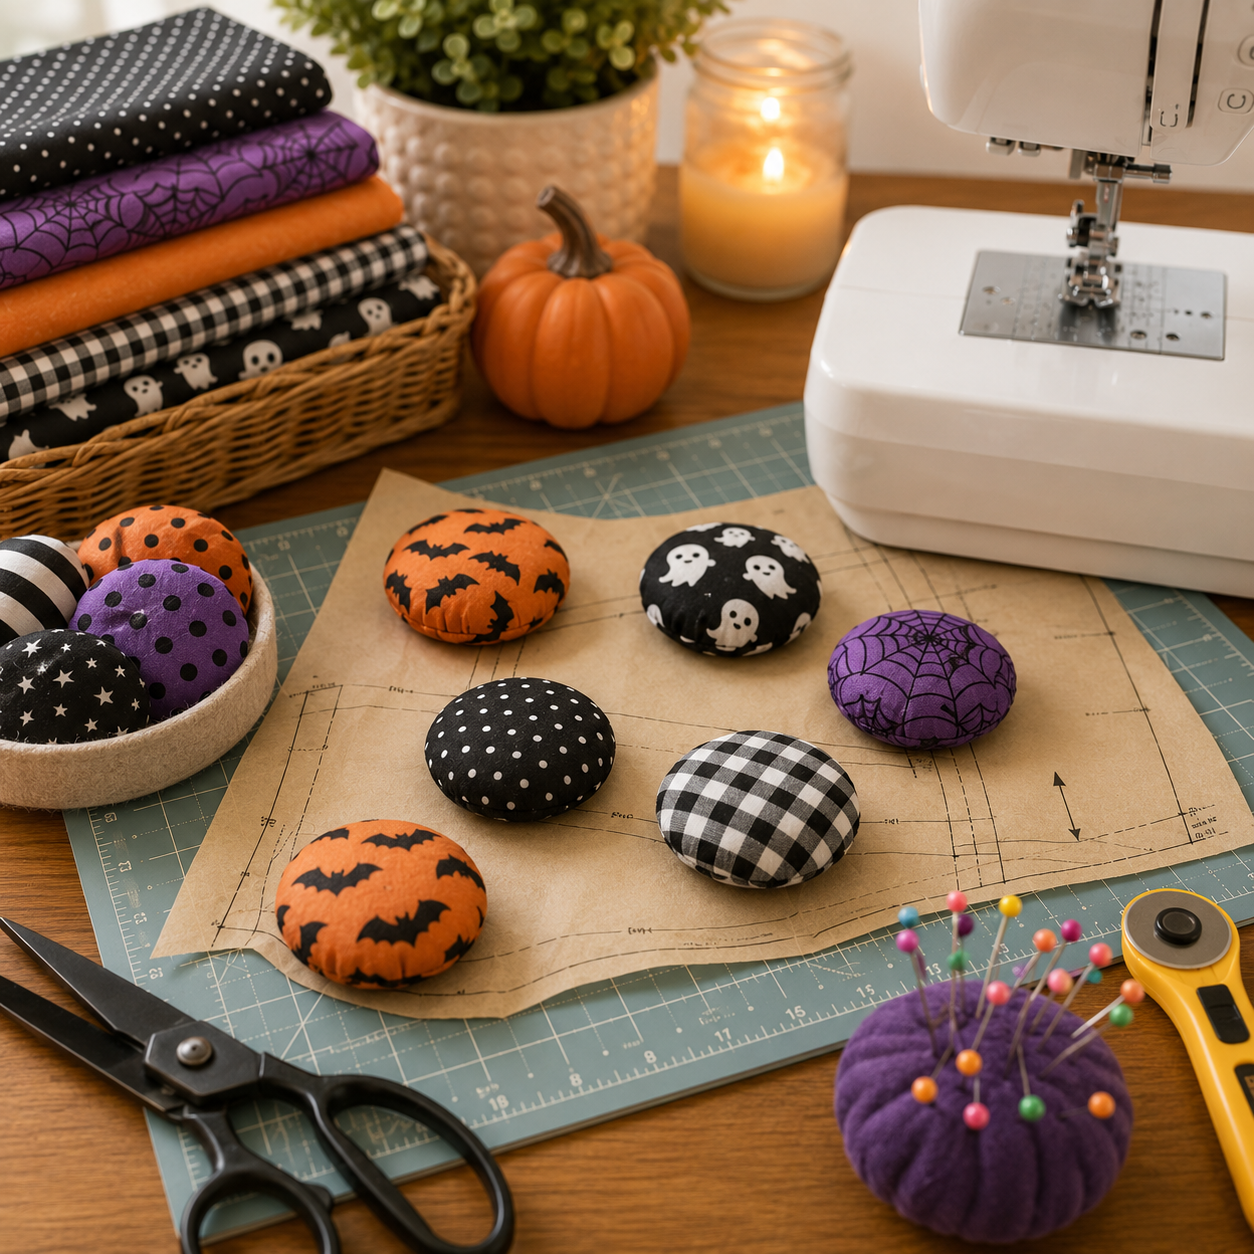
Sew Around the Edges: Place the right sides of the fabric together, then sew around the edges, leaving a small opening for turning. If you’re feeling fancy, you can make them in fun shapes like hearts, stars, or even tiny pumpkins for Halloween.
Turn Right Side Out: Turn the fabric right side out through the opening.
Fill with Weight: Add your filling of choice until your pattern weight feels nice and solid.
Close the Opening: Stitch the opening closed, either by hand or with your machine.
Customization Tips Get creative with your pattern weights! Here are a few ideas:
Use Themed Fabric: Halloween fabric for spooky vibes, or metallic fabric for some glam.
Add Embellishments: Sew on some buttons, beads, or even a touch of embroidery for extra flair.
Try Different Shapes: Go beyond squares and circles—make stars, hexagons, or even little animals.
Don't forget to stock up on supplies! Here are some of my favorite materials you can find through my affiliate links:
Fun fabric bundles: Perfect for making themed pattern weights! Shop fabric bundles here.
Filling materials: For weighty goodness. Find steel pellets here.
Decorative buttons and charms: Add a bit of personality to your weights. Browse embellishments here.

DIY pattern weights aren’t just practical—they’re also a perfect little project for using up fabric scraps and making something unique. Plus, these make wonderful gifts for your sewing friends (or yourself, because you totally deserve it!).
Affiliate Disclosure: This post contains affiliate links. If you purchase something through one of these links, Sew Cute Patterns may earn a small commission at no additional cost to you. As an Amazon Associate, I earn from qualifying purchases.
Shop Patterns | sewing tutorials | sewing blog | Shop sewing supplies