Bias Tape Sewing Guide
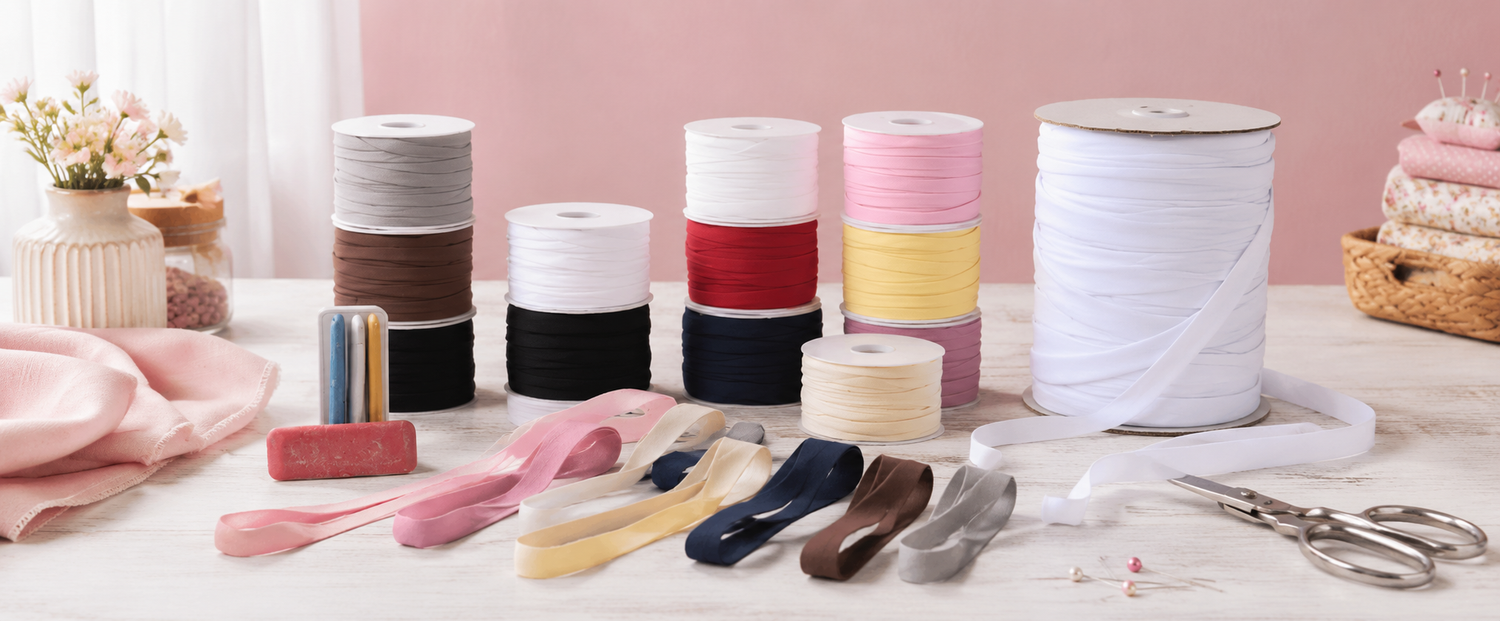
If you’ve ever admired the clean edges on a quilt or a perfectly finished hem, chances are, bias tape was the secret ingredient. Bias tape is a versatile and magical sewing tool that can level up your projects. Whether you're binding seams, adding decorative touches, or finishing raw edges, this strip of fabric is here to save the day. Let’s dive into the world of bias tape—how to make it, use it, and maybe even fall in love with it!
What Is Bias Tape?
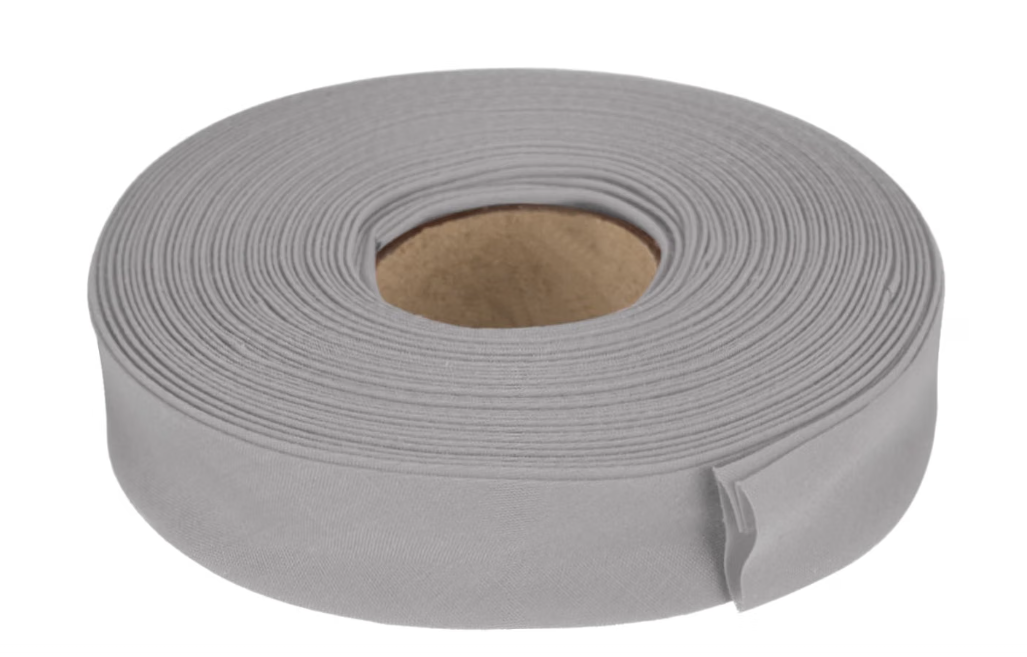
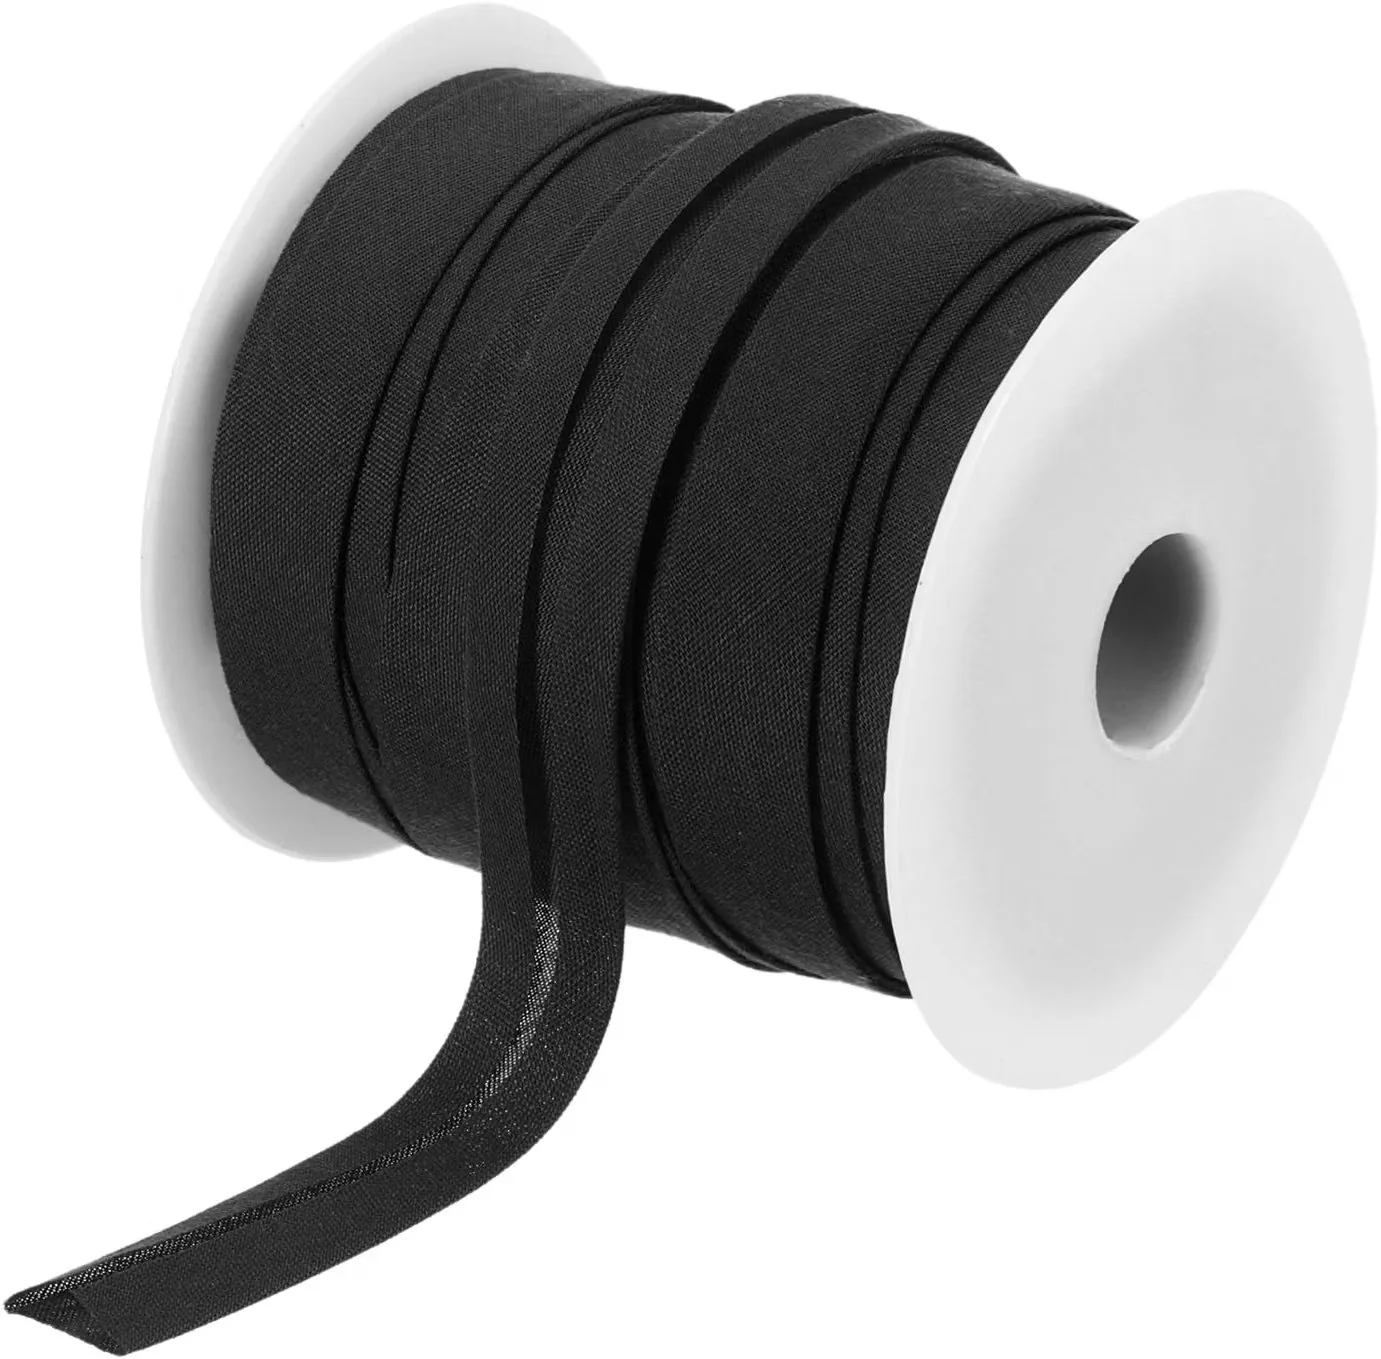
Bias tape is a strip of fabric cut on the bias (at a 45-degree angle to the fabric's grain). This special cut gives it extra stretch and flexibility, making it ideal for curves, corners, and clean edges. It comes in two varieties:
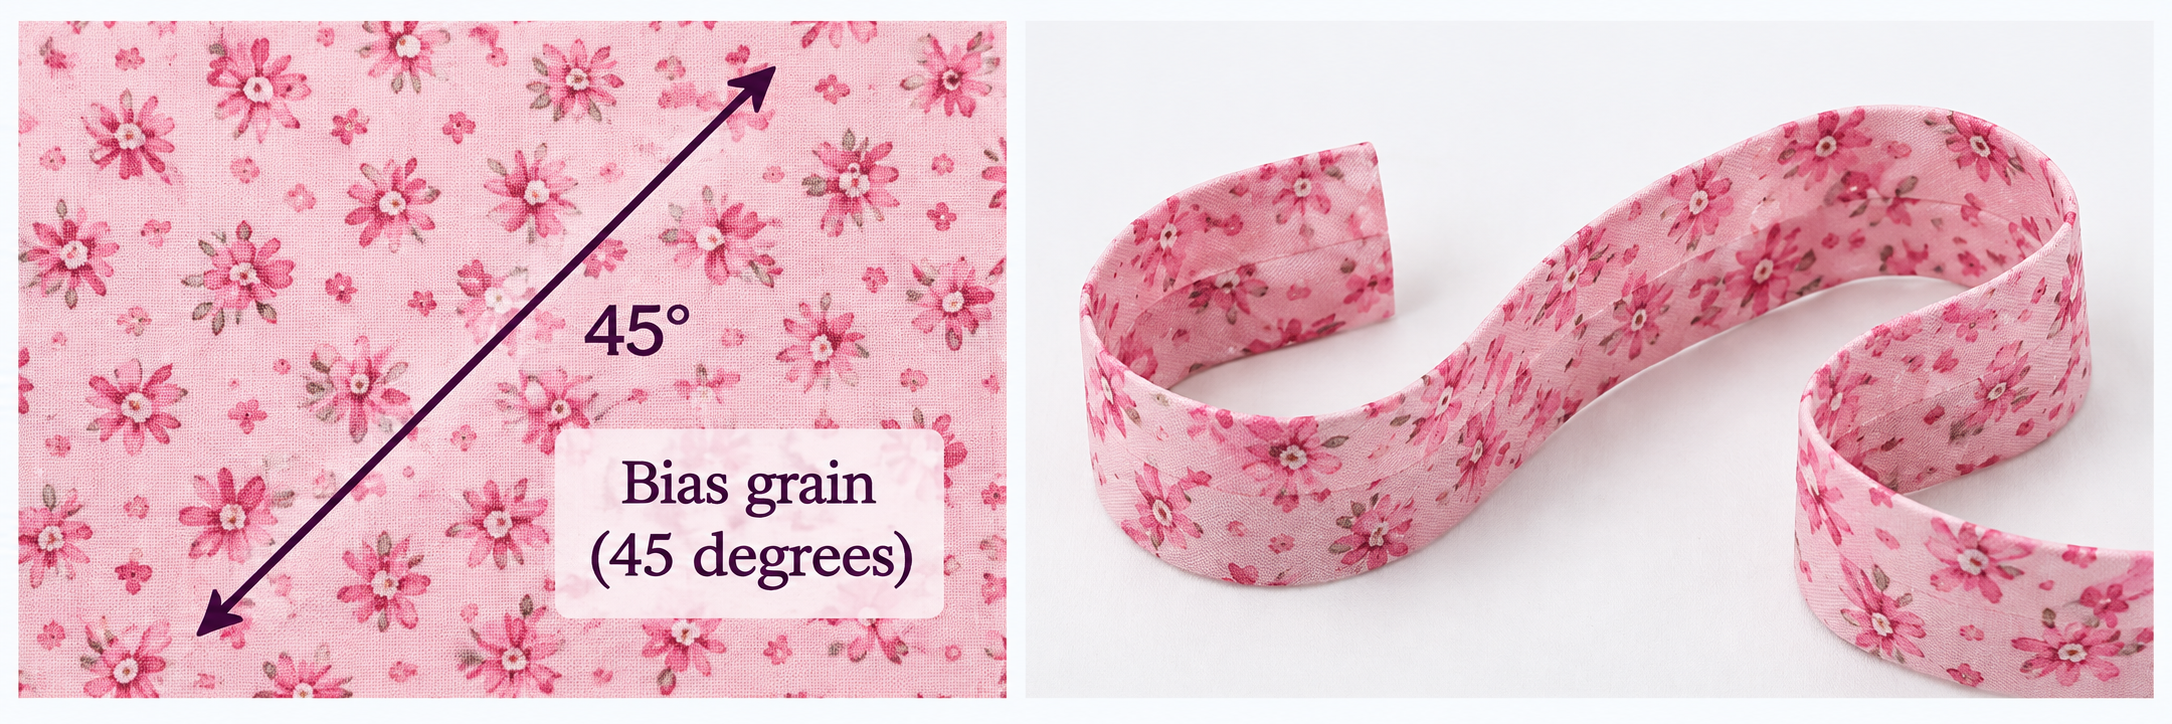
Single Fold vs. Double Fold
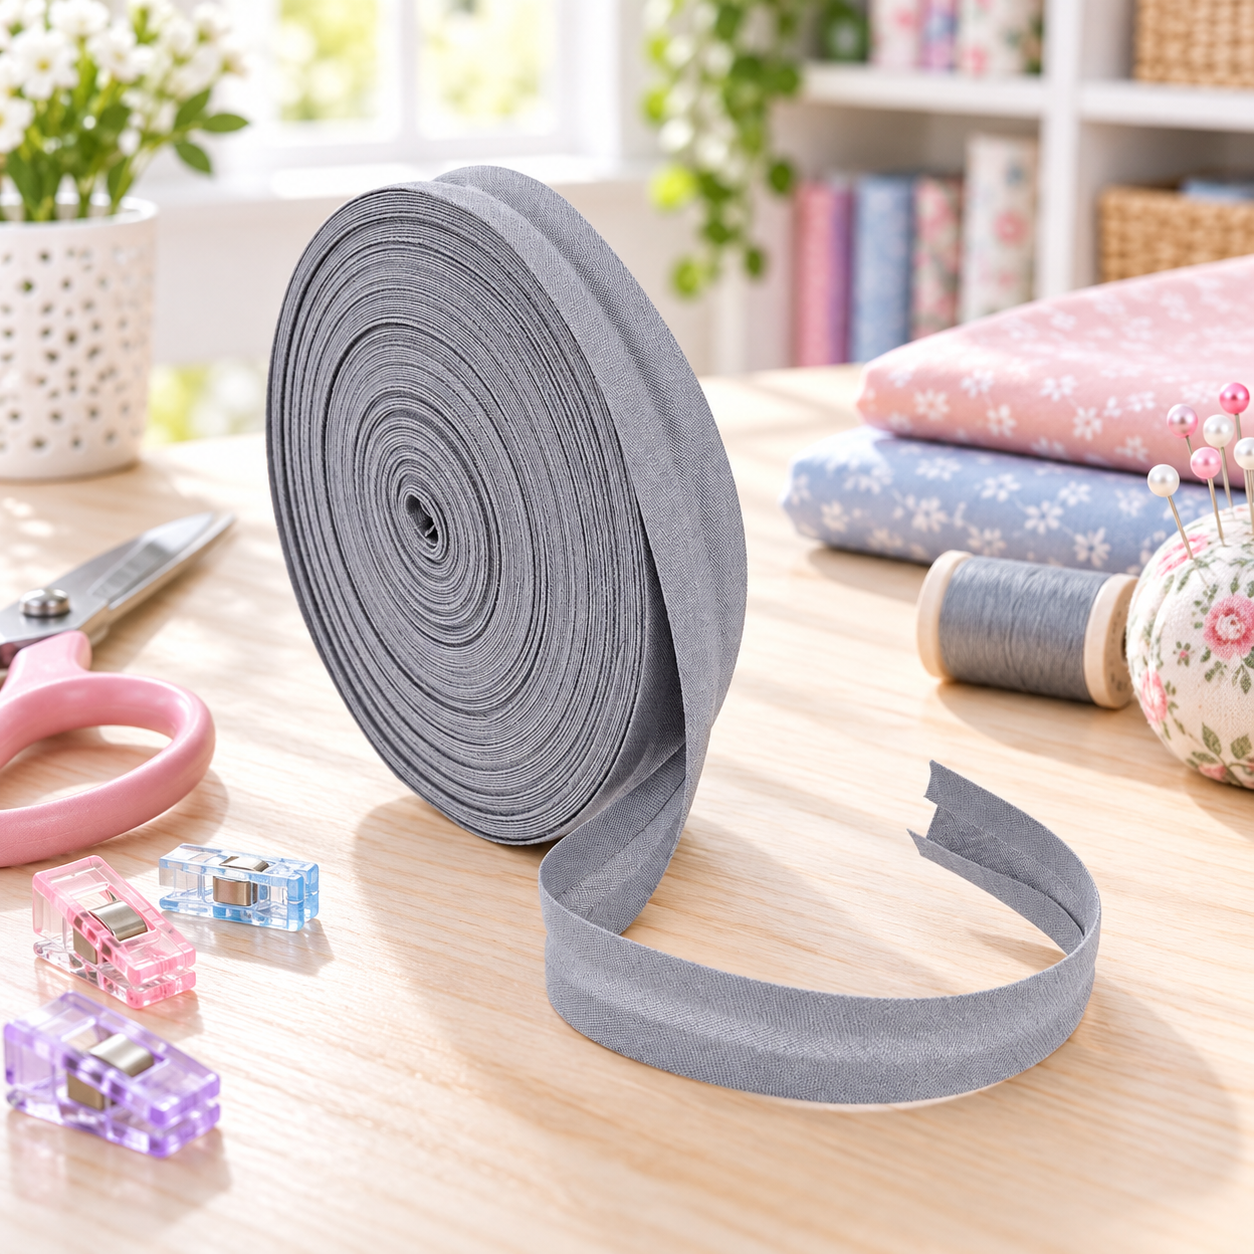
Single-Fold Bias Tape
One fold, open on both long edges.
Great for facings, narrow hems and trim.
Lies flat and is easier to press
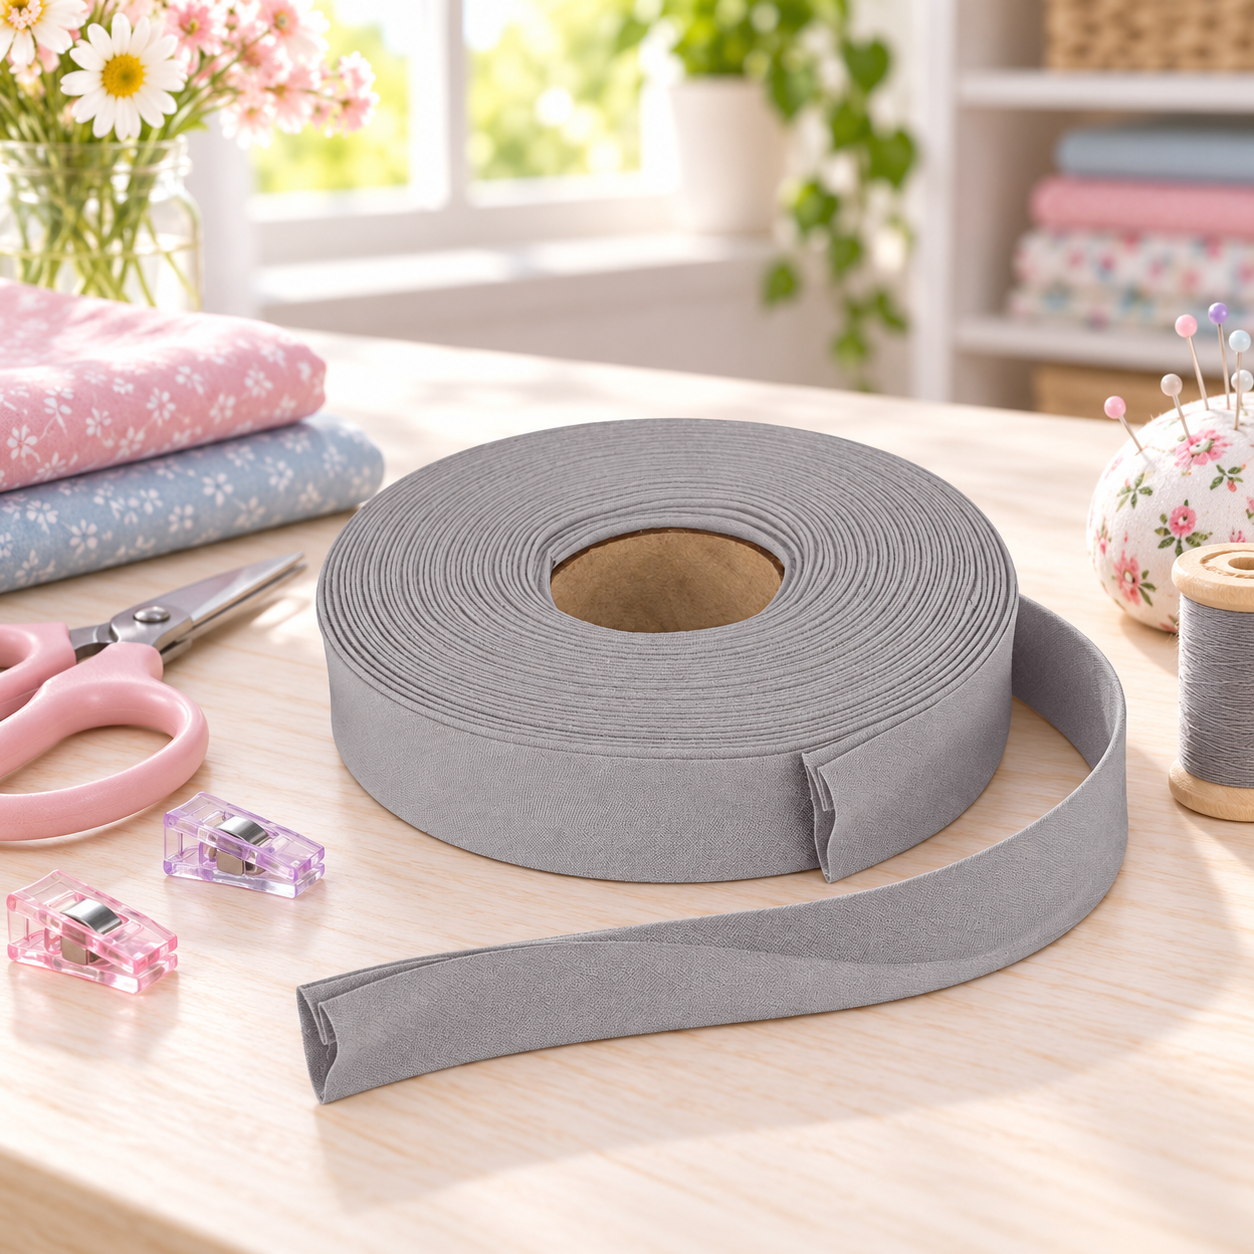
Double-Fold Bias Tape:
Single-fold tape folded in half again, making it even narrower and thicker. Folded in half with raw edges enclosed.
How to Make Bias Tape
Making your own bias tape is easier than you think! Here’s what you’ll need:

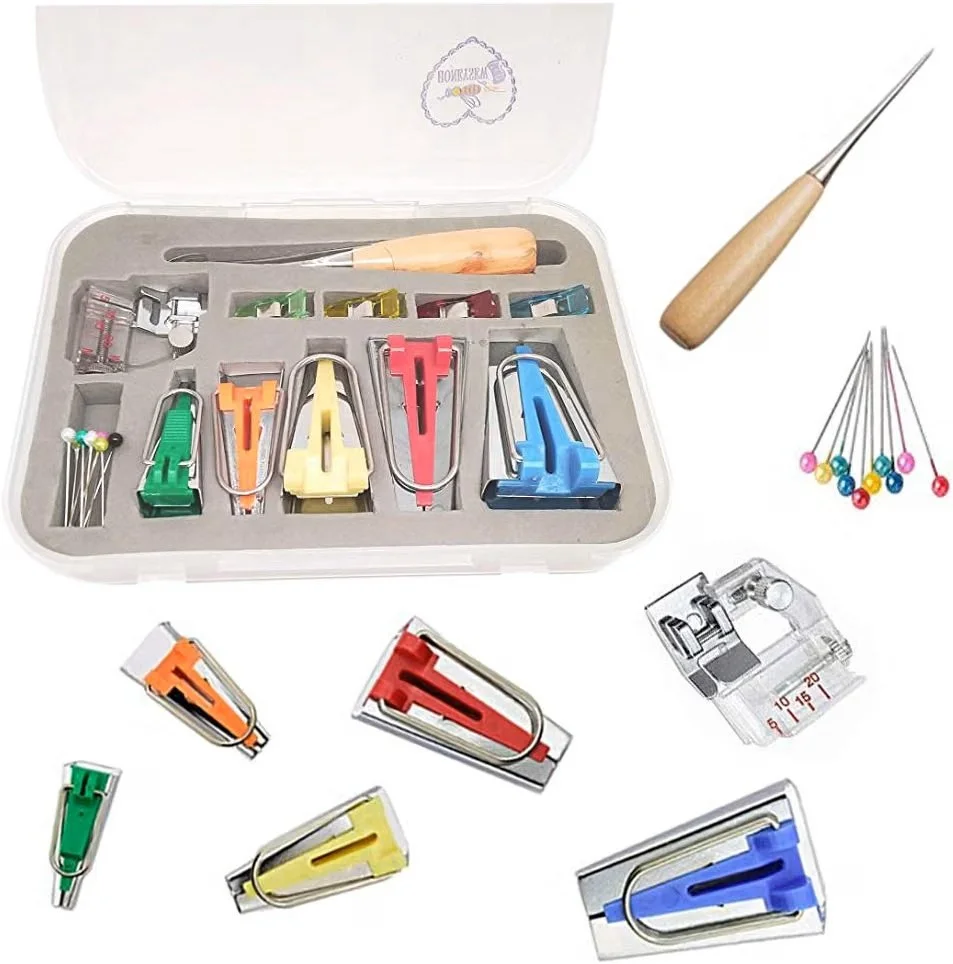
Fabric of your choice | Rotary cutter and mat | Bias tape maker (optional but super helpful!) | Iron | Fabric clips (or pins)
Bias Making Steps:
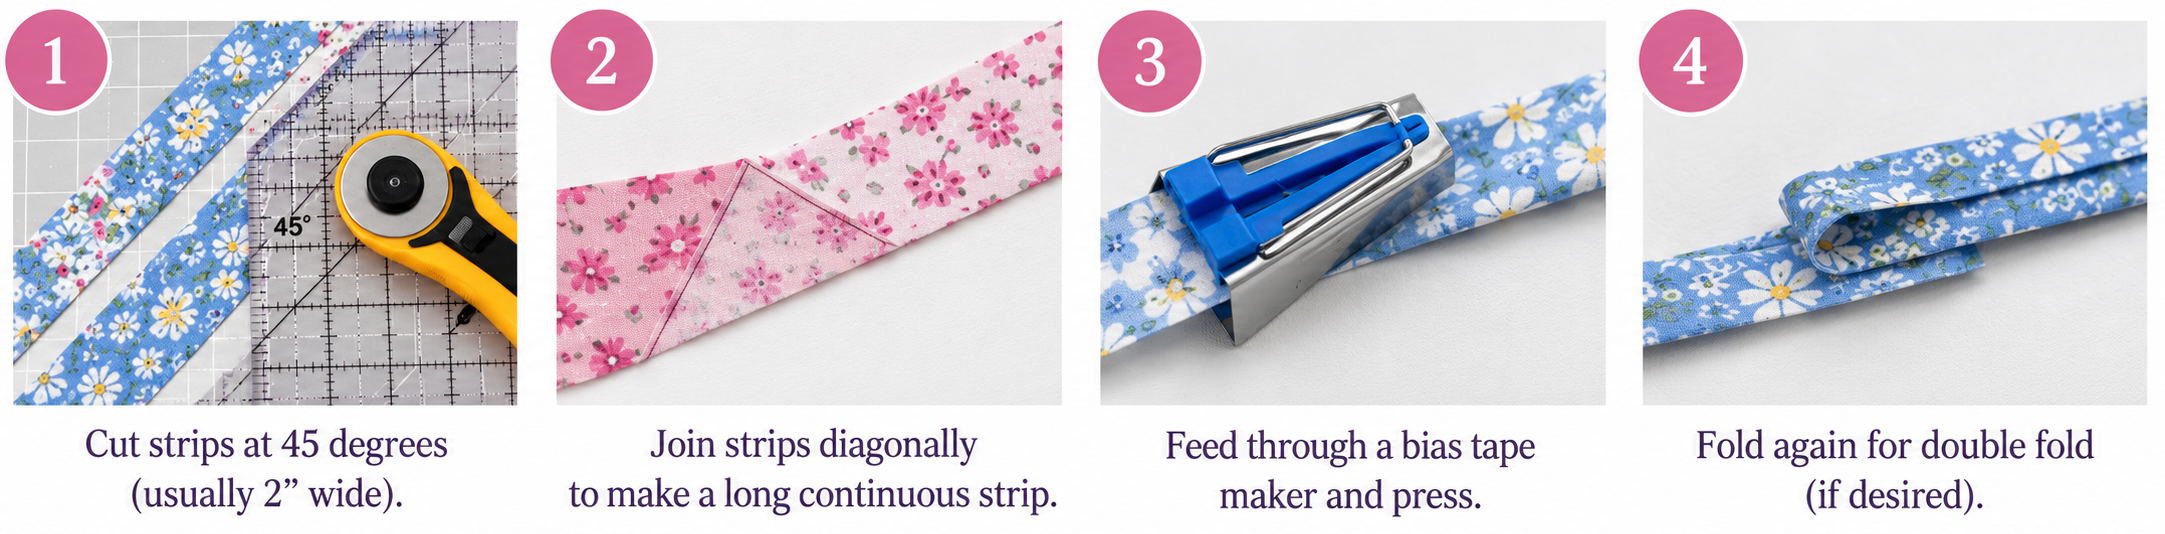
Cutting the Strips: Start by cutting fabric strips on the bias. Measure and mark a 45-degree angle to the grainline of your fabric and cut strips to your desired width. For single-fold tape, cut strips twice the width of your finished tape. For double-fold, multiply by four.
Joining Strips: If you need a longer tape, join strips by placing them at right angles, sewing diagonally, and trimming the excess. Press seams open.
Folding the Edges: Use a bias tape maker to fold the edges inward, or fold them manually with an iron.
Double-Fold Option: To make double-fold tape, fold the single-fold tape in half lengthwise and press again.
How to Use Bias Tape
Bias tape is as versatile as it is fabulous. Here are a few common uses and how to tackle them:
1. Binding Edges
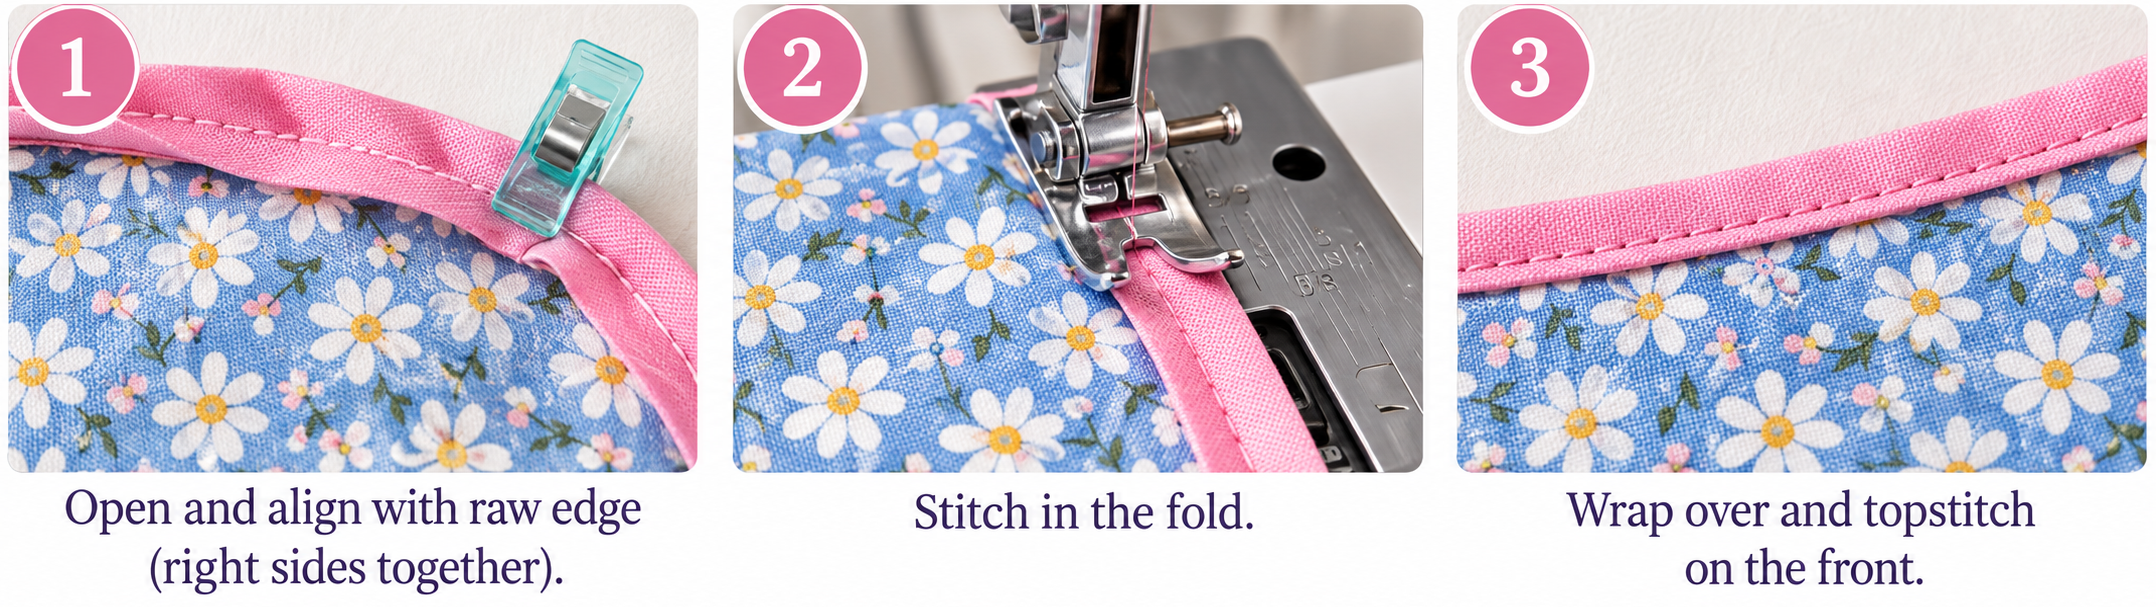
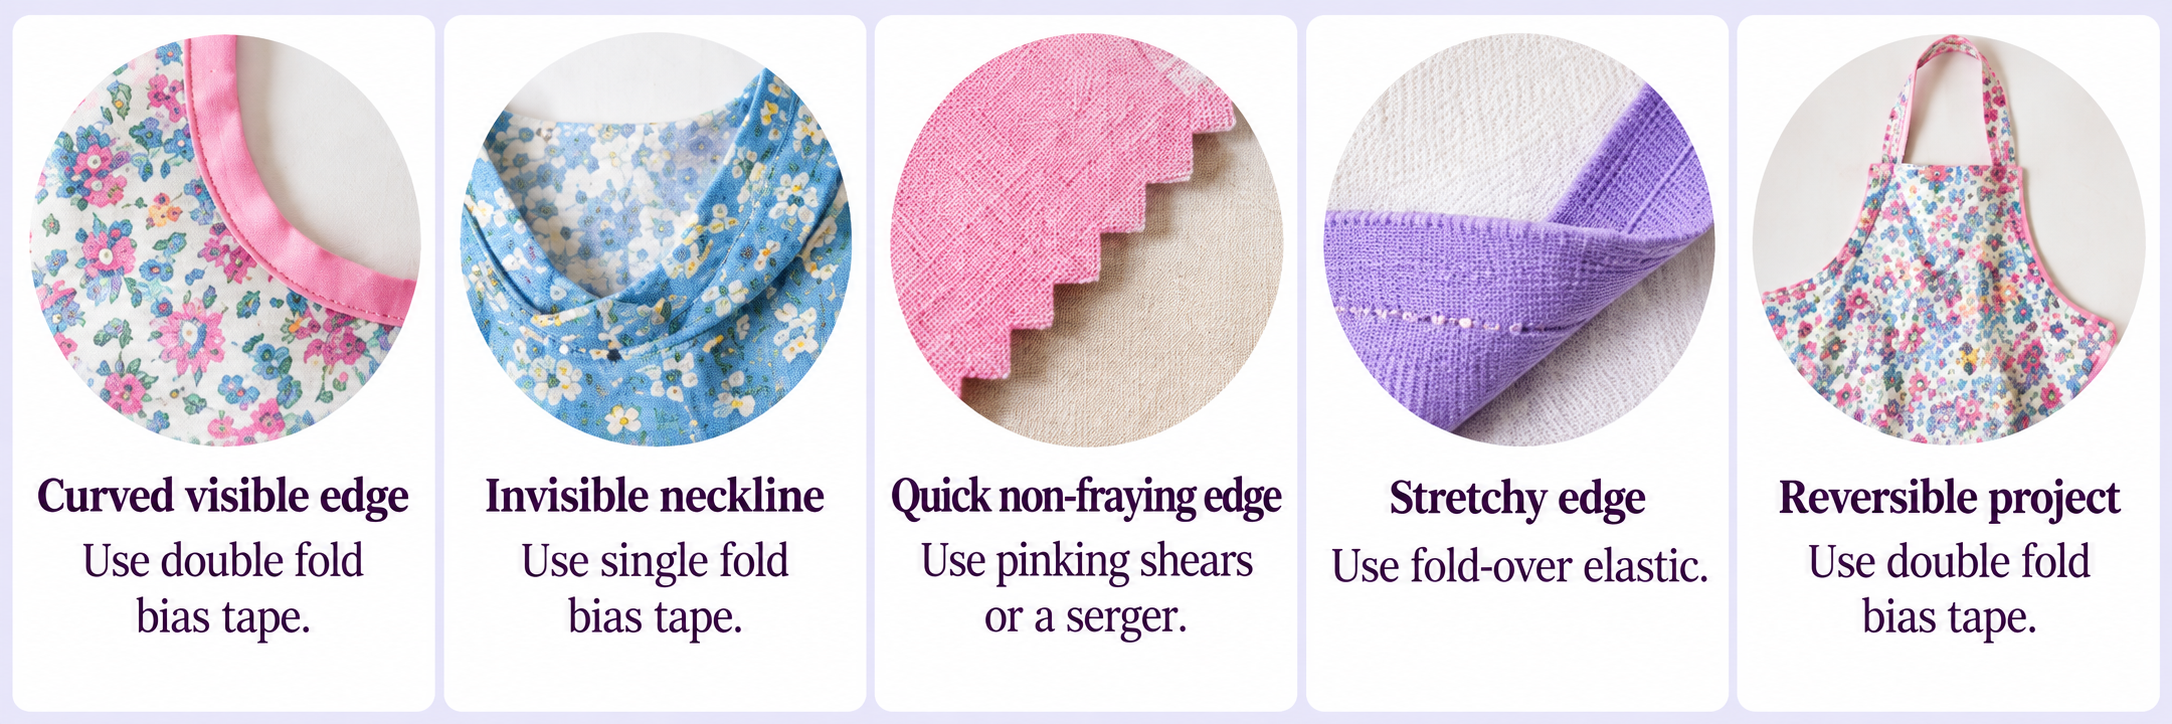
Use bias tape to bind raw edges on quilts, placemats, or apparel. Double-fold tape is perfect for this!
Open one side of the tape and align it with the raw edge of your fabric.
Sew along the fold, then fold the tape over the edge and topstitch in place.
2. Facing Necklines and Armholes
Bias tape can create a clean, professional finish on necklines and armholes.
Use single-fold tape for this technique. Attach it similarly to edge binding but press the tape to the inside of the garment for an invisible finish.
3. Decorative Touches
Who said bias tape can’t be pretty? Use contrasting fabric for bias tape to add flair to your projects. Add it as trim or create fun patterns like stripes or checks.
Tips for Bias Tape Success
Fabric Matters: Choose lightweight fabrics like cotton for easy folding and pressing.
Experiment with Widths: Test different widths to find what works best for your project.
Press as You Go: A hot iron is your best friend for crisp, even folds.
Pin or clip generously: Use pins or clips to hold the bias tape in place before stitching. For curved edges, ease the tape into position by stretching it slightly as you pin.
Baste first: Basting your bias tape in place can help prevent shifting and ensure an even finish. Think of it as a dress rehearsal before the main sewing performance!
Use a narrow zigzag stitch: A narrow zigzag stitch can help bias tape lay flat, especially on stretchy or bulky fabrics.
Alternatives to Bias Tape
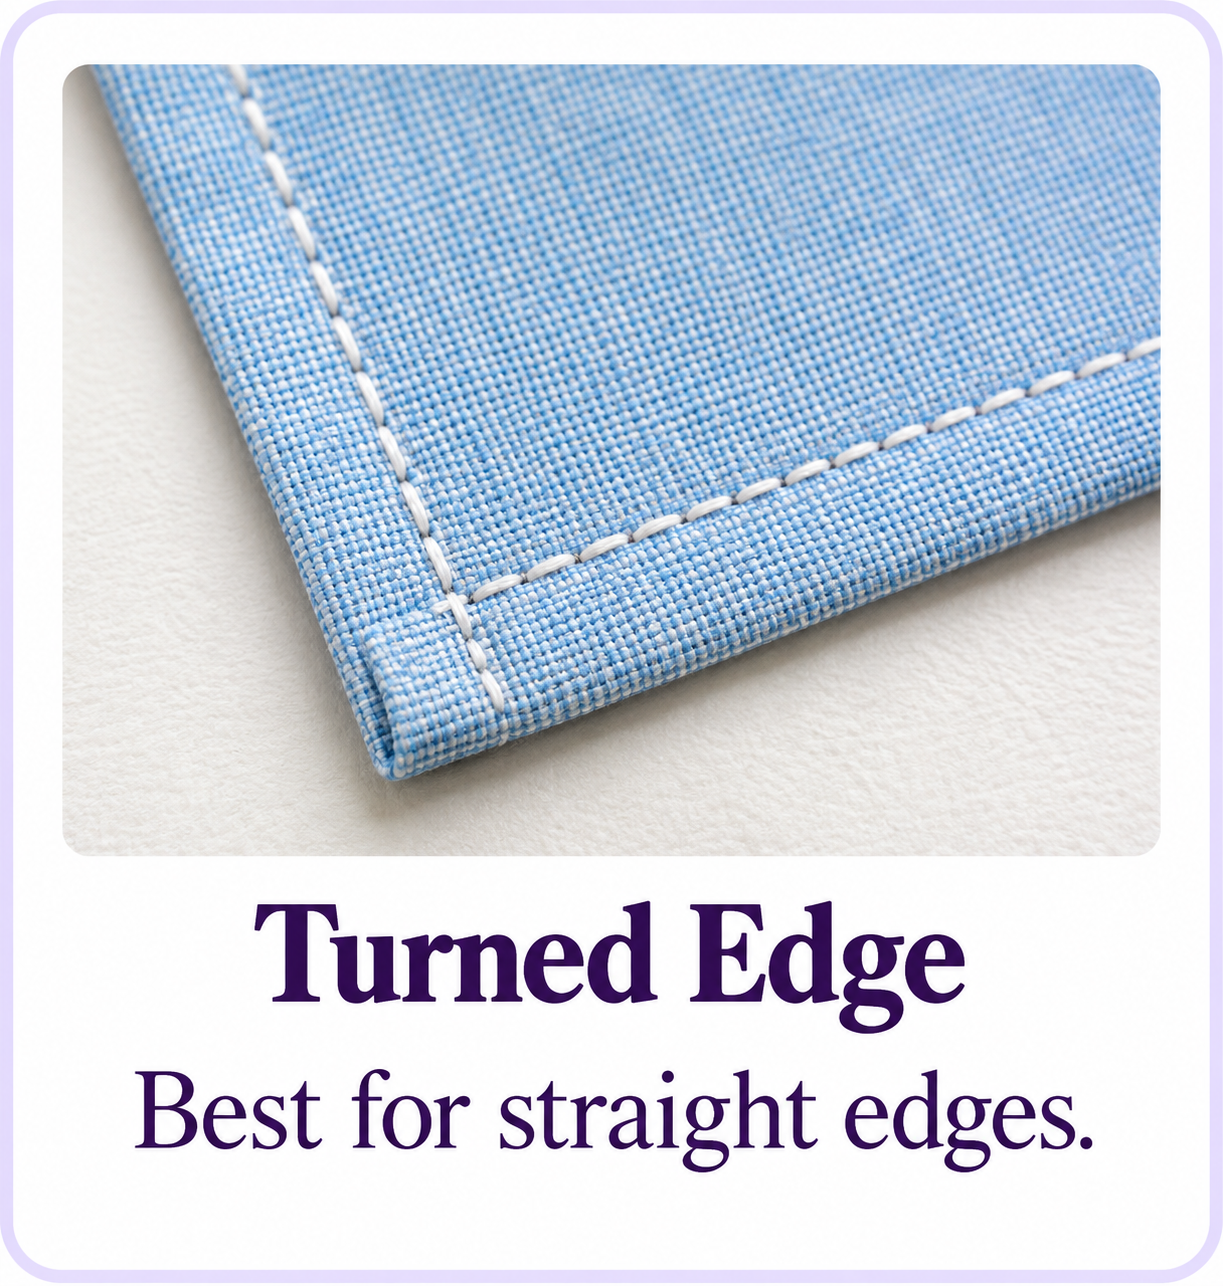
Two Layers of Fabric (Turned Edge Finish)
Sew two layers of fabric together along the edge, turn them right side out, and press. This method creates a smooth, clean edge with no raw fabric in sight.
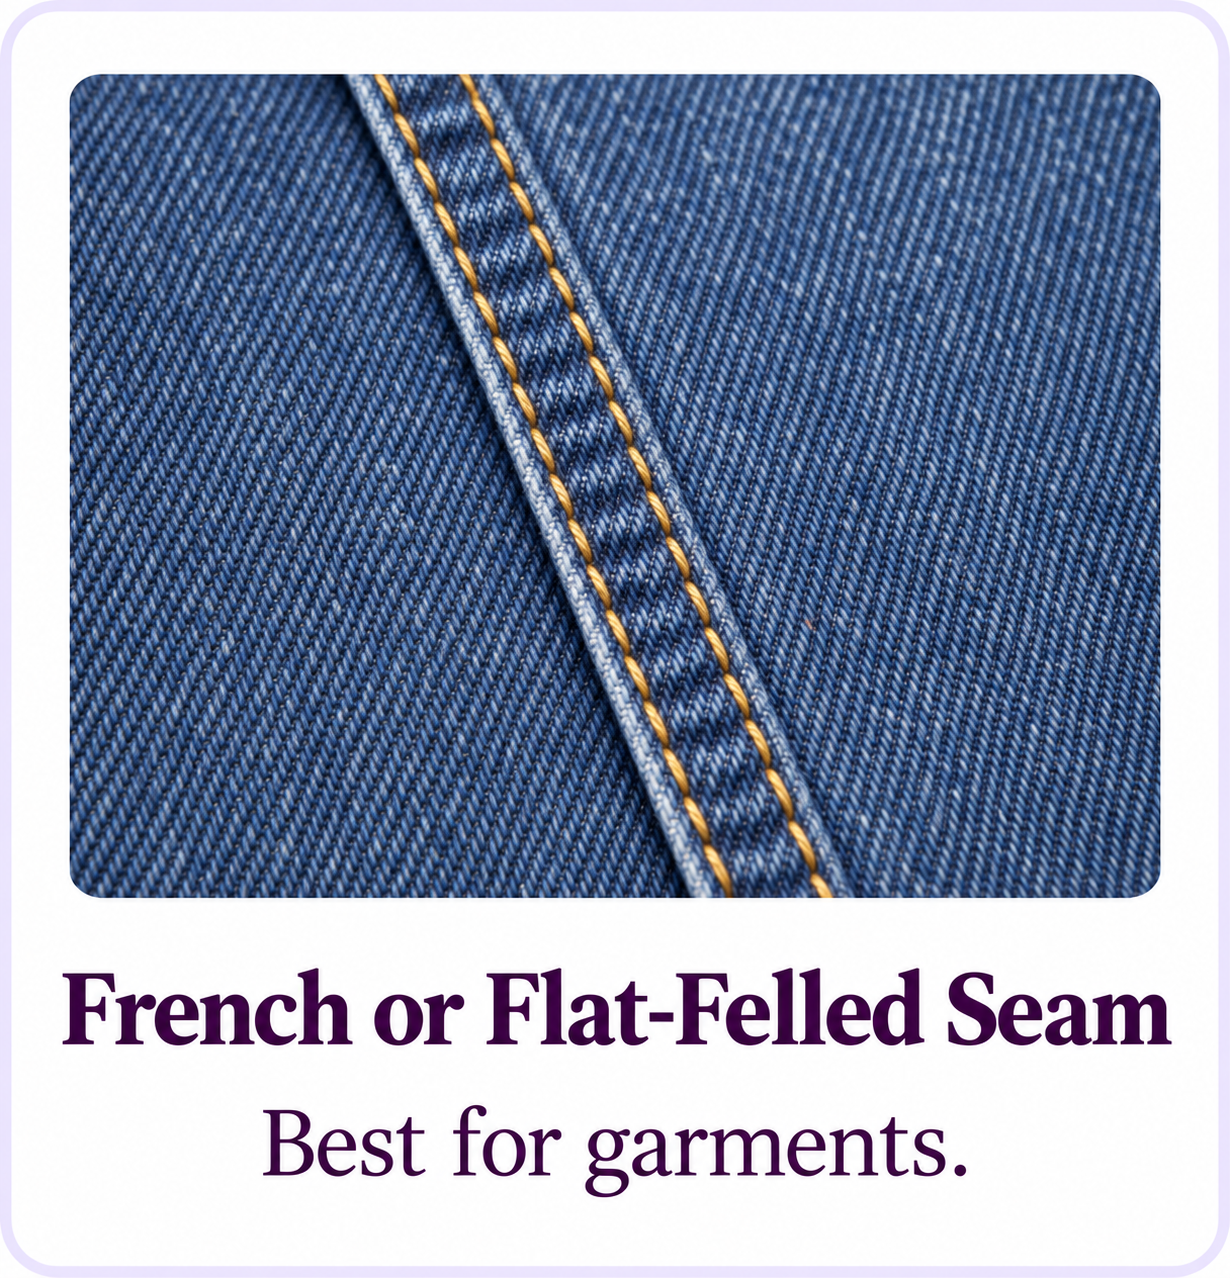
French or Flat-Felled Seams
Encasing raw edges with French seams is as chic as it sounds. Perfect for lightweight or delicate fabrics, this method creates a polished, durable finish.
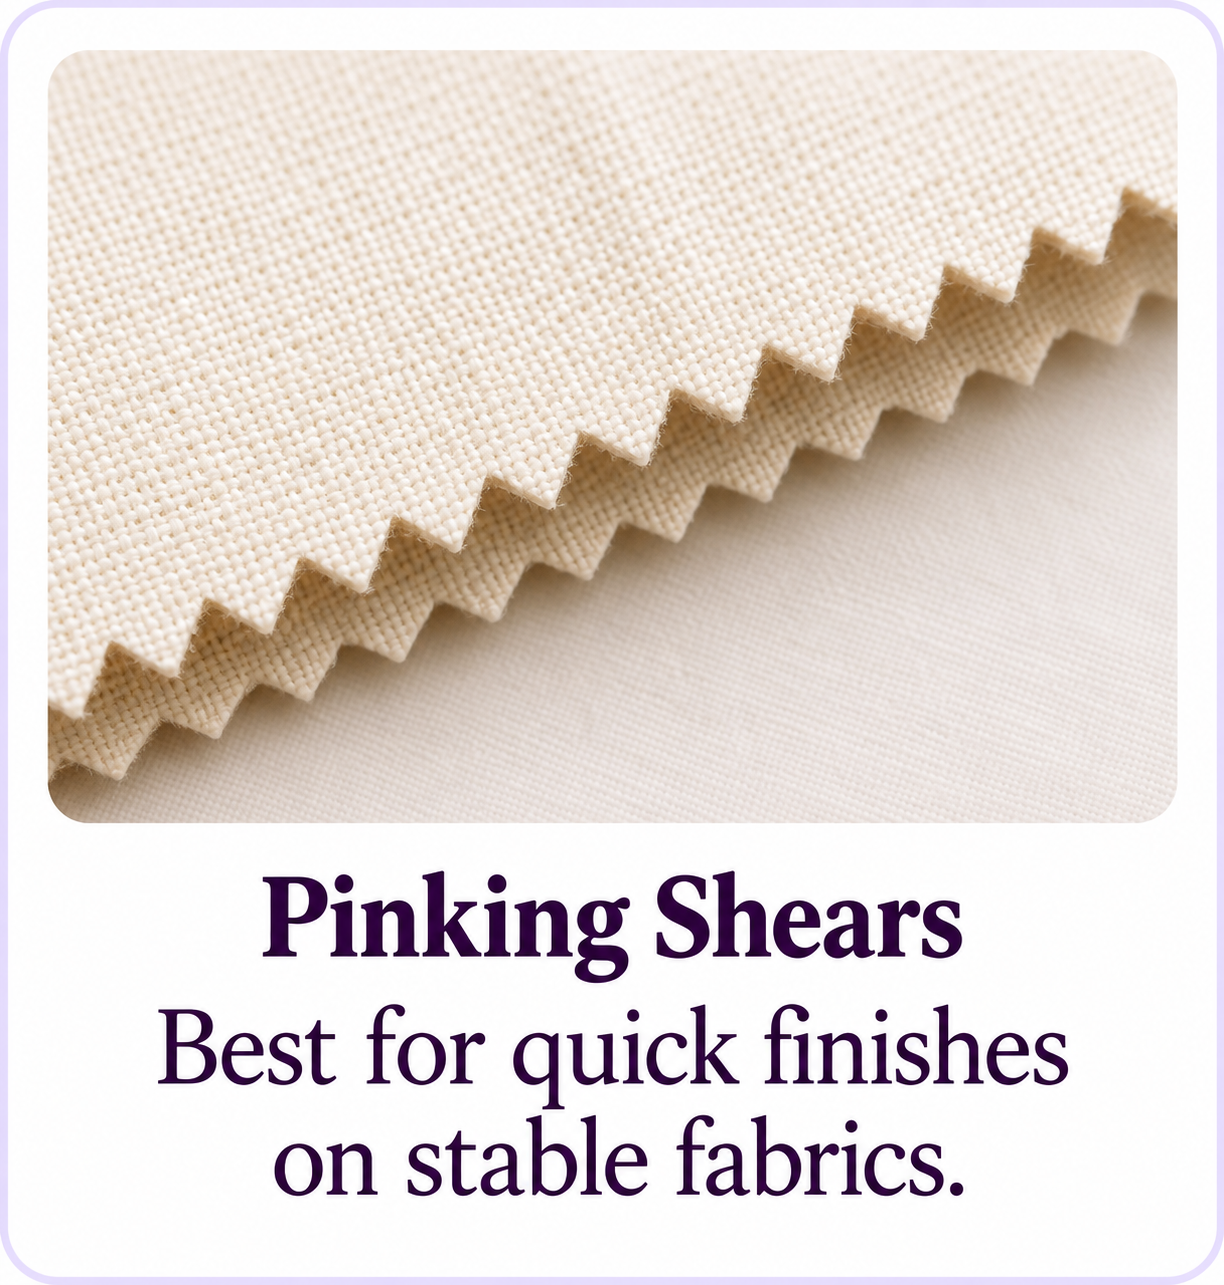
Pinking Shears
Pinking shears add a zigzag edge to fabric, which helps reduce fraying. While it’s not a permanent solution, it’s quick and effective for fabrics that fray minimally.
Shop Pinking Shears here.
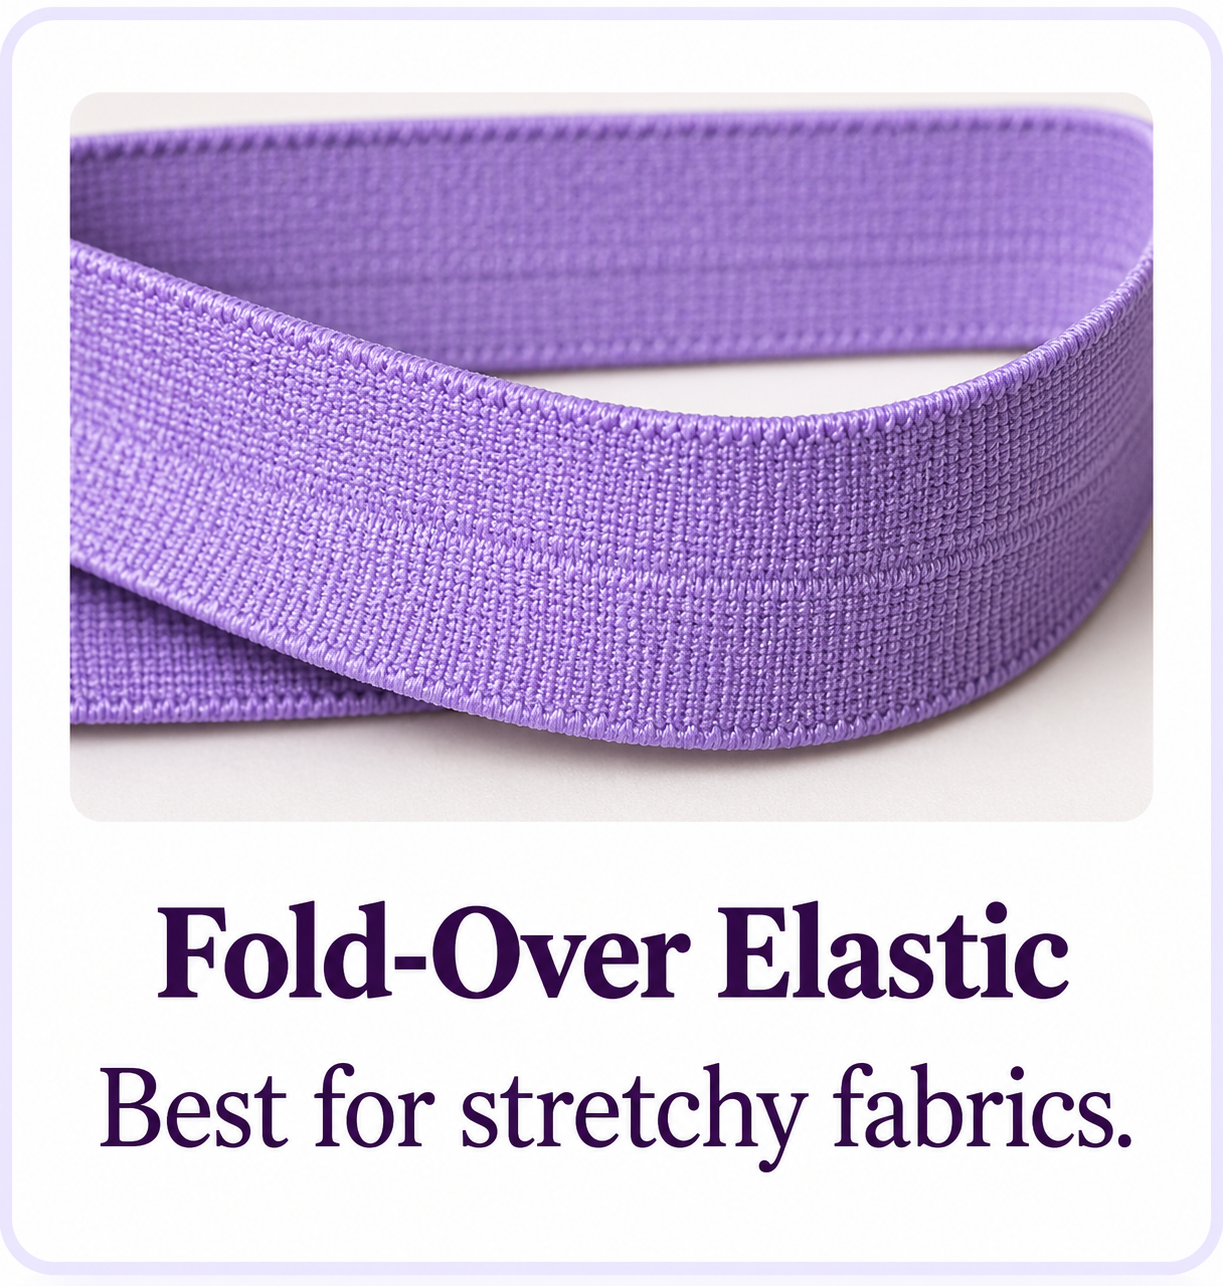
Fold-Over Elastic
Fold-over elastic isn’t just for activewear! It’s stretchy, colorful, and adds a modern touch to your projects.
Shop fold-over elastic on Amazon
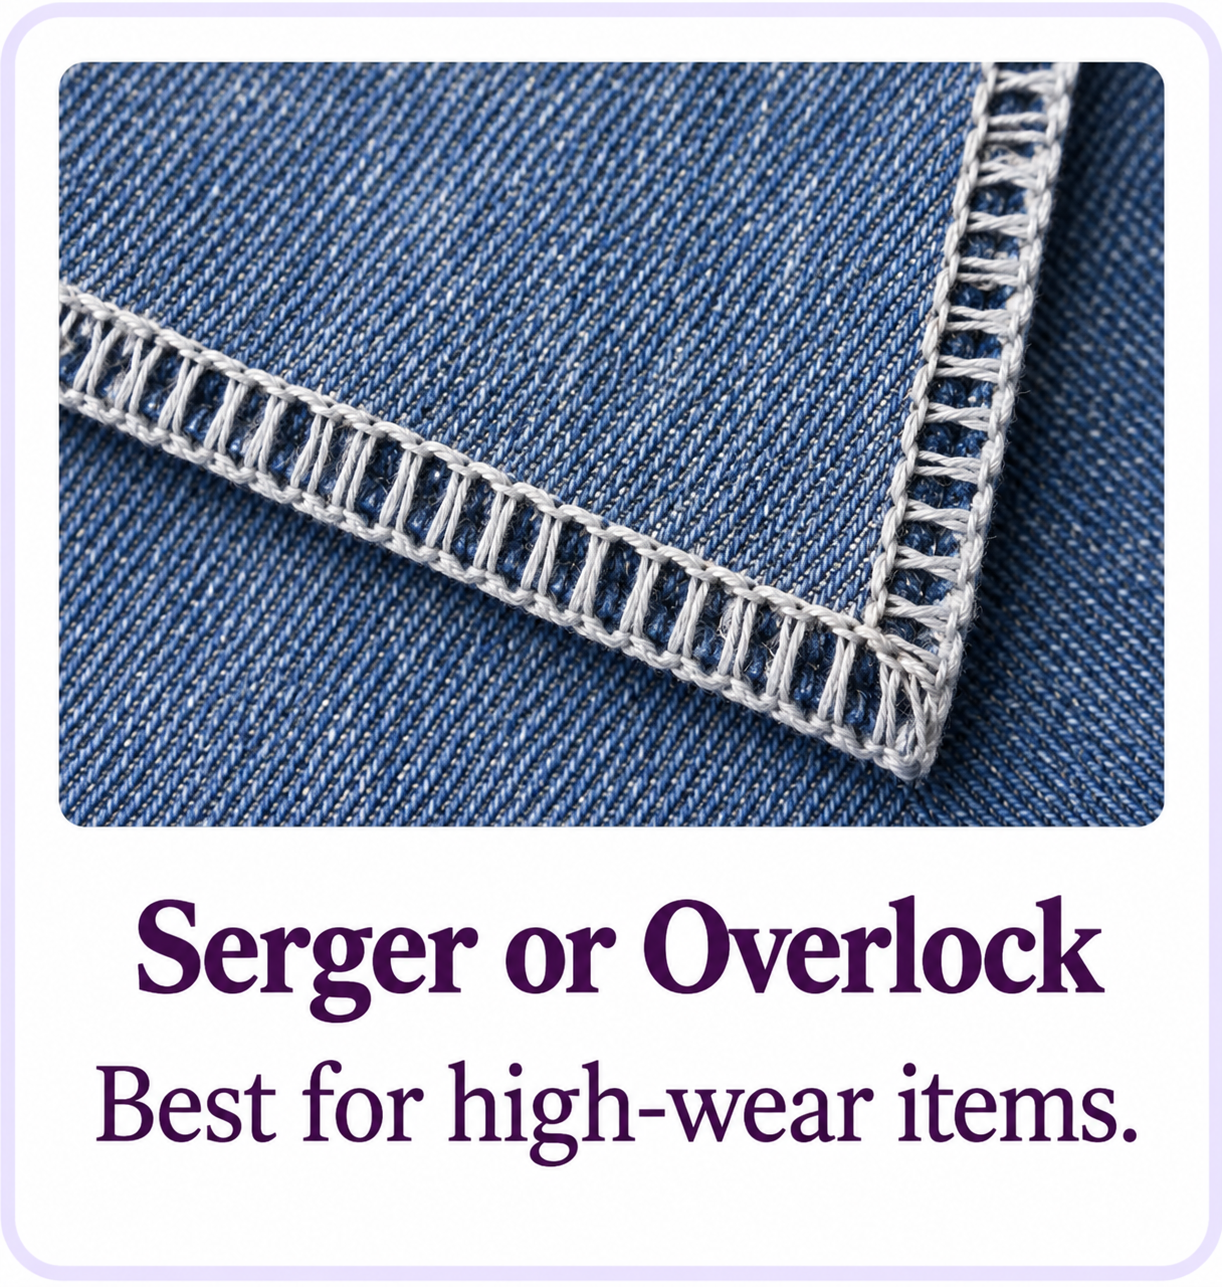
Serger or Overlock Stitch
If you have a serger, you already have a bias tape alternative at your fingertips. Serging edges is quick, tidy, and durable.
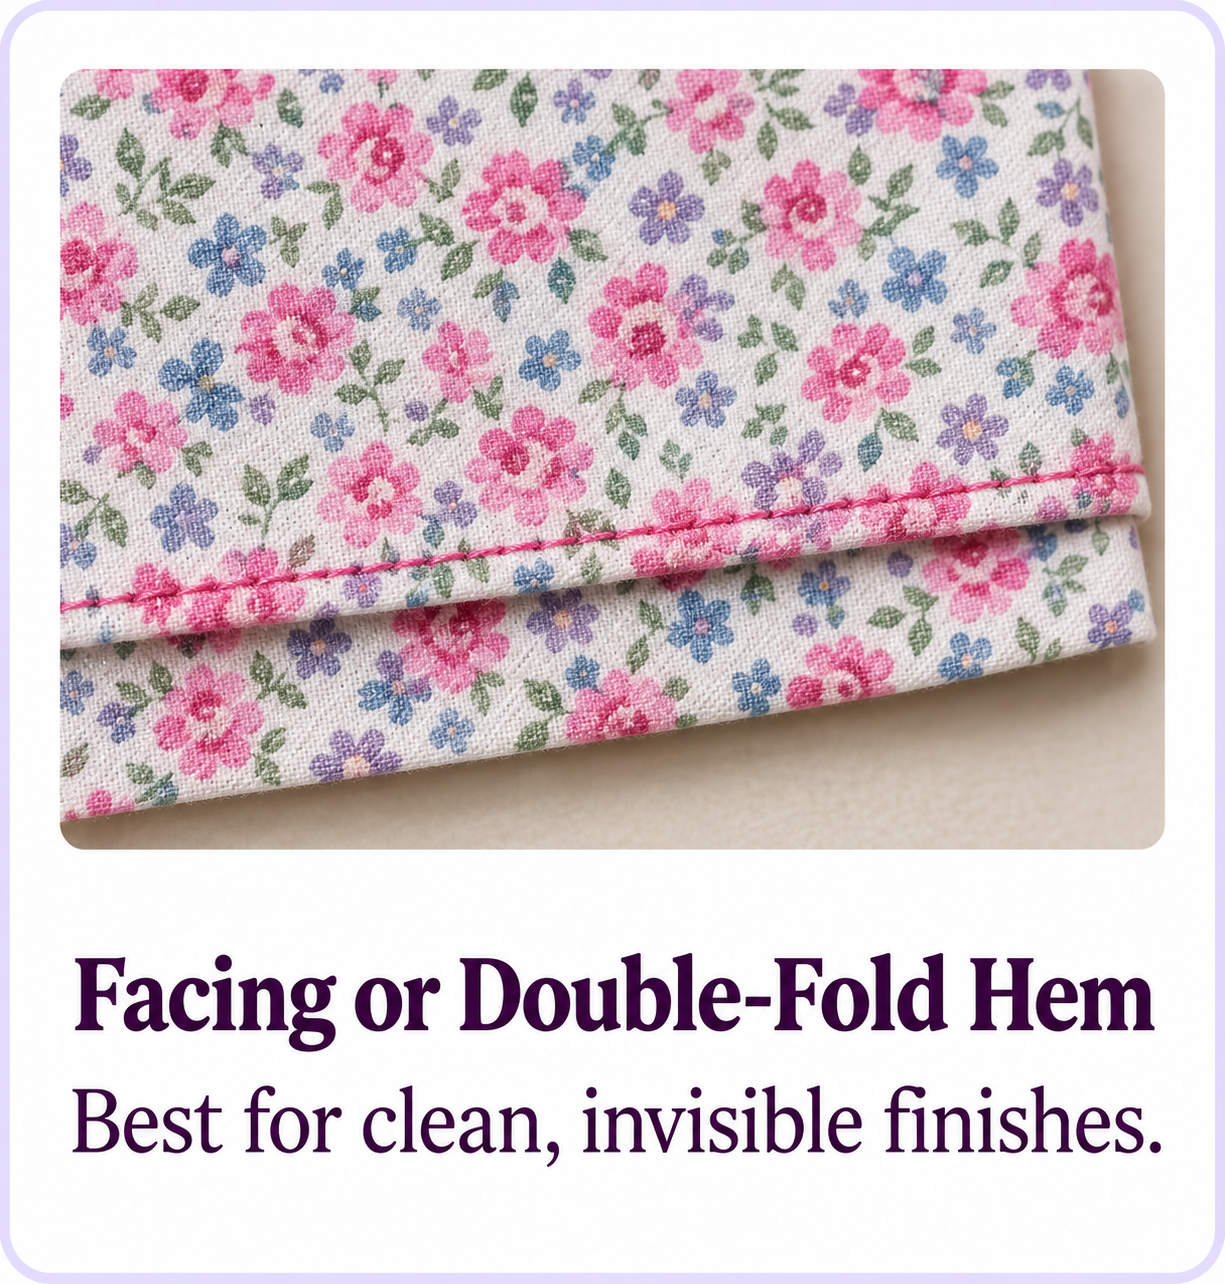
Facing or Double-Fold Hem
Instead of binding edges, use a fabric facing to turn under raw edges. It’s neat and professional, with no visible stitching on the outside.
Choose the Best Edge Finish
Shop Sewing Supplies
shop bias tape supplies on Amazon
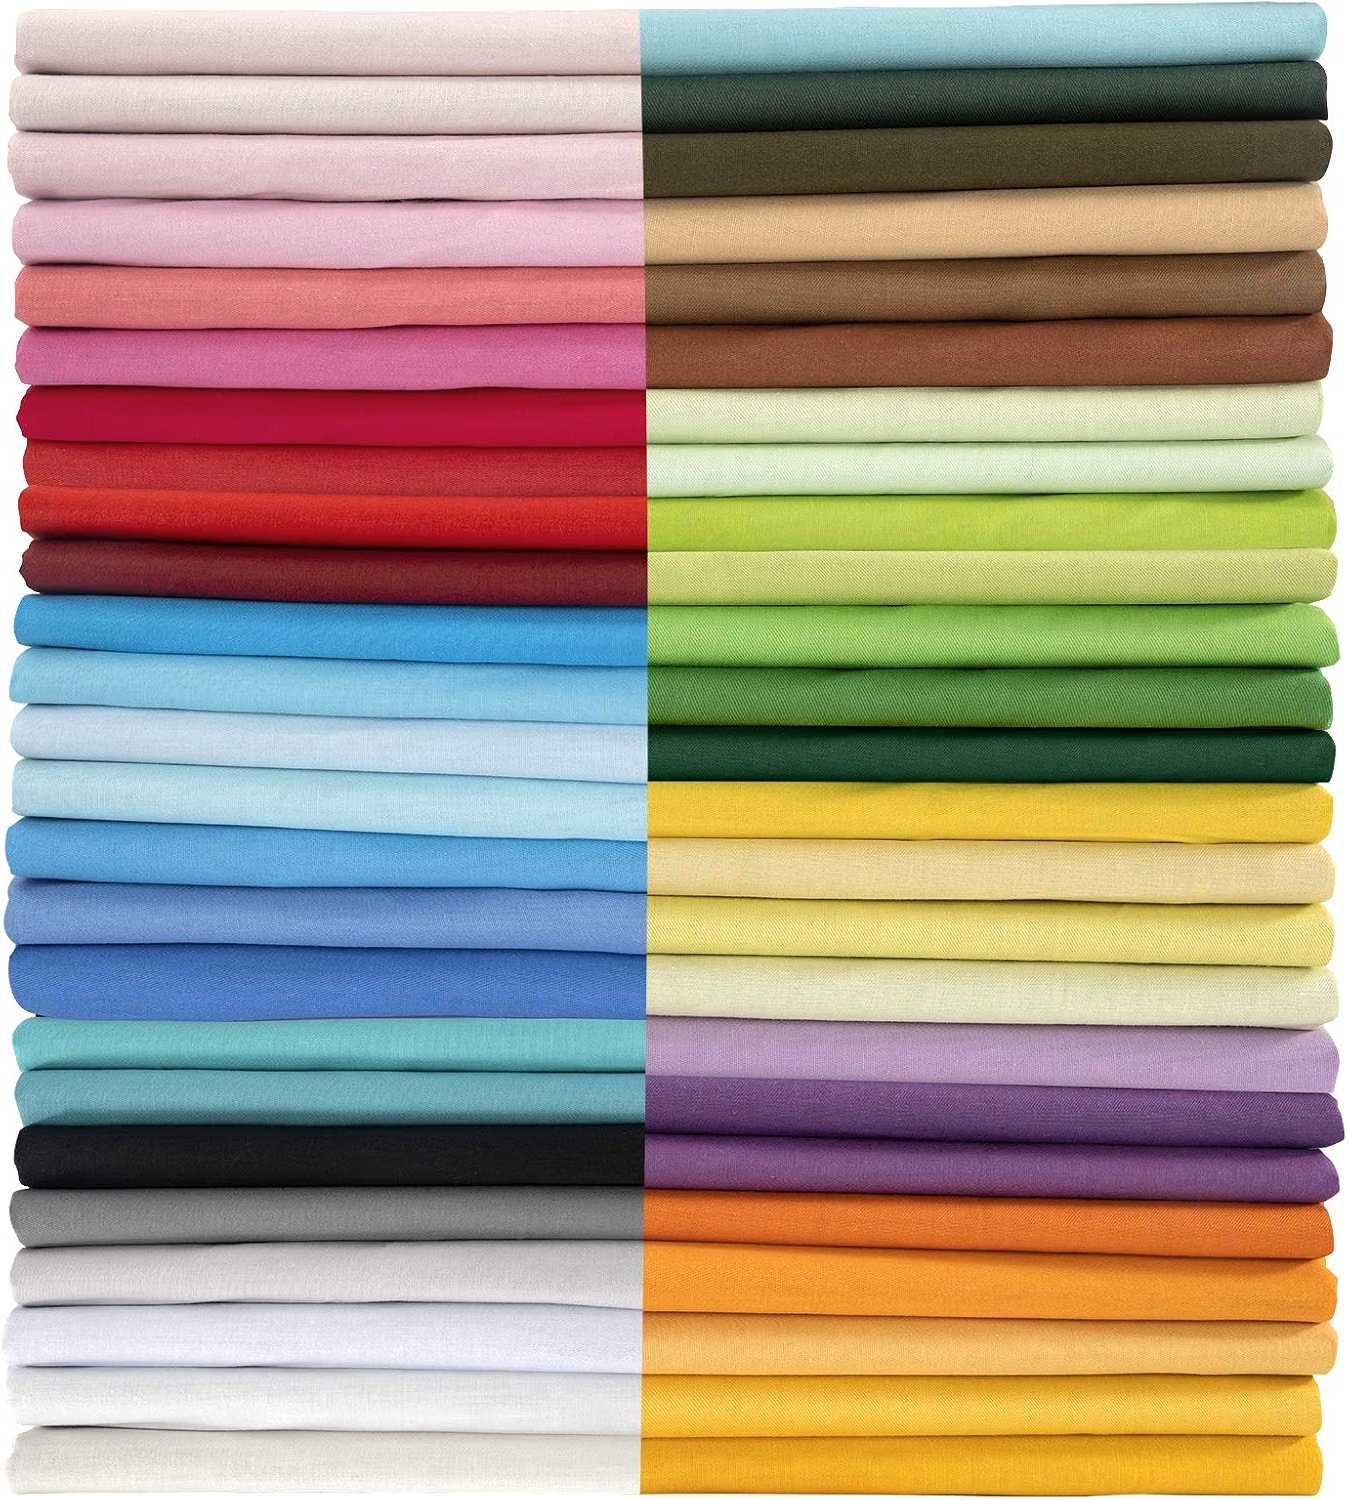
Bias tape might seem intimidating at first, but once you master the art, it’s like having a superpower in your sewing toolkit. So grab your fabric, cut those strips, and start binding! Your projects will look polished and professional in no time.
Affiliate Disclosure: This post contains affiliate links. If you purchase something through one of these links, Sew Cute Patterns may earn a small commission at no additional cost to you. As an Amazon Associate, I earn from qualifying purchases.
Shop Patterns | sewing tutorials | sewing blog | Shop sewing supplies